Making Your First Prototype
After installing and opening ProtoPie on your computer, you're now all set to embark on your journey of creating your very first prototype!
To kickstart the process, let's explore the essential steps:
Importing Your Designs: Learn how to seamlessly import your designs into ProtoPie. This allows you to bring your existing assets into the prototyping environment.
Creating Interactions: Discover the power of ProtoPie by building your first interactions. Unleash your creativity and bring your prototype to life with interactive elements and engaging user experiences.
Testing Your Prototype: See your prototypes in action while building them thanks to ProtoPie’s preview mode.
Sharing Your Prototype: Once you're satisfied with your creation, it's time to share your prototype with others. Explore the different sharing options available in ProtoPie to showcase your work and collect valuable feedback.
To create realistic prototypes, it's crucial to understand ProtoPie's unique conceptual model. This model forms the foundation and backbone of ProtoPie, dictating how interactions are created and implemented.
Haven't installed ProtoPie yet? Try ProtoPie for free!
1. Importing Your Designs
Start with importing your designs from Figma, Sketch, or Adobe XD into ProtoPie using their respective ProtoPie plugin.
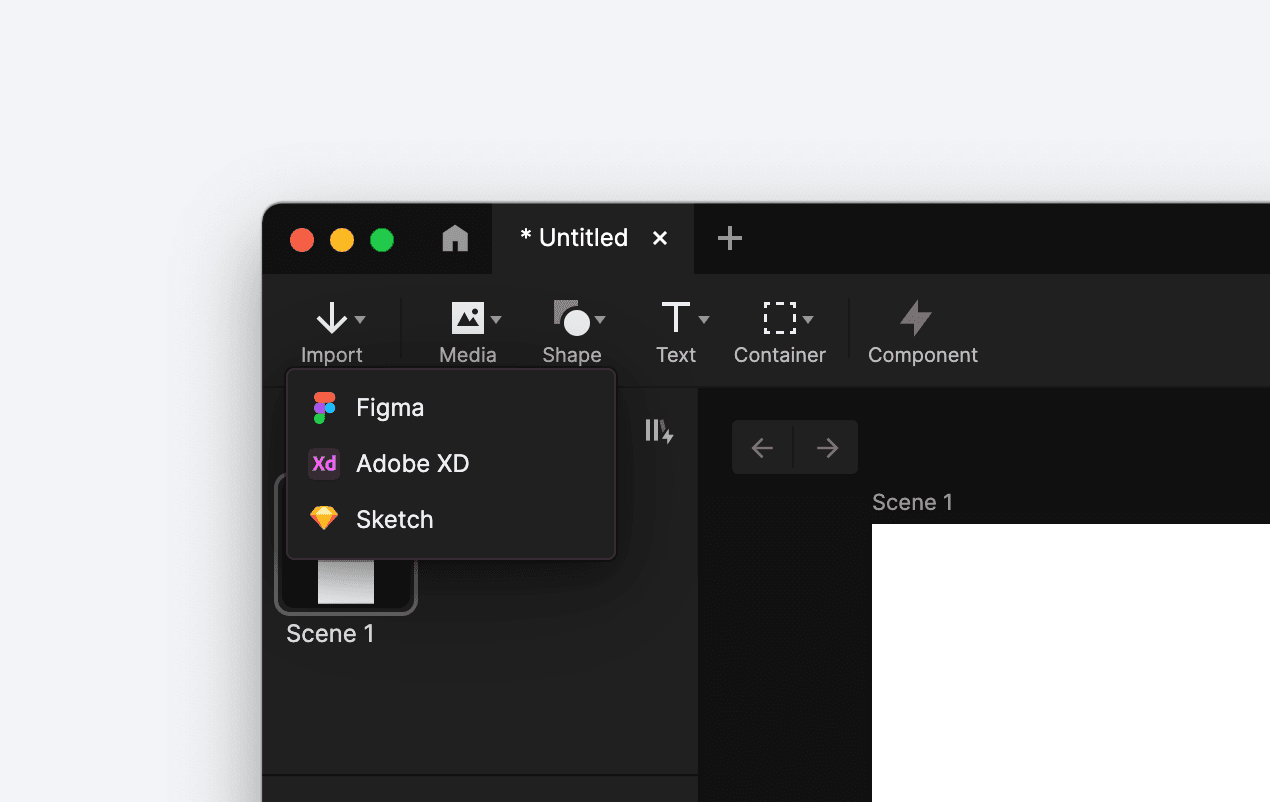
Import artboards or top-level frames as scenes, and objects with the same layer hierarchy, positioning, and constraints as in Figma, Sketch, and Adobe XD.
Learn more about importing your designs.
2. Creating Your First Interactions
To create your first realistic interactions, it's crucial to understand ProtoPie's distinctive conceptual model. Once you've understood how it works, you simply need to assemble the appropriate components to bring your interactions to life!
Understanding the Conceptual Model
The conceptual model serves as the foundation and backbone of ProtoPie. It's based on how objects move in the real world.
To create a prototype, you need to create interactions. To create an interaction, combine an object, a trigger, and one or multiple responses.

An object in ProtoPie refers to the layer that is impacted by an action. This can occur through either a trigger or a response. The trigger serves as the action that triggers one or more responses, while the response represents the alteration or change brought about by the trigger.
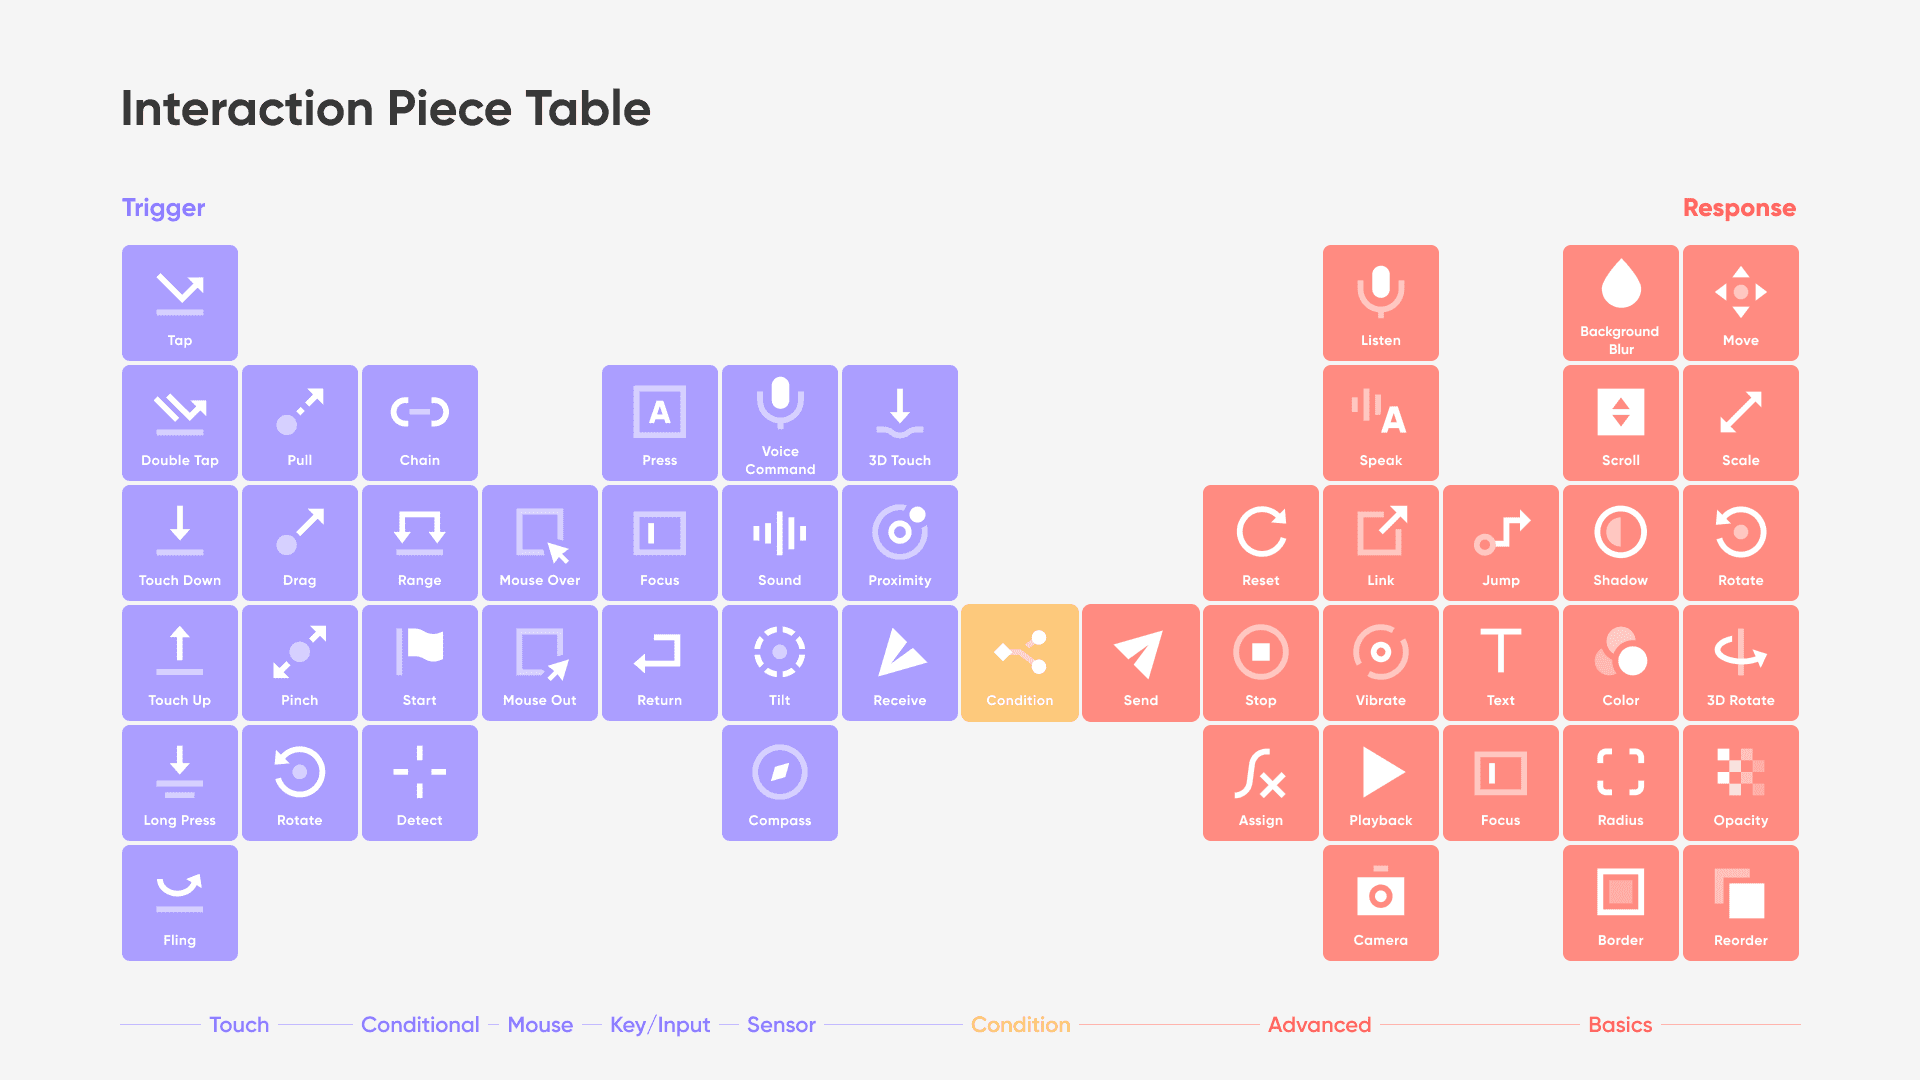
This is a visual representation of ProtoPie's triggers and responses, inspired by the periodic table of elements. Each trigger and response has its own unique functions and properties.
There is a wide range of triggers and responses you can choose from. Prototyping with ProtoPie comes down to combining triggers and responses—to create any interaction you imagine!
Learn more about triggers and responses.


Let's look at this example. Once you tap the green rectangle, it moves to the right. This comes down to an interaction consisting of a Tap trigger and a Move response, both assigned to the green rectangle layer.
Of course, you can create more complex interactions. It's possible to:
Have more than one response in an interaction.
Assign different layers to triggers and responses in a single interaction.
Control the duration and delay of each response.
Control layers dynamically using formulas.
Create interactions across multiple screens and devices
3. Testing What You Made
Utilize the preview window to witness your interactions come to life. This feature allows you to identify and rectify any errors in your prototype before sharing it with others.
By default, the preview window automatically updates whenever you make changes to your layers or interactions. If you prefer to have the preview window hidden by default when launching ProtoPie Studio or switching between prototypes, simply toggle it off in the Preferences menu.
Another way is to use ProtoPie Player, a free companion app to ProtoPie Studio. View, experience, and test prototypes on iOS, iPadOS, and Android seamlessly.
Learn more about ProtoPie Player.
4. Sharing Your First Prototype
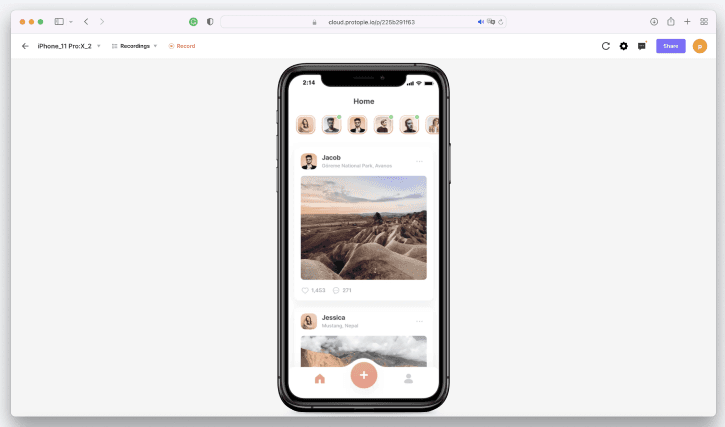
Upload your prototypes to the cloud. Share their links with your stakeholders. Depending on the prototype, stakeholders can preview it on the desktop browser, mobile browser, or in ProtoPie Player.

Stakeholders can use the prototypes stored in the cloud for usability testing and share them with other stakeholders.
Dealing with work that's sensitive? Activate password protection for your prototype.
Learn more about sharing prototypes.
Ready to Learn More?
Deepen your knowledge of ProtoPie with the following courses.
Learning From Others
Join our communities and learn from fellow ProtoPie users. Engage, ask, and share anything that comes to mind. Find tips, tricks, and solutions that other users have shared before.
If you're stuck with making your Pies or have a specific topic you'd like us to cover, drop us a message here: Ask ProtoPie.