Custom Layer Integrations
ProtoPie Connect's Stage view enables you to integrate ProtoPie prototypes with diverse custom layers, including web, embeds, live cameras, and Unity projects. This integration enhances the user testing experience and renders your designs more dynamic.
Creating a Stage View
Follow these steps to create a Stage view:
Open ProtoPie Connect.
Create a new Group and drag & drop your prototypes (Pies) into the group.
Select the group.
Click on the View icon to open the prototypes in a Stage.
Embedding Custom Layers
After creating the Stage view, access the stage option menu by right-clicking. To begin editing, click the Edit button. An "Edit Mode" message will confirm that editing is enabled.
To add new prototypes or custom layers:
From the upper-left corner, click on Add.
You can include the following layers in the Stage:
ProtoPie prototypes
Web embed via URL or iframe code (supports Maps, Spline, Rive, Bezi, etc.)
Live camera (select from available cameras or live streaming options)
Unity projects (supports import of WebGL build)
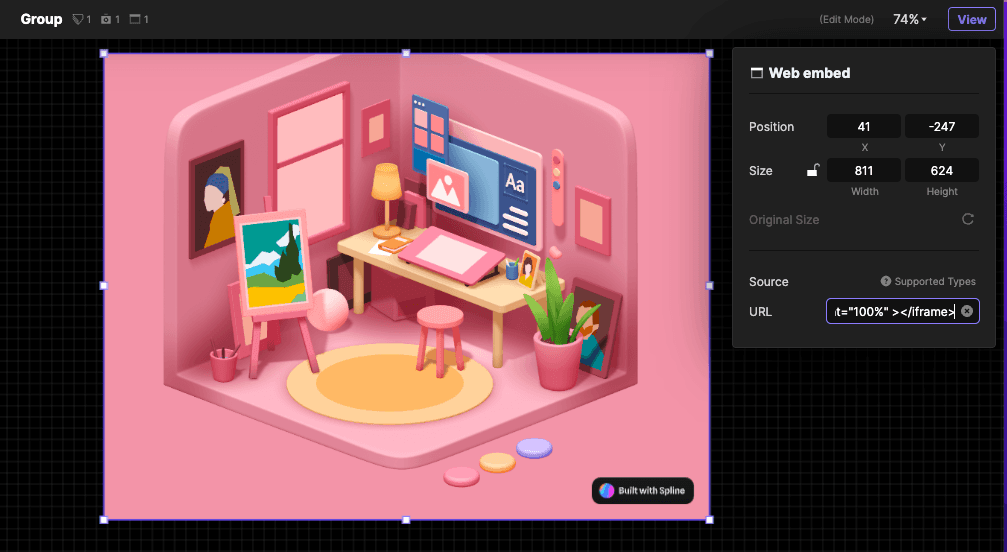
Configuring Web Embed Layers
You can set its URL via the properties panel after adding a new Web Embed layer to the Stage.
You can provide a full URL or iframe code. Web embeds support various formats such as Maps, Spline, Rive, and Bezi. It is important to ensure the URL is valid and you have the necessary permissions to access it.
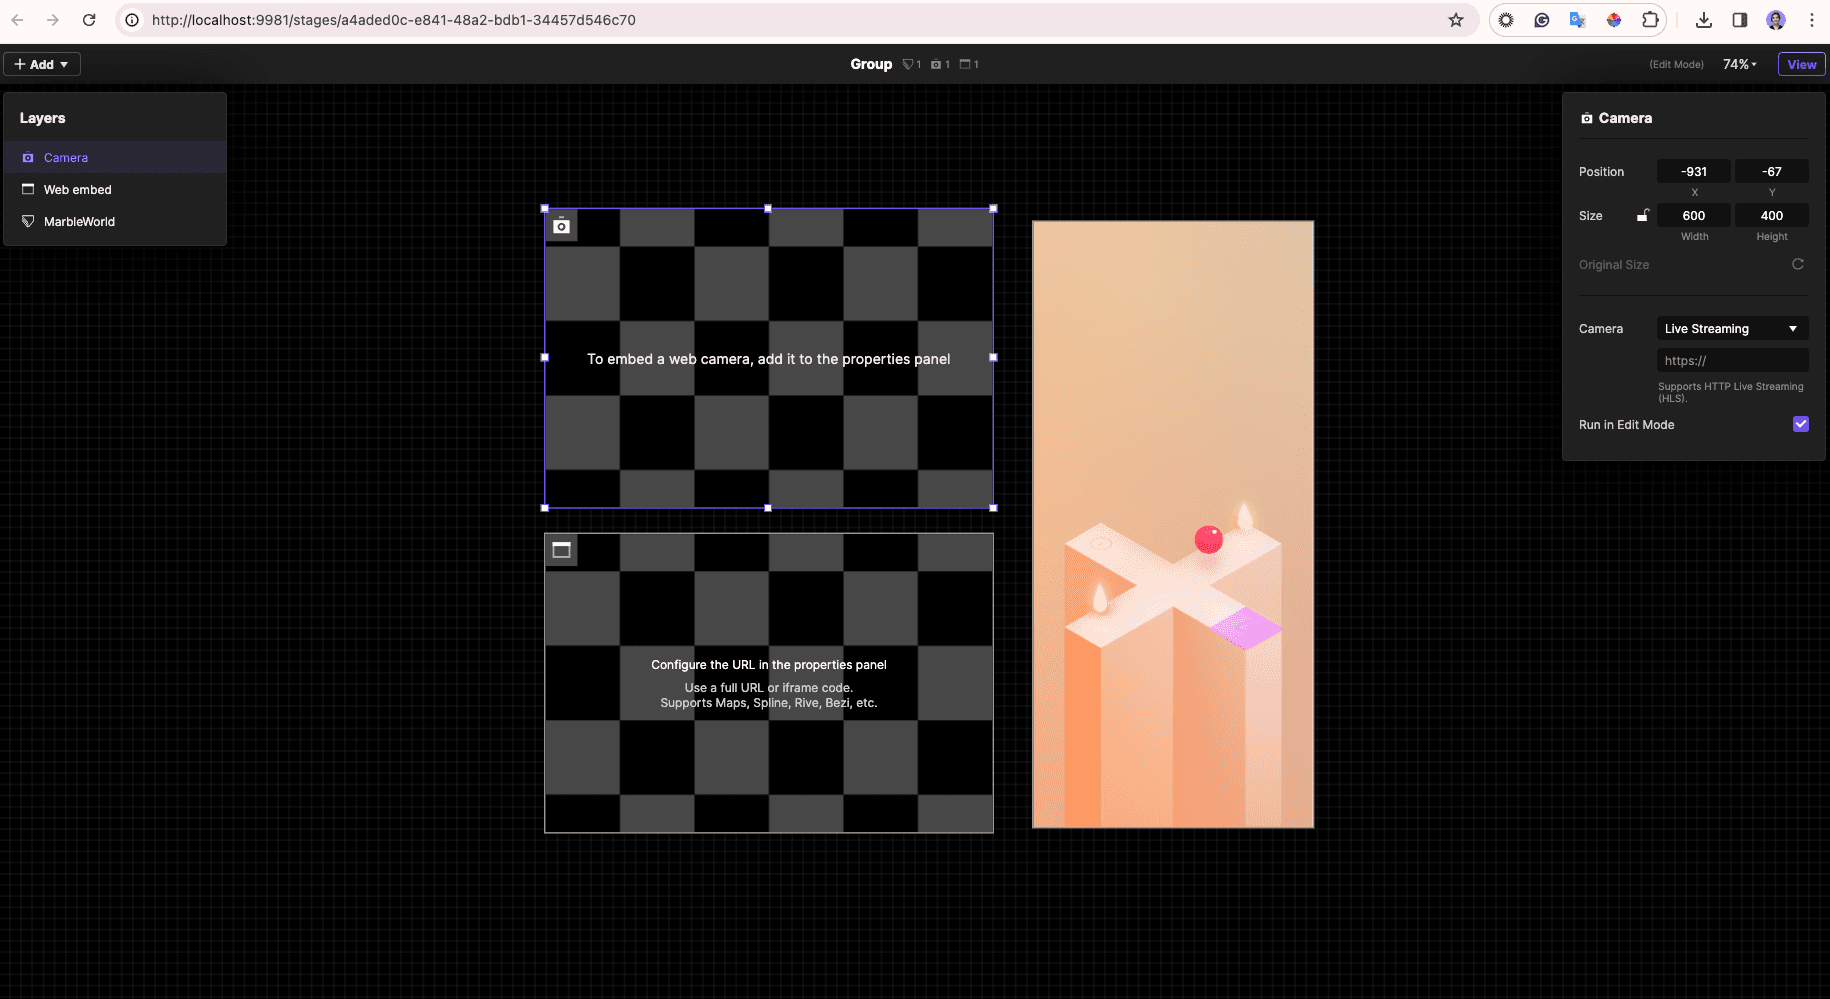
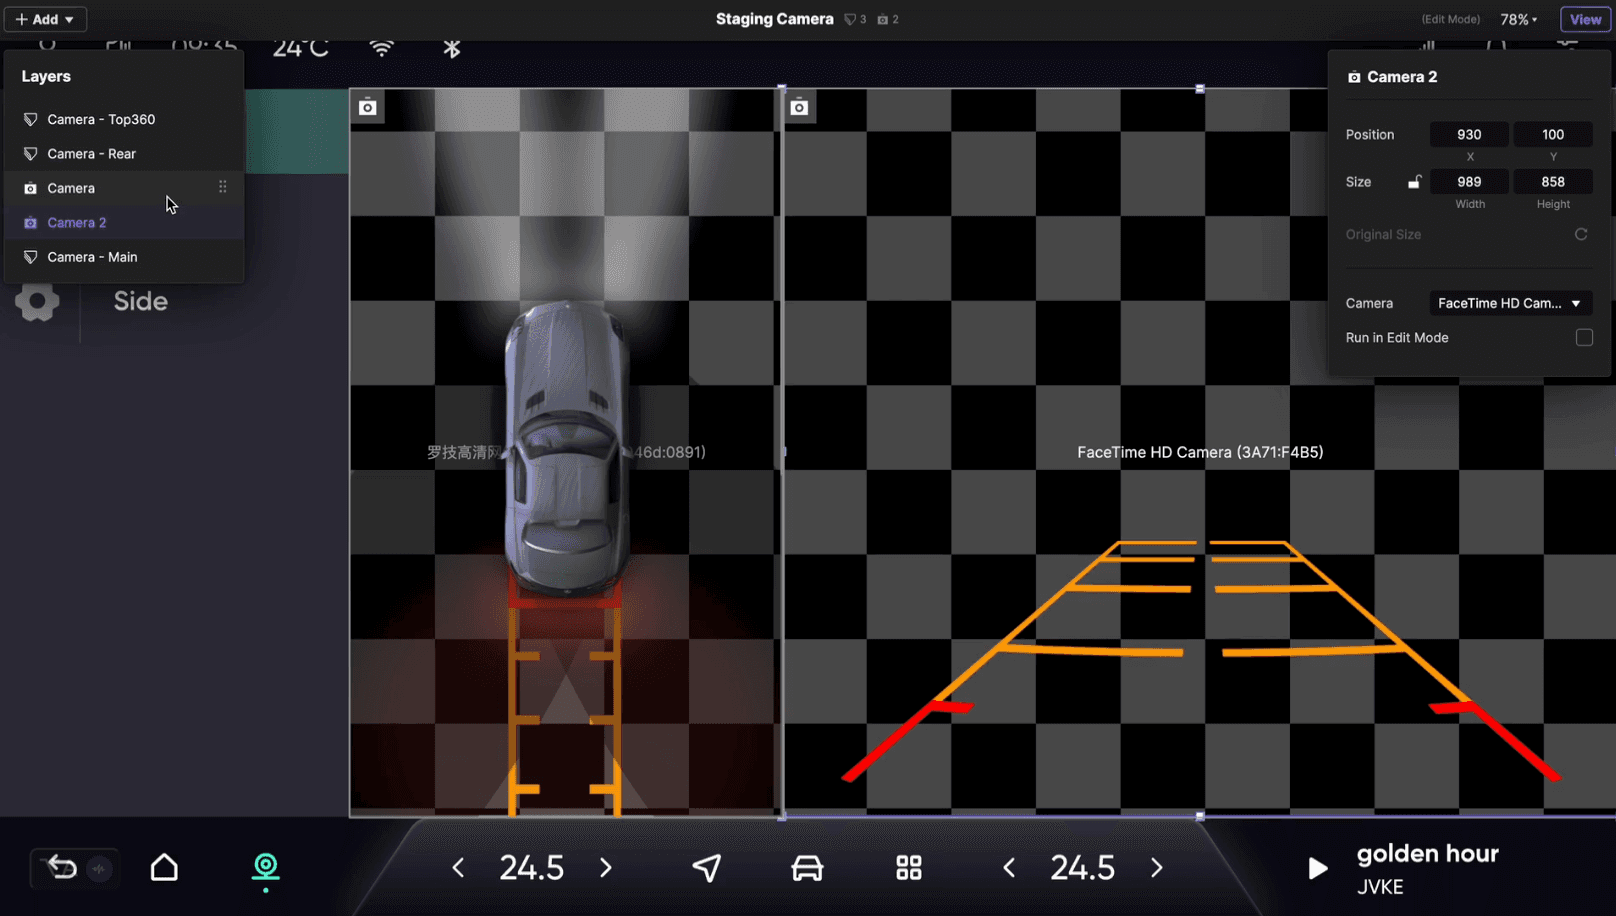
Configuring Live Camera Layers
To add camera feeds to your project, utilize the Live Camera layer. This feature supports:
USB-connected cameras, such as webcams
Your laptop’s camera
Live streaming URLs (HLS)
Before using the camera layer, make sure to grant permission to your web browser. After adding the camera layer, configure its properties through the Camera properties panel.
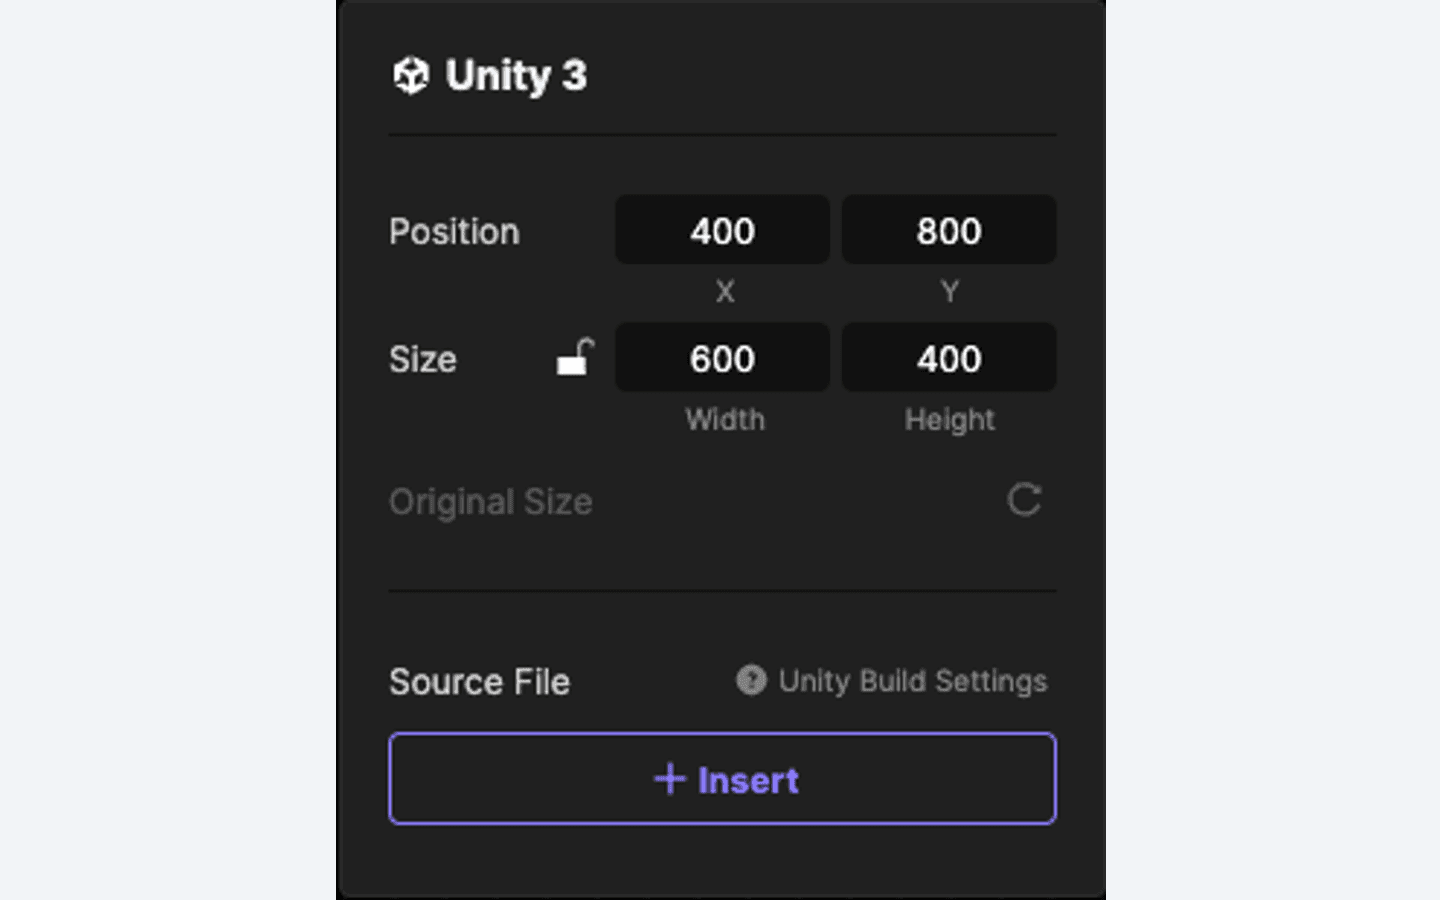
Configuring Unity Layers
To add Unity scenes to your project, utilize the Unity layer. This feature supports:
Importing WebGL build of Unity scenes
ProtoPie Plugin for Unity
It is important to build your Unity projects using WebGL as the target platform. The resulting Build folder will contain .loader.js, .framework.js, .wasm, and .data files, which you need to archive into a zip file. Insert the zip file as a Source File to import the Unity project as a layer.
The Unity Plugin will allow Send/Receive messages to work together with Unity scenes allowing for increased interactivity between the ProtoPie and Unity layers. It is a package that can be added to the Unity project and downloadable from the Unity Asset Store. For more information, refer to the Unity Plugin documentation.
Previewing the Stage View
After adding and configuring layers, rearrange them within the Stage by dragging. To access positioning options, right-click on a layer. Preview the Stage by clicking View when ready.
FAQs
unity-layer-keyboard-input-fail
Why do some keyboard inputs fail in the Unity layer?
Depending on the WebGL build inside Unity, certain keyboard inputs might not work with ProtoPie. This is because Unity WebGL's default settings are set to capture all keyboard inputs, which may interfere with ProtoPie's functionality. However, installing the Unity Plugin will solve this issue by disabling the Unity WebGL property.
Alternatively, you can modify the code in your Unity project to prevent Unity WebGL from capturing all keyboard inputs.
web-embed-supported-url-types
What are the supported URL types for the web embed source?
You can use either a full URL or iframe code for embedding. The web embed feature supports formats such as Maps, Spline, Rive, Bezi, etc. Ensure the URL is valid and you have the necessary permission to access it.
Here are some additional details to consider:
Full URL embedding: If you opt for embedding with a full URL, ensure that the server providing the URL has appropriate CORS (Cross-Origin Resource Sharing) policy settings. This detail is crucial, especially if you are embedding a coded prototype running locally or hosted online.
Iframe code embedding: When embedding iframe code from services like Spline, Rive, Mapbox, etc., make sure to use the iframe code generated directly from the respective services. You can insert the entire iframe code or extract only the src section. For example: