[LIVE] Bringing Multi-Device Fintech Apps to Life. Register for Free.

Introducing ProtoPie

Getting Started

Making Your First Prototype

ProtoPie Ecosystem

ProtoPie Studio Interface

Import

Getting Started

Importing From Adobe XD

Importing From Figma

Importing From Sketch

ProtoPie Genie

Basic Elements

Containers

Devices

Layers

Preview Window

Scenes

Scroll/Paging

Shortcuts

System Status Bar

Triggers & Responses

Easing

Annotations

Responses

Timelines

Triggers

Formulas

Getting Started

Functions

Layer Properties

Syntax

Formulas Use Cases

Variables

Getting Started

Variables

Predefined Variables

Variables Use Cases

AI

Getting Started

AI Interaction Creation

AI Document Q&A

AI Panel Interface

Tips for Best Results

Auto Layout

Getting Started

Auto Layout Properties

Components

Getting Started

Component Guides

Editing Components

Nested Components

Send & Receive Messages

Interaction Libraries

Getting Started

Managing Interaction Libraries

Managing Library Members

Voice Prototyping

Getting Started

Listen Response

Speak Response

Use Cases

Voice Command Trigger

Connecting Devices

Connecting blokdots

Connecting Mobile Devices

ProtoPie Cloud

Getting Started

Managing Prototypes

Managing Storage

Sharing Prototypes

ProtoPie Player

Testing Prototypes

Managing Fonts

Offline Testing

ProtoPie Player for Wear OS

Teams

Getting Started

Editors & Viewers

Onboarding Your Team

Projects

Team Owner & Team Admin

Handoff

Getting Started

Creating Interaction Recordings

Managing Interaction Recordings

Recording Page

User Testing

Getting Started

Overview

Creating Test Rooms

External Integrations

Managing Test Sessions

Test Results & Analysis

User Testing on ProtoPie Cloud

ProtoPie Connect

Getting Started

API Plugin

Arduino Plugin

blokdots Plugin

Connect Embedded

Custom Layer Integrations

Custom Plugins

Connect Devices

Gamepad Plugin

IFTTT Plugin

Logitech G29 Steering Wheel Plugin

Testing Prototypes

Feature Comparison

Unity Plugin

ProtoPie Enterprise

Getting Started

Organization Settings

Service Admin

Single Sign-On (SSO)

Security

Overview

Access Control

Data Transit, Storage & Backup

Incident Response

Network & ProtoPie Player App Security

Physical Security

Risk Management

Menu

Introducing ProtoPie

Getting Started

Making Your First Prototype

ProtoPie Ecosystem

ProtoPie Studio Interface

Import

Getting Started

Importing From Adobe XD

Importing From Figma

Importing From Sketch

ProtoPie Genie

Basic Elements

Containers

Devices

Layers

Preview Window

Scenes

Scroll/Paging

Shortcuts

System Status Bar

Triggers & Responses

Easing

Annotations

Responses

Timelines

Triggers

Formulas

Getting Started

Functions

Layer Properties

Syntax

Formulas Use Cases

Variables

Getting Started

Variables

Predefined Variables

Variables Use Cases

AI

Getting Started

AI Interaction Creation

AI Document Q&A

AI Panel Interface

Tips for Best Results

Auto Layout

Getting Started

Auto Layout Properties

Components

Getting Started

Component Guides

Editing Components

Nested Components

Send & Receive Messages

Interaction Libraries

Getting Started

Managing Interaction Libraries

Managing Library Members

Voice Prototyping

Getting Started

Listen Response

Speak Response

Use Cases

Voice Command Trigger

Connecting Devices

Connecting blokdots

Connecting Mobile Devices

ProtoPie Cloud

Getting Started

Managing Prototypes

Managing Storage

Sharing Prototypes

ProtoPie Player

Testing Prototypes

Managing Fonts

Offline Testing

ProtoPie Player for Wear OS

Teams

Getting Started

Editors & Viewers

Onboarding Your Team

Projects

Team Owner & Team Admin

Handoff

Getting Started

Creating Interaction Recordings

Managing Interaction Recordings

Recording Page

User Testing

Getting Started

Overview

Creating Test Rooms

External Integrations

Managing Test Sessions

Test Results & Analysis

User Testing on ProtoPie Cloud

ProtoPie Connect

Getting Started

API Plugin

Arduino Plugin

blokdots Plugin

Connect Embedded

Custom Layer Integrations

Custom Plugins

Connect Devices

Gamepad Plugin

IFTTT Plugin

Logitech G29 Steering Wheel Plugin

Testing Prototypes

Feature Comparison

Unity Plugin

ProtoPie Enterprise

Getting Started

Organization Settings

Service Admin

Single Sign-On (SSO)

Security

Overview

Access Control

Data Transit, Storage & Backup

Incident Response

Network & ProtoPie Player App Security

Physical Security

Risk Management

Variables

Variables can be described as "baskets" that hold valuable information. You can store various data like names, passwords, or account balances in these baskets for later use. You can flexibly create dynamic interactions by modifying the values within variables and detect how their values change.

Completely new to variables? Check out the examples on this page to get the most out of this powerful feature.

  • Predefined variables — A set of variables that are always accessible in your prototypes. The values they store update automatically.

  • Use cases — A selection of practical use cases involving variables.

Difference Between Variables & Formulas

Formulas and variables work together seamlessly to enhance your prototypes. Here's a quick breakdown of their relationship:

  • Variables: Think of variables as handy "baskets" that hold values. They allow you to store and retrieve data, making it easier to reuse information throughout your prototype. Variables can be used independently or in conjunction with formulas. For example, you use formulas to retrieve a value stored in a variable.

  • Formulas: Formulas are expressions that calculate and "return" a result. They are powerful tools for creating dynamic interactions. You can use formulas to perform calculations, manipulate text, and accomplish various tasks. Formulas can also include variables to access stored values.

The synergy between formulas and variables allows you to take your prototypes to the next level. Variables store values that can be utilized by formulas, while formulas can even be stored within variables to be reused across scenes.

In summary, formulas and variables complement each other, offering flexibility and efficiency in your prototype development process.

Learn more about formulas.

Choosing the Variable Scope

There are two types of variable you can choose from.
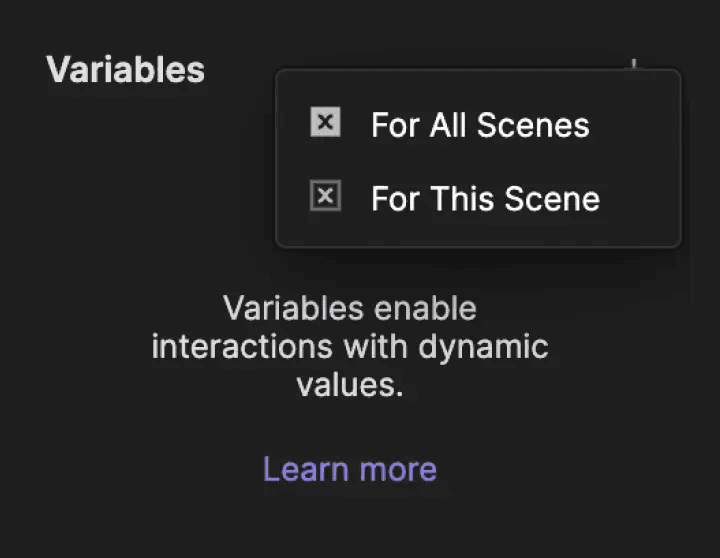
For All Scenes

A variable for all scenes can be accessed in every scene within your prototype. It's perfect for transferring data between scenes. For example, if you modify the value of a variable for all scenes in Scene A, the changes affect every instance where the variable is used across the prototype.

For This Scene

A variable for this scene is specific to the scene where you created it. It cannot be used in Scene B if it was created in Scene A. Also, this type of variable can hold formulas too.

Using Data Types

A variable can store three types of data: text, number, or color.
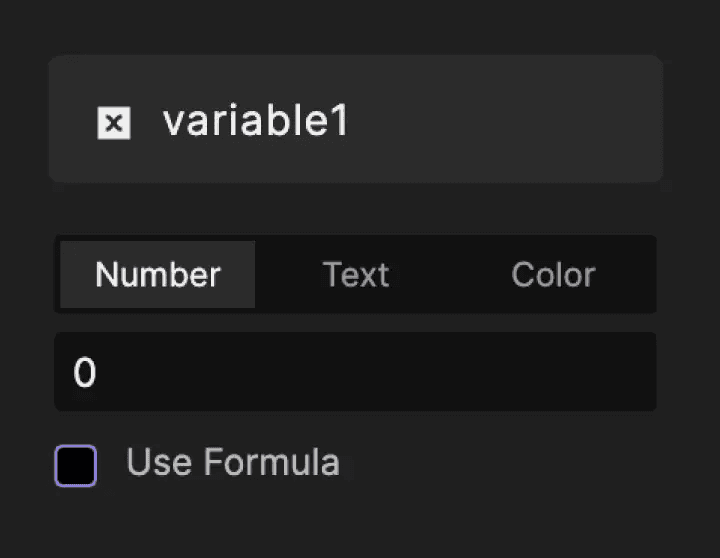
Text

Text variables are used to store text values. If you use a number as a value, the text variable will use it as a text.

Number

Number variables store numbers. They can’t hold data that aren’t numbers.

Color

Color variables store hex color code values. They can’t hold data that aren’t hex color codes.

Using Assign & Detect

Variables are typically manipulated with the Detect trigger and Assign response.

Assign Response

It’s used to assign new values to variables. It can be a text, number, or color data type. Additionally, such values can be inputted directly or dynamically generated through a formula.

Learn more about Assign.

Detect Trigger

It’s used to keep track of changes in a variable. It allows you to trigger responses based on whatever changes take place in a specific variable.

Learn more about Detect.

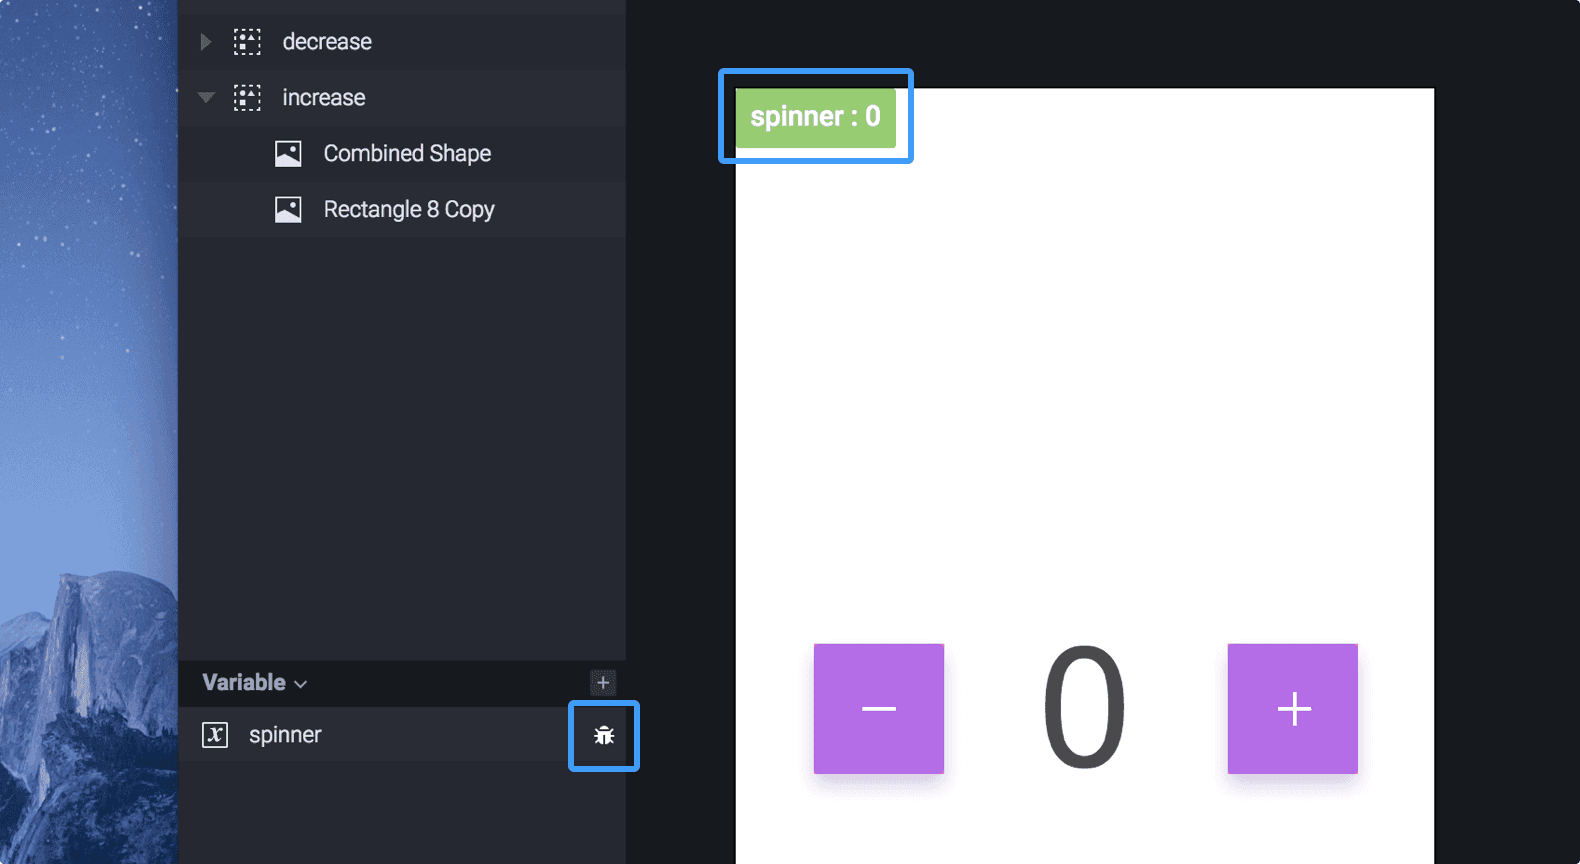
Displaying Variables

The values inside variables can be displayed on the canvas and in the preview window of ProtoPie Studio by using dedicated debuggers. You can enable them by clicking on the bug icon next to the variable name in the variable panel. This way, you can always check if the value stored by the variable is updating correctly.
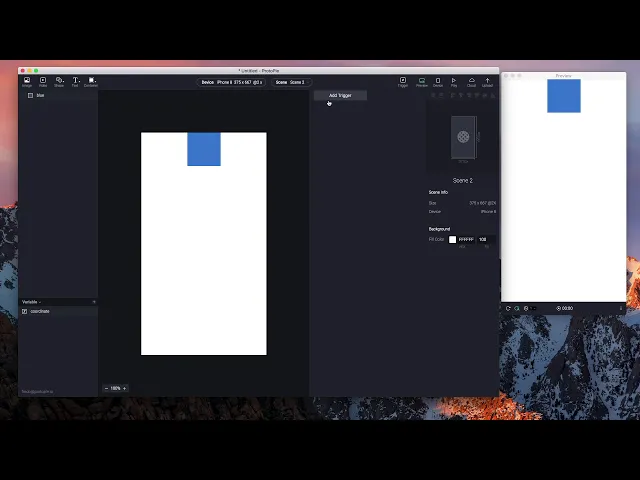

{'_type': 'localeString', 'en': 'displaying-variables', 'ja': 'displaying-variables', 'ko': 'displaying-variables', 'zh': 'displaying-variables'}

Learning the Basics

Creating interactions with variables in ProtoPie is simpler than you think. This video shows you how you can quickly create a dynamic animation using variables.

Practicing with Examples
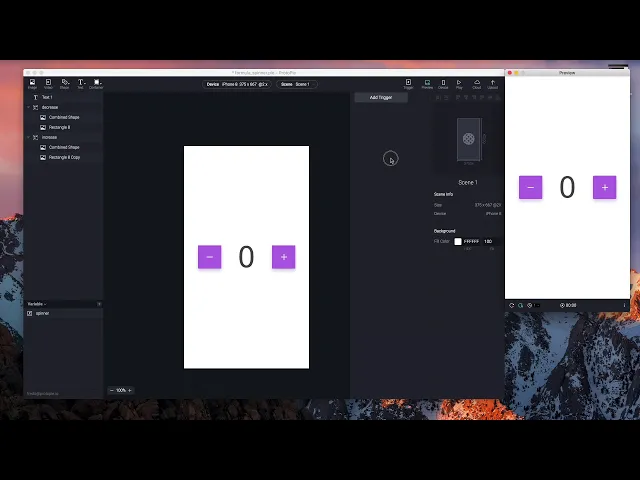
Making a Spinner

You can animate a simple spinner using variables. This example shows you how to increase or decrease the value of a variable by 1. The text layer will then display the value of the variable—every time it changes.


{'_type': 'localeString', 'en': 'making a spinner'}

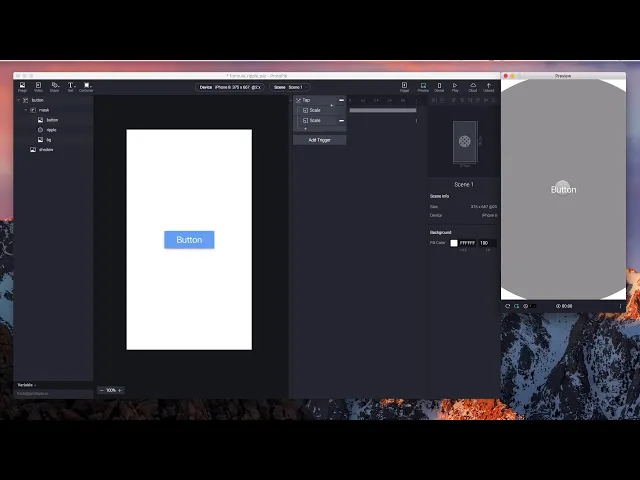
Making a Ripple Effect

Animate a quick ripple effect with predefined variables. This example shows you how to create a ripple effect based on where a touch event takes place.

Learn more about predefined variables.


{'_type': 'localeString', 'en': 'ripple effect'}

Looking for practical use cases? Learn more with some practical use cases involving variables.

Ready to take your skills to the next level? Join the ProtoPie Masterclass and unlock the power of variables in your prototypes. Learn how to create dynamic interactions using text, numbers, colors, and predefined variables.

By joining the ProtoPie Masterclass, you'll rapidly enhance your skills and effortlessly create advanced prototypes. Don't miss out on this opportunity to level up!