Team Owner & Team Admin
A ProtoPie team has three types of members: team owner, team admin, and member.
A team can only have one owner, but it can have multiple team admins.
Both the team owner and team admins have the ability to invite new members and manage their roles. However, only the team owner can manage billing and delete the team.
Members who do not hold either of these two roles are considered "regular" members.
Privileges | Team Owner | Team Admin | Member |
|---|---|---|---|
Manage Billing | ✓ | ||
Delete a team | ✓ | ||
Manage a team | ✓ | ✓ | |
Invite new members | Yes (if Enterprise, self-service sign-up must be enabled first) | Yes (if Enterprise, self-service sign-up must be enabled first) | |
Assign team admins | ✓ | ✓ | |
Assign roles | ✓ | ✓ | |
Remove members | ✓ | ✓ | |
Manage projects | ✓ | ✓ | Depends |
Delete prototypes | ✓ | ✓ | |
Manage custom fonts | Only for Enterprise | Only for Enterprise | |
Enable/ Disable AI features | ✓ | ✓ |
Managing Members
In the Members section of the Team settings page, team owners and admins have the ability to invite individuals to join the team as either viewers or editors, as well as remove members from the team.
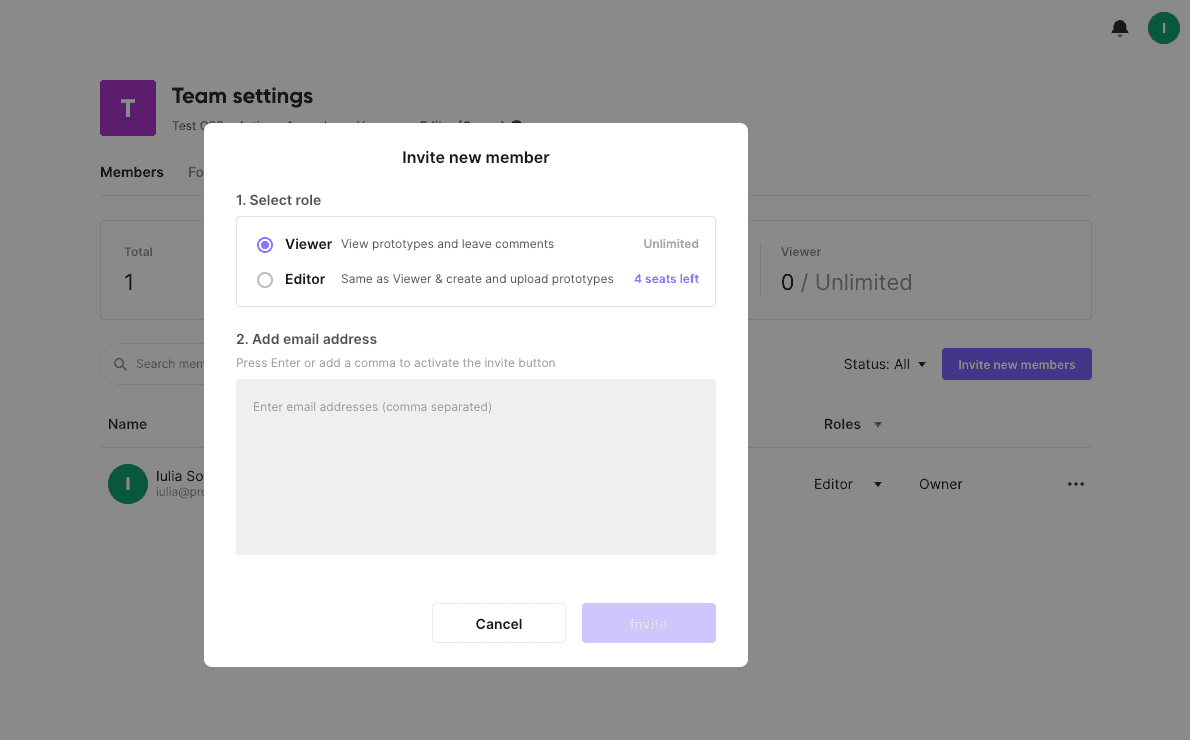
Inviting New Members
Click on Invite new members.
Enter the email addresses of the people you want to invite (Press Enter or add a comma to activate the invite button).
Click on Invite.
If the invitee already has a ProtoPie account, they will become a member of the team right away. Otherwise, they will appear under Pending until they create a ProtoPie account by signing up.
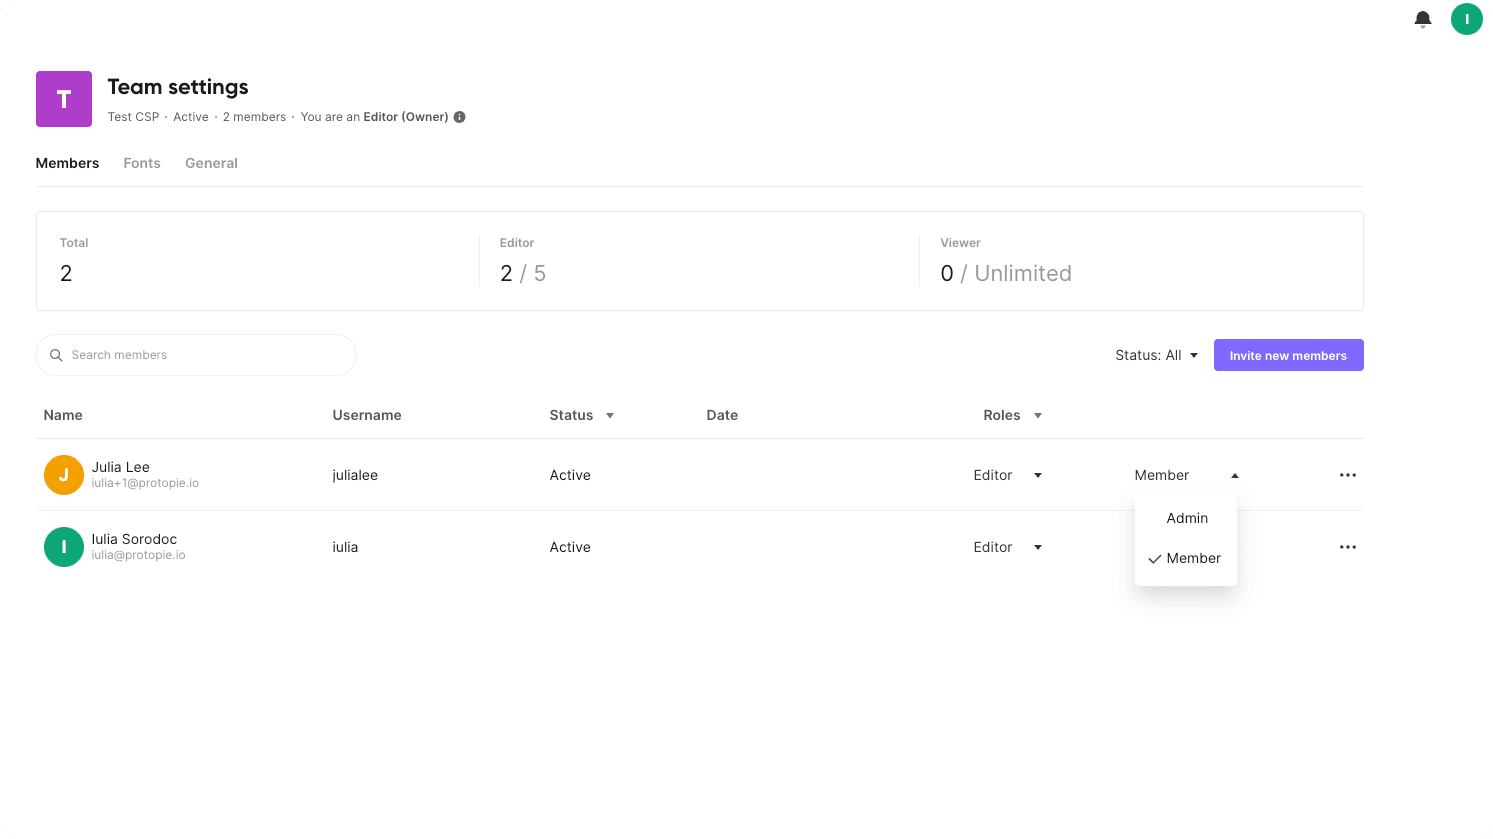
Changing Member Types
The team owner can assign team members as team admins by changing their member type from "member" to "admin." Once assigned as a team administrator, the team admin has the ability to delegate other team members as administrators.
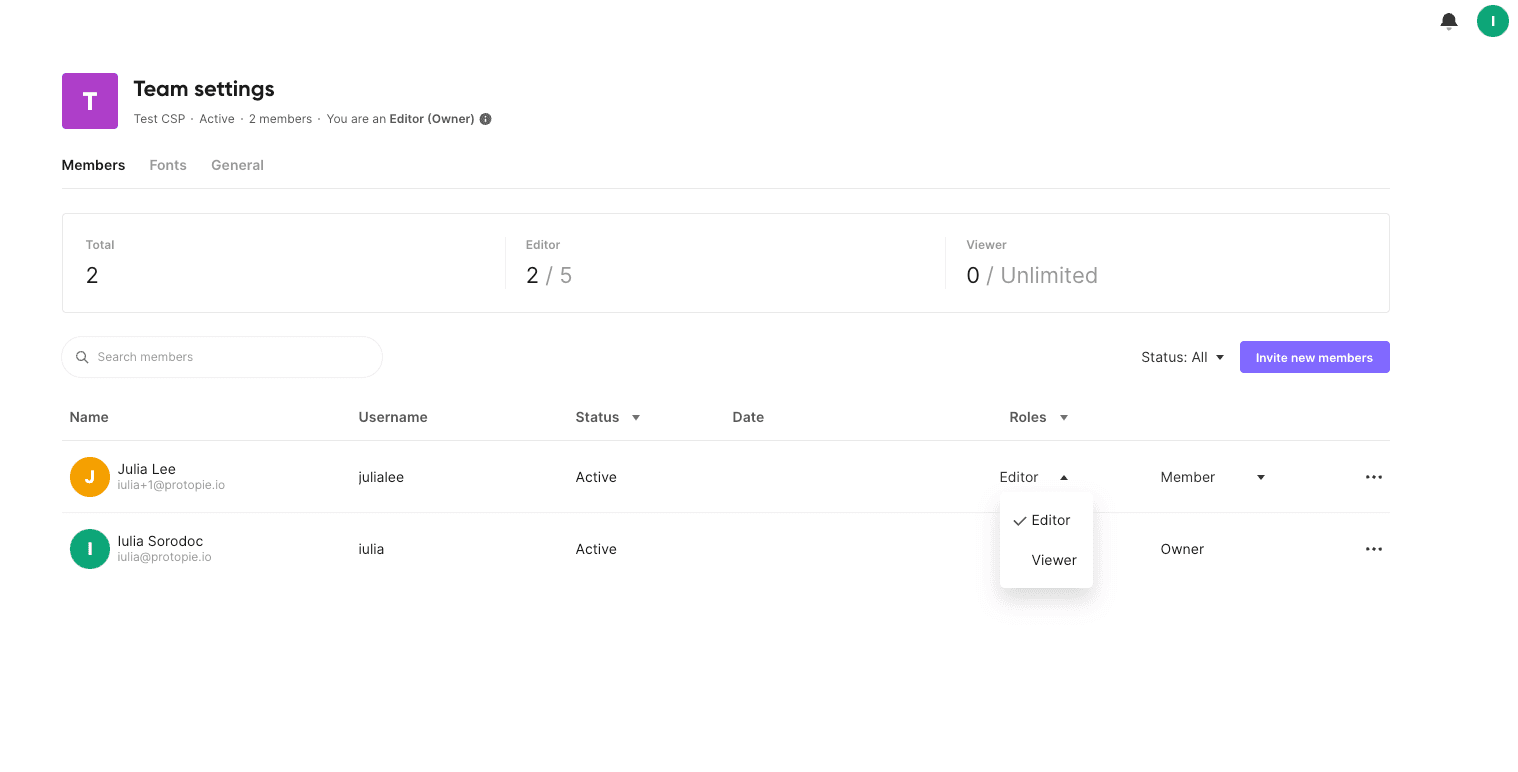
Assigning Roles
Both the team owner and team admins can assign roles to members. The two available roles are editor and viewer.
Viewers have access to the projects and prototypes stored within their team space and leave comments on prototype pages to provide feedback.
Editors can create prototypes in ProtoPie Studio, upload them to the cloud, utilize team libraries, create interaction recordings, and utilize ProtoPie Connect.
Learn more about editors & viewers.
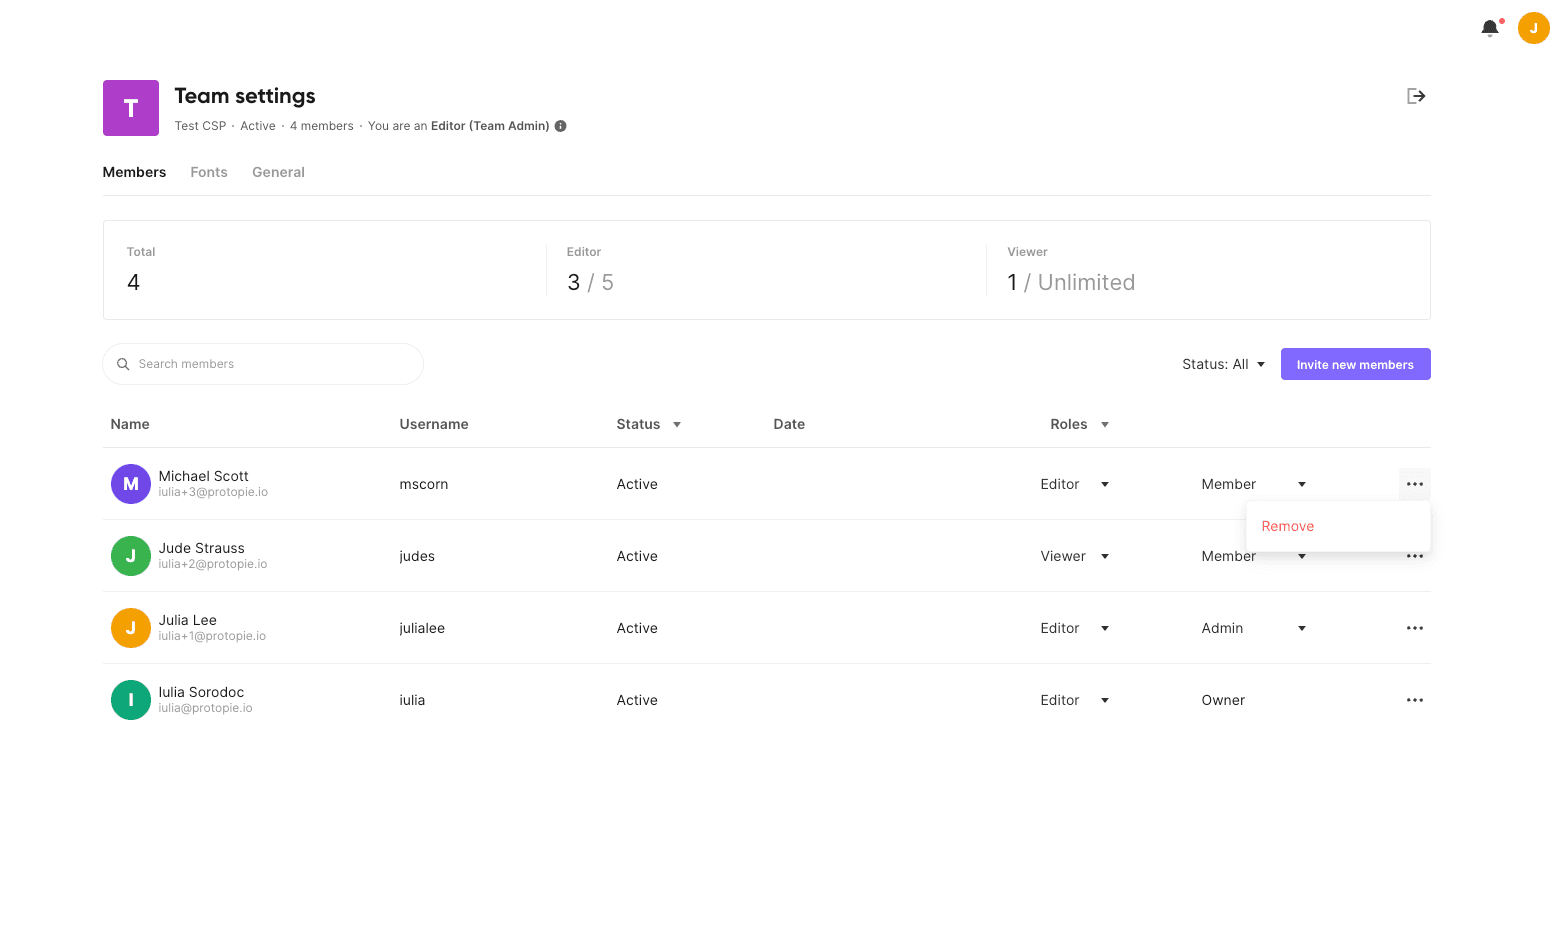
Removing Members
Team owners and admins can remove members from the team by following these simple steps:
Click on the three-dot menu next to the name of the member you want to remove.
Select “Remove”
If you need to bring back removed members, invite them using the same process as inviting new members.
Managing Team Information & Billing
In the General section of the Team settings page, the team owner and team admins have the ability to change the name of the team and personalize the team logo. Additionally, the team owner can manage billing information and delete the team.
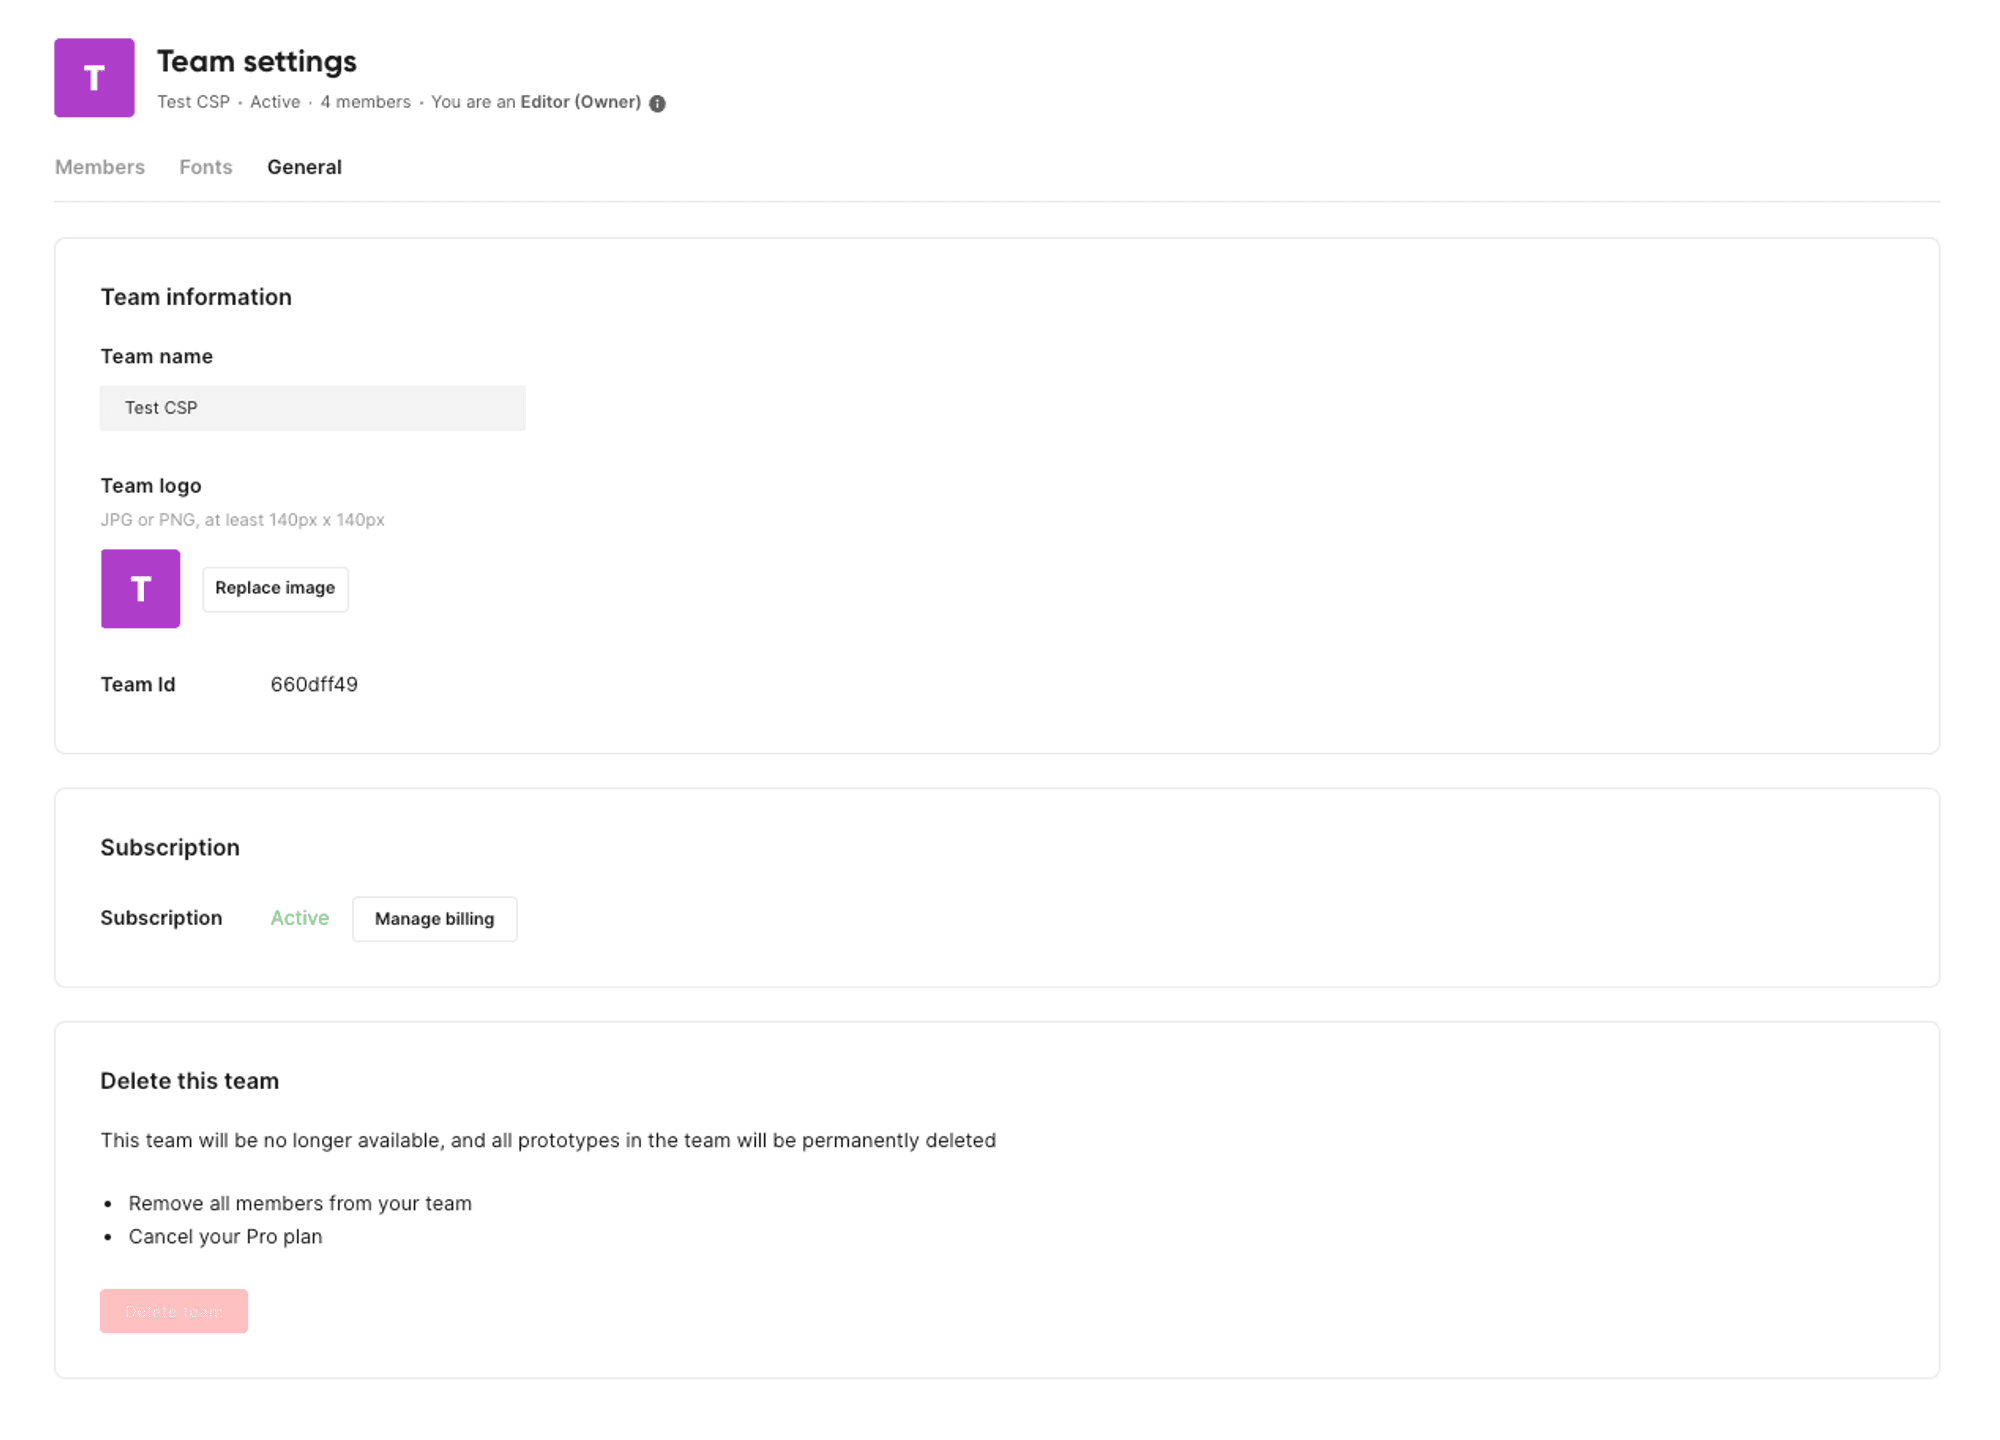
Deleting Teams
As the team owner, you have the ability to delete a team. To be able to do so, you must ensure that all members have been removed from the team and that the Pro plan has been canceled.
If you are managing multiple teams in your account, make sure to give each one a unique name to easily identify them.
Managing Projects
As a team member, you can manage all public and private projects. This includes changing a public project to a private project or archiving it. Learn more about projects.
Deleting Prototypes
Members of either public or private projects can delete any prototypes that have been created by either themselves or others within the project.
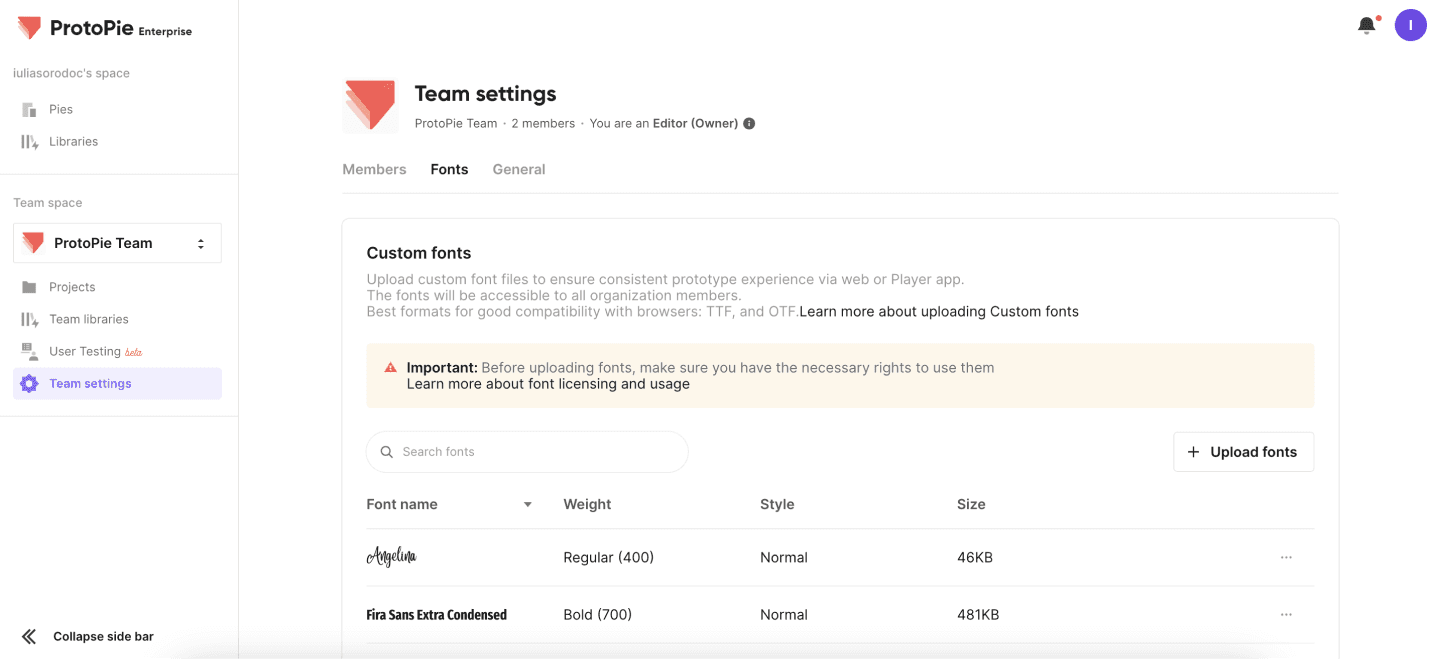
Managing Fonts
Available in the Enterprise plan only.
Uploading Custom Fonts to ProtoPie Cloud
To upload custom fonts to ProtoPie Cloud, both team admins and the team owner can follow these simple steps. We support font file formats such as TTF and OTF.
Navigate to Team settings within the team space.
Go to the Fonts section.
Click on the "Upload fonts" button, which will open the Upload fonts modal.
Add the font files by either dragging and dropping them into the modal or clicking on "upload files" to select the font files from your device.
The selected fonts will be listed for upload.
The font name, weight, and style fields will be automatically populated based on the information from the font file.
To add more fonts, click the "Add more fonts" option located in the bottom left corner of the modal.
If needed, you can remove fonts from the upload list by using the delete icon located next to each uploaded font.
Click on the "Next" button.
Take the time to carefully review and agree to ProtoPie's Terms of Service and Privacy Policy.
Finally, click the "Agree & Upload" button to add the fonts to the fonts list.
Important: Before adding new fonts, it is crucial to verify that your organization possesses the legal rights to use and distribute the custom fonts being uploaded. ProtoPie cannot be held responsible for font licenses and their usage.
Removing Custom Fonts from ProtoPie Cloud
The team owner and team admins can easily remove custom fonts from the fonts list by following these steps:
Navigate to Team settings and access the Fonts section.
Locate the custom font you want to delete and open the three-dot menu next to it.
Select the "Remove" option to remove the font from the list.