The ProtoPie Studio Interface
ProtoPie Studio has a straightforward interface that you can easily navigate. This page provides more details about its key components.
Are you already familiar enough with the interface? Learn more about making your first prototype!
Dashboard
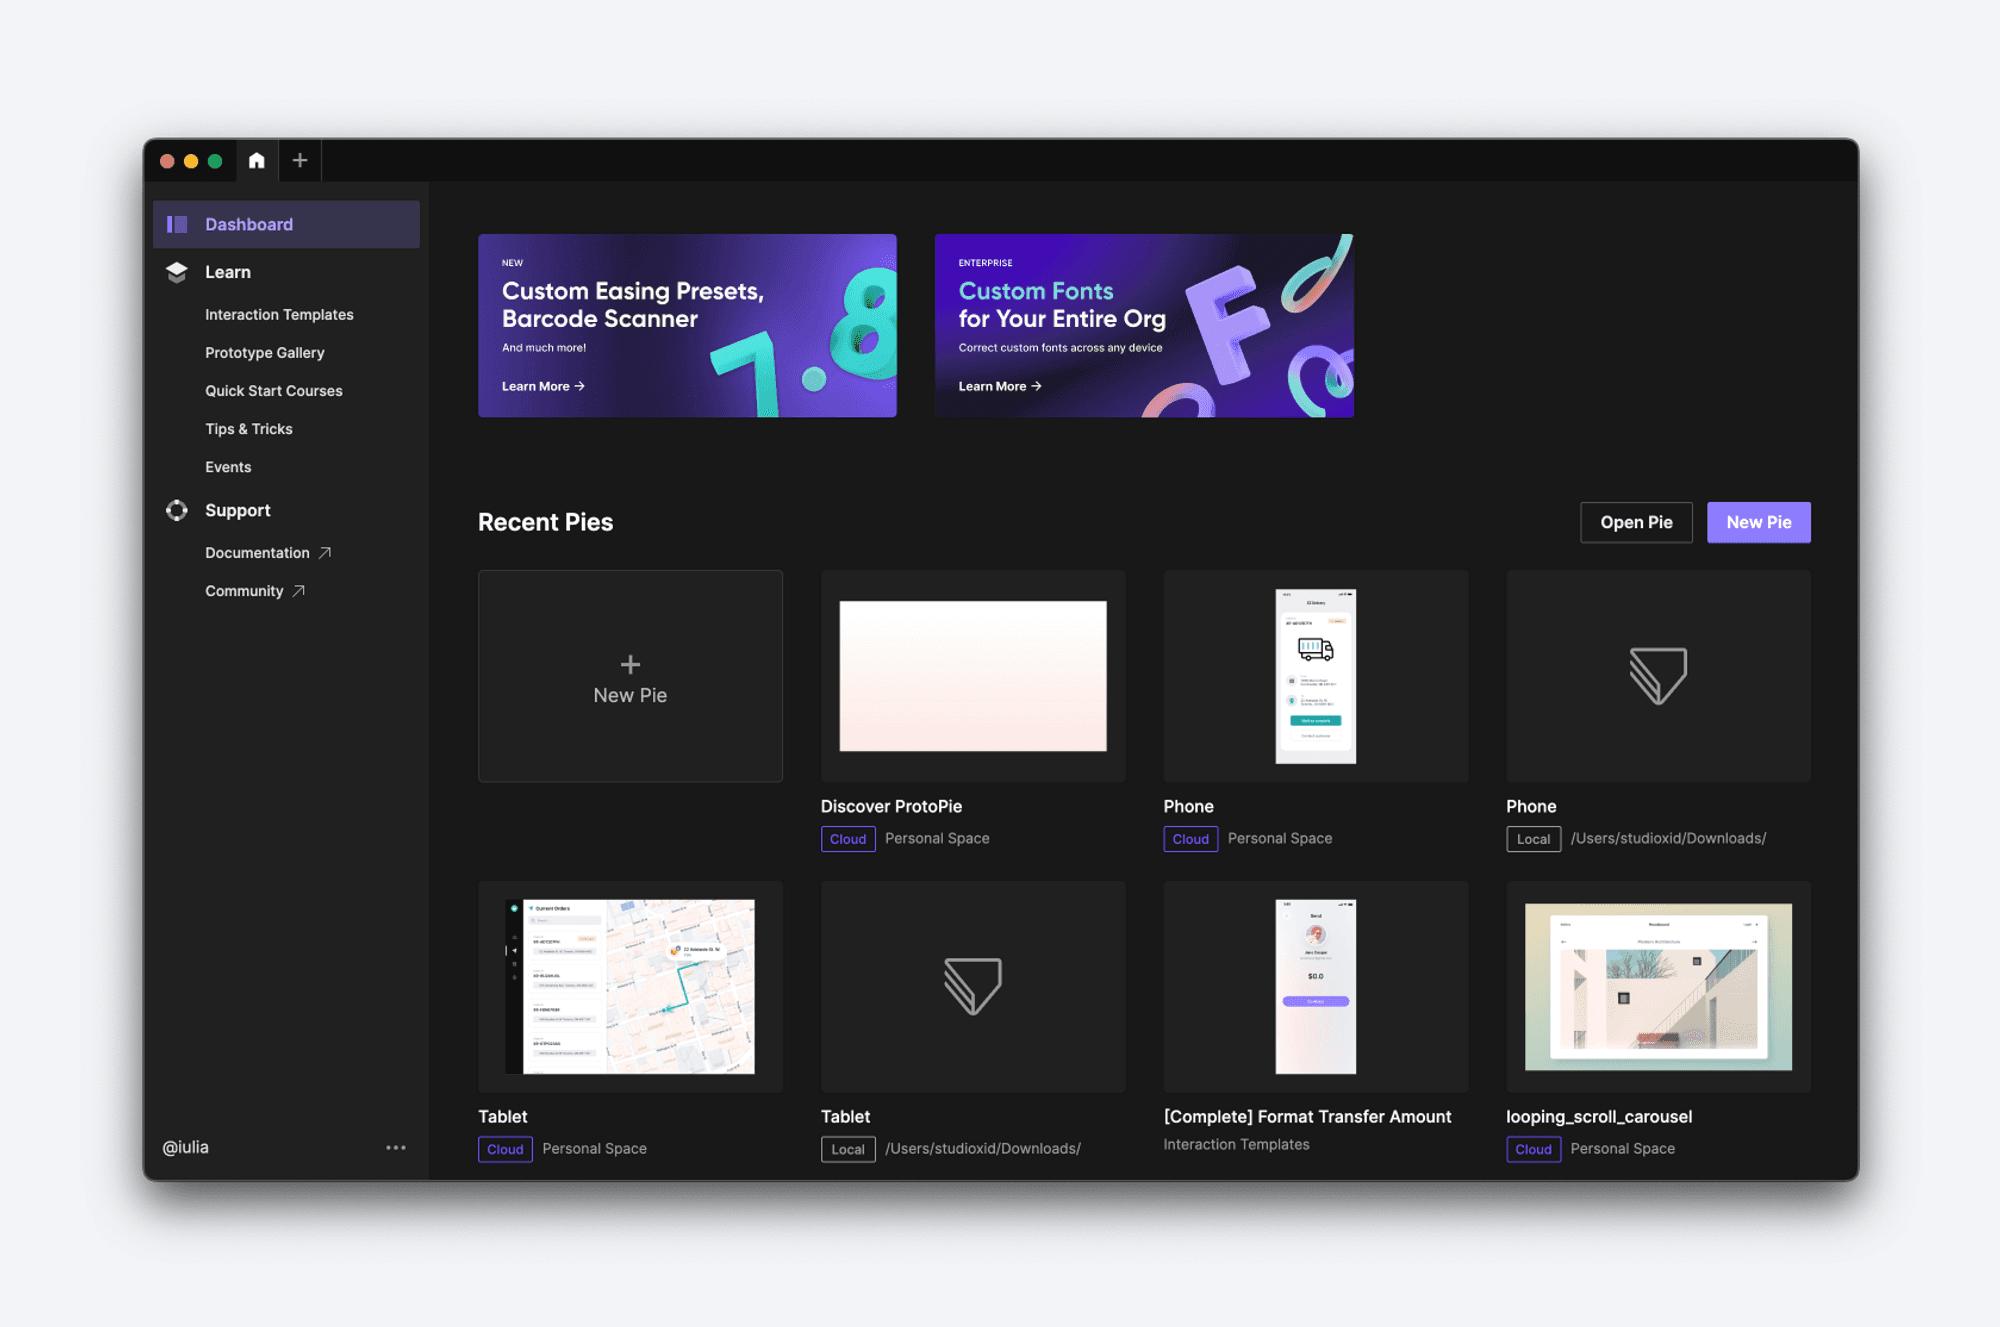
After logging into ProtoPie Studio, the dashboard will welcome you. You can view your recent prototypes (Pies), create new ones, and access local or cloud-based Pies.
Recent Pies: Easily locate and open your recently accessed prototypes under the Recent Pies section. This allows for quick access to your ongoing projects.
Delete: If you select this option, the Pie will be permanently deleted from your computer or the cloud page.
Remove from Recent: If you wish to remove the Pie from your list of recently viewed Pies, select the "Remove from Recent" option.
Open Pie: ProtoPie Studio offers multiple ways to open your prototypes. You can open prototypes directly from the ProtoPie Cloud or access local .pie files saved on your computer. Learn more about opening Cloud Pies in ProtoPie Studio.
New Pie: To begin creating a new Pie, select one of the two available New Pie buttons. You can also find more information on how to make your first prototype.
Learn
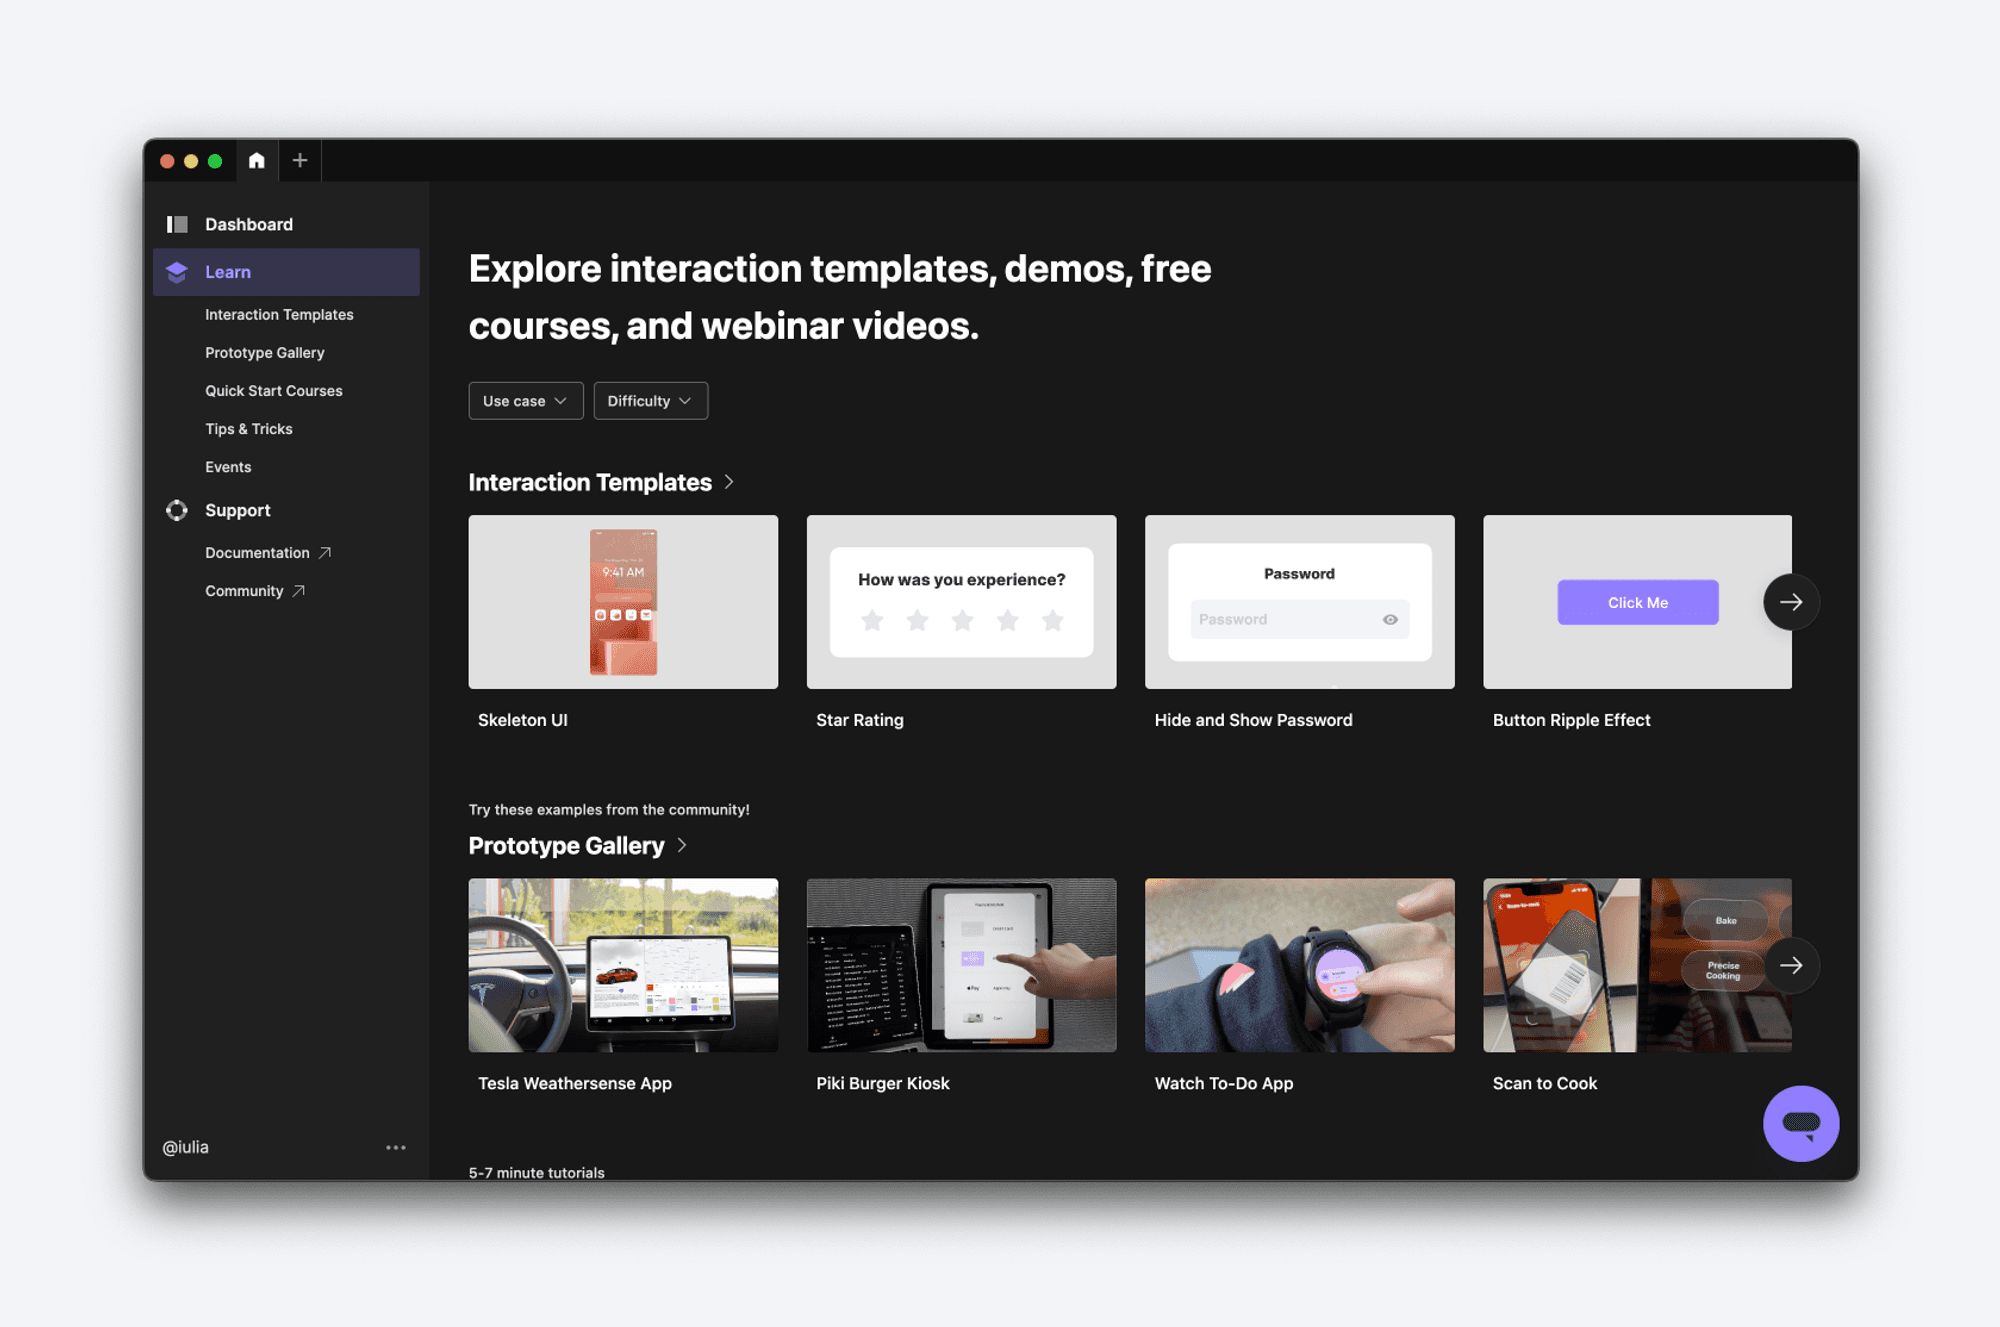
Explore the** Learn** tab in ProtoPie Studio, where you can find the best learning materials for ProtoPie. Once you log in, you'll find a lot of helpful resources to get you started on your prototyping journey, including:
Interaction Templates: Open interaction templates directly in ProtoPie. See how their interactions were made, or reuse them.
Prototype Gallery: Explore and find inspiration from the prototypes created by other ProtoPie users.
Quick Start Courses: 5-7 minute tutorials on essential features to help you become a pro.
Tips & Tricks: The help you need on your journey to becoming a true ProtoPie expert.
Events: Catch up on ProtoPie’s live events. Learn best practices and industry trends from ProtoPie experts and customers.
Support
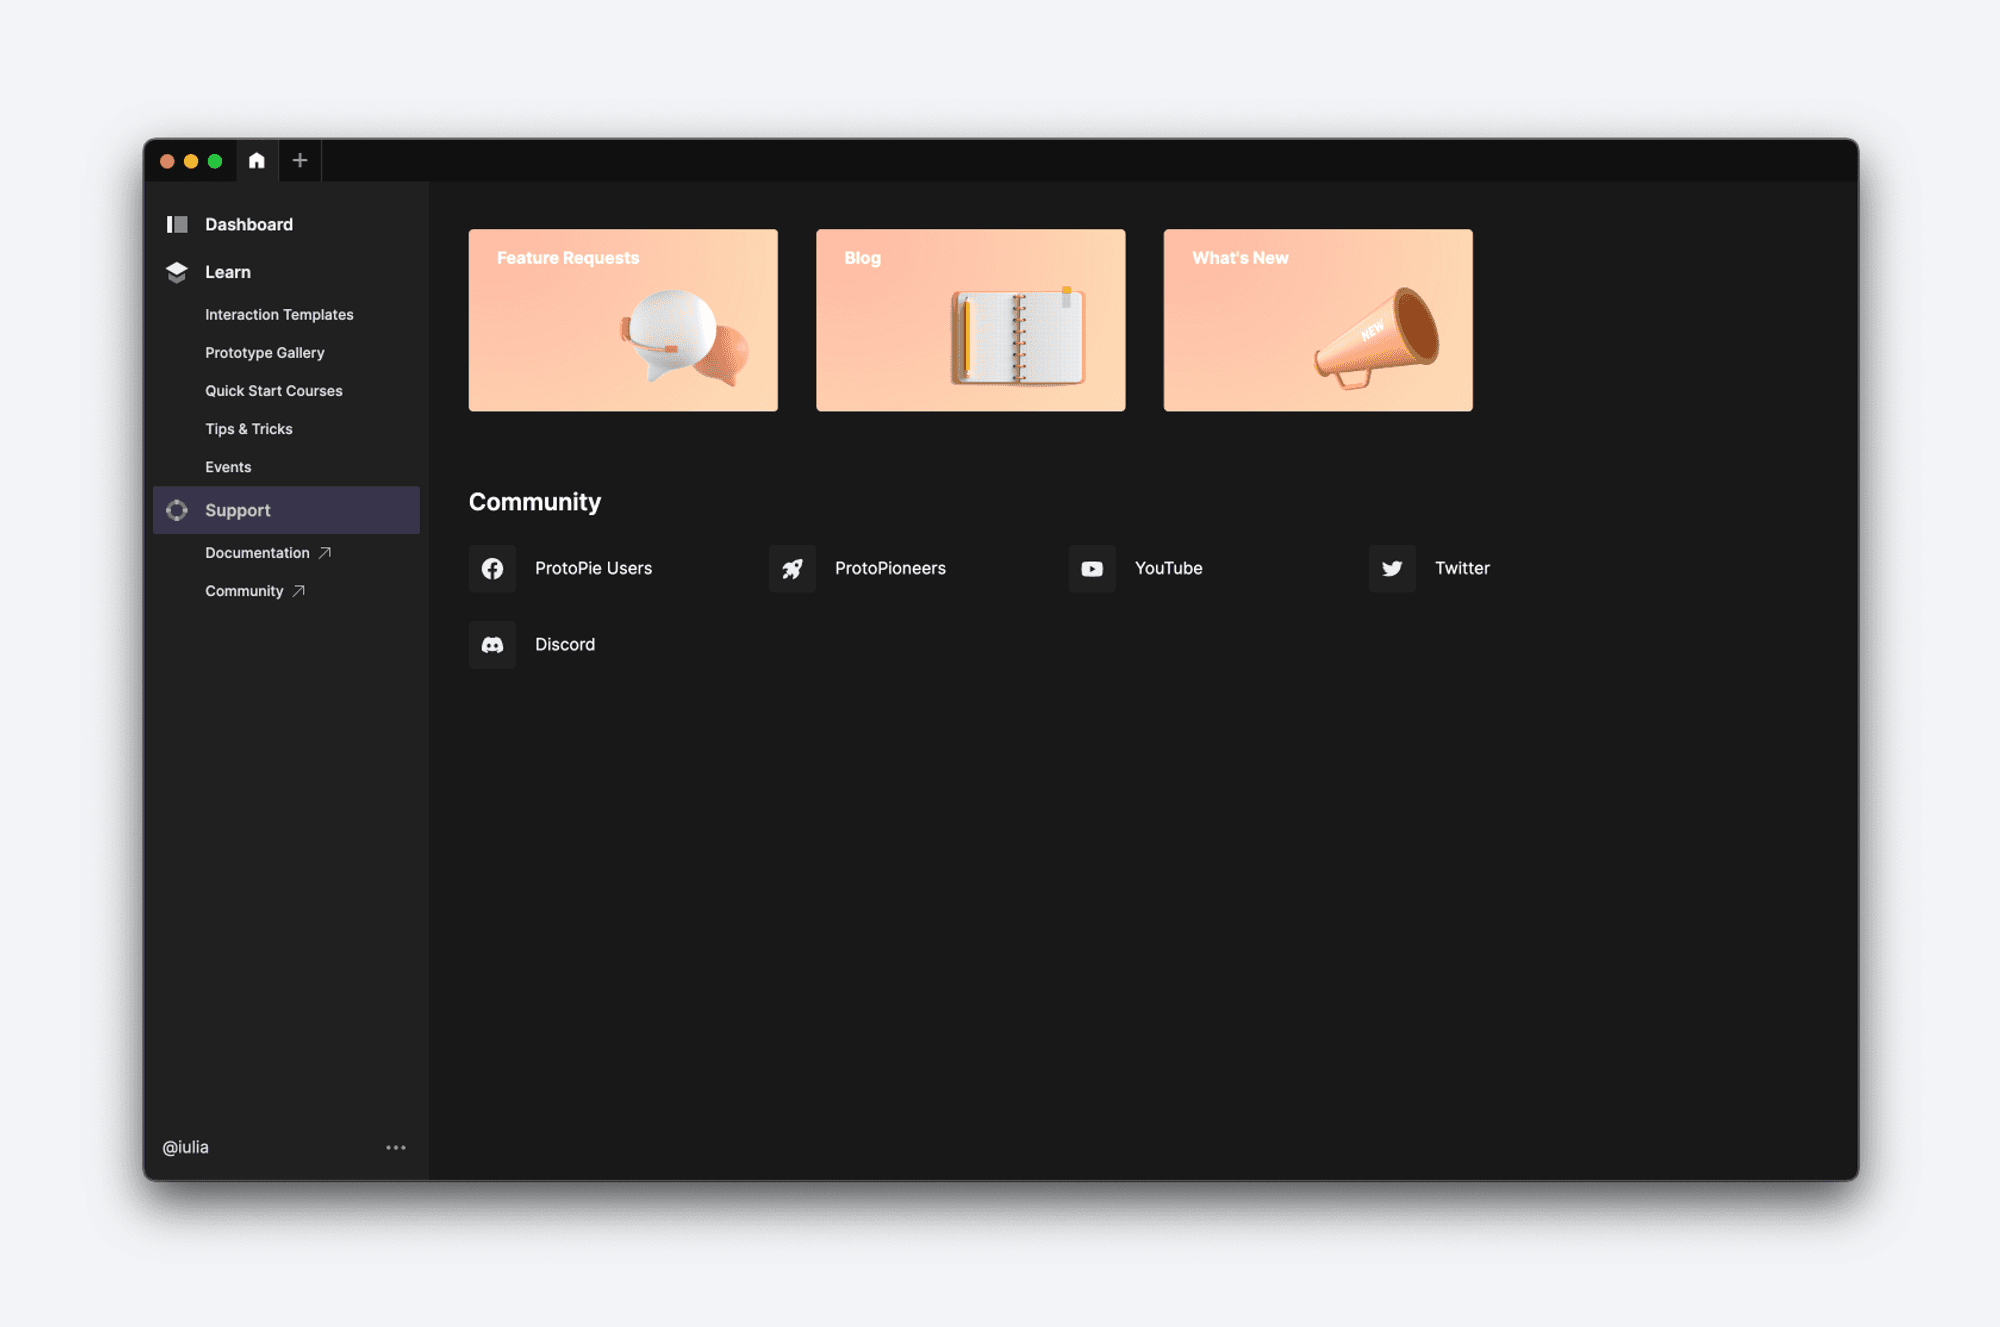
Need help or have feedback for us? Visit our blog, read our dedicated documentation, submit or upvote feature requests, or join our ProtoPioneers community to learn from other ProtoPie users.
Prototyping in ProtoPie Studio
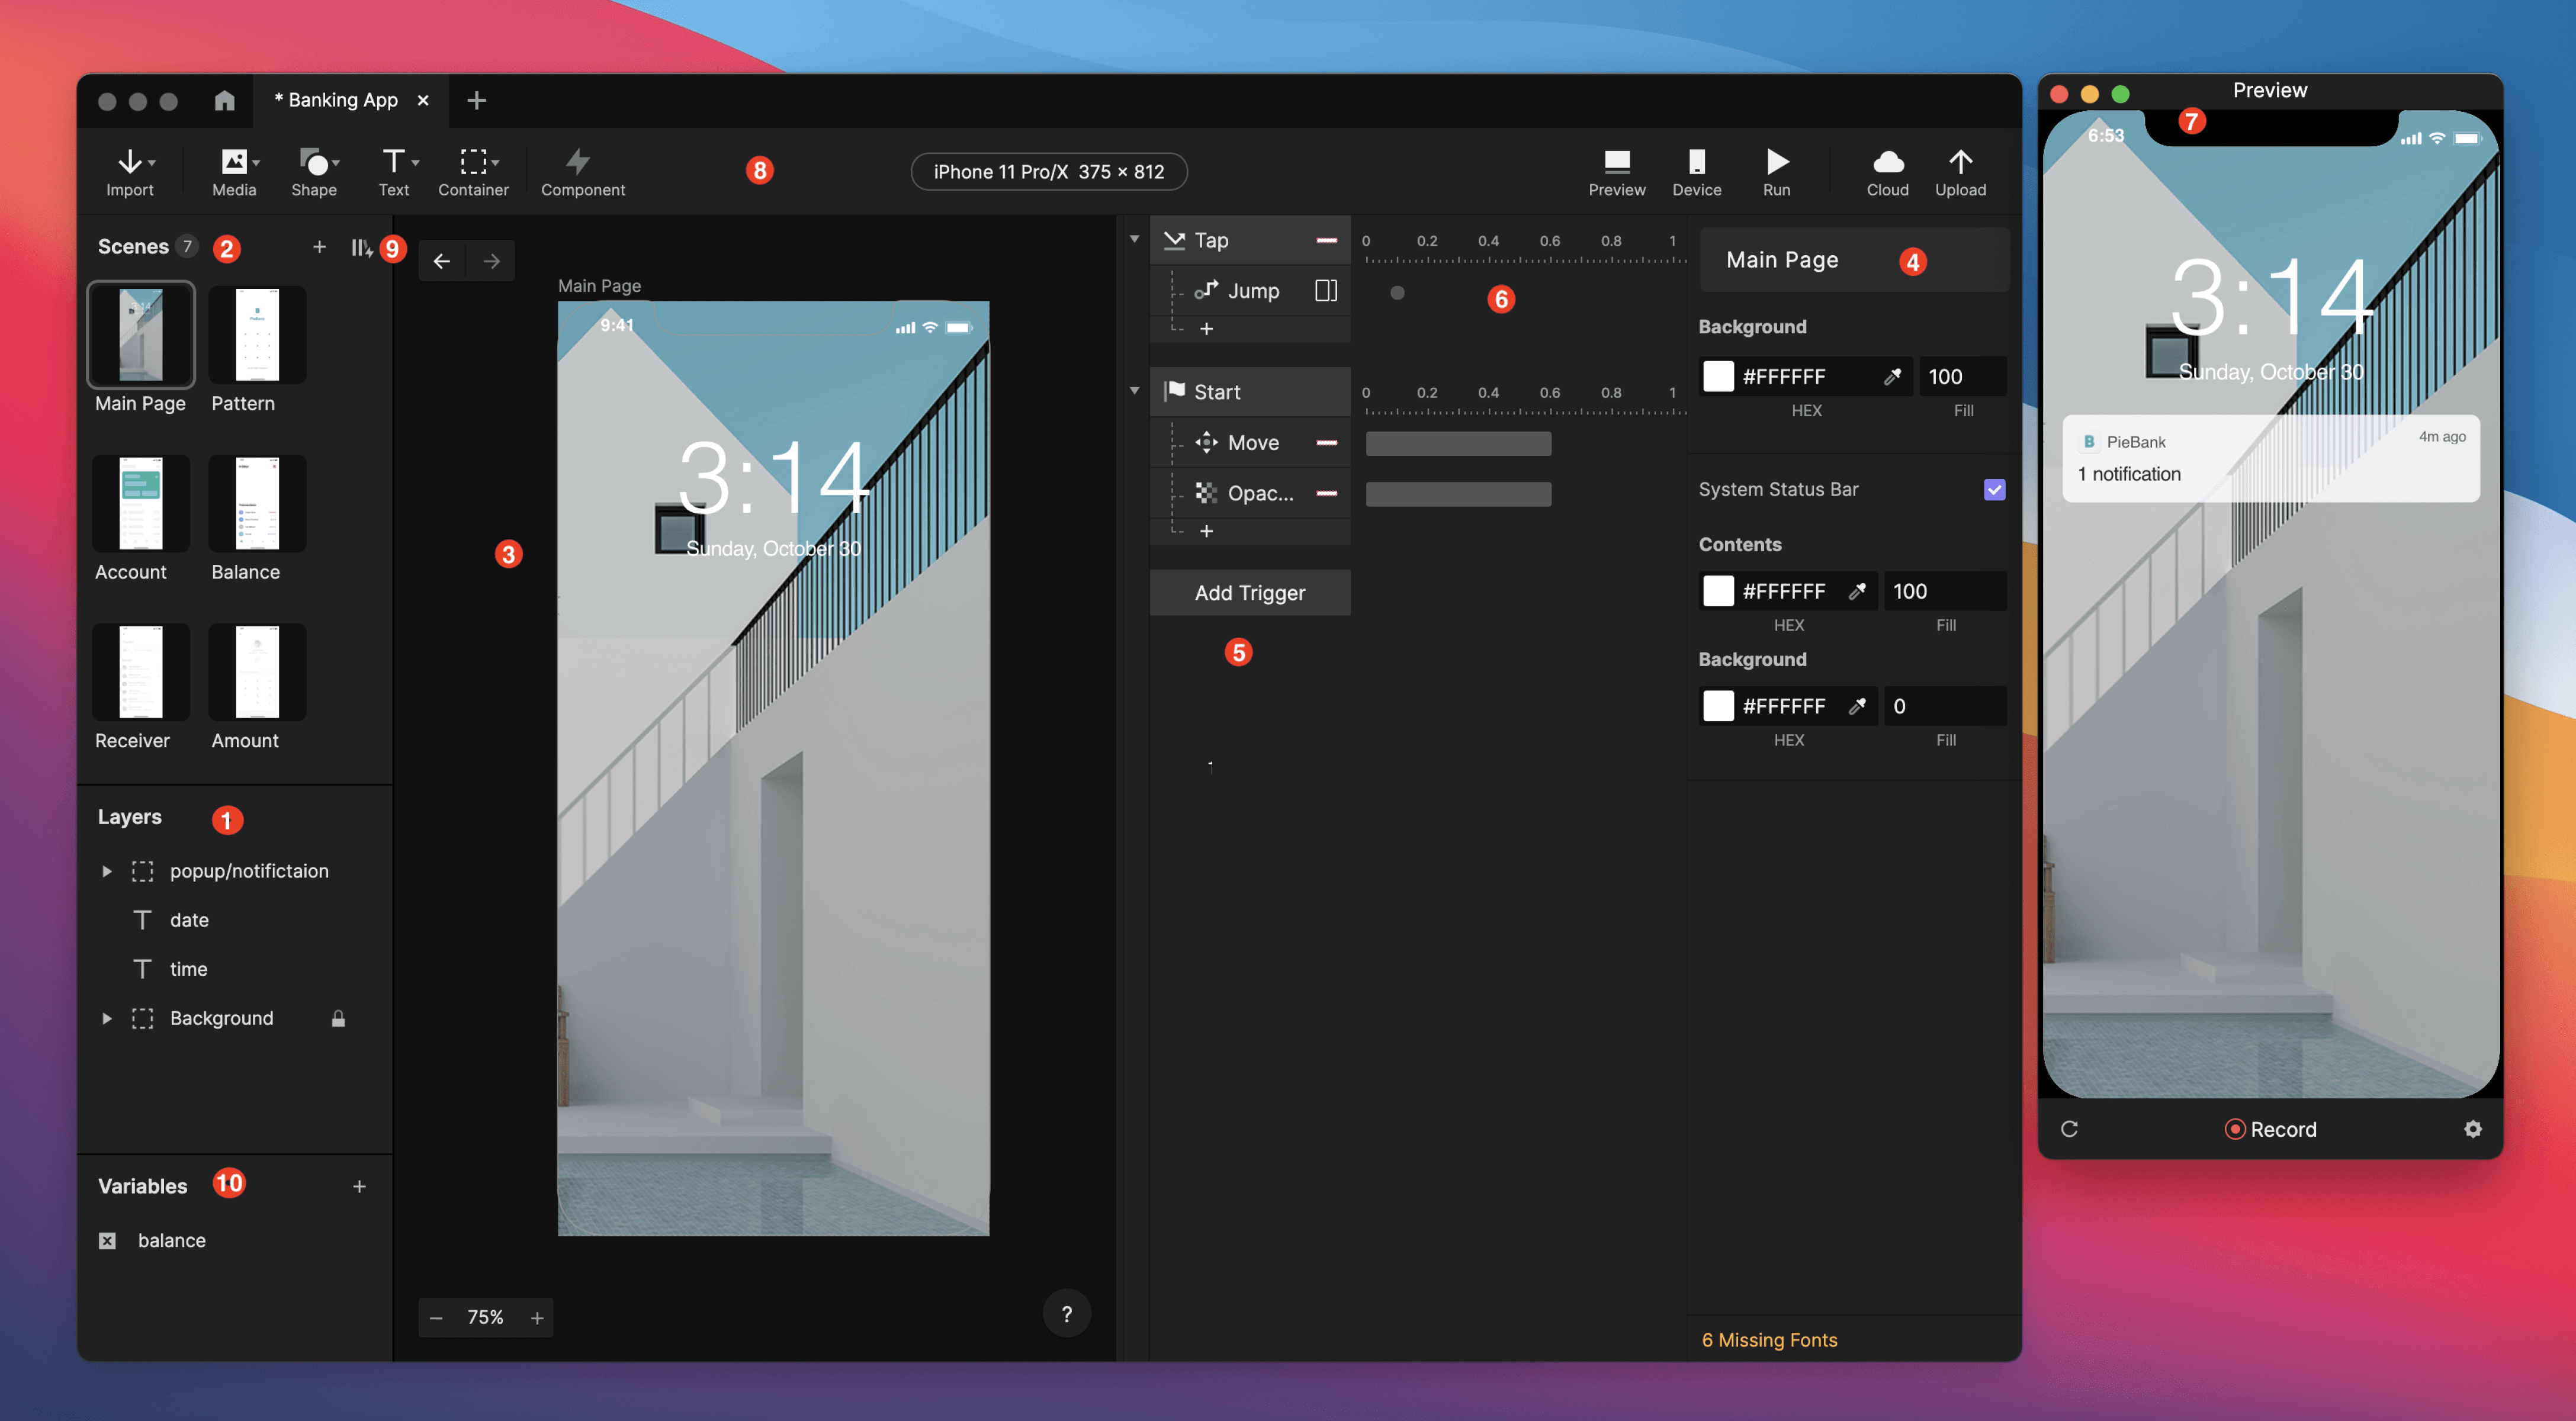
Prototypes in ProtoPie Studio open as tabs, similar to pages in web browsers. This allows for effortless switching between prototypes, enabling you to work on multiple projects simultaneously.
1. Layer Panel
The layer panel provides an overview of all the layers within the active scene, organized based on their hierarchy. Learn more about how scenes work.
Similar to your favorite design tools, you can easily perform various actions on layers within the layer panel. These include reordering, renaming, locking, unlocking, hiding, and showing layers.
When importing designs from Figma, Sketch, or Adobe XD, the layer hierarchy remains intact, preserving the structure from the original design file. Learn more about importing your designs.
2. Scene Panel
By default, the scene panel is not visible. To access it, click on the scene panel icon located on the left side of the window.
The scene panel provides an organized view of all the scenes created within your prototype. Here, you can effortlessly navigate between scenes and adjust their order as needed. Learn more about scenes.
3. Canvas
The canvas serves as the container for your active scene and its layers. Each scene is displayed individually, allowing you to focus on one at a time.
Adding layers to the canvas can be done in several ways. You have the option to import layers from your design tool, create new ones, or add them manually. Learn more about layers.
To navigate within the canvas, you can easily pan around by holding down the spacebar and clicking and dragging on the screen.
4. Property Panel
The property panel is where you can find and adjust the properties and settings of a selected scene, layer, trigger, or response.
When selecting multiple layers simultaneously, the property panel conveniently shows their shared properties all at once.
5. Interaction Panel
Create your interactions in the interaction panel. Start by adding a trigger and pairing it with one or multiple responses.
The interaction panel displays all the interactions in a scene as a list. Unlike the layer panel, the interaction panel does not have a hierarchical structure.
Learn more about how to make interactions.
6. Timeline
It’s a visual representation of the duration, delay, and repeat properties of a selected response. The timeline reflects these properties as you edit them in the property panel.
Learn more about using the timeline.
7. Preview Window
Use the preview window to see your interactions in action. This helps you spot any errors in your interactions before you share the prototype.
By default, the preview window updates automatically when you make changes to your layers or interactions.
If you want to hide the preview window by default when opening ProtoPie Studio or switching between prototypes, toggle it off in Preferences.
8. Toolbar
The toolbar gives you quick access to frequently used actions:
Add layers.
Change the device of a prototype.
Use the preview window.
Open prototypes in ProtoPie Player.
Upload prototypes to ProtoPie Cloud.
9. Component Panel
Like the scene panel, the component panel isn't visible by default. To access the component panel, click on the component panel icon on the left side of the window. It shows all the local components and interaction libraries available in your account.
Learn more about components and interaction libraries.
10. Variable Panel
Like the scene and component panels, the variable panel isn't visible by default. To access the variable panel, click on Variables. It stores all the variables used in your active scene or across your prototype's scenes.
Learn more about variables.
Preferences
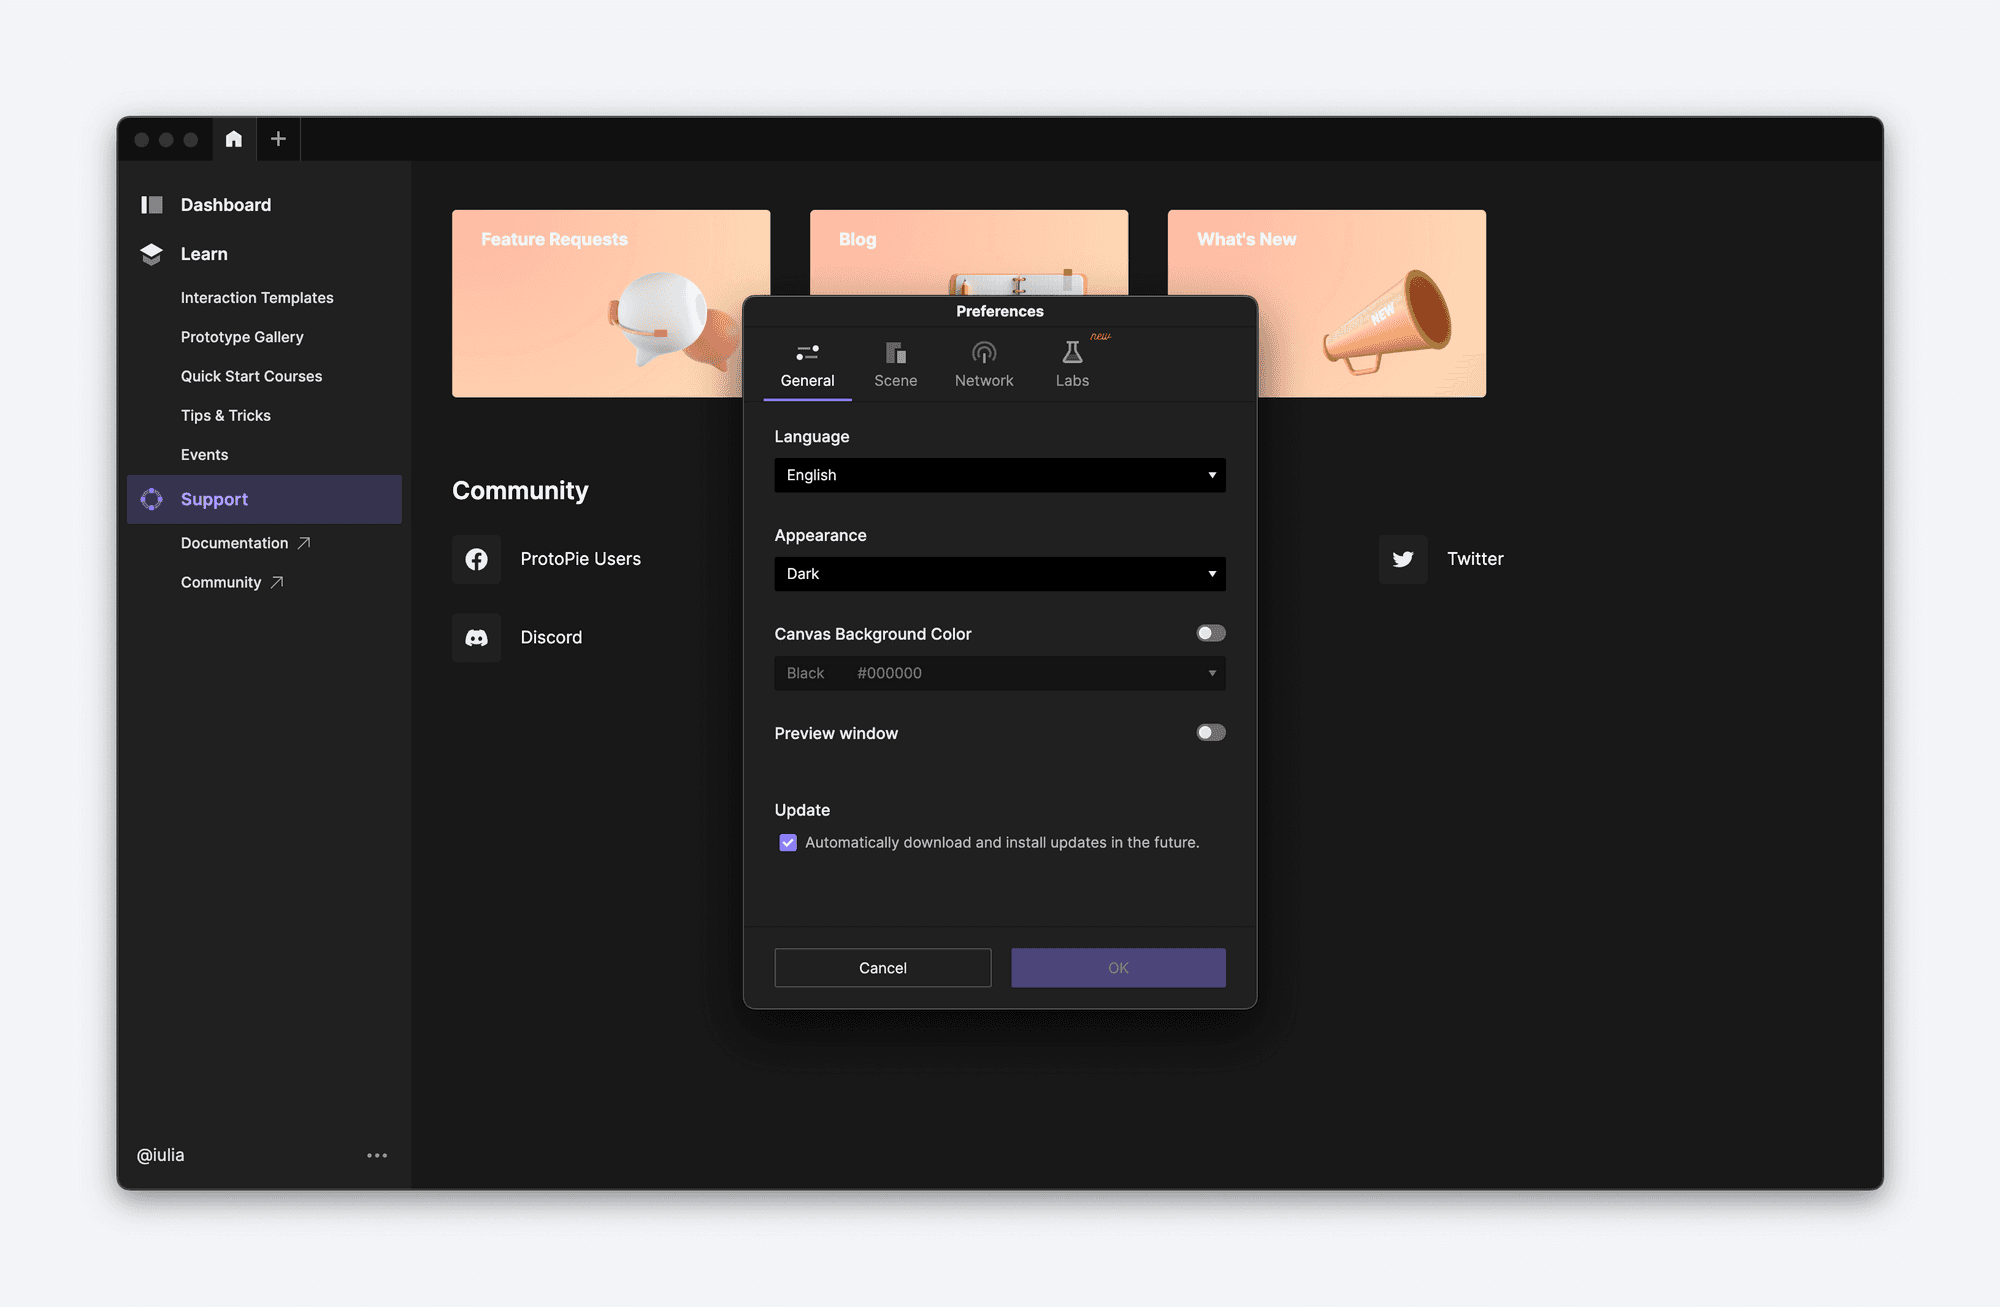
General
In this section, you can adjust the general settings of ProtoPie Studio, including language, appearance, and canvas background color. At present, ProtoPie Studio supports English, Japanese, and Chinese.
Scene
Set the default device that will be used when you first start creating a Pie. You can either select one of the default devices from the preset list or customize your own. Learn more about the supported devices inside ProtoPie Studio.
Network
The Proxy settings in ProtoPie Studio are initially set to 'No Proxy'. If your company uses a proxy server, please refer to these guidelines for instructions on configuring your proxy settings to work with ProtoPie.
Labs
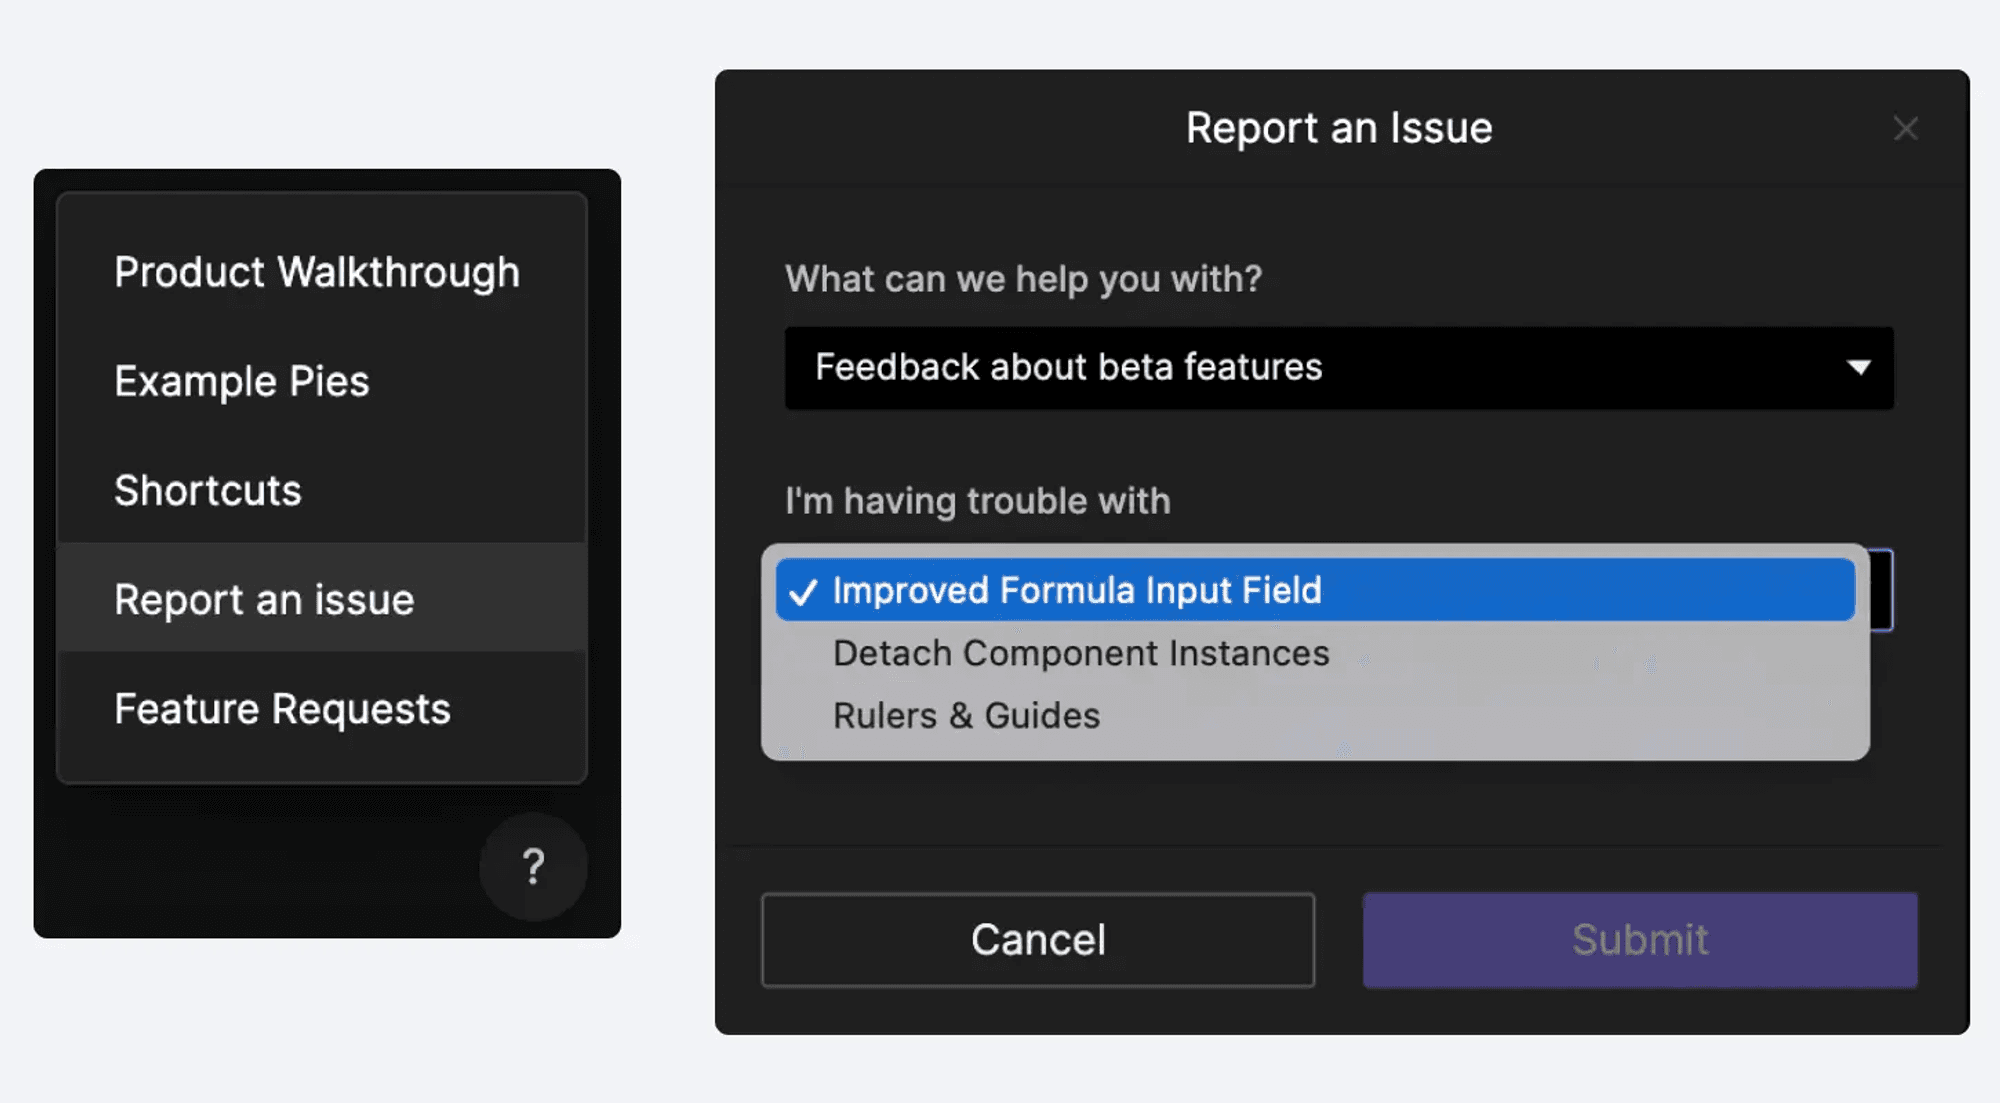
Test our latest beta features by enabling them in Labs. If you have any feedback regarding the beta features, you can easily do so from within ProtoPie Studio by filling out the ‘Report an issue’ form.
Alternatively, you can join our ProtoPioneers community and share your thoughts there.