Using the Haptics (for Windows) Plugin in ProtoPie Connect
Haptics (for Windows) is a ProtoPie Connect plugin that brings real haptic feedback into your prototypes, powered by the Windows Haptics API.
There's no need to write JSON or reference device specs manually. Just select a waveform and customize the intensity, duration, count, and interval to get feedback that feels just right.
With this plugin, you can:
Customize haptic feedback visually. Create and customize haptic responses directly in the plugin UI without writing code.
Use a variety of haptic devices with ease. The UI automatically adapts to your target device's capabilities.
Test and iterate early. Feel each haptic response immediately in Connect without upfront technical setup or the need to create a Pie first.
Prerequisites
Before using the plugin, make sure your environment meets these requirements:
Device support: Refer to the Microsoft Supported Device Database to confirm your device supports Windows Haptics.
Logitech MX Master 4: Requires a firmware update via Logi Options+ to enable Windows Haptics support.
Getting Set Up
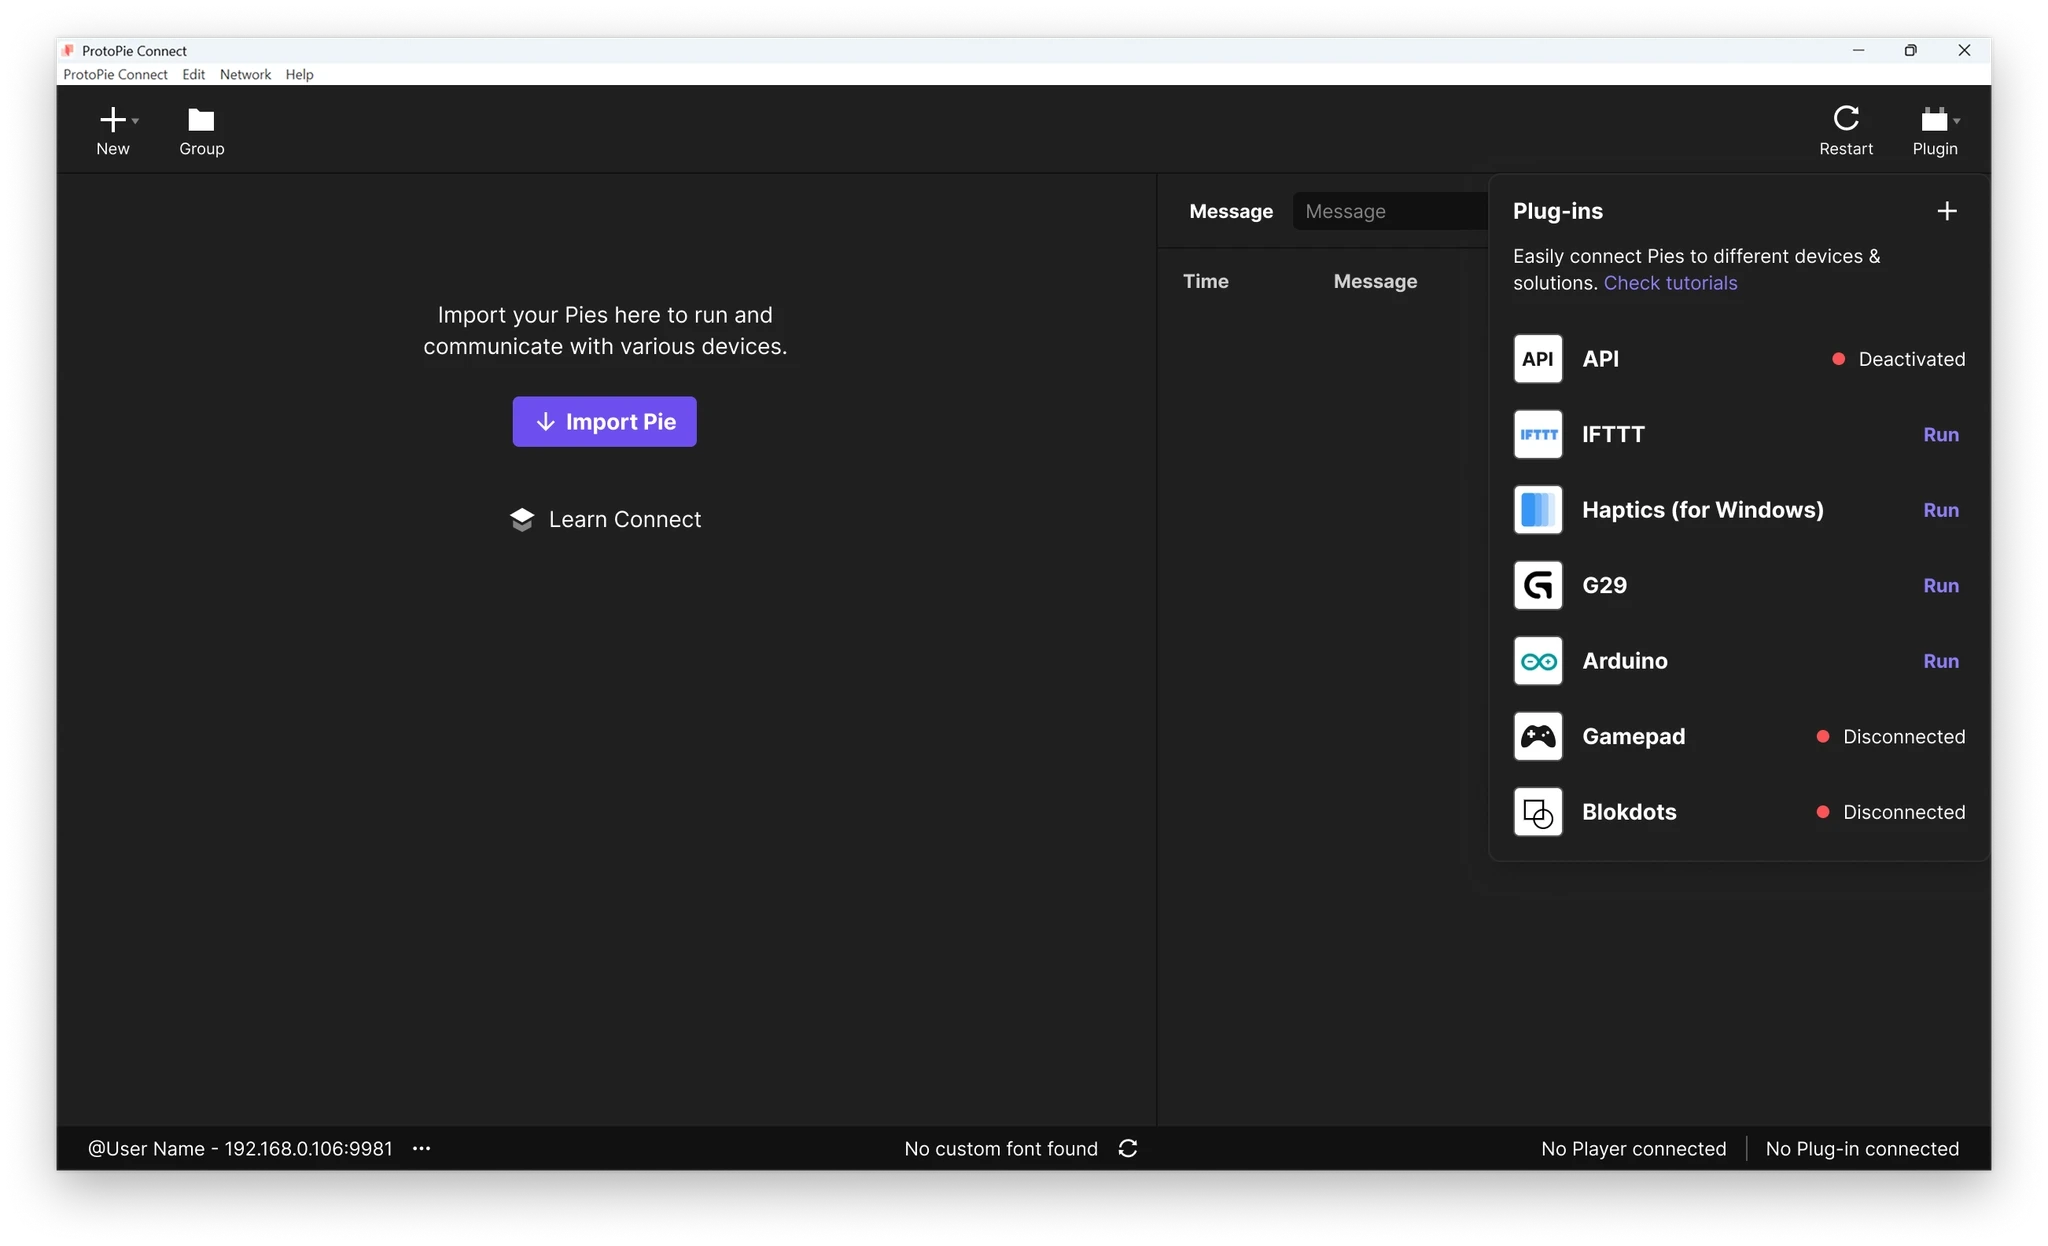
1. Open the Haptics plugin in ProtoPie Connect.
In the Plug-ins panel, select Haptics (for Windows) to open the Haptics Settings panel.
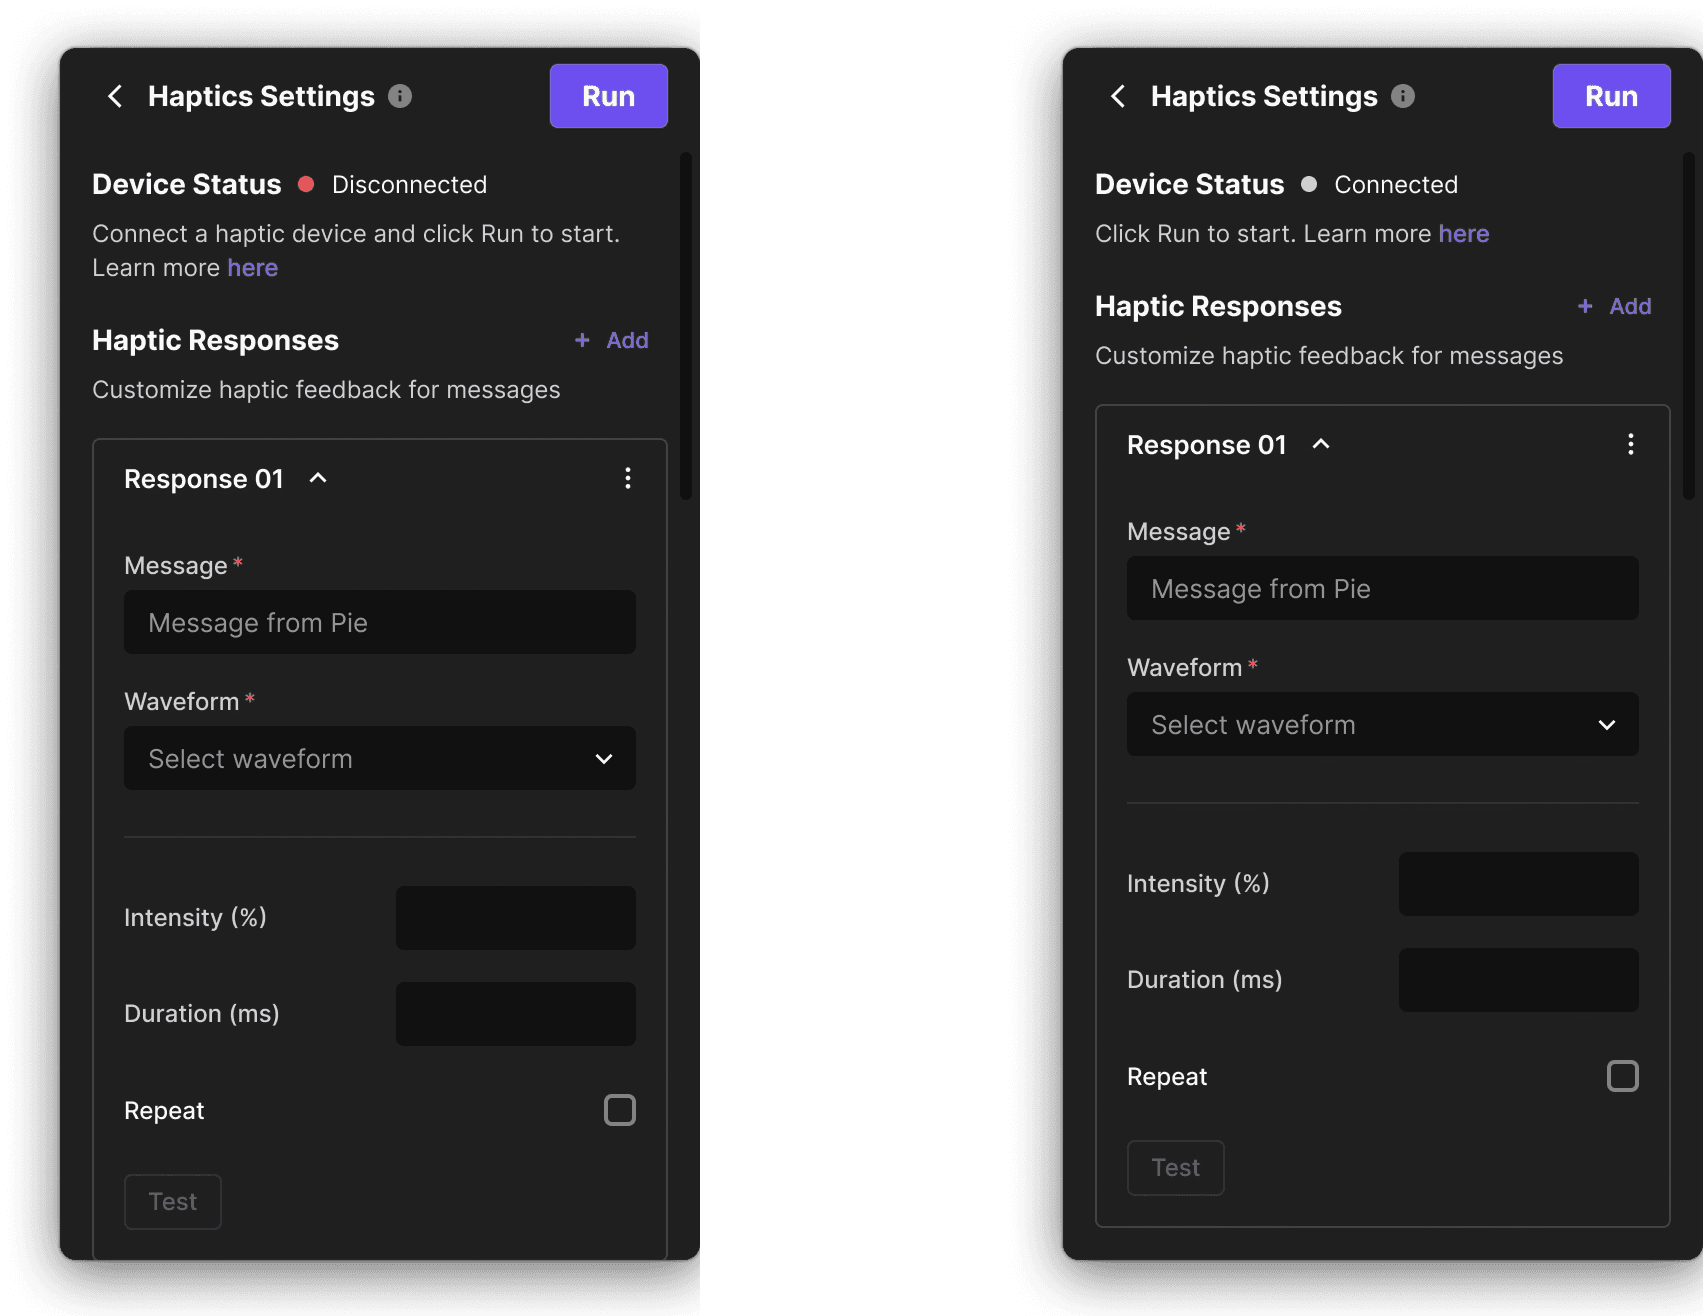
2. Connect your haptic device.
Connect a supported haptic device to your computer. Once it's detected, Device Status changes from Disconnected to Connected.
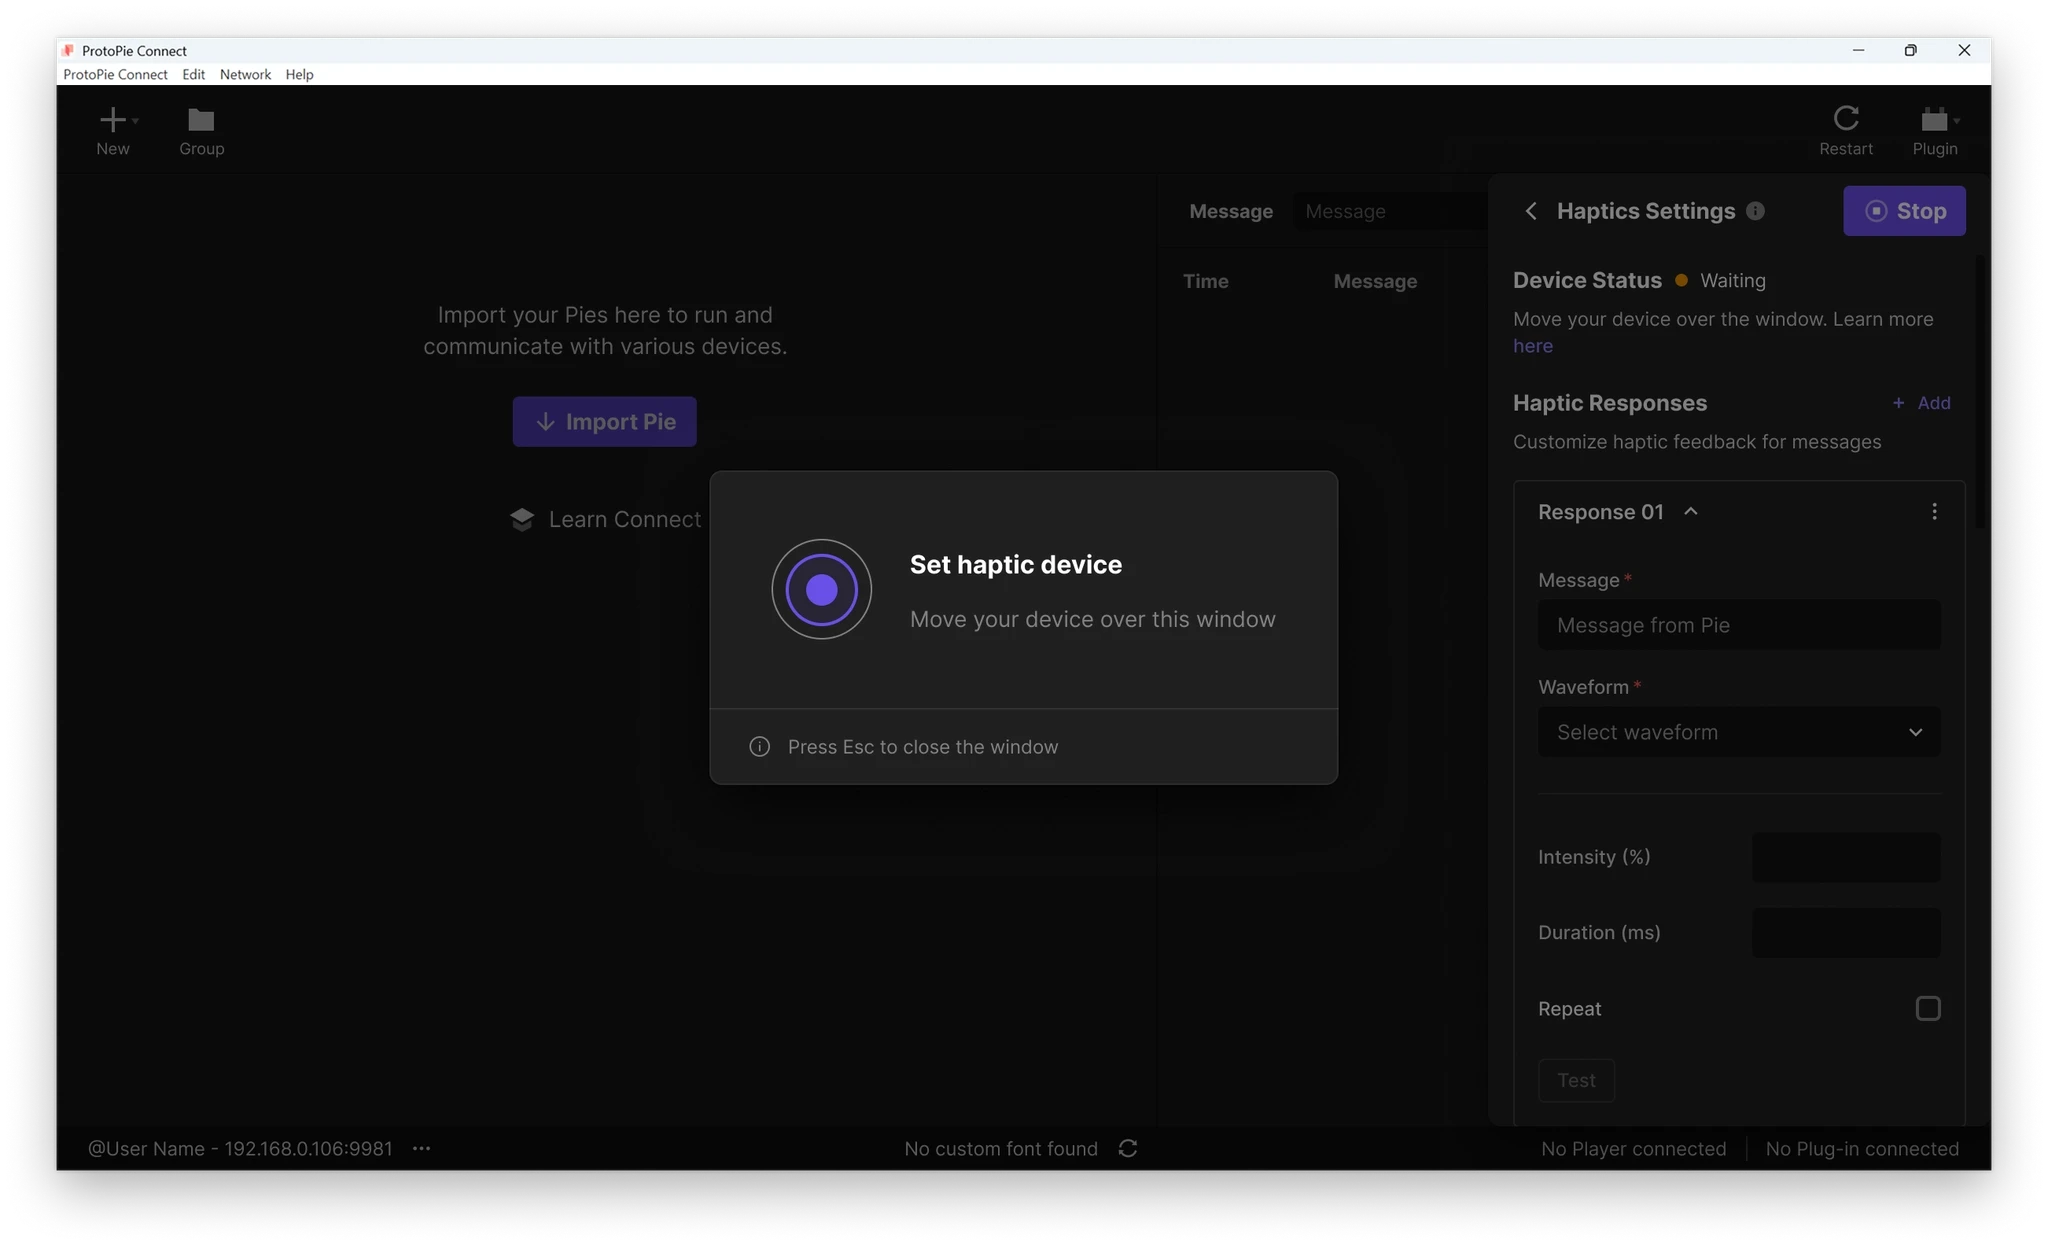
3. Set the target device.
Once you click Run, the plugin starts and an arming window appears. Move your haptic device over the arming window to set it as the target device. Once the device is set, the arming window closes automatically and the plugin is ready for haptics.
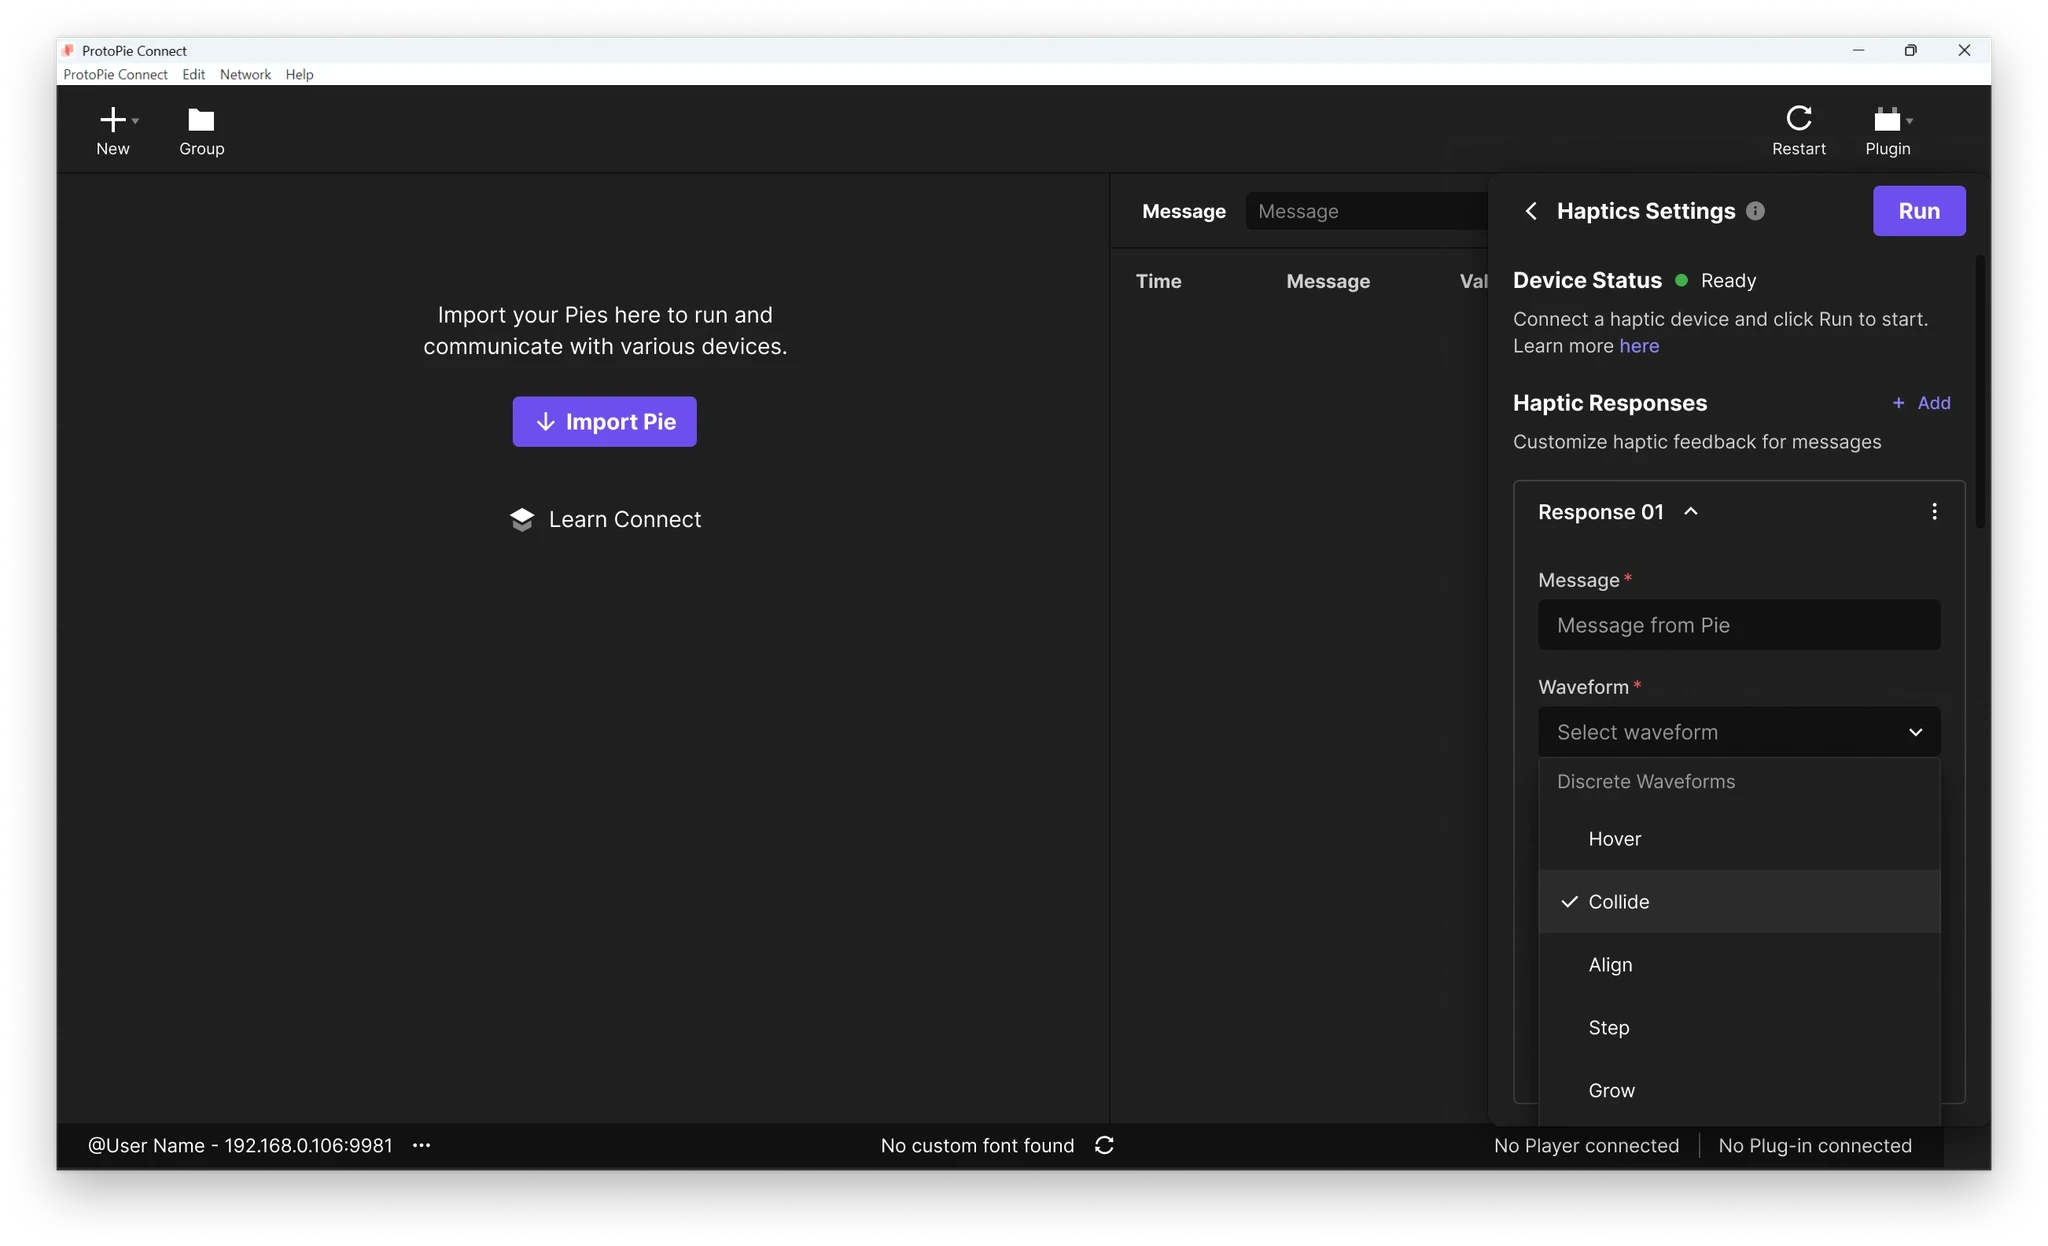
4. Configure a haptic response.
Enter a Message to trigger the response from Studio, choose a Waveform, and adjust the available parameters.
5. Test the response.
Click Test to feel each haptic response immediately in Connect. A valid configuration plays the feedback on the target device. An invalid configuration surfaces an error instead.
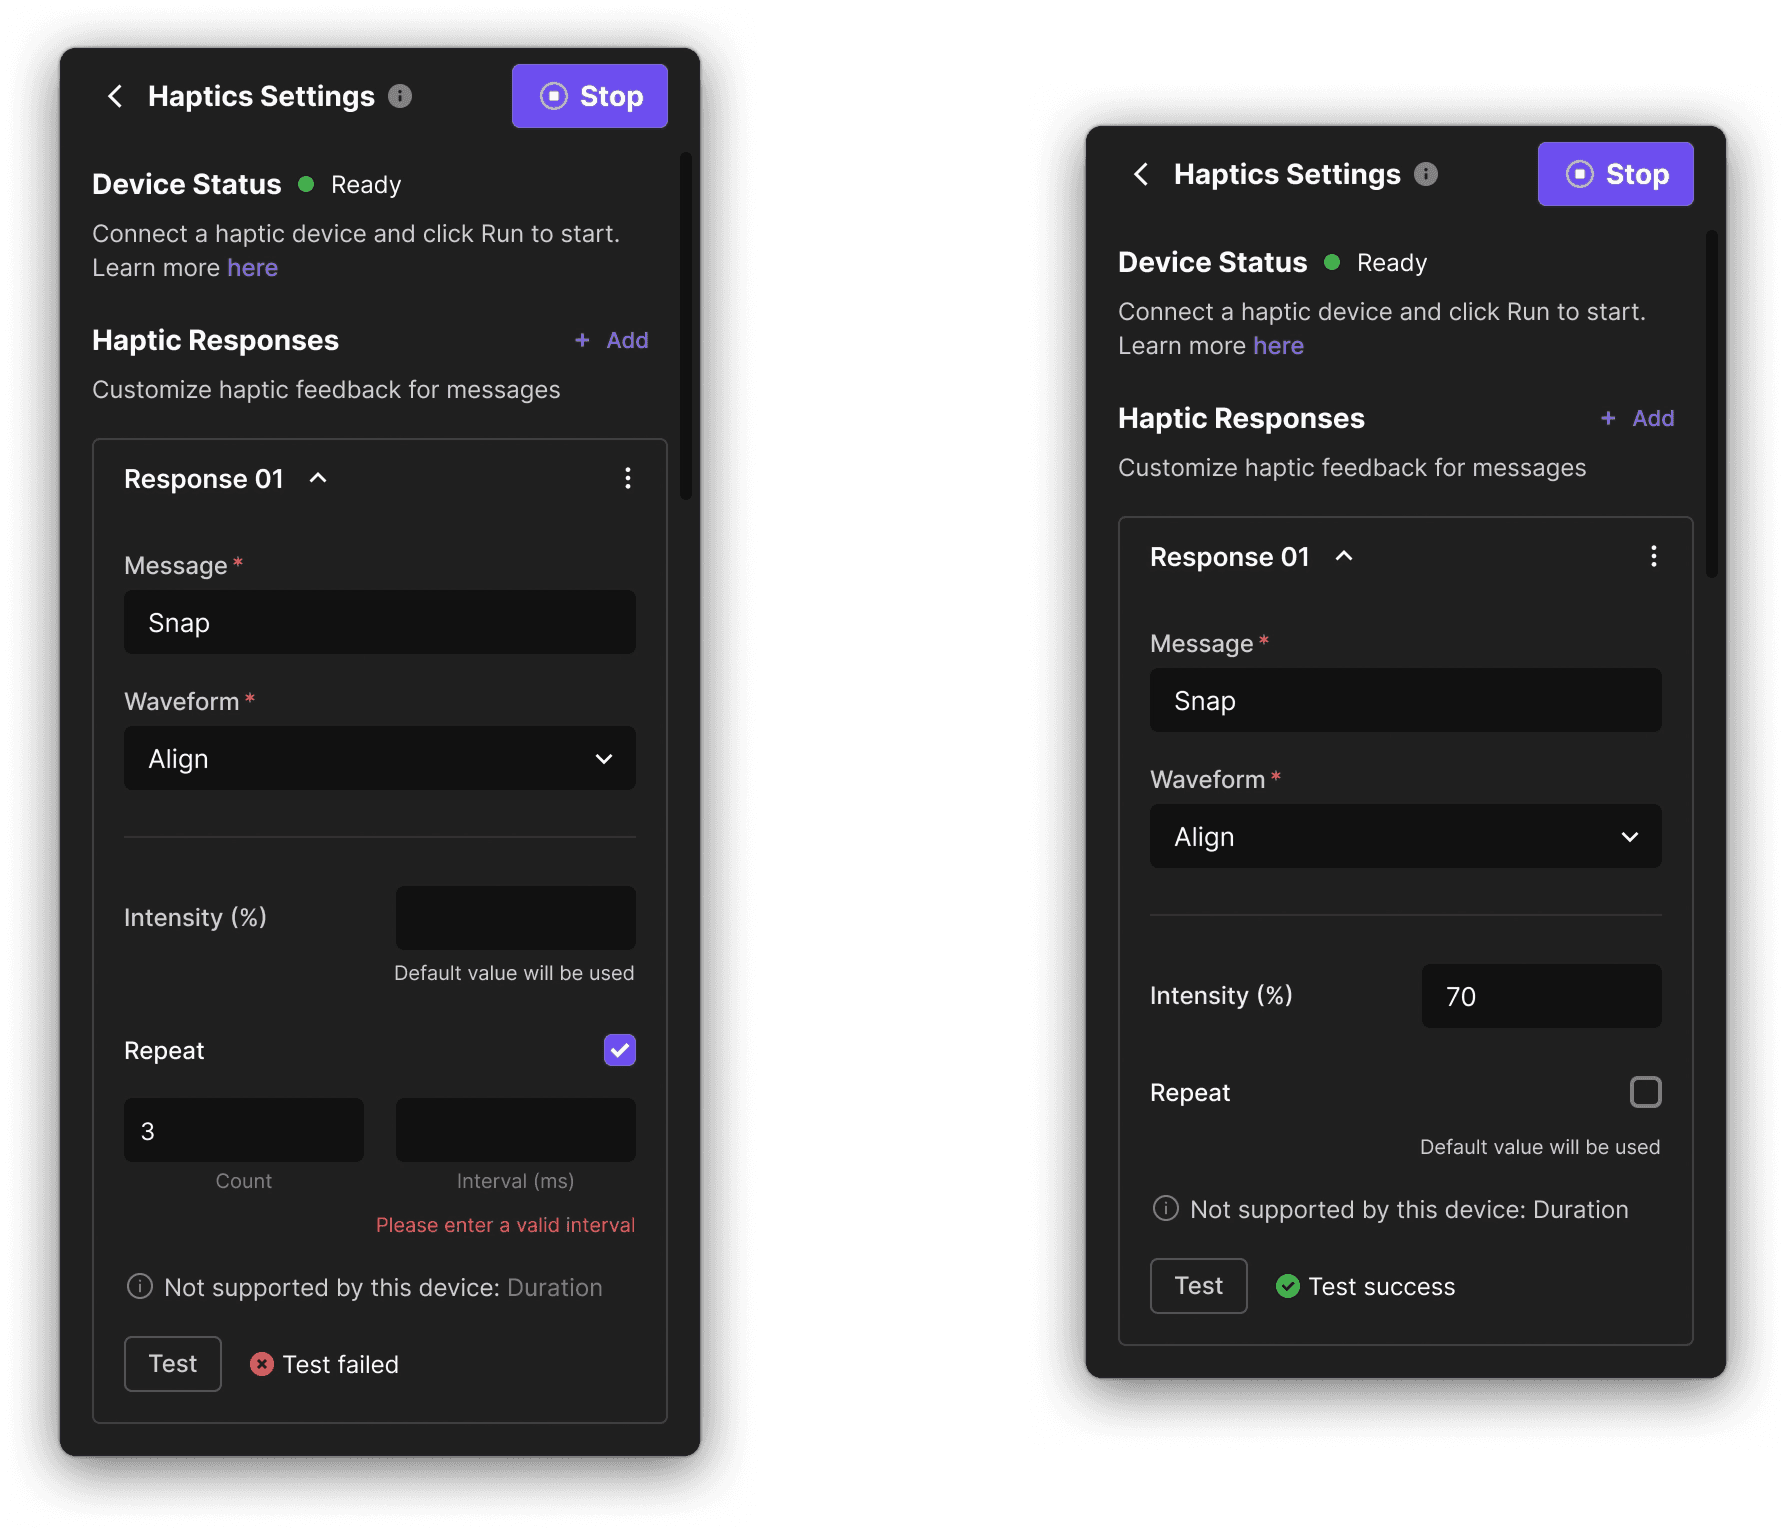
6. Trigger the response from your Pie.
In ProtoPie Studio, add a Send response using the ProtoPie Connect/Studio channel and enter the same message configured in Connect. When the prototype runs in ProtoPie Connect, the corresponding haptic response plays on the target device.