

You want to create believable camera interactions? In this tutorial, we'll show you how to prototype them in just a few clicks!
Take a look at the demo video to see what incredible prototypes you can create using camera interactions.
Got inspired? Follow along with the tutorial below to get started prototyping your own camera interactions.
Overview
What you'll need
What you'll learn
How to prototype a camera interaction
Step 1: Create the Camera Layer
Step 2: Start the Camera
Step 3: Preview!
Step 4: Add the Interaction
That's it! your camera interaction is ready!
Learn more about camera interactions
Explore more prototyping lessons
Learn more on ProtoPie School
What you'll need
If you aren't using ProtoPie yet, then go ahead and download ProtoPie Studio for free.
Next, download the Pie file below to create this prototype by yourself.
You'll also need your phone handy, as we'll preview our interactions on the actual device itself. If you haven't already, make sure you've got the ProtoPie Player app installed which allows you to preview and test your prototypes directly on the device:
What you'll learn
At the end of this tutorial, you'll know how to:
Create a camera layer
Start the camera
Create interactions with features such as taking a picture and switching between the front and rear cameras using the Camera Response
Previewing the interaction on your phone
Animate the experience to improve feedback and feel
Time to complete: ≤15 minutes
How to prototype a camera interaction
Step 1: Create the camera layer
Let's get started! First, open the starting Pie file you downloaded above in ProtoPie Studio:
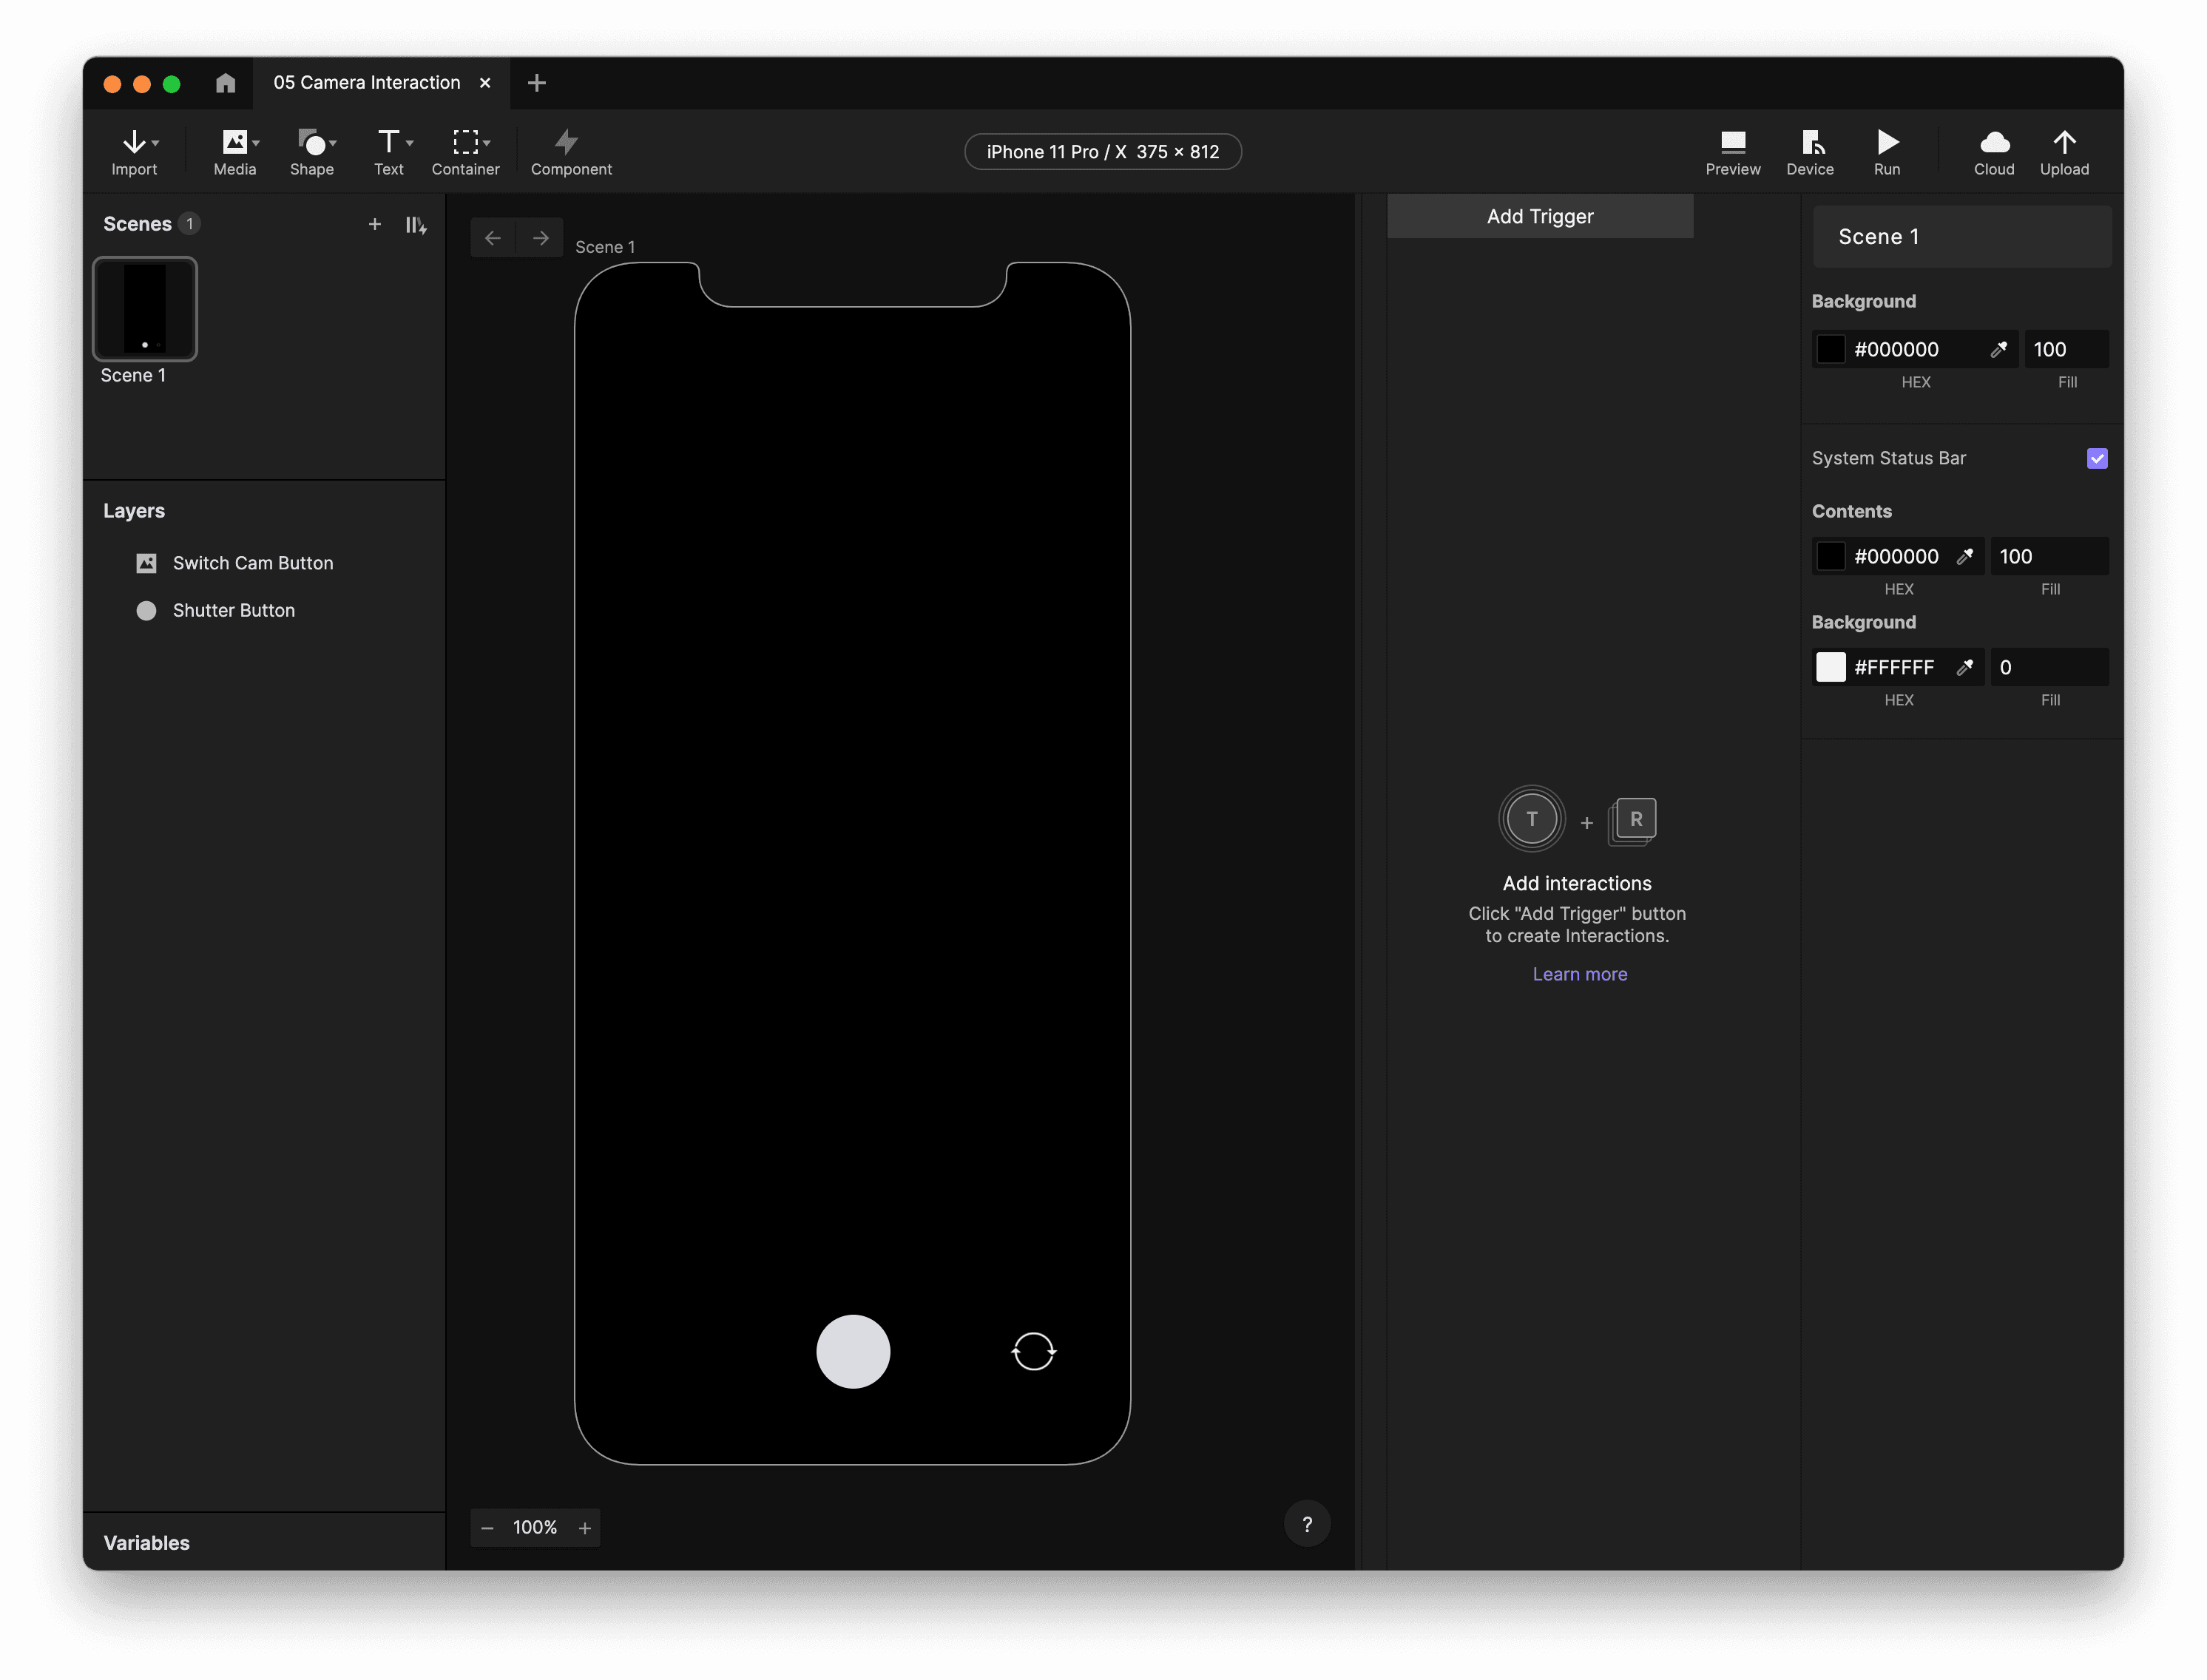
The beginnings of a camera app interface is already created for you.
Let's create a new Camera layer.
Under the Media menu, choose Camera.
Your mouse cursor will change to a crosshair icon. Draw your Camera layer in your scene.
If you haven't done so already, resize the Camera layer to fill the entire screen.
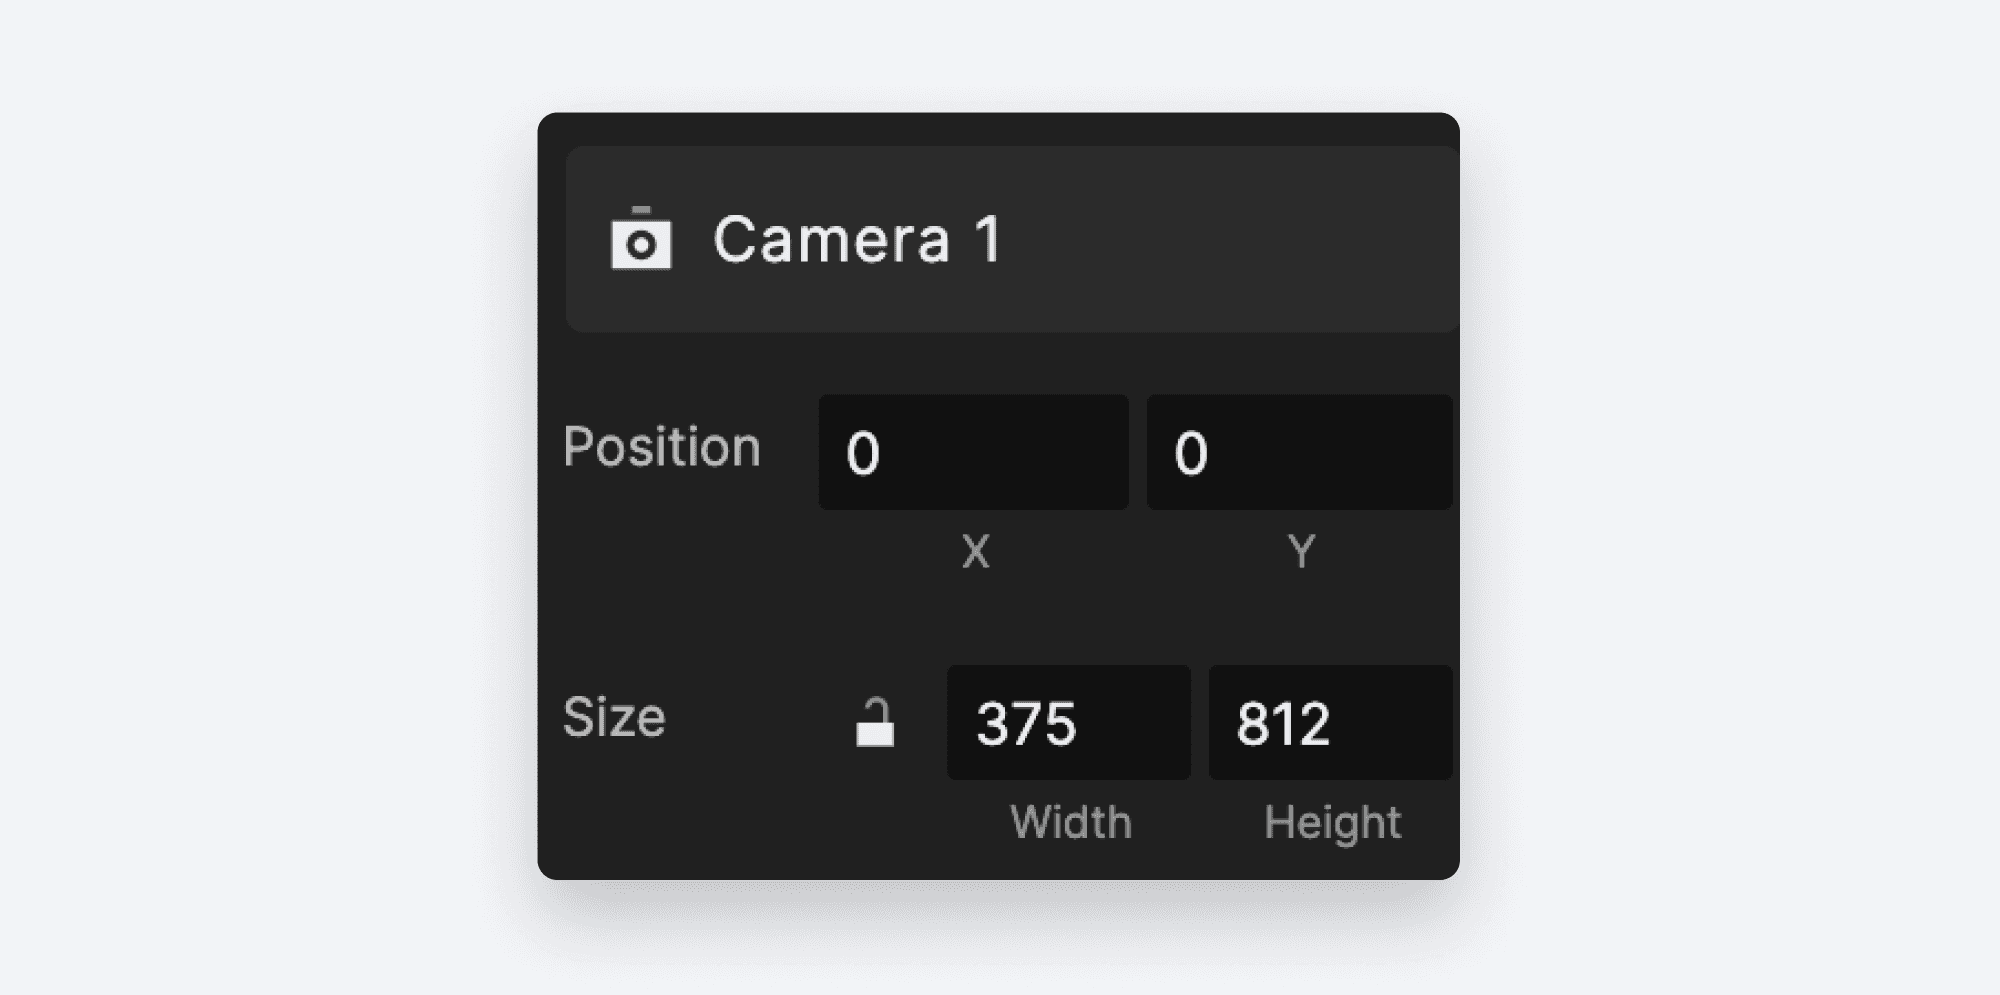
You can drag the control points to do this, or you can enter values in the property panel.
We want our UI components — the
Shutter Buttonand theSwitch Cam Button— on top of the camera layer.
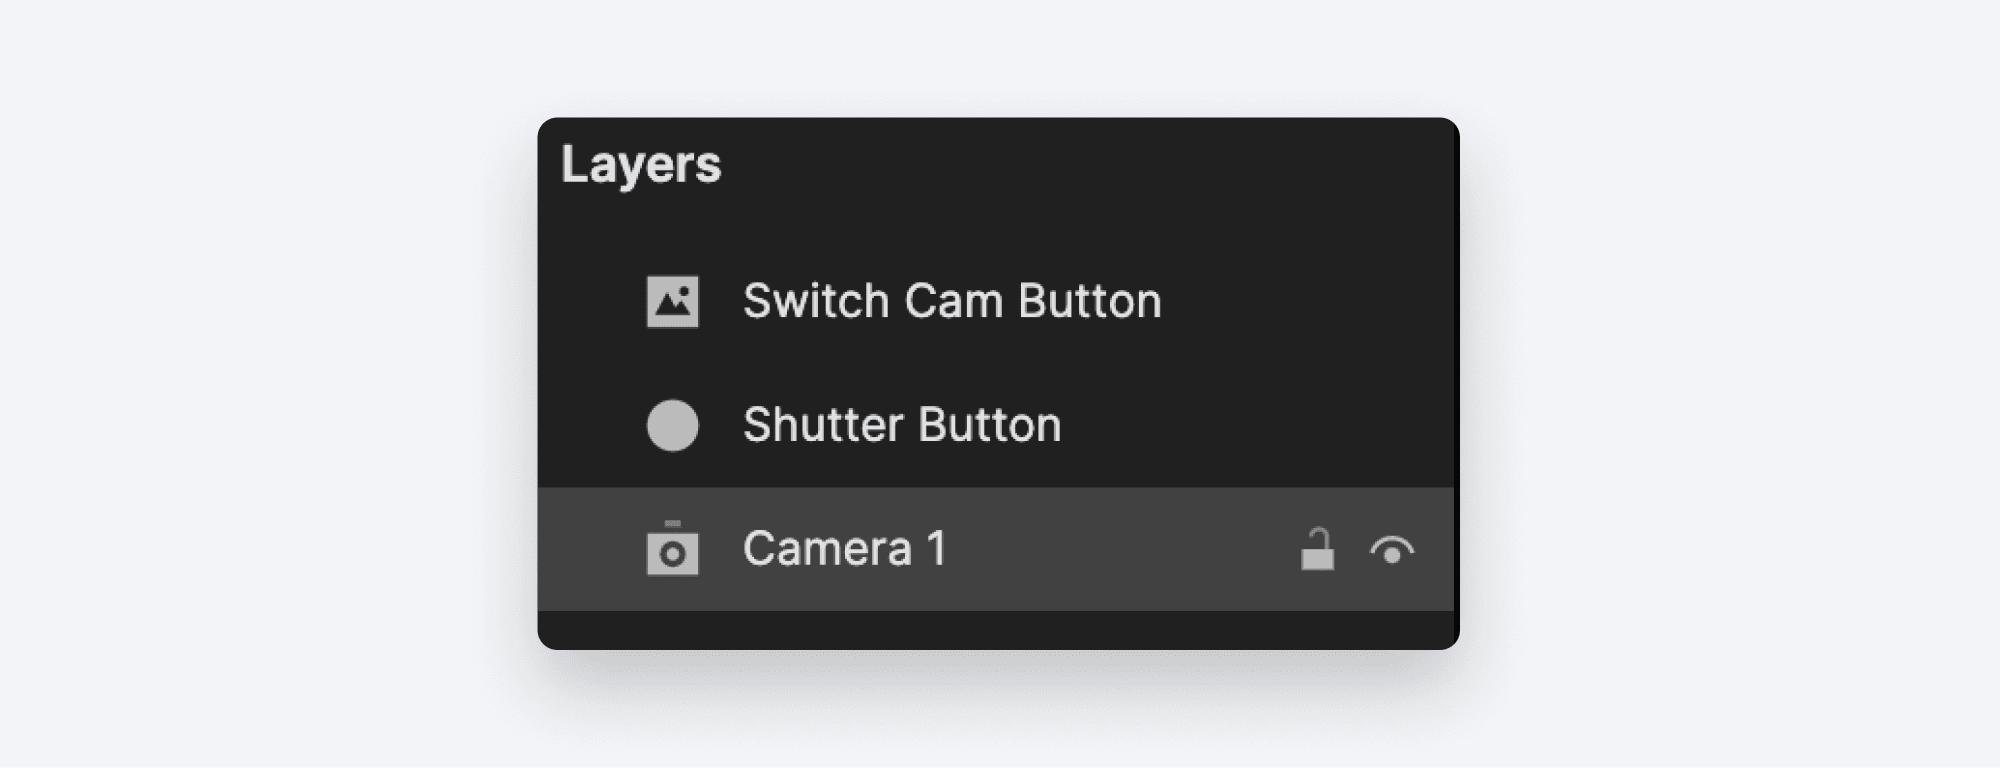
Drag the Camera layer to the bottom of the stack.
Step 2: Start the camera
We'd like our camera to start when the scene starts. ProtoPie makes this easy:
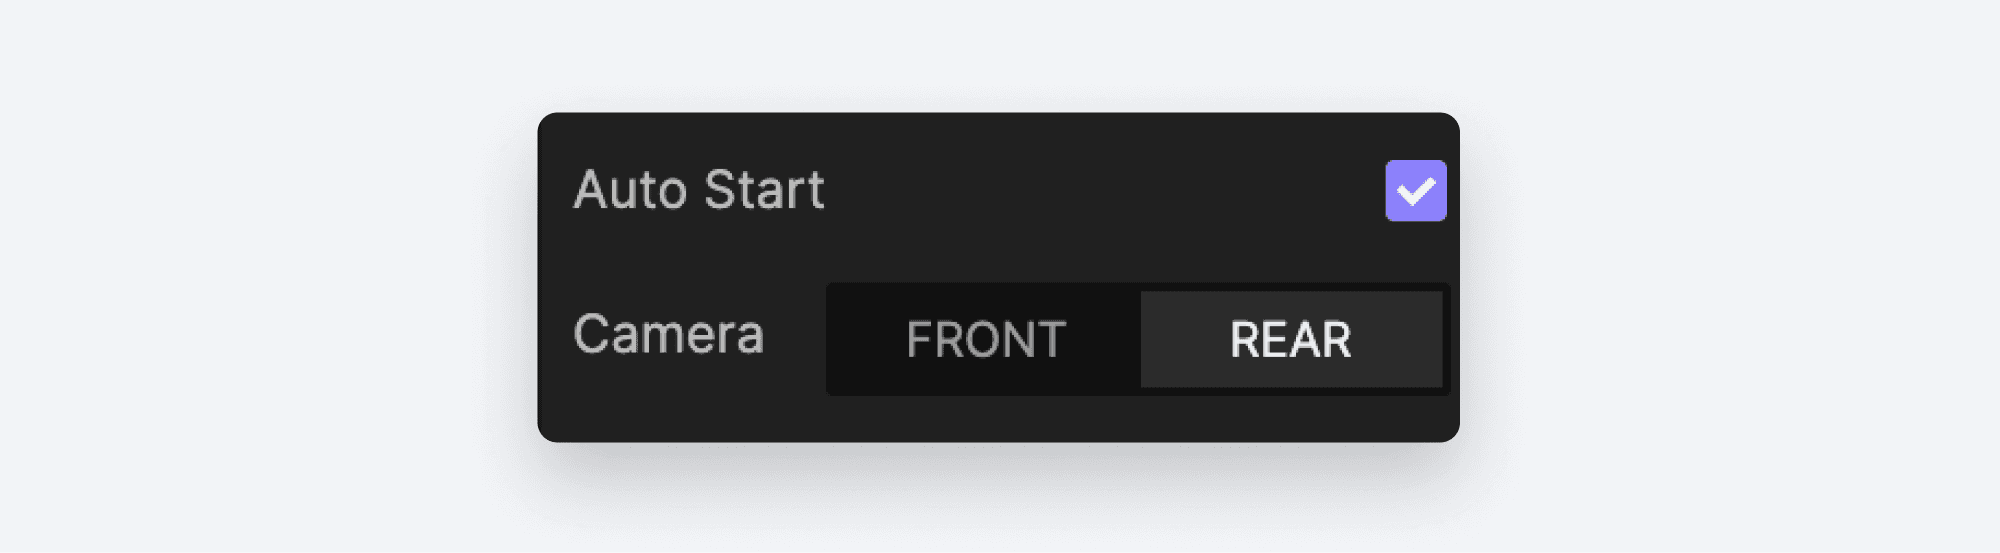
In the property inspector, tick the box beside Auto Start.
You can choose which camera to use. Select Rear.
Step 3: Preview!
This doesn't much look like what your camera sees, does it? In order to see the camera's picture, we need to preview our Pie directly on our device.
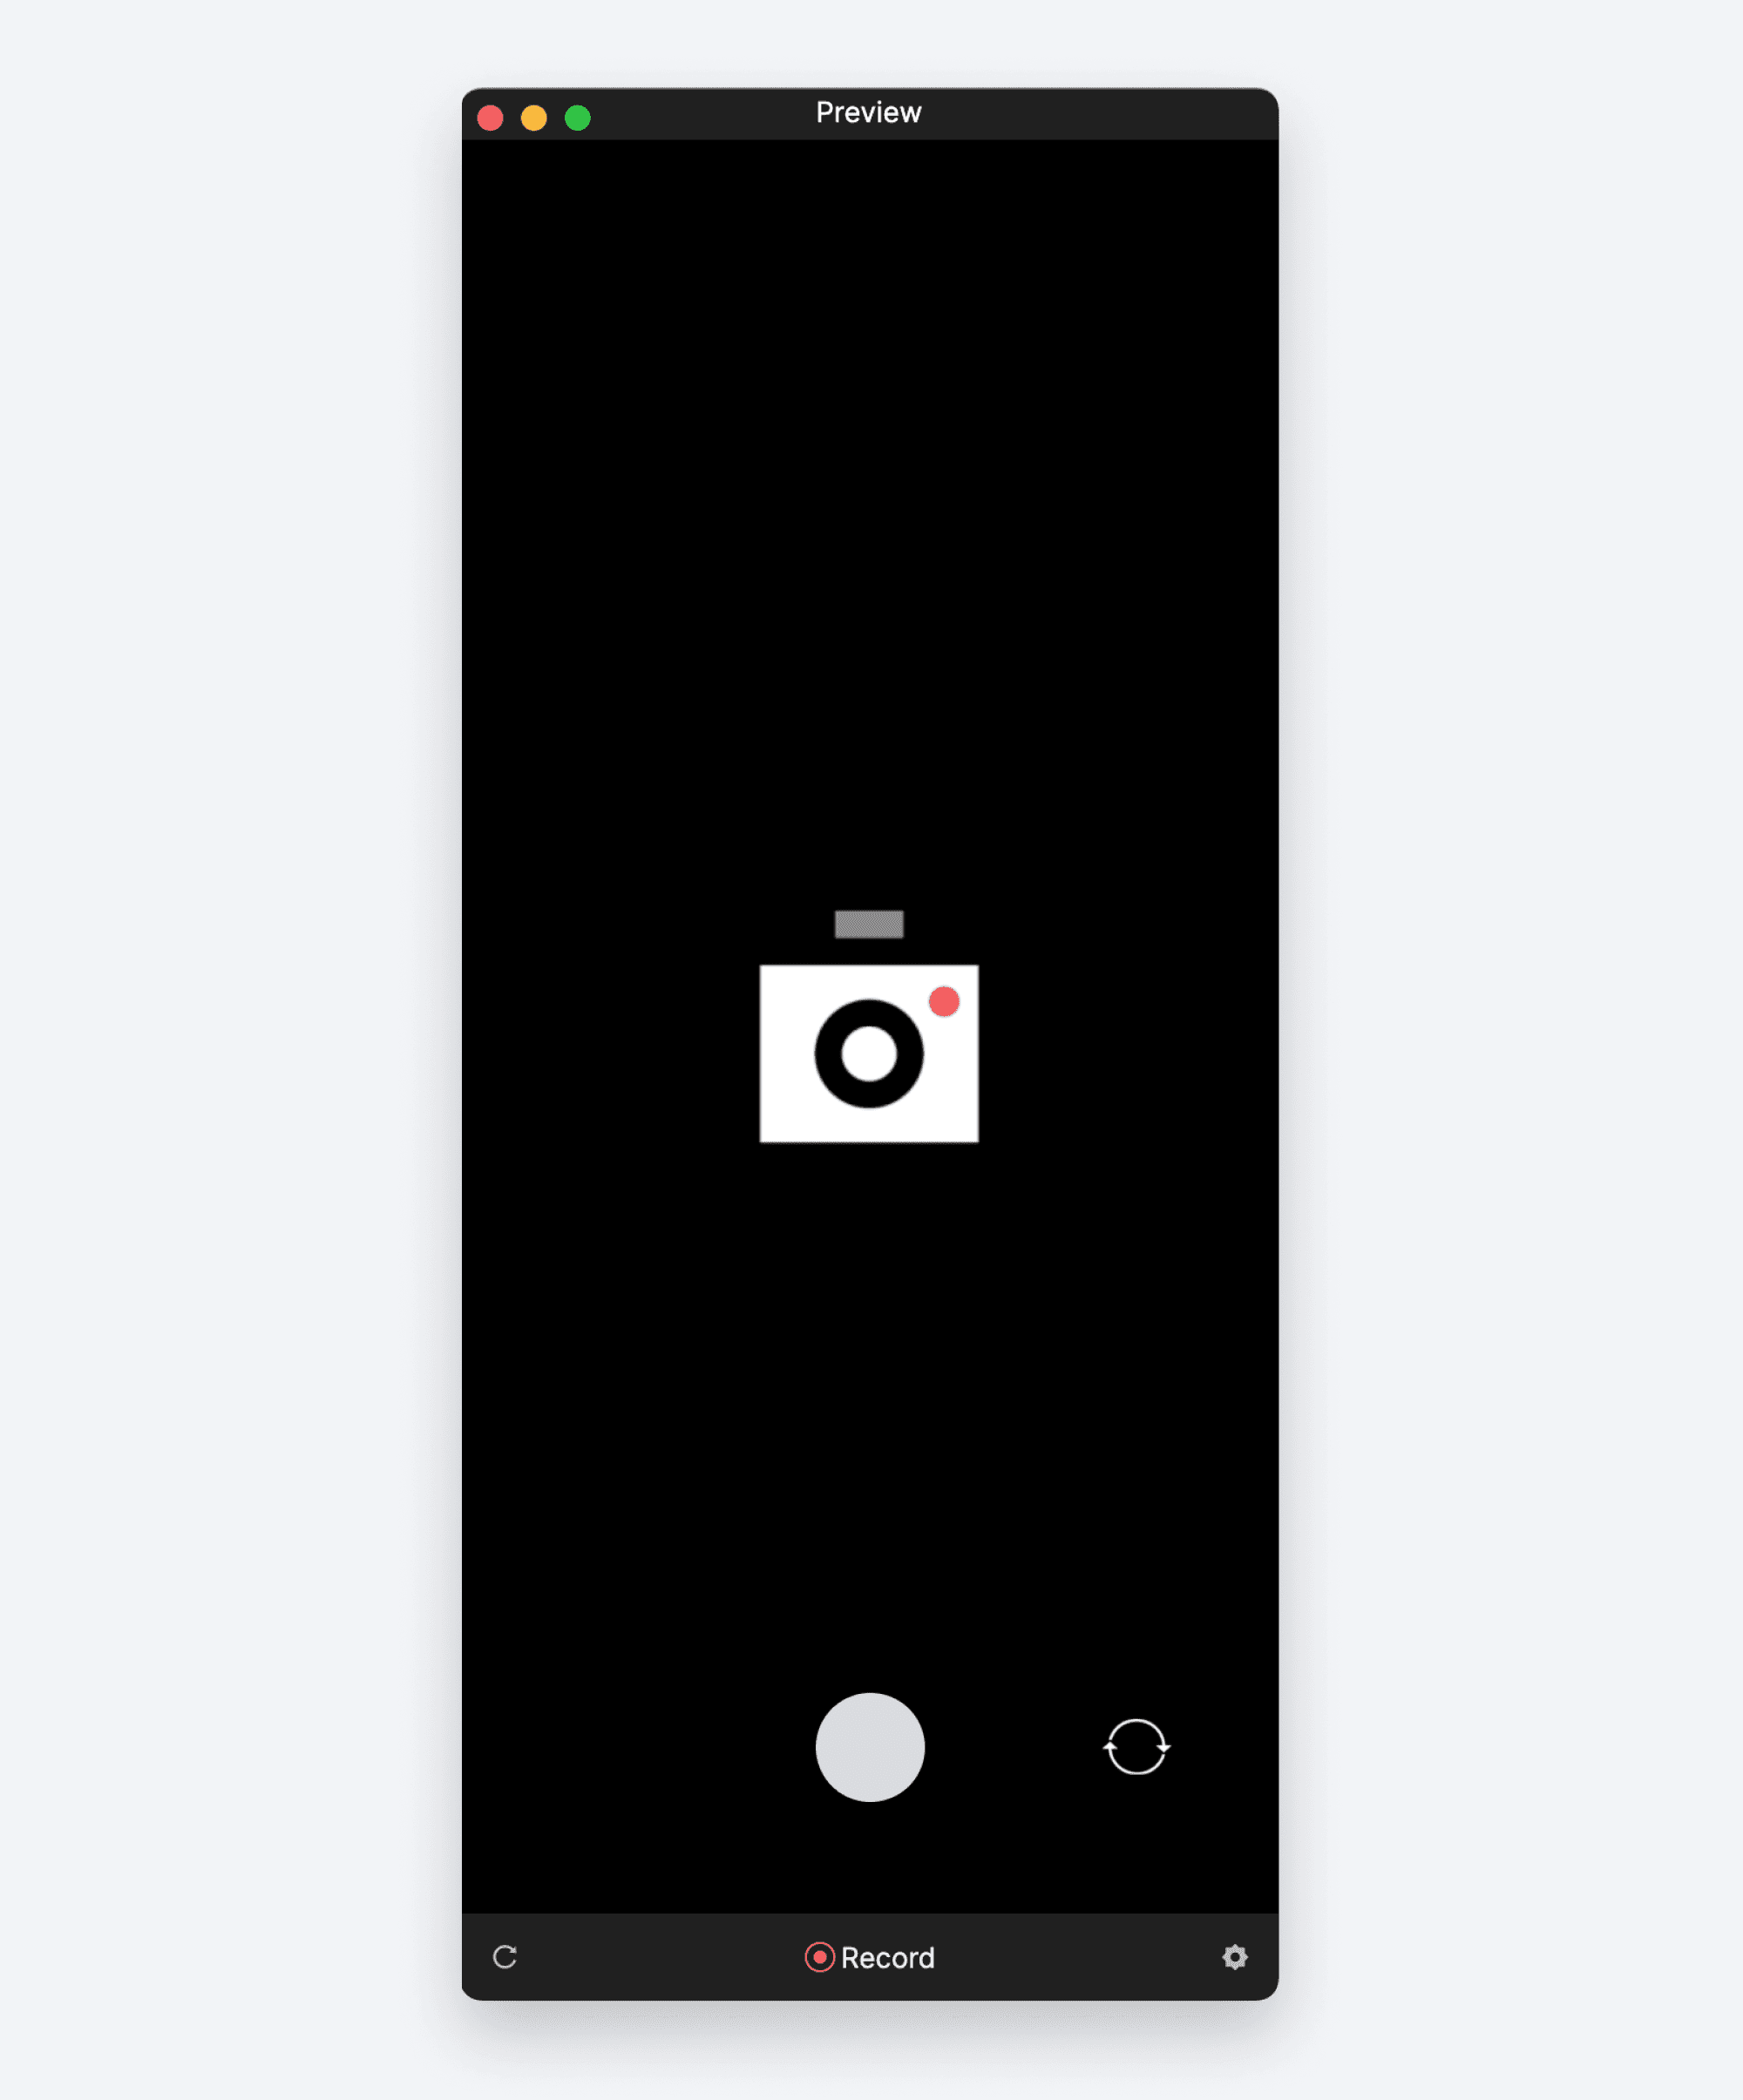
If you click the Preview button in Studio, you'll see this.
This is where the ProtoPie Player app comes in! It is a powerful and free app that will allow you — or anyone you share your Pie with — to run your prototype on a phone or tablet as if it were a native mobile experience.
Plus, it's the only way to make use of the built-in device sensors such as your phone's camera. If you haven't done so already, use the links above in the What you'll need section to install the app on your device.
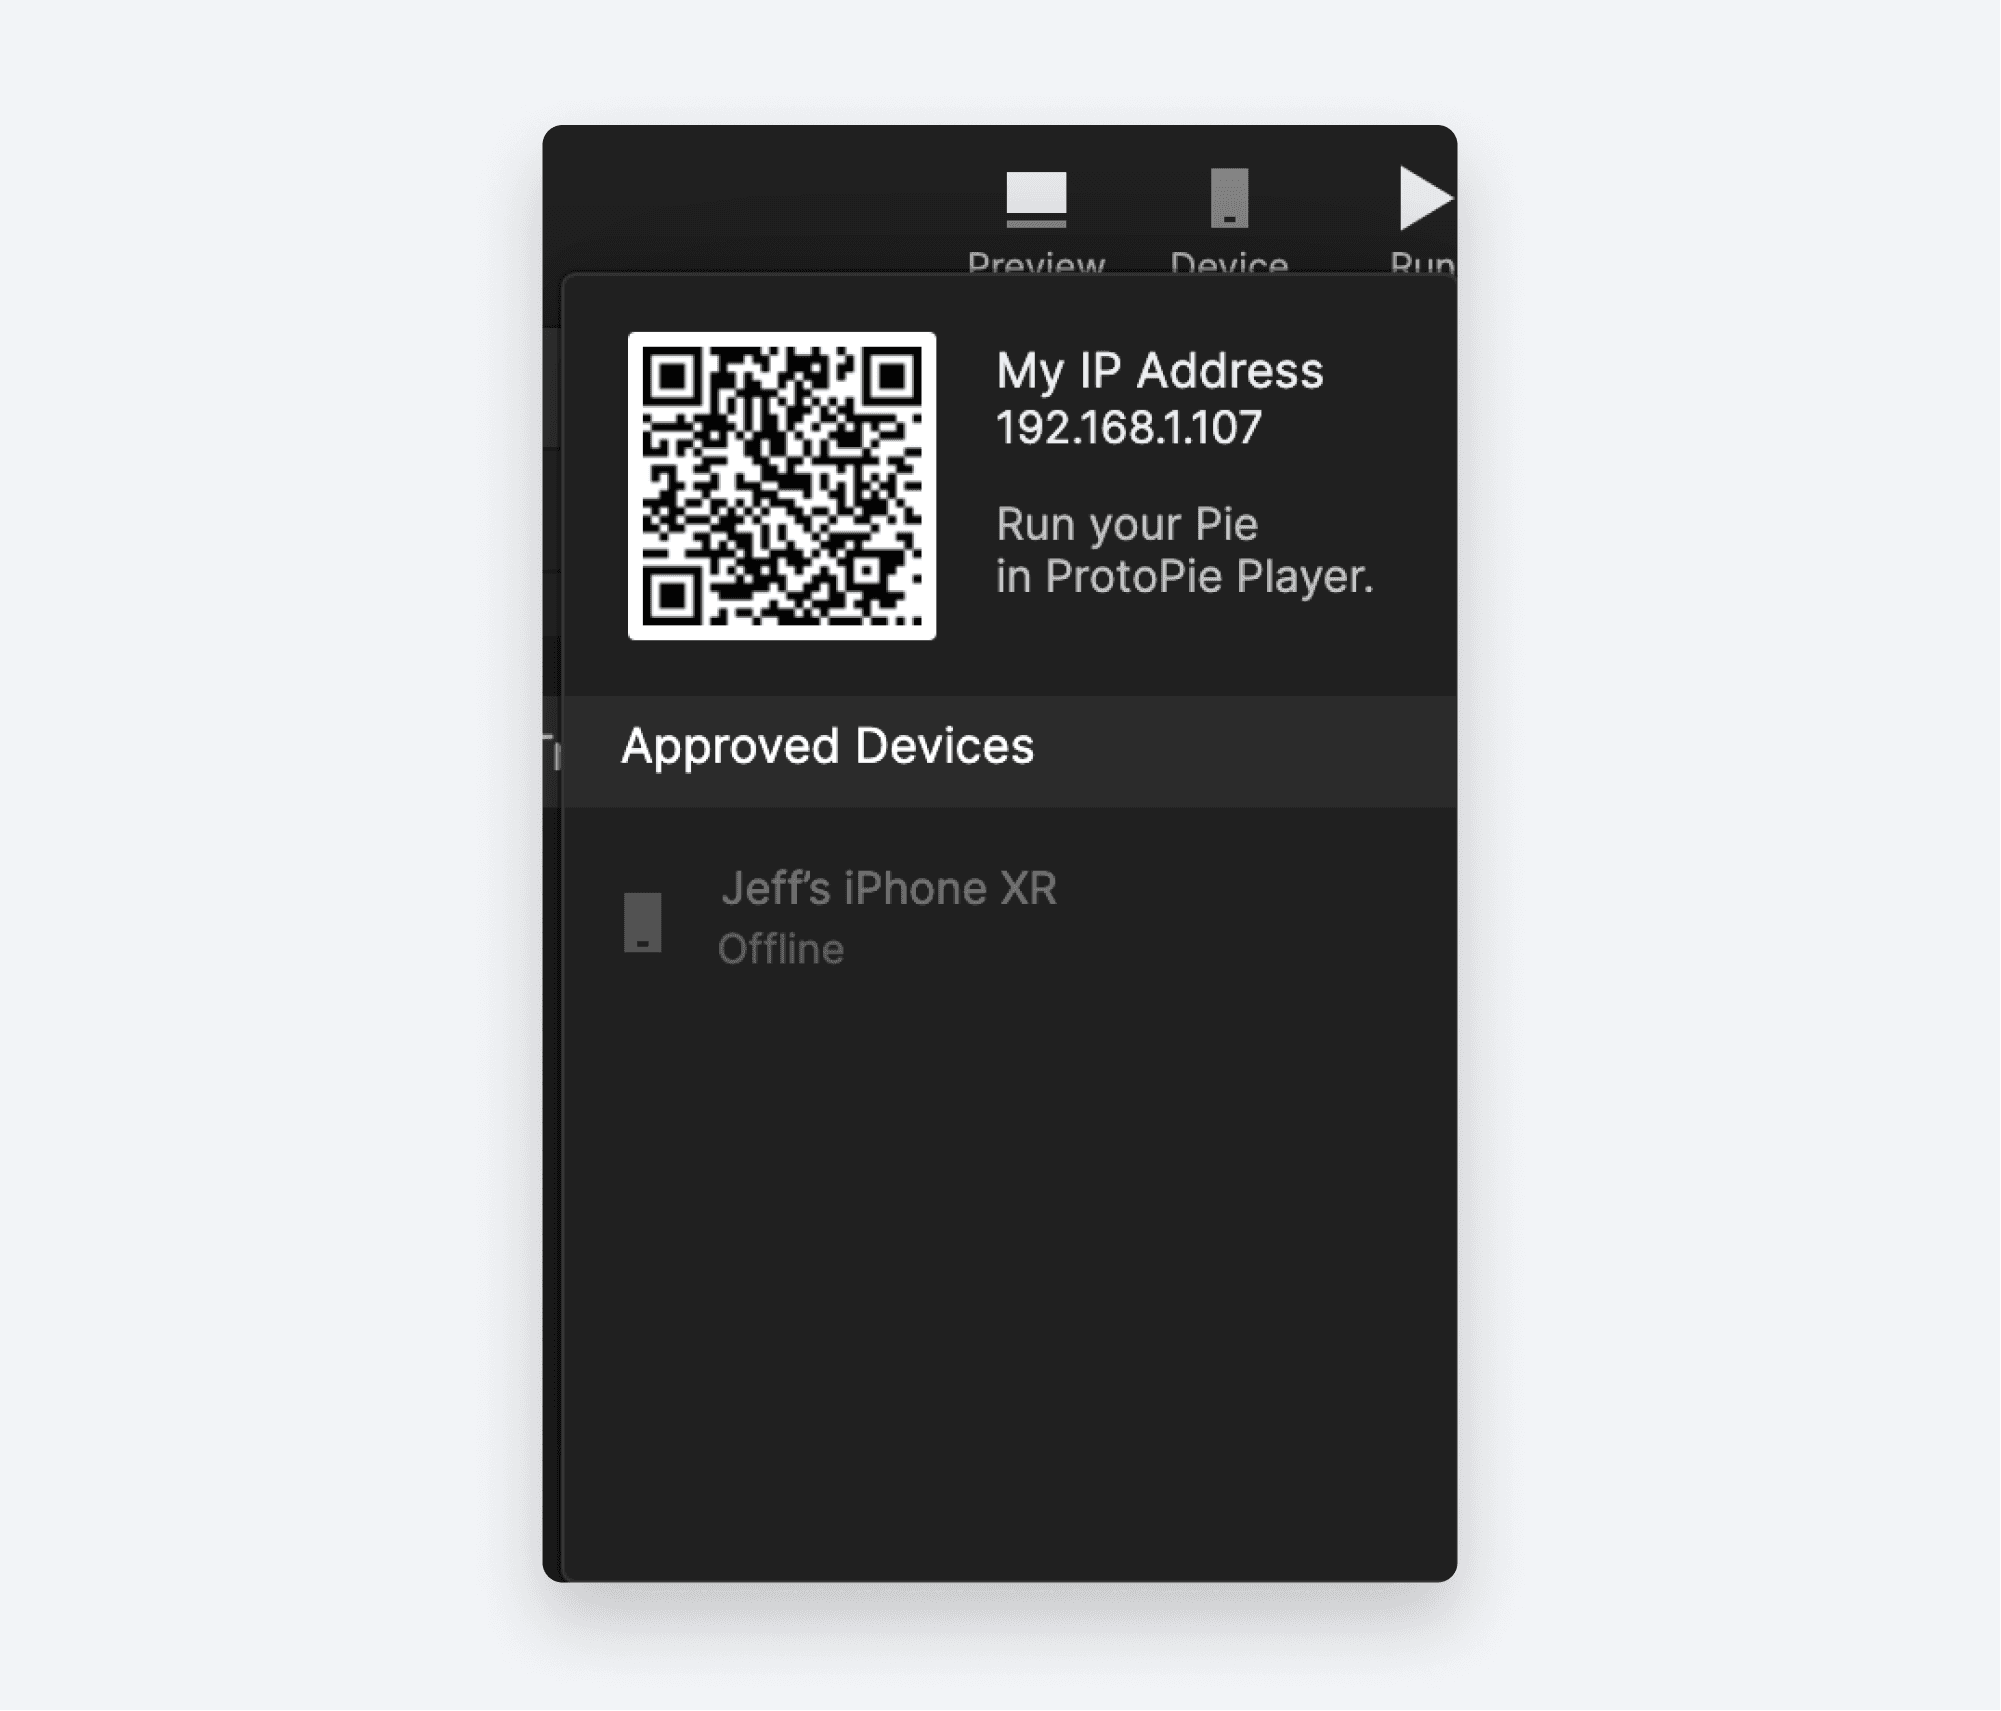
In Studio, click Device in the top-right set of icons. This will reveal a QR code. Leave this visible, as we're going to need it in a moment.
Start the ProtoPie Player app on your device. You'll be greeted with this screen:

Tap Scan QR Code.
Scan the QR code you revealed above. Your Pie should now be running on your phone, and your scene should be filled with the rear camera's image.
💡 NOTE: For this to work your phone needs to either be on the same WiFi as the computer running Studio, or your device needs to be connected to the computer running Studio with a USB cable. If your Pie won't start on your device, double check that your phone is connected in one of these two ways.
Step 4: Add the interaction
Now that you know how to preview your Pie on your device, let's hook up the Switch Cam and Shutter Buttons.
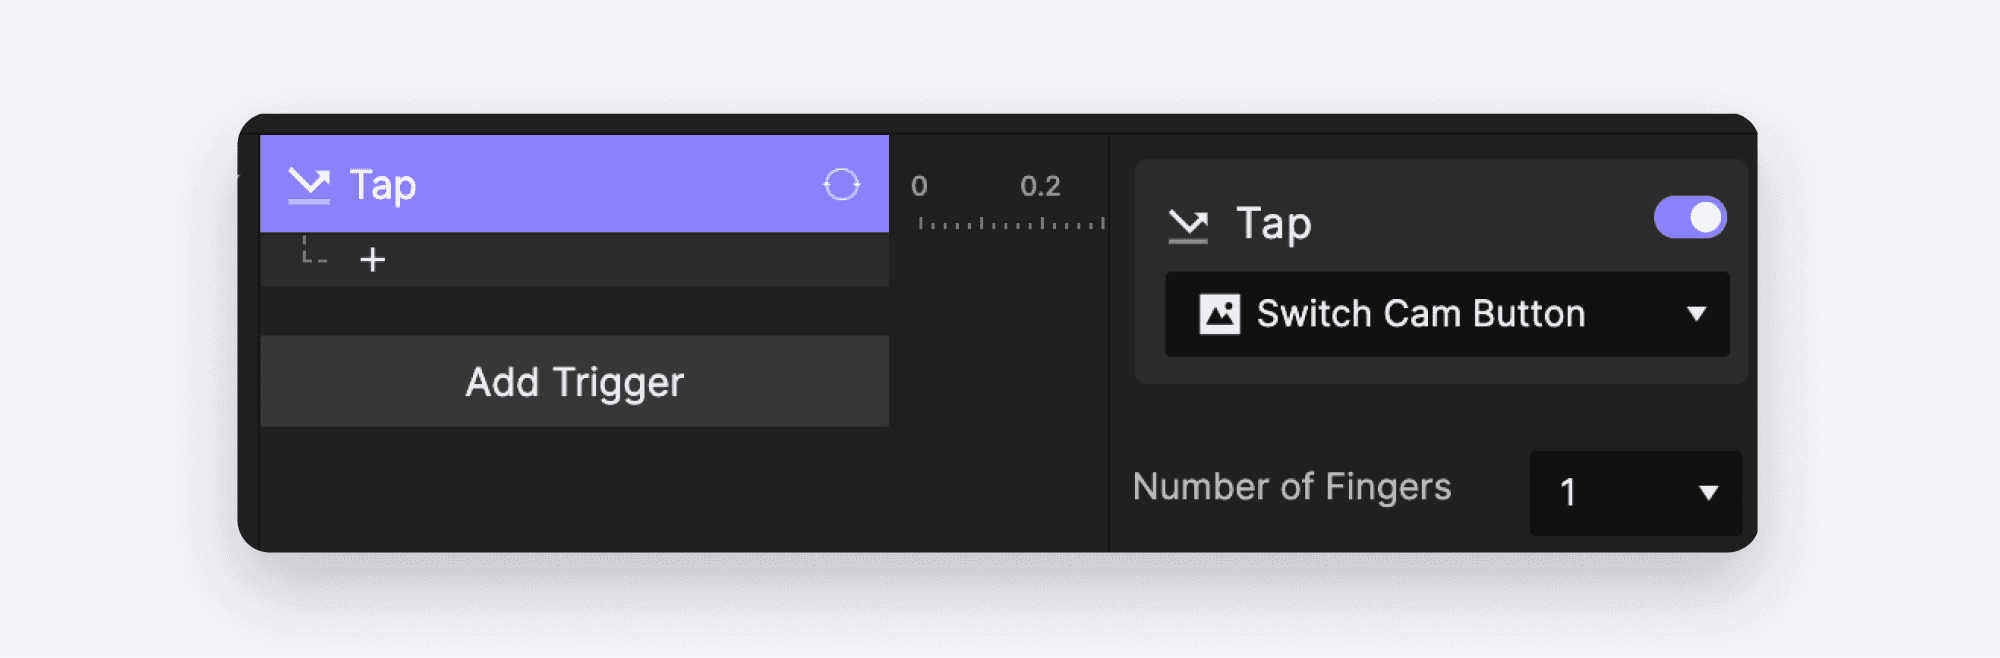
Add a Tap Trigger.
Select the
Switch Cam ButtonLayer.
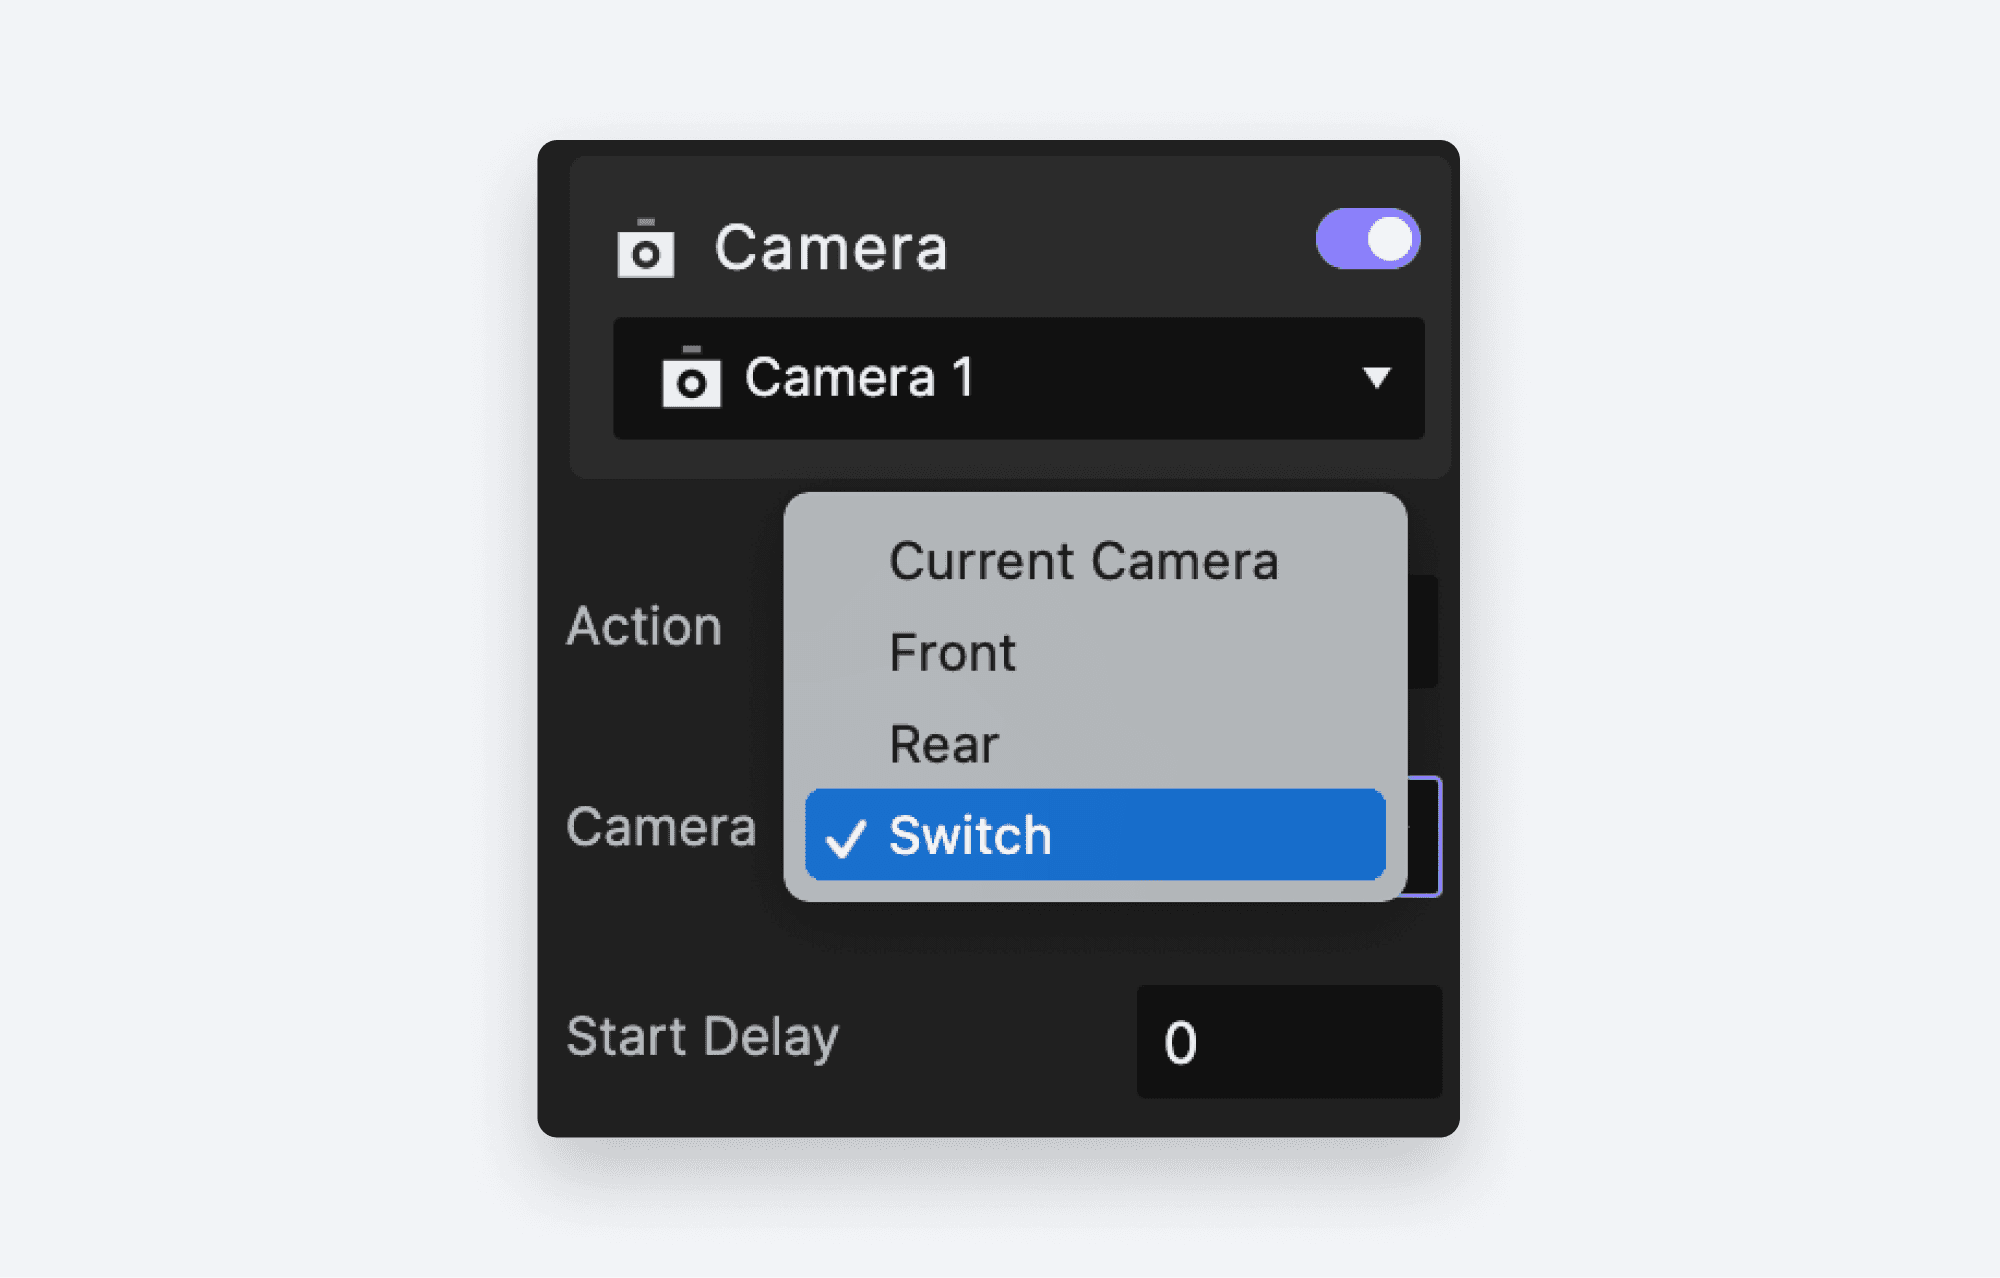
Add a Camera Response.
Select the
Camera 1Layer
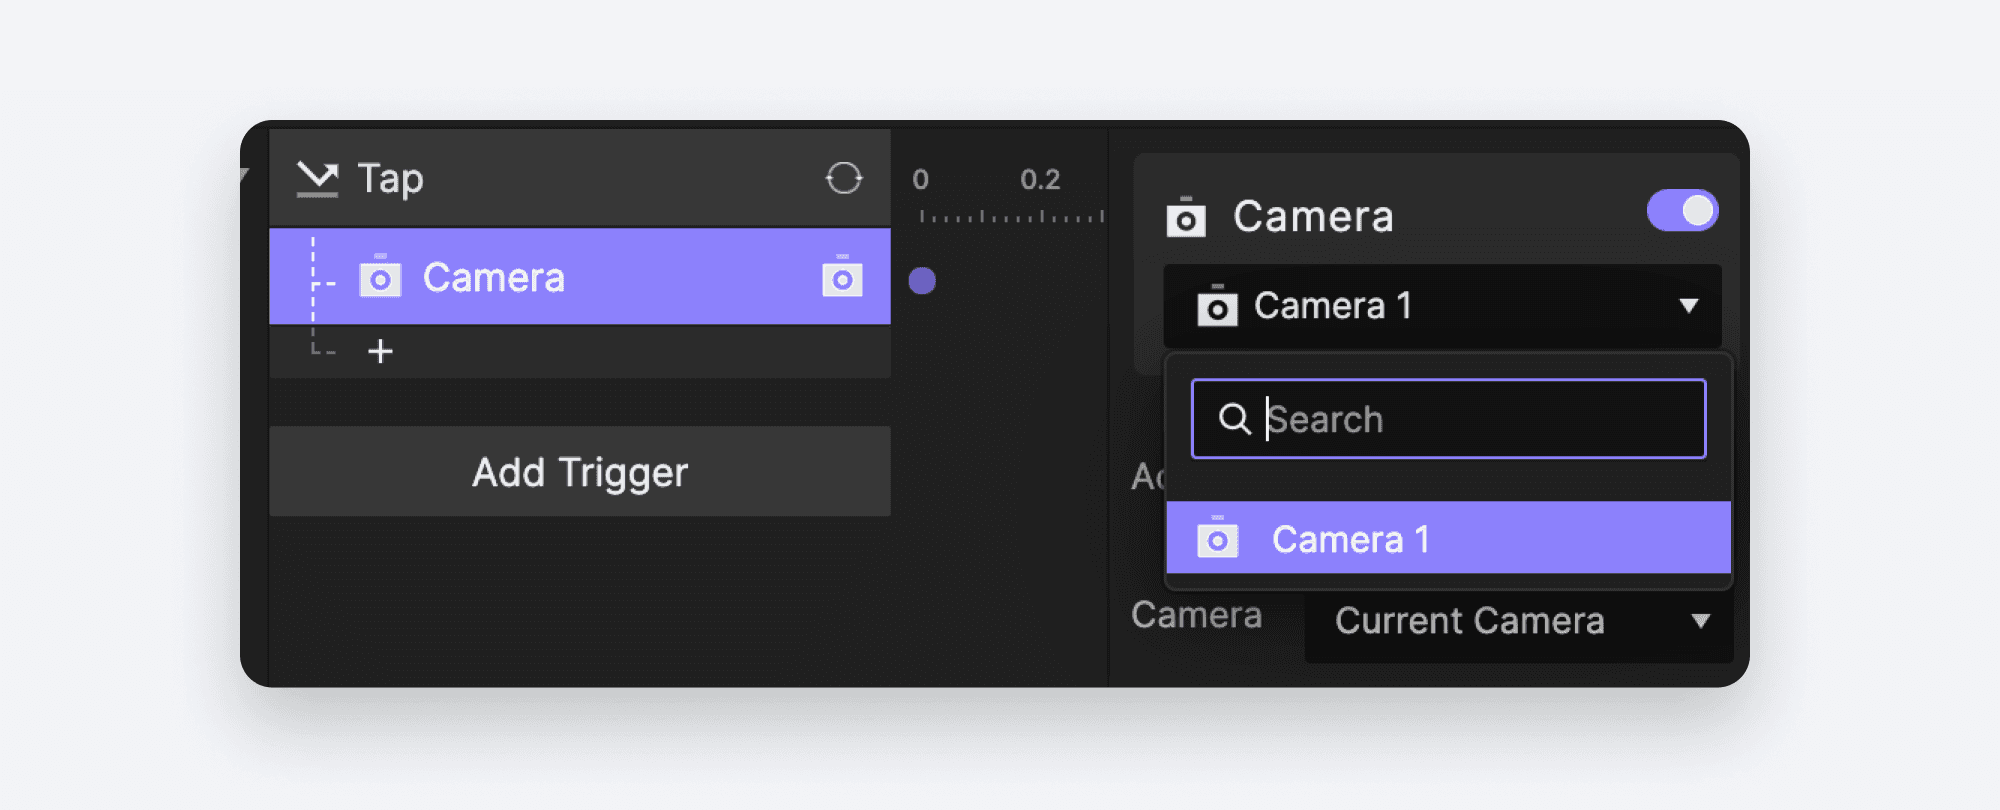
In the properties panel, choose Switch from the Camera selection drop down.
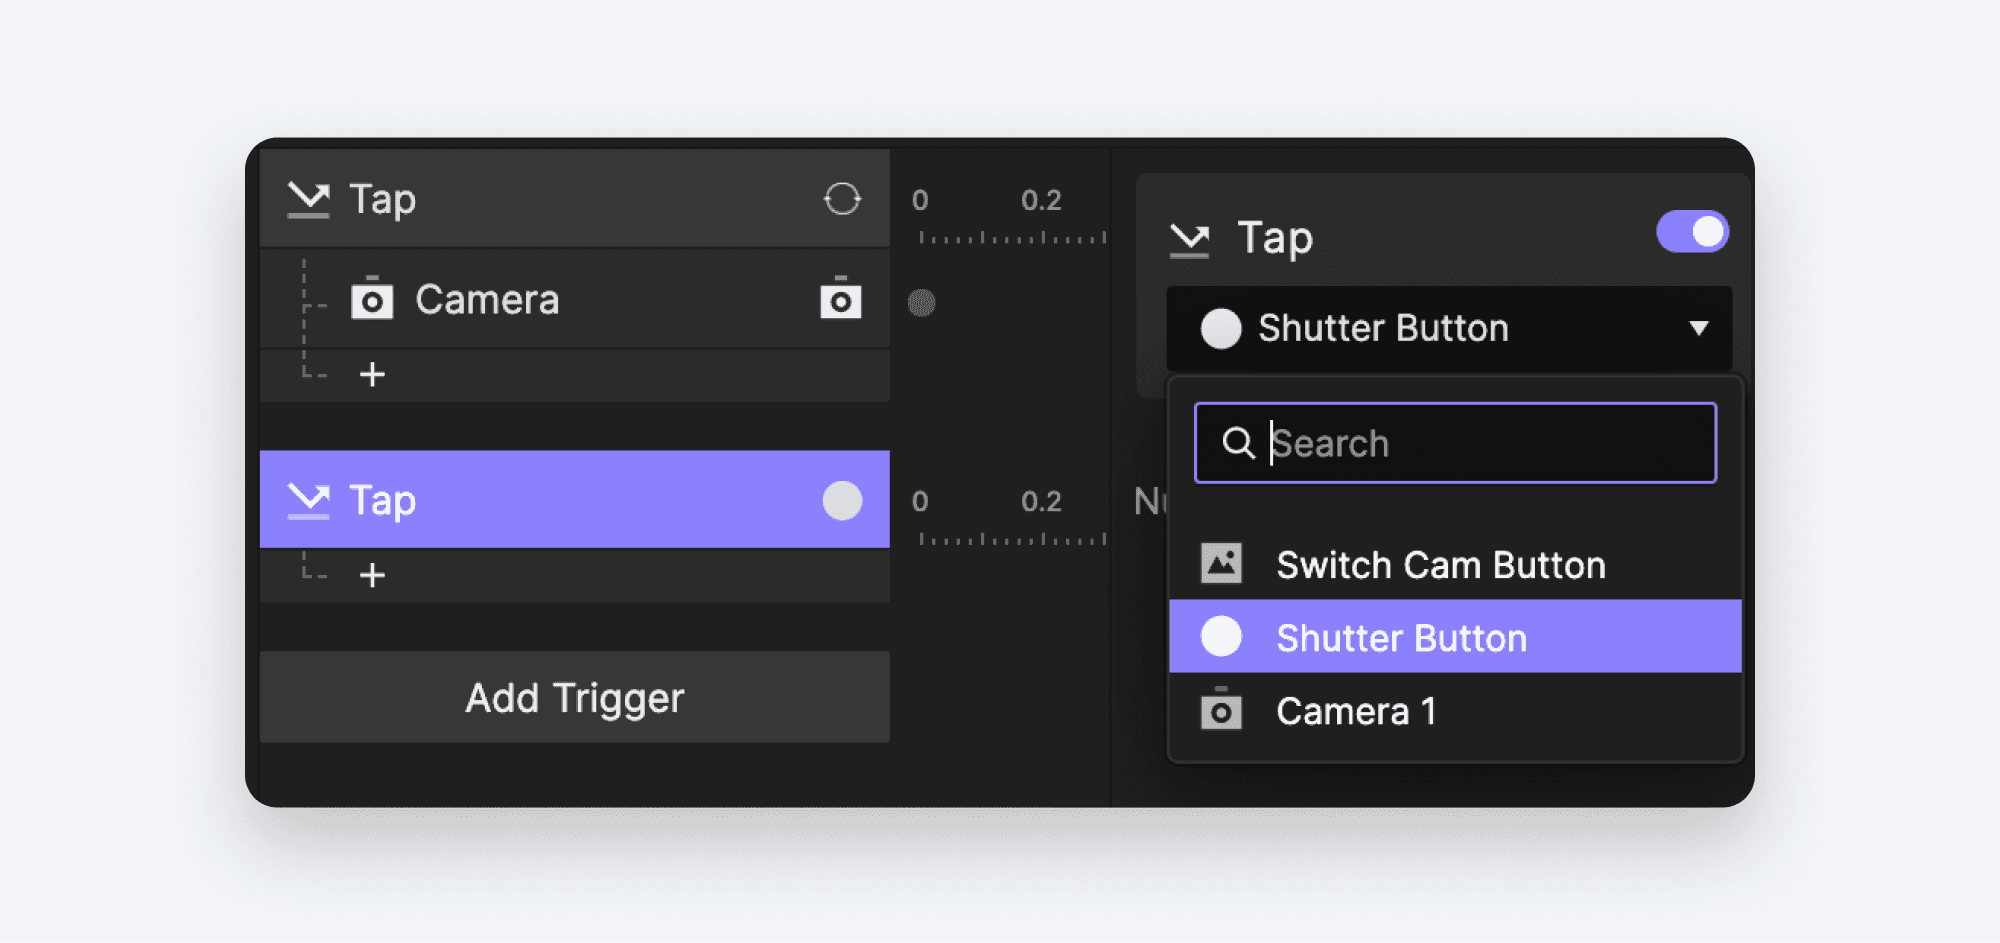
Add another Tap Trigger.
Select the
Shutter ButtonLayer.
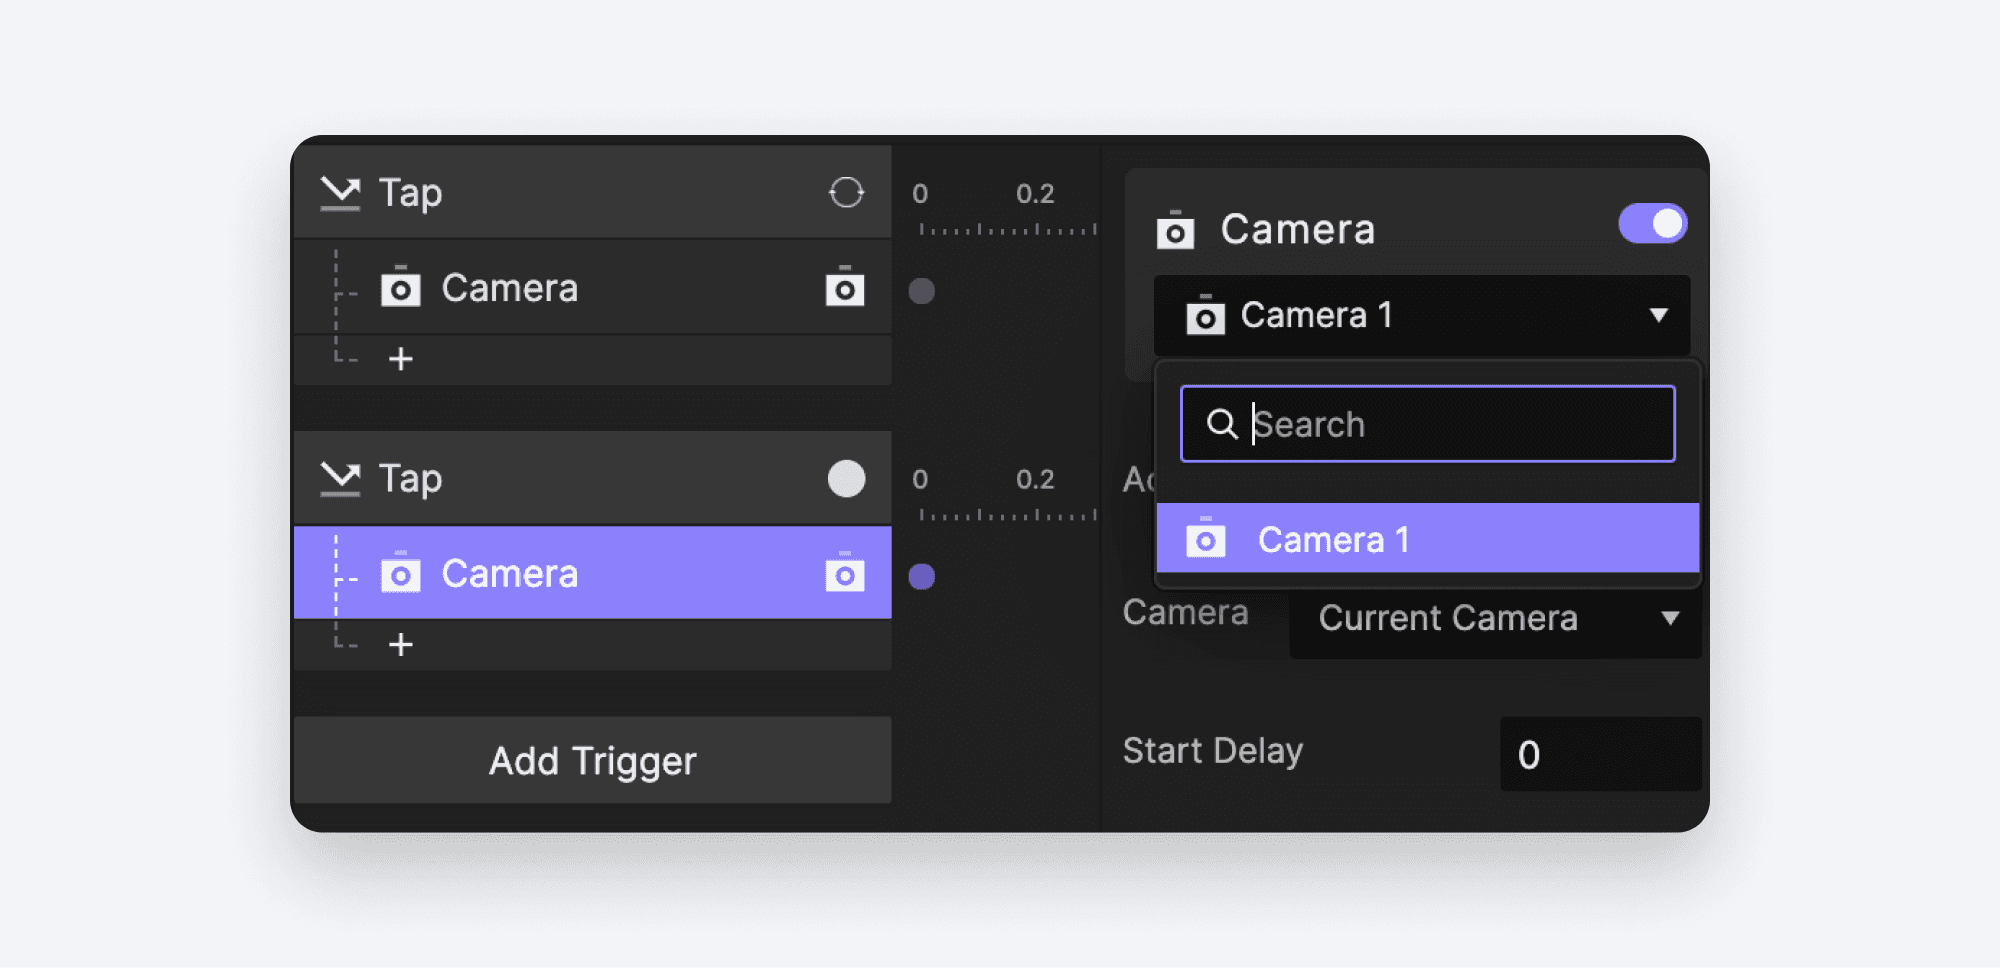
Add a Camera Response.
Select the
Camera 1Layer.
We'd like our Pie to take a picture when we tap the Shutter button. You do this in ProtoPie by stopping the camera.
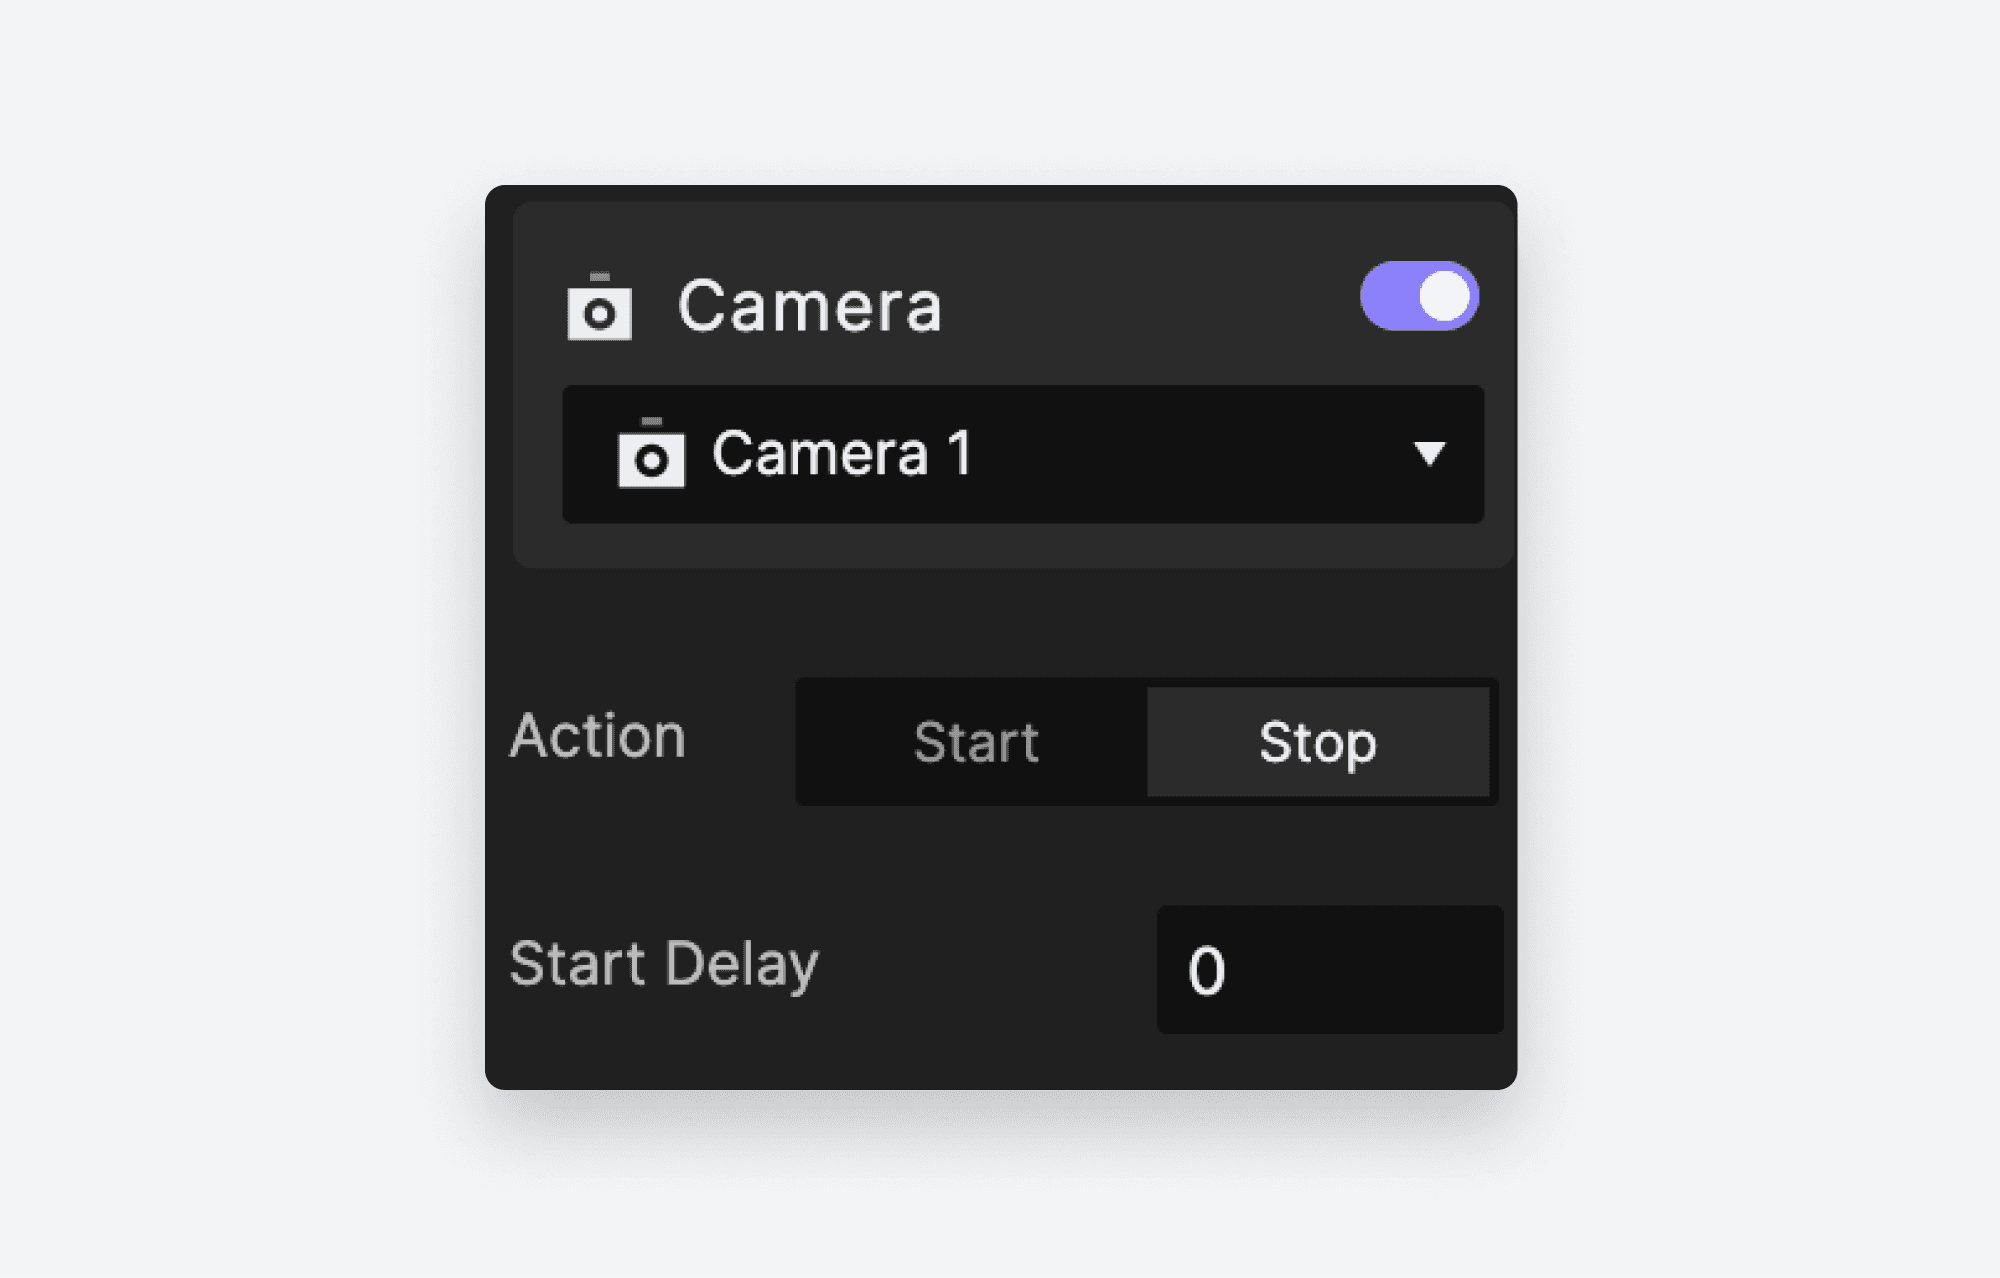
In the properties panel, choose Stop beside Action.
In order to update the preview on the Player on your phone, click the Run icon in Studio. This will reload the Pie on your device with your changes reflected.
You should now be able to switch between the front and rear cameras, and you should be able to take a picture.
That's it! your camera interaction is ready!
You now know how to build a prototype that uses your device's built-in camera using the Camera Layer object and the Camera Response, and you've learned how to run your brilliant work on your phone or tablet using the ProtoPie Player app. Well done!
If you're interested in improving the experience — right now our Pie only allows us to take a single picture, there's very little feedback, and switching between the front and rear cameras could behave a little nicer — you can watch this follow-up video which will build on what we just created and turn it into a very believable camera app demonstration.
Learn more about camera interactions
Explore more prototyping lessons
If you've been following along with this entire series, you'll remember that the previous article talked about Voice and Speech. Both of these work beautifully on your mobile device. Take a look at all the lessons to enhance your prototyping skills.
Lesson 2: How to use Interaction Recordings to Collaborate with Developers
Lesson 3: How to Create and Share Interaction Libraries with Designers
Lesson 5: How to Prototype Camera Interactions
Learn more on ProtoPie School
You want to master prototyping and earn a completion certificate? Then head over to ProtoPie School, it's completely free!


