

Previously, I introduced you to one of ProtoPie's advanced features — Formulas. Formulas allow you to work with information that can change at any given time or is initially unknown. If you recall, we used a formula to build a search query that we then used to execute a Google image search. Most of the URL was known ahead of time, but the individual search term was something the we asked the user to type in. In order to accommodate for this unknown piece of information, we needed to use a formula in order to build our URL in real-time, after the user had typed their search term.
In today's lesson, we'll start with some basic examples.
What you'll need
To follow along with this tutorial, download this example Pie and open it in Studio.
What you'll learn
By the end of this tutorial you'll have learned:
Why you might want to use a Formula
How to create a Formula using ProtoPie's built-in variables
How to create a Formula to join text
Time to complete: ≤10 minutes
Why do we use formulas?
For many interactions, using static values works just fine. If I tap this button, I jump to Scene 2. If I Fling an object upward, it moves to some point off the top of the screen. Quite often, however, we need our Pie to respond to various input that will not be known until it occurs, and the specifics of that particular inout can be different every time. For example, if I tap the screen on a random location, the coordinates of where I tapped will likely be different if I tap again.
Our first example will deal with this exact scenario.
Moving an Object to a User's Touch Point
Open the sample Pie you downloaded above. There are three scenes in the Pie. If you're not already on Scene 1, click the icon for Scene 1 - Touch Move in the Scenes list in the upper-left portion of Studio.
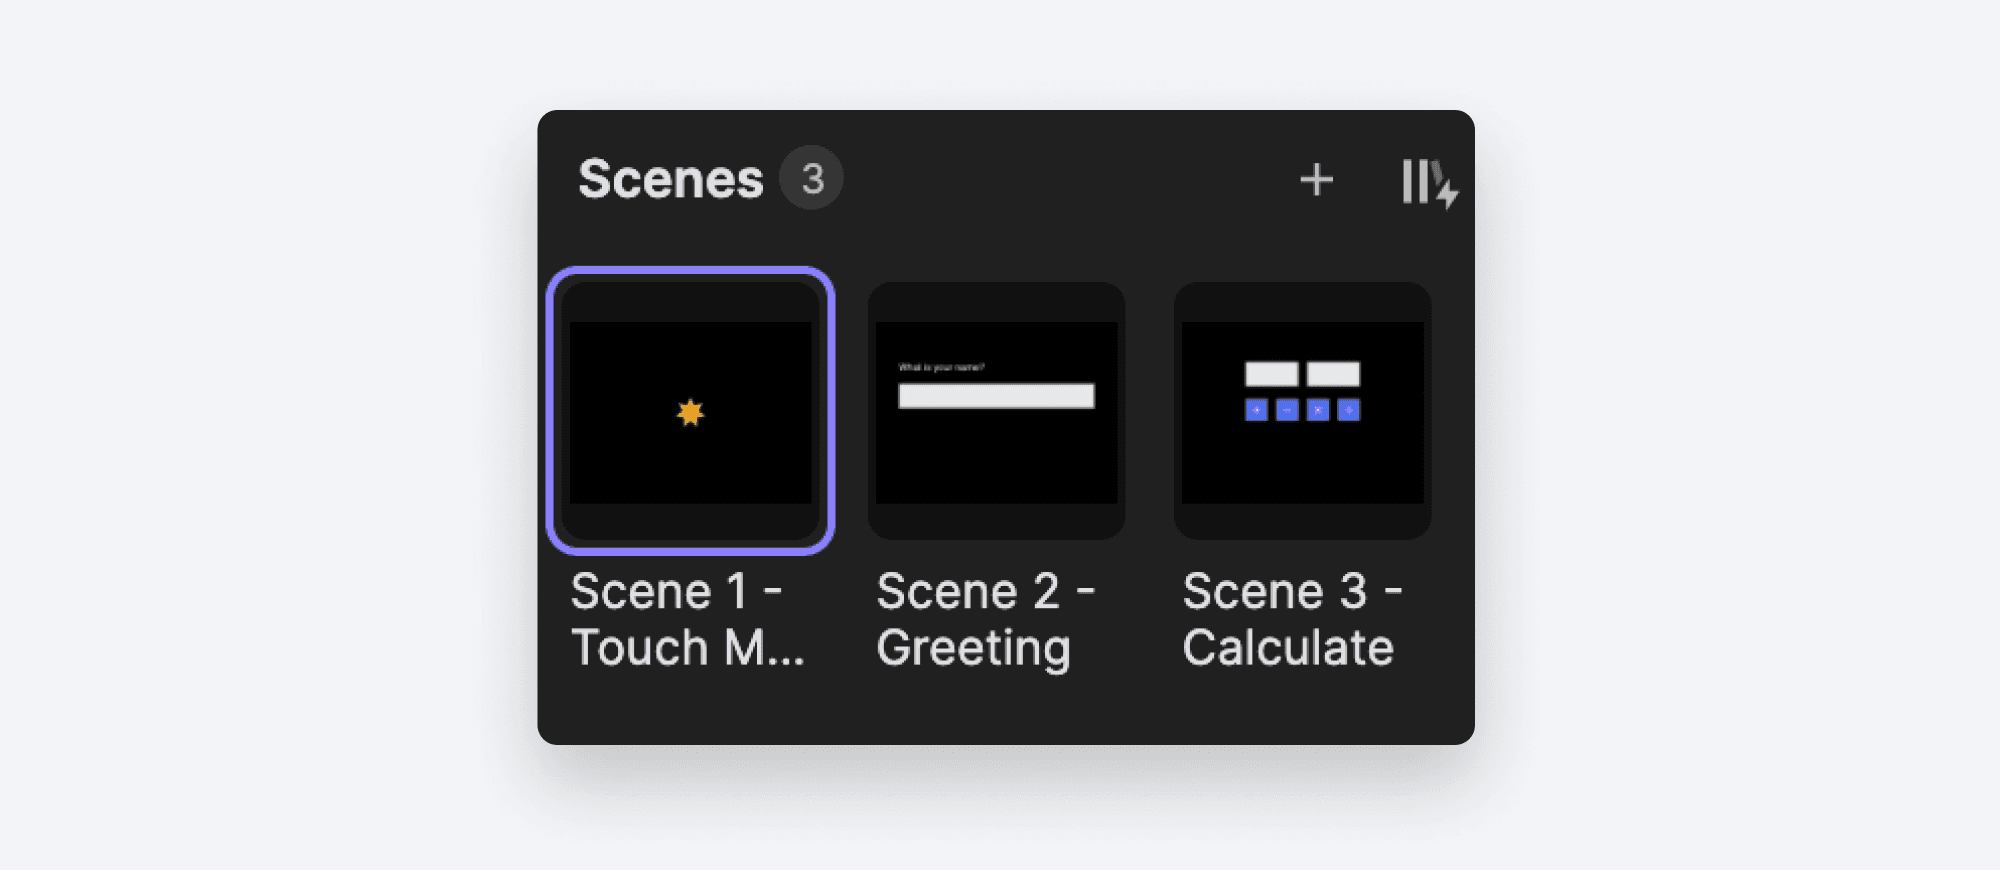
There are two Layers in this Scene: a black background shape and a yellow star. When a user taps the screen, we'd like to capture the coordinates and then move the star to the exact point the user touched. We'll use the background layer to receive the touch event as it covers the entire screen width and height.
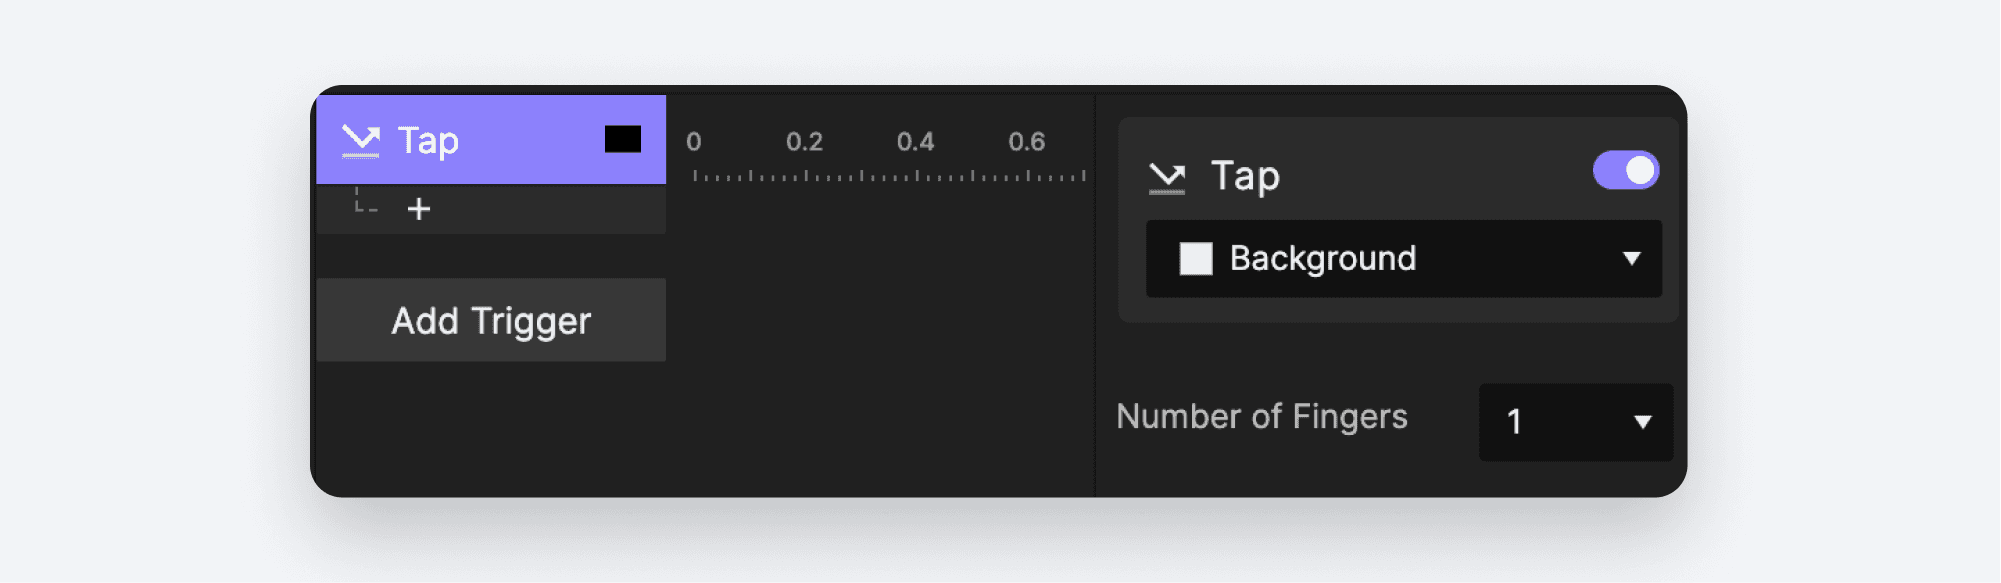
Add a Tap Trigger to the Background Layer.
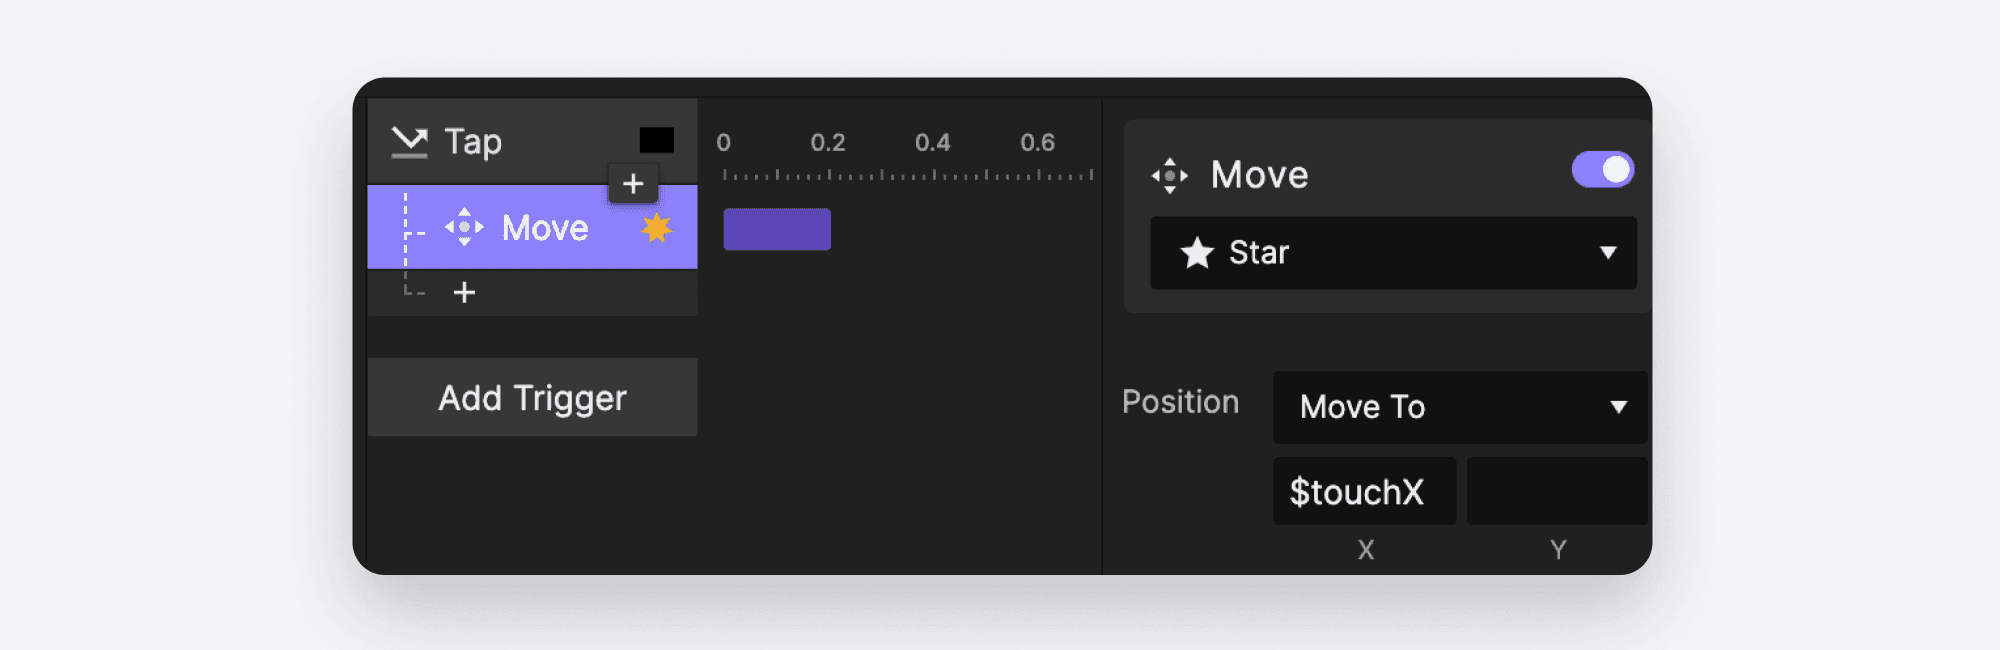
Add a Move Response to the Star Layer.
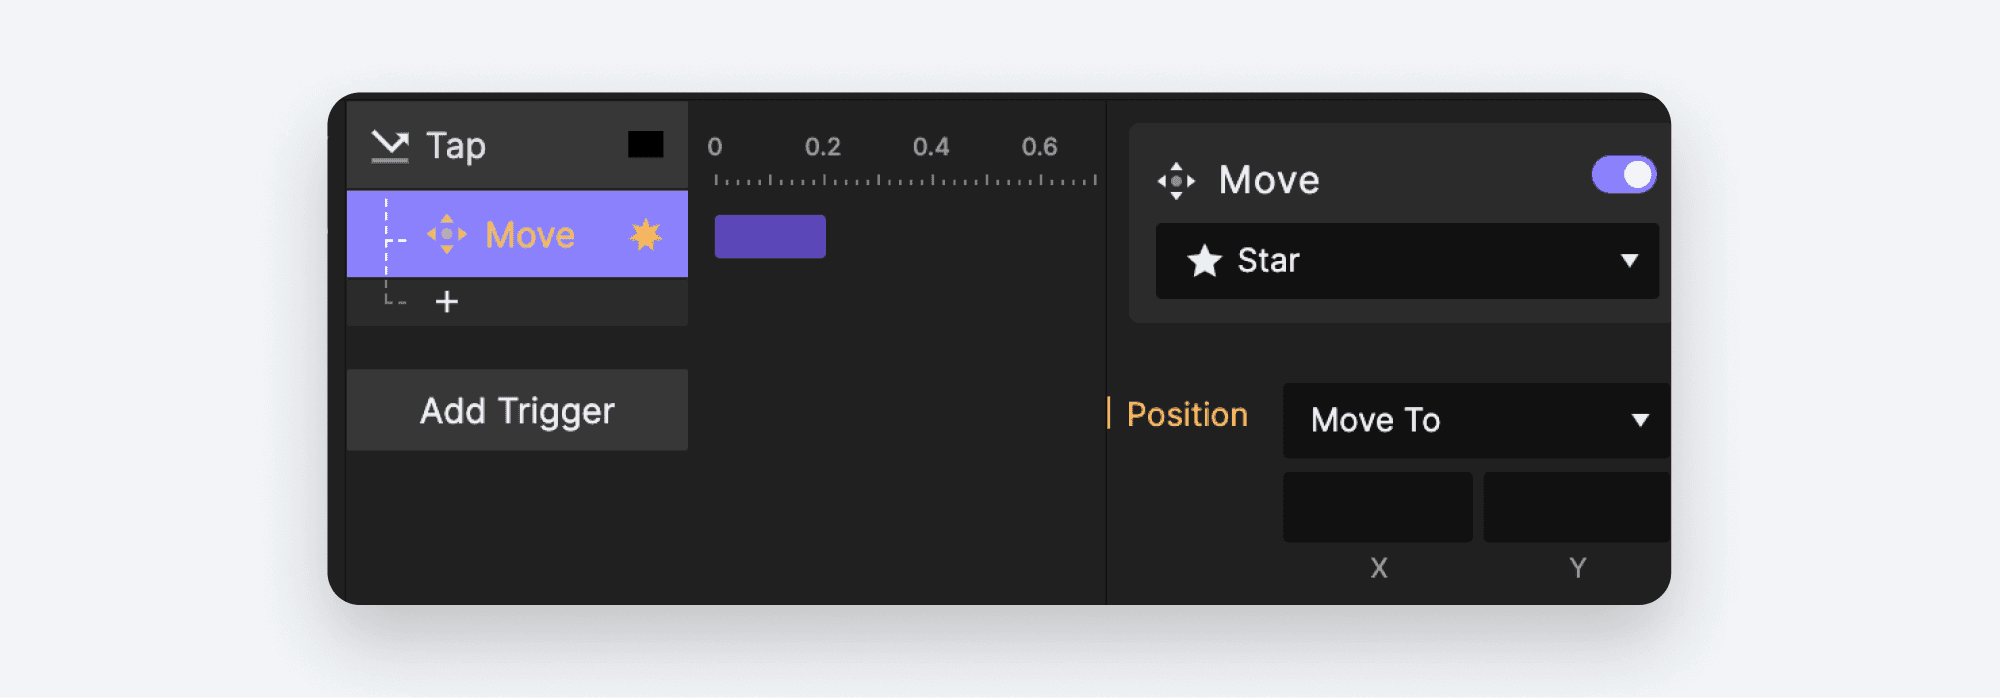
In previous examples of the Move Response, we've entered explicit pixel coordinates of where an object is to move. In this case, we don't yet know where the user has touched the screen. We need to capture the touch X and Y coordinates as they happen.
ProtoPie has a number of built-in mechanisms to capture the details of events such as the touch point. ProtoPie calls these Predefined Variables. If you're not familiar with the term variable, not to worry. We'll be covering Variables in detail in the next lesson. For now all you need to know is that a variable is used to store a bit of information. For our purposes, we'll be using two Predefined Variables: $touchX and $touchY, which store the X and Y coordinates of the most recent touch event.
Click the Move Response. In the Properties panel, click in the box above X. You should see a small ∫x icon appear on the right side of the box.

Click the ∫x icon. This allows us to input a formula. We'll want to use a formula when we're working with information that can change.
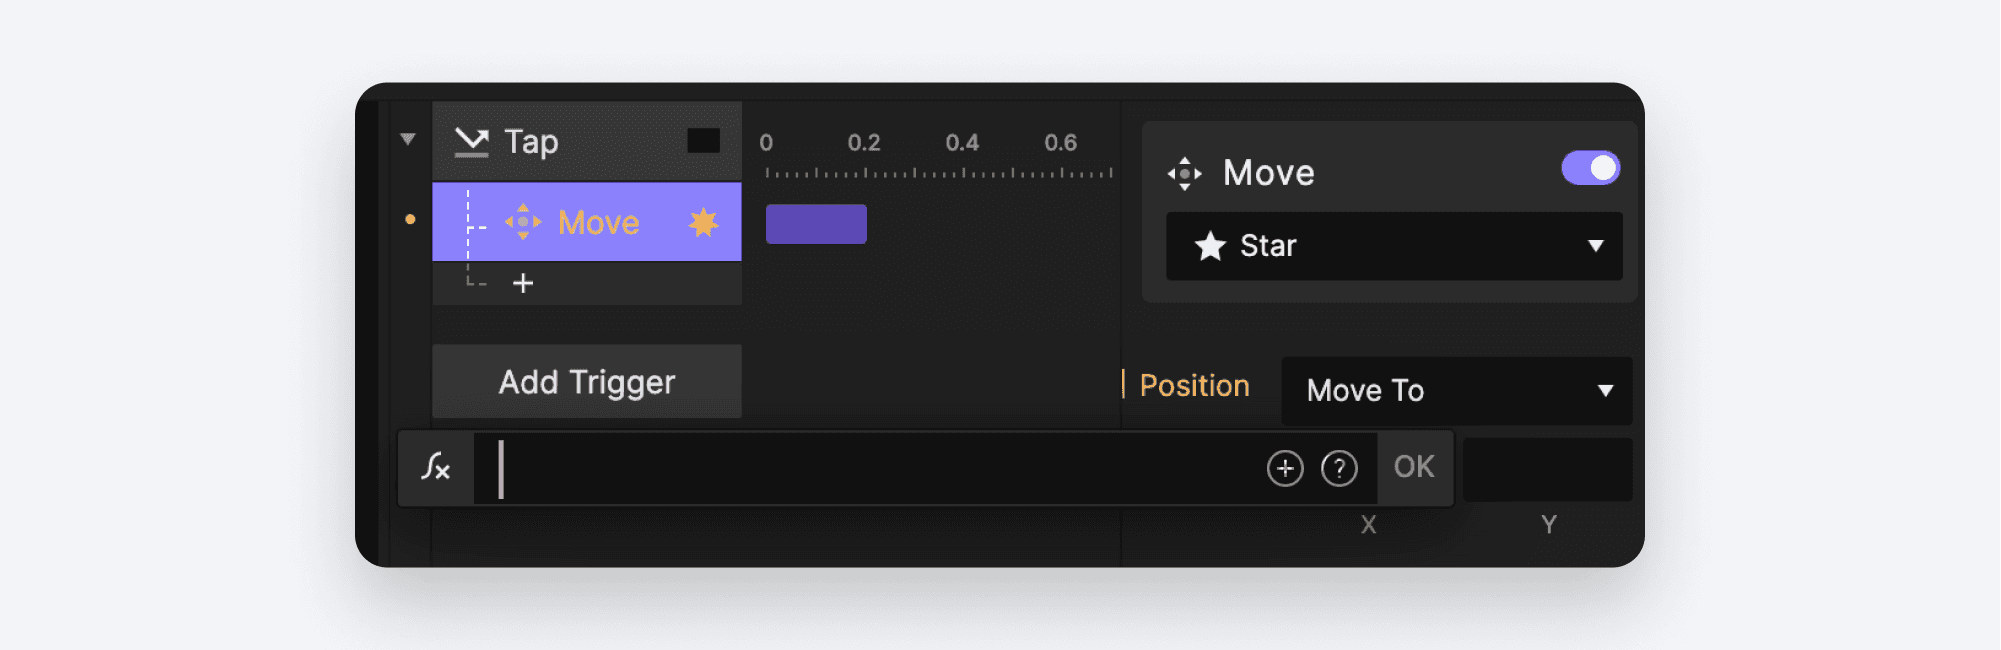
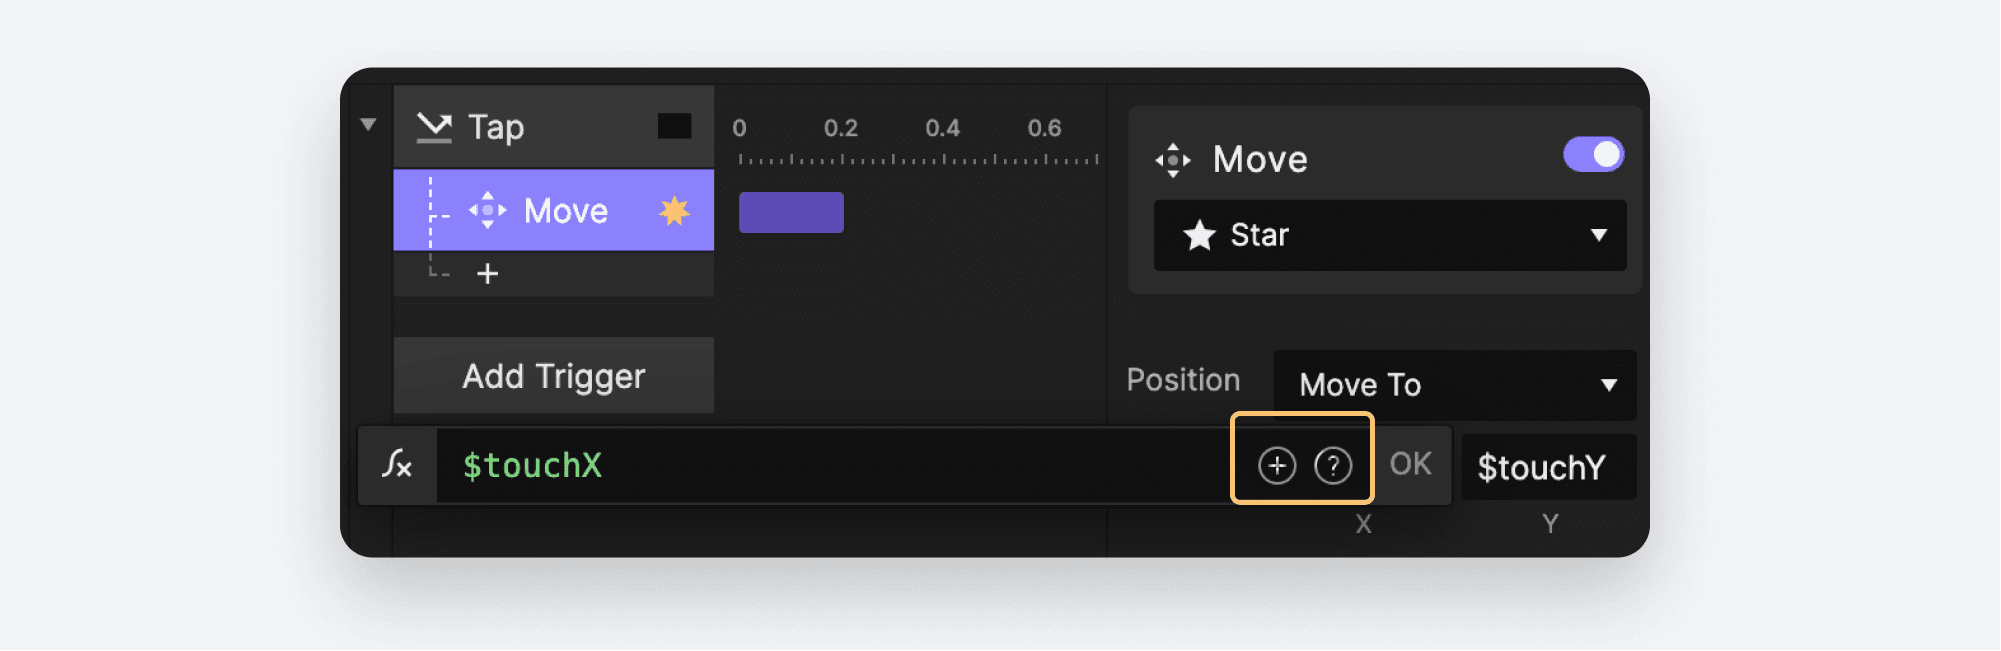
In the formula box, type $touchX. ProtoPie will color this text green to indicate that it recognizes you're using a variable.

Click OK to commit your formula.
**💡 ****Pro-tip: **Click the OK button once you are done inputing your formula. If you discover that your formula has disappeared after you entered it, it's likely because you forgot this step.
Do the same for the Y position, but this time use $touchY as the Formula.
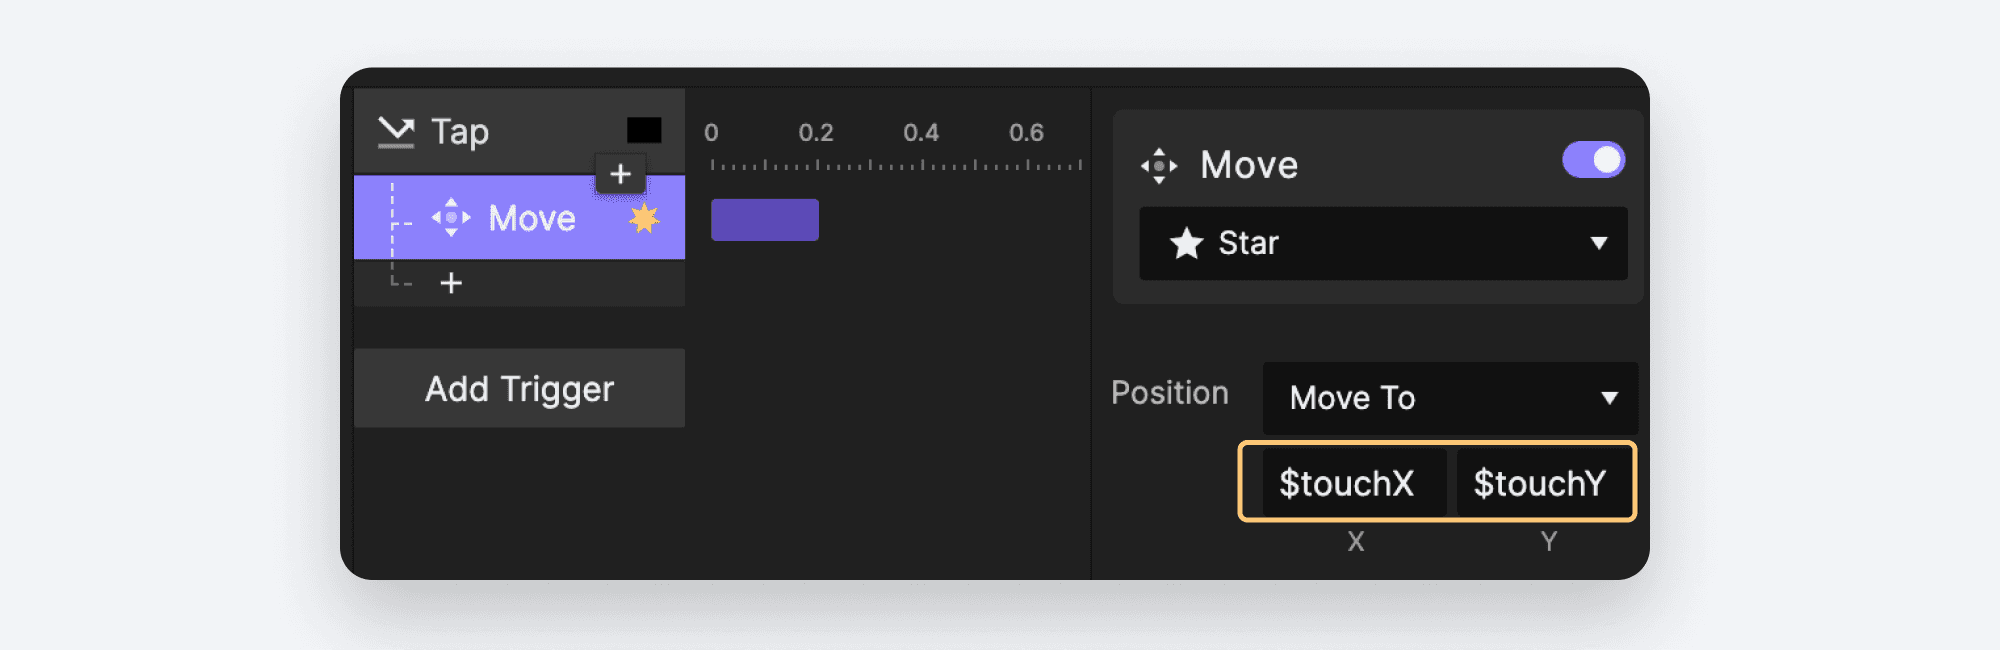
Preview this. Click anywhere in the Scene, and the Star should immediately move to the location you clicked.
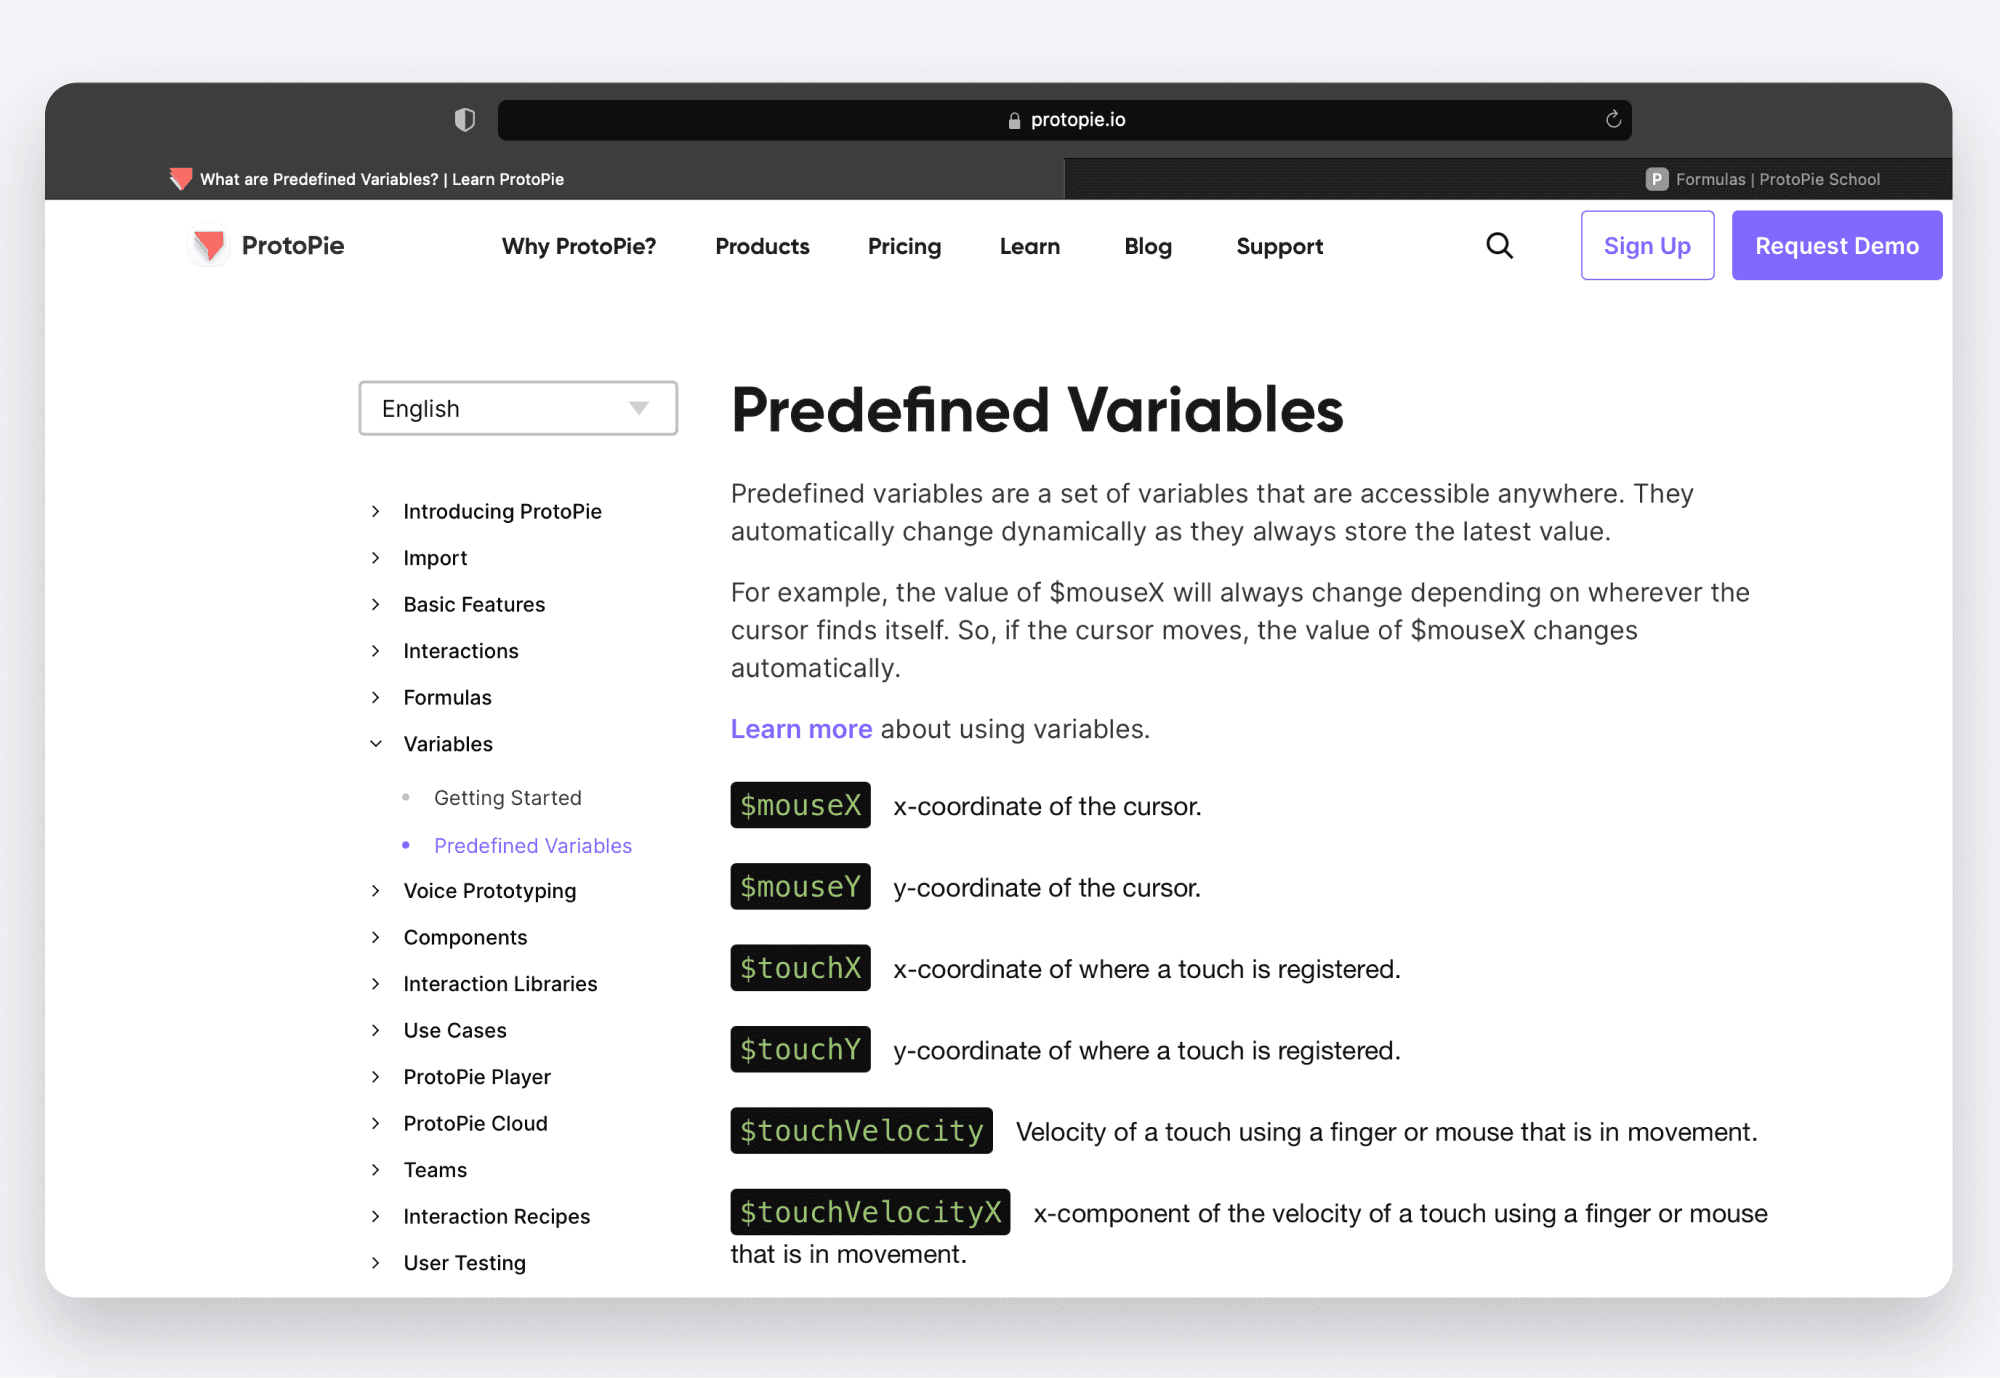
If you'd like to see all of ProtoPie's Predefined Variables**,** you can easily find them by clicking the little question mark icon visible at the right end of the formula entry box.
This will open a browser window to the documentation for Formulas. In the left-hand sidebar, navigate to Variables → Predefined Variables.
Joining Text
In our previous example, we just used single bits of information to create a formula: the Predefined Variables $touchX and $touchY. However we can use Formulas to put pieces of information together.
In your Pie, open Scene 2 - Greeting. This Pie has a bit of instructional text, an input field, and a blank text field. We'd like the user to enter their name and when they press Return, have ProtoPie greet them with the name they entered.
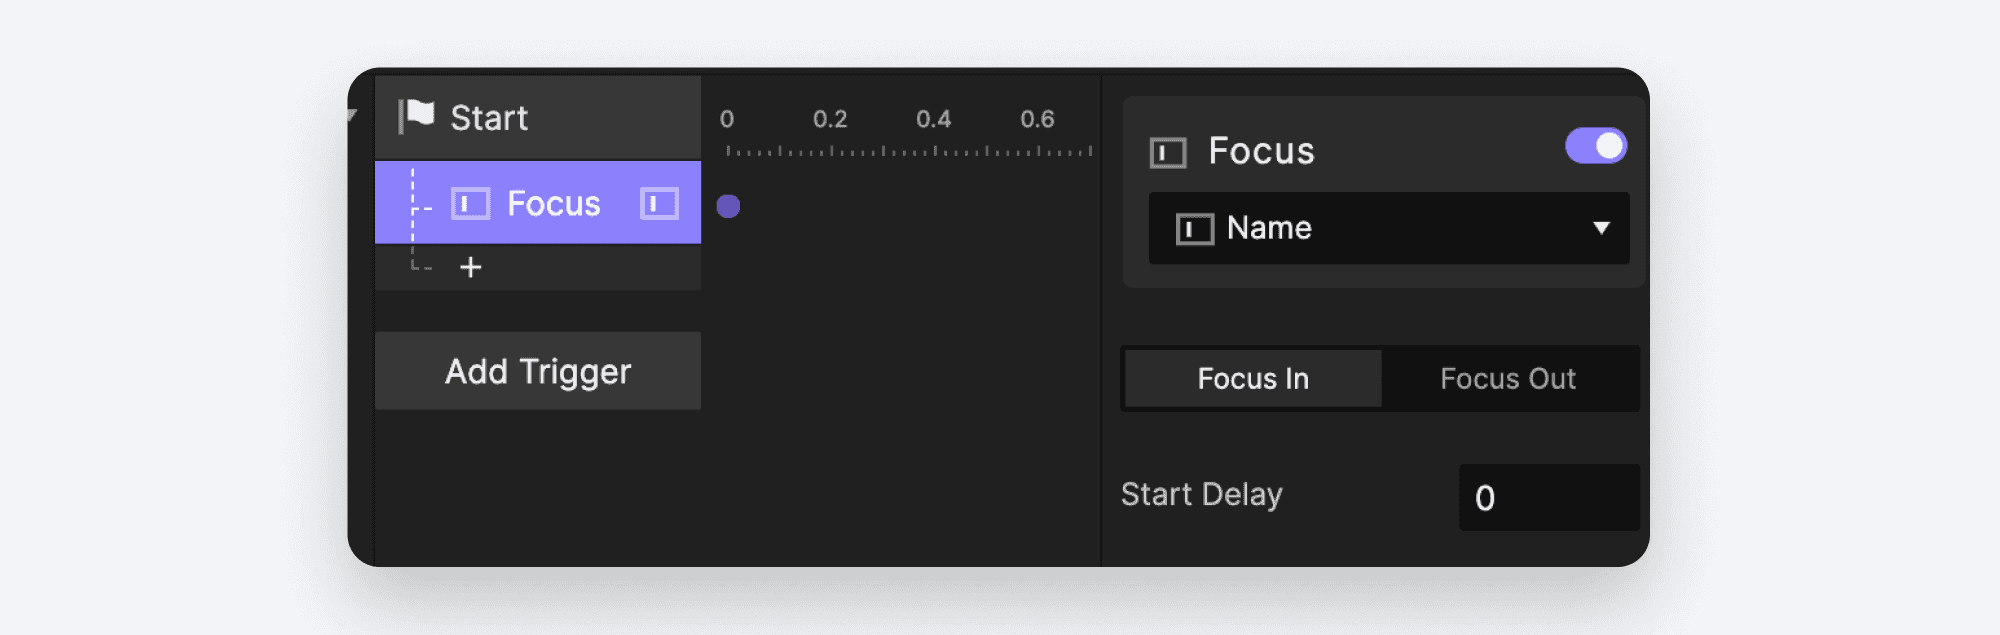
Let's have the input field focused at the start of the Scene. Add a Start Trigger.
Add a Focus Response to the Name Input Layer. Make sure Focus In is selected.
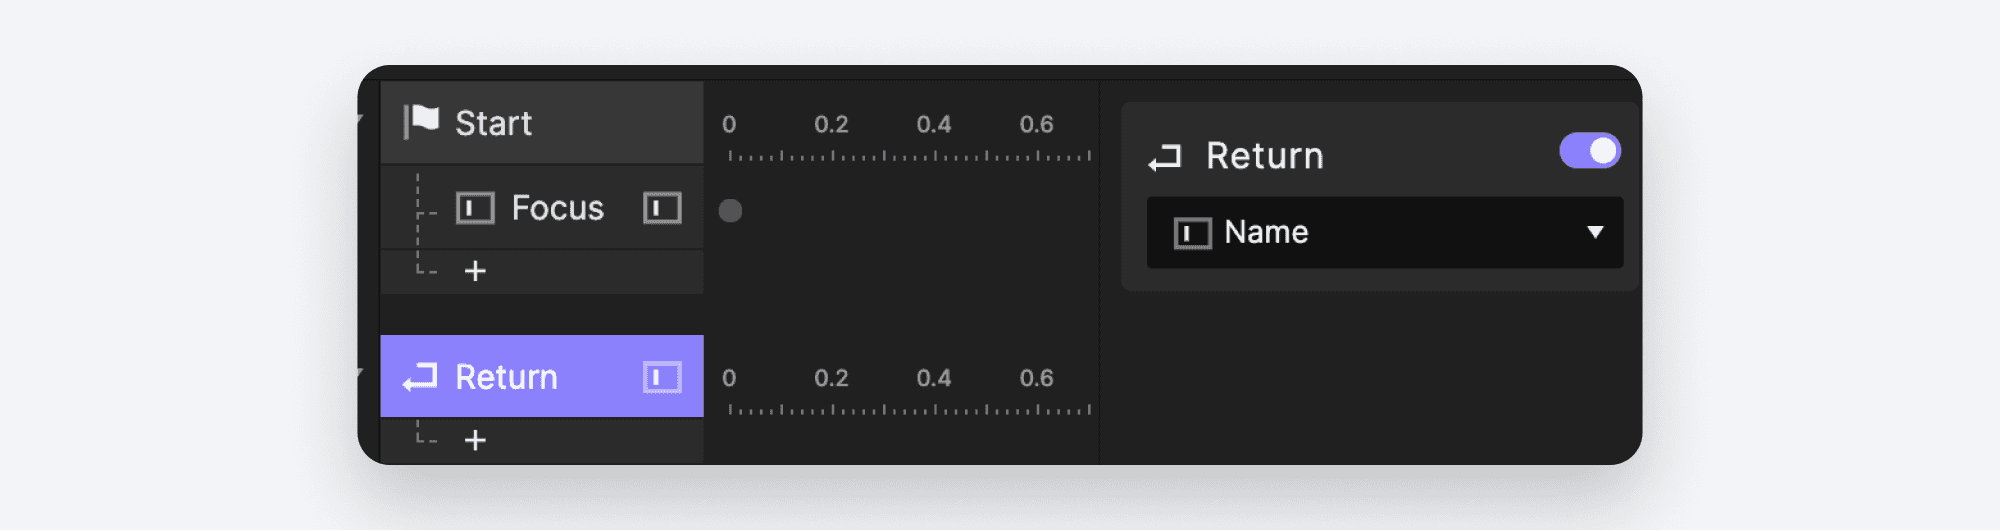
Add a Return Trigger to the Name Input Layer.
Add a Text Response to the Greeting Layer.
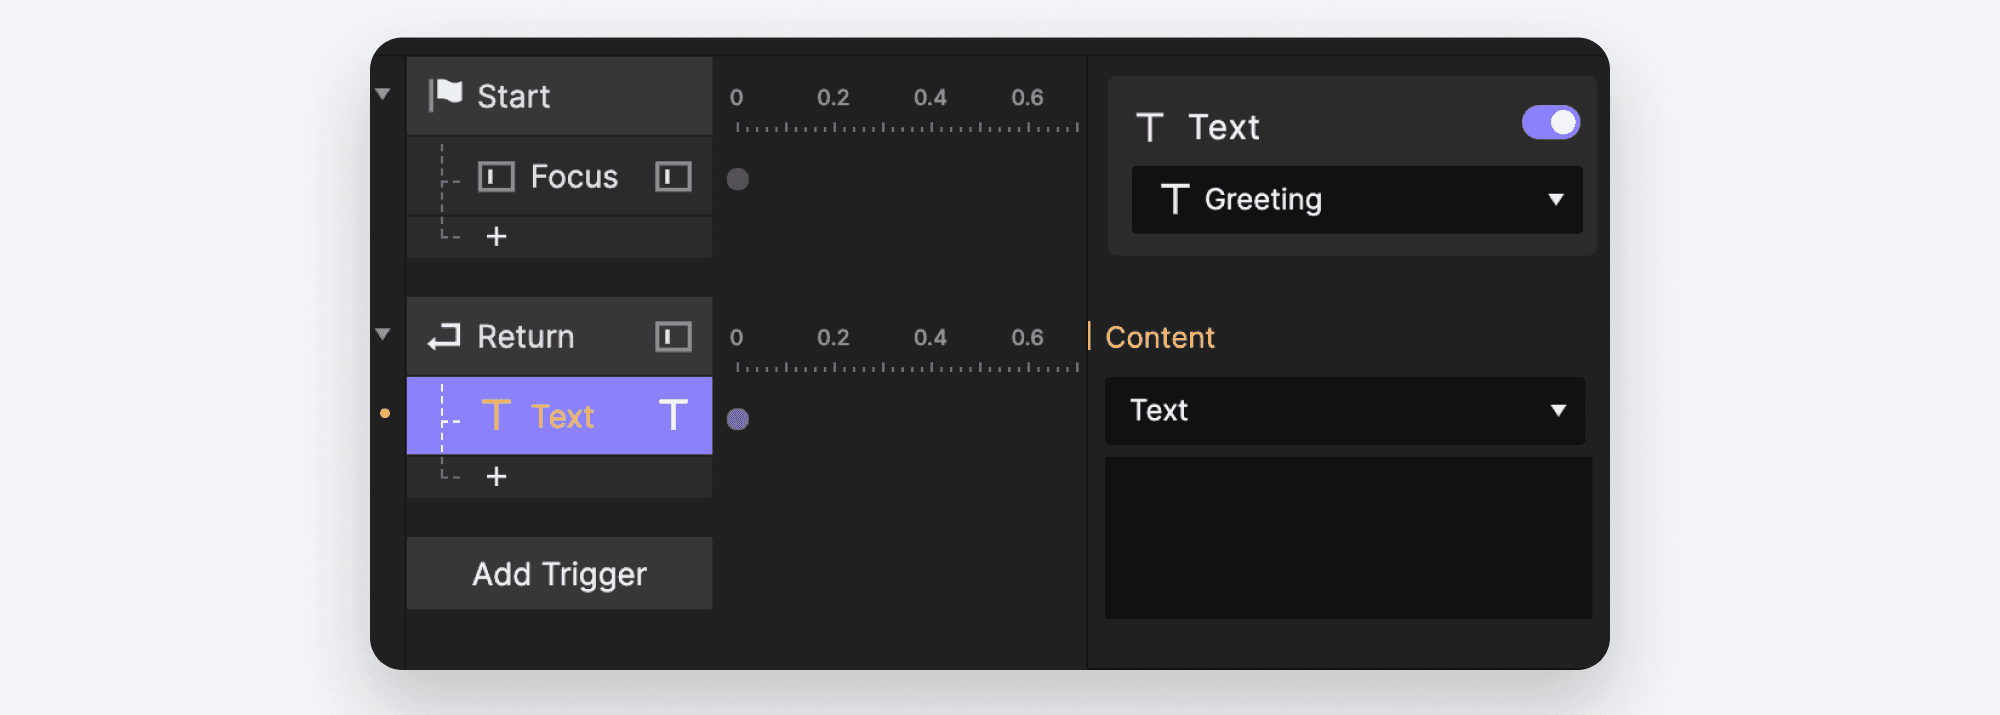
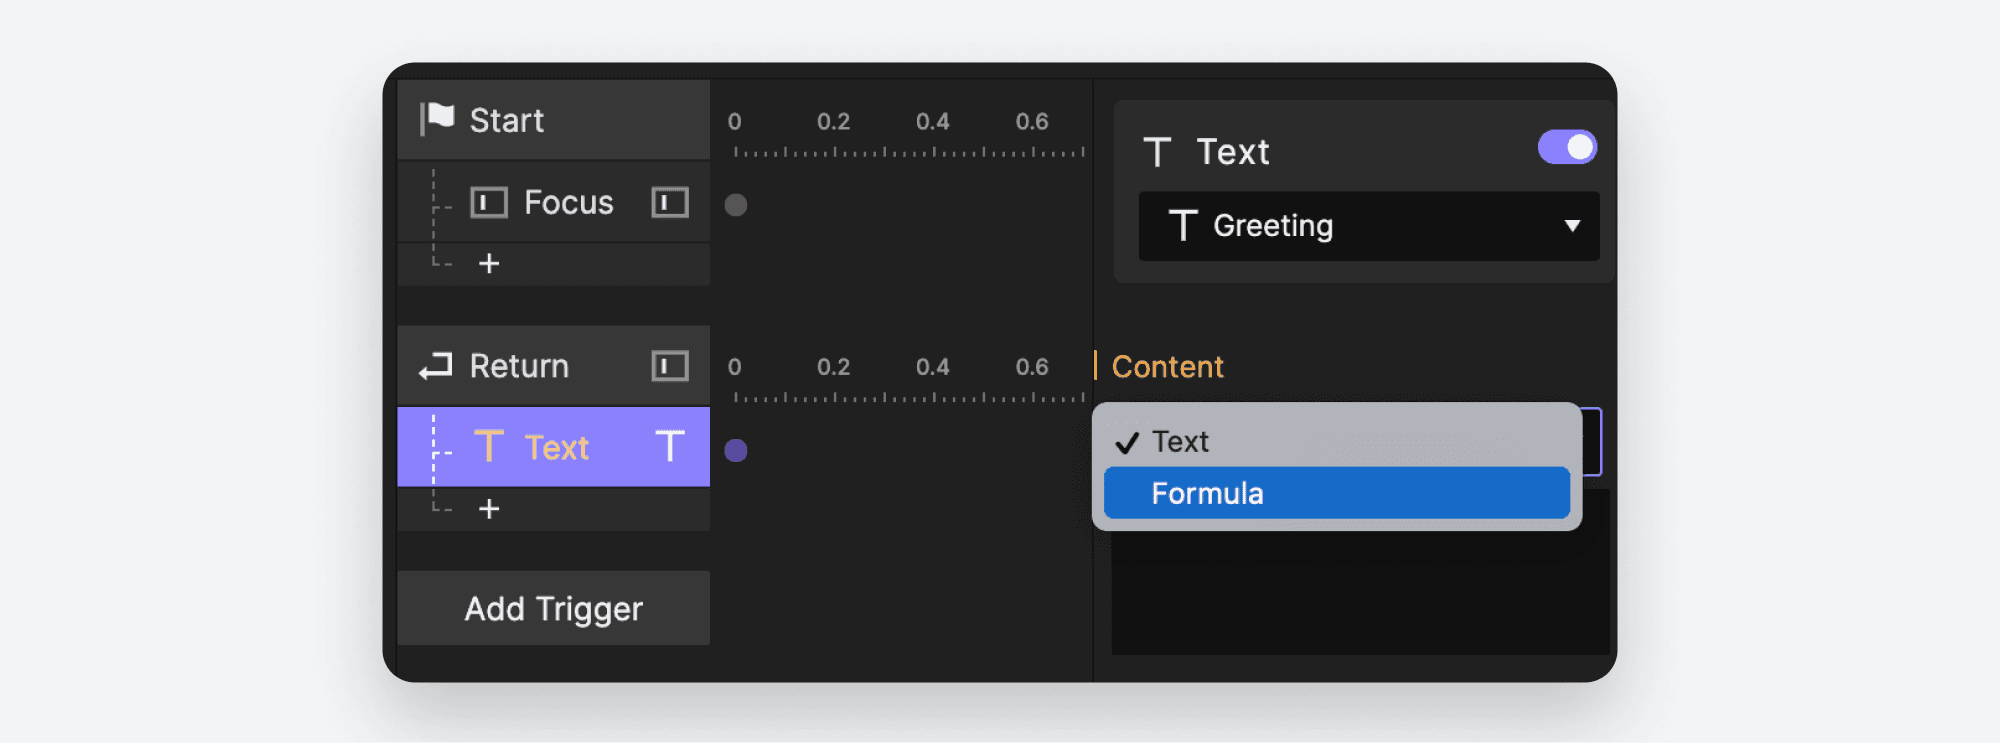
Since we don't know the user's name until they have entered it, we'll need to use a Formula to dynamically construct the greeting text. Text Responses allow us to use a formula instead of explicit text. In the drop-down list under Content, choose Formula.
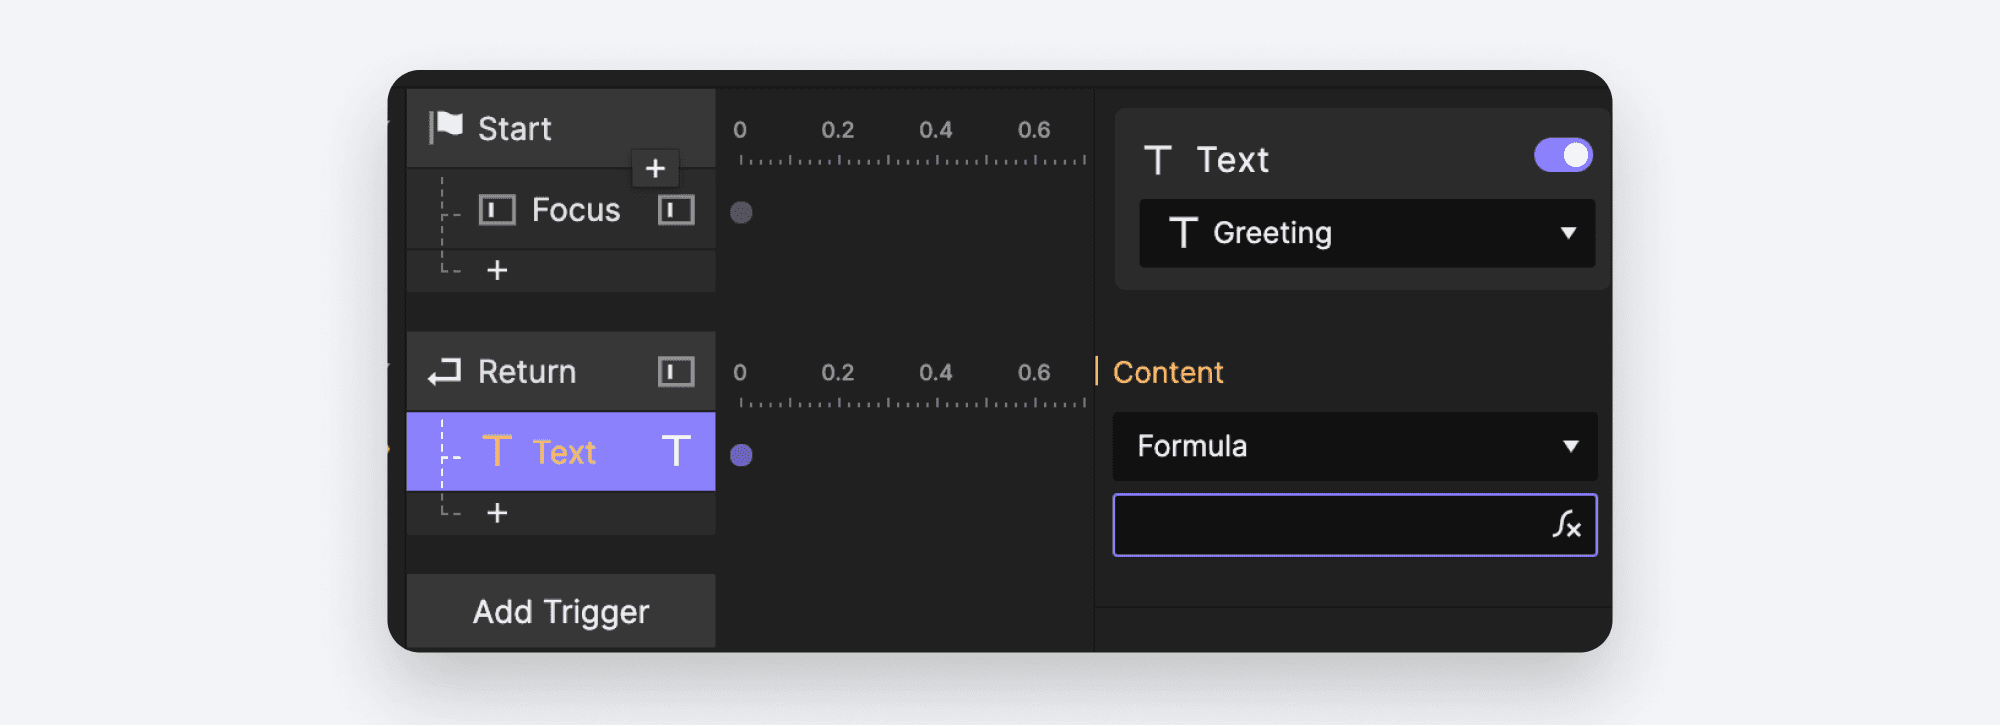
The box underneath the drop down changes, and if you click it, you'll see the familiar ∫x icon.
We're going to construct a greeting that reads "Hello, NAME", but we'll replace NAME with whatever the user has typed into the Name field. There are two parts to our greeting:
The known part: Hello,
The unknown part: NAME
We're going to construct our greeting in two parts.
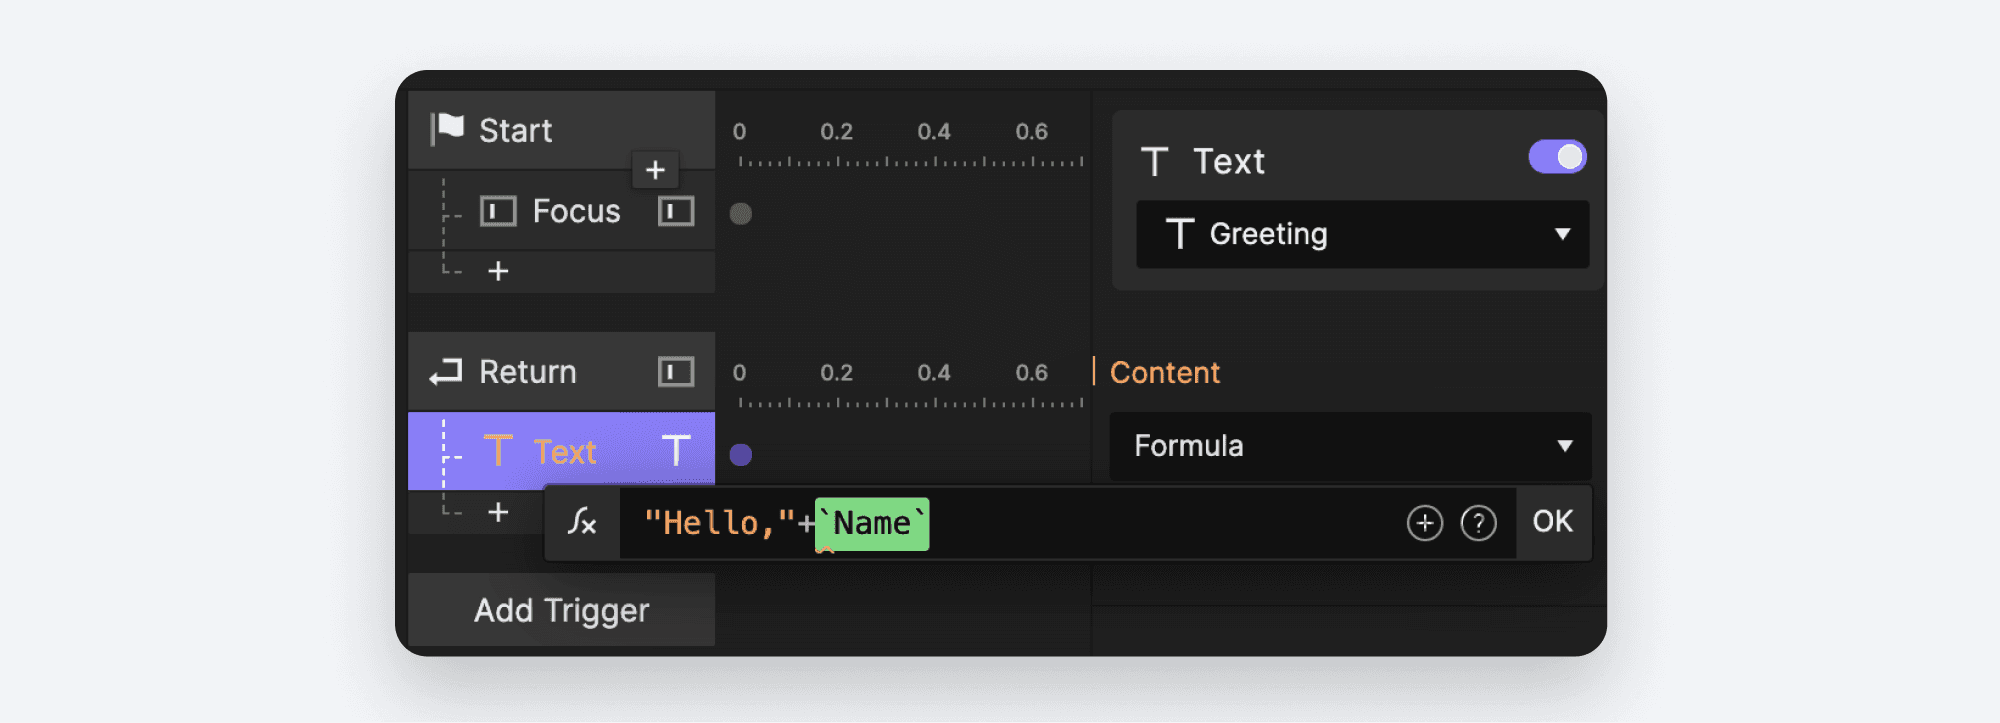
Type the following exactly as you see it, including the quotation marks:
"Hello,"
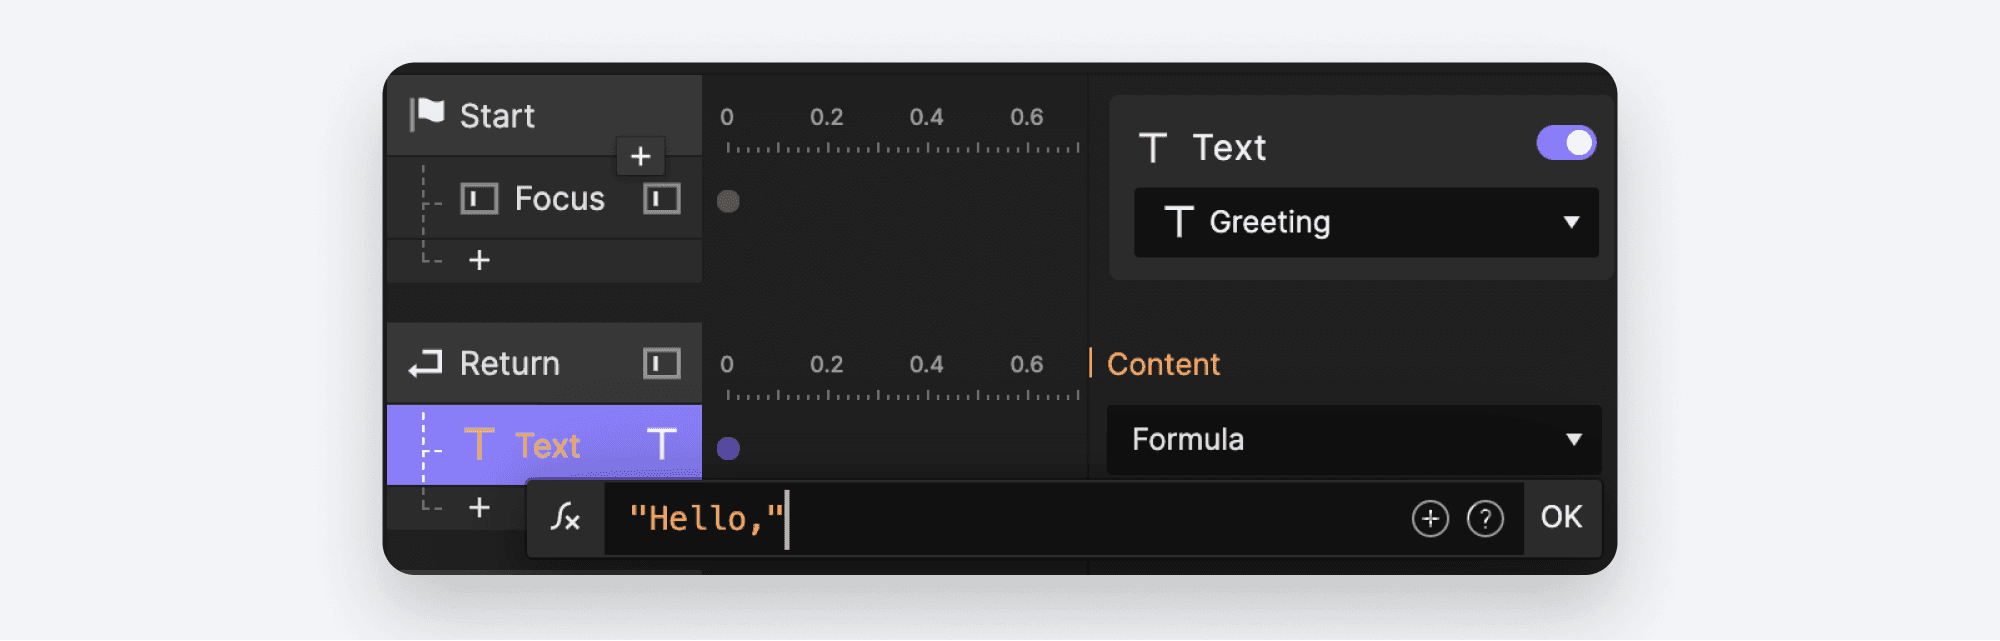
When you enclose text in quotation marks like we did here, you're telling ProtoPie to output exactly what is included inside the quotation marks. In programming, this is known as a literal string. We speak English, so we'll call it static text. ProtoPie colors static text in this orangey-reddish color.
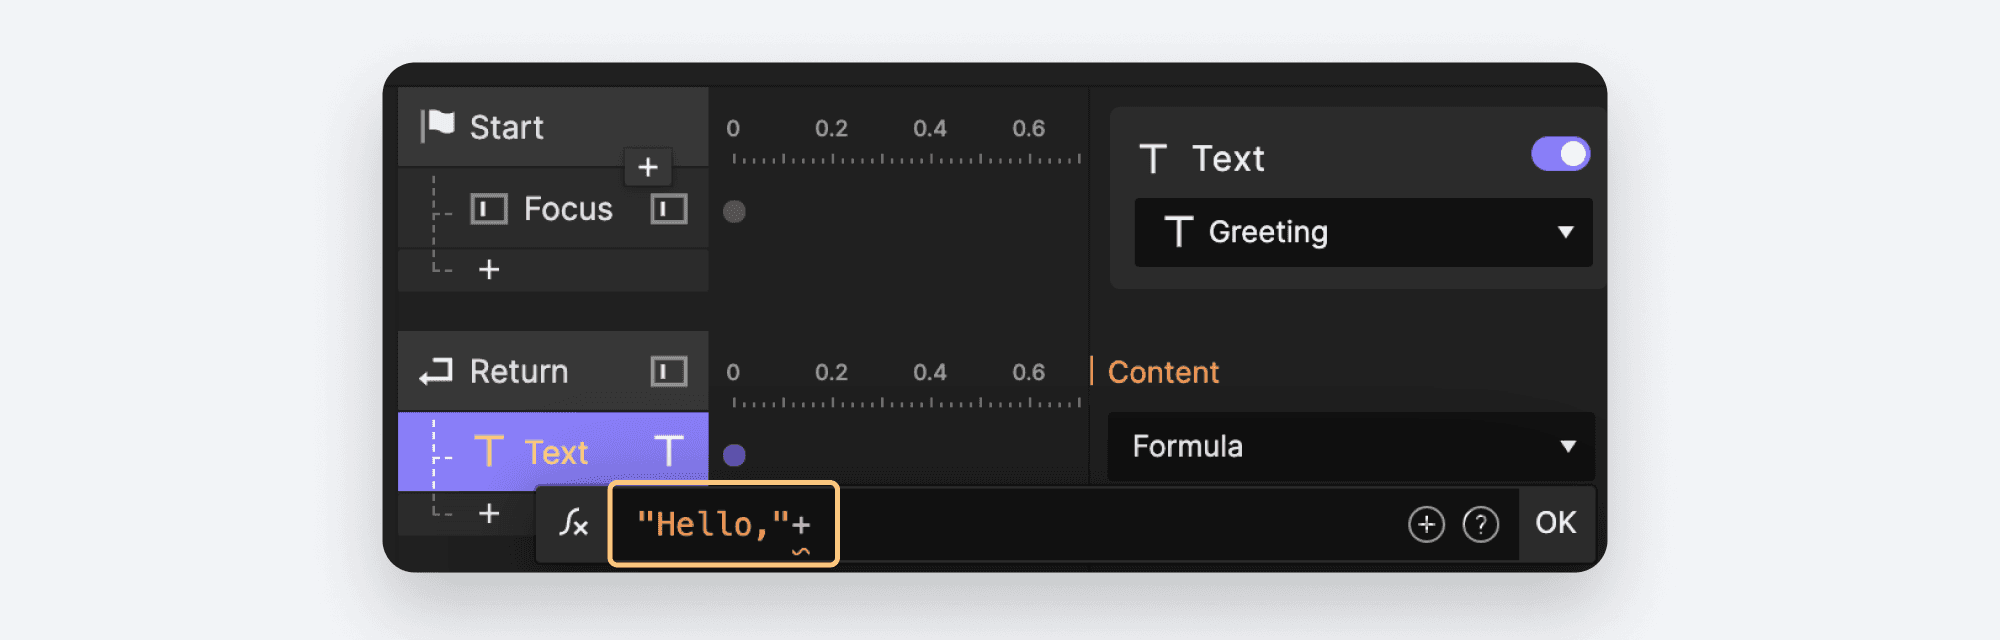
Type the
+character. This tells ProtoPie that you'd like to join some more text to your static text.
We'd like to include whatever has been typed in to the Name Input Layer. ProtoPie automatically stores the entered text as a property of the Layer. We'd like to access this property in our formula. Click the ⊕ icon that appears near the right end of the Formula input box. This will reveal all of the Layers in your Scene. Select the Name Layer.
ProtoPie will highlight the Layer name in green.
To access the properties of this layer, type the dot
.character. A list of all of the available properties will be displayed. Scroll down and choose thetextproperty.
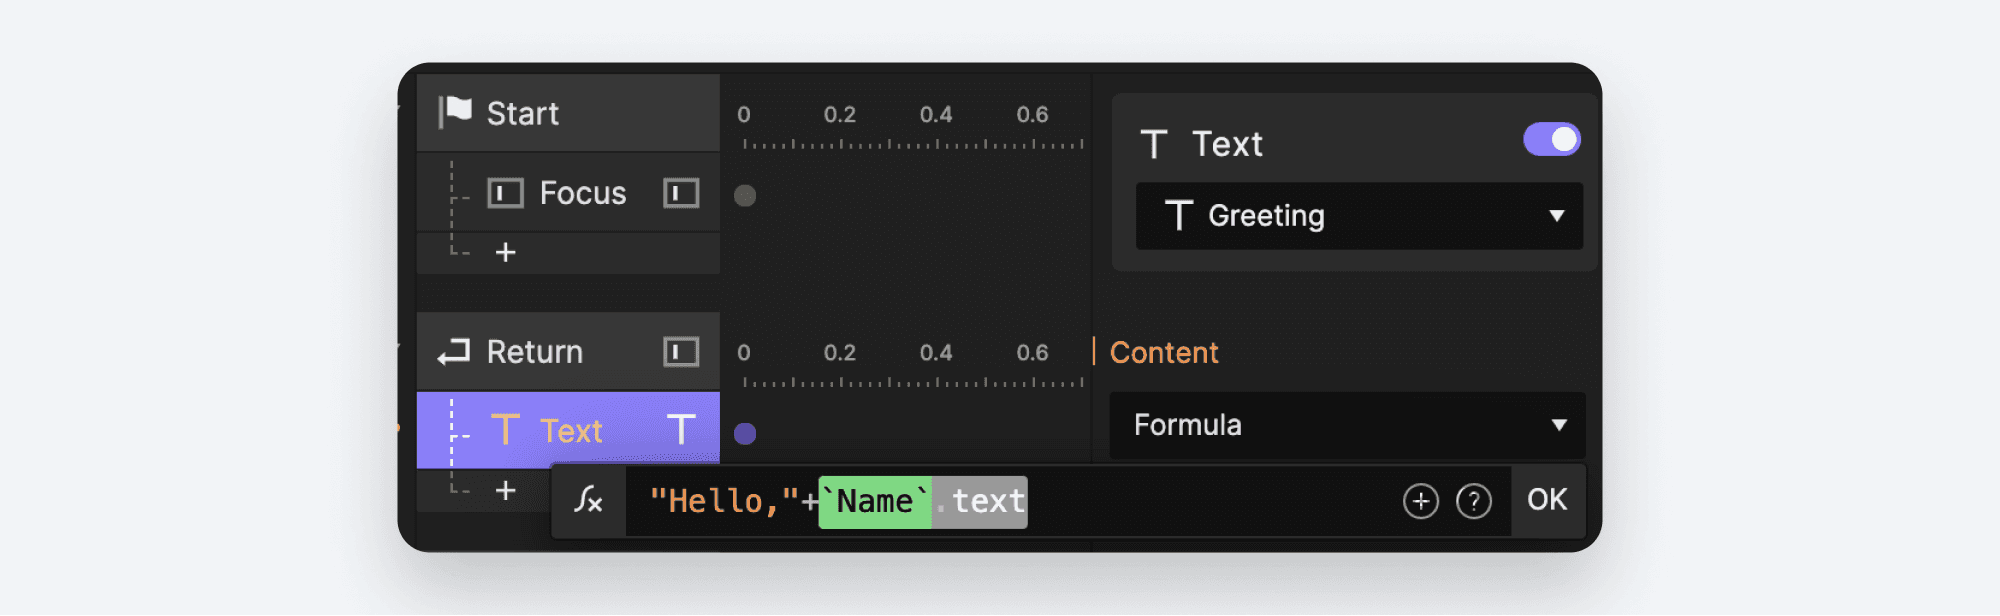
Click OK to commit your Formula.
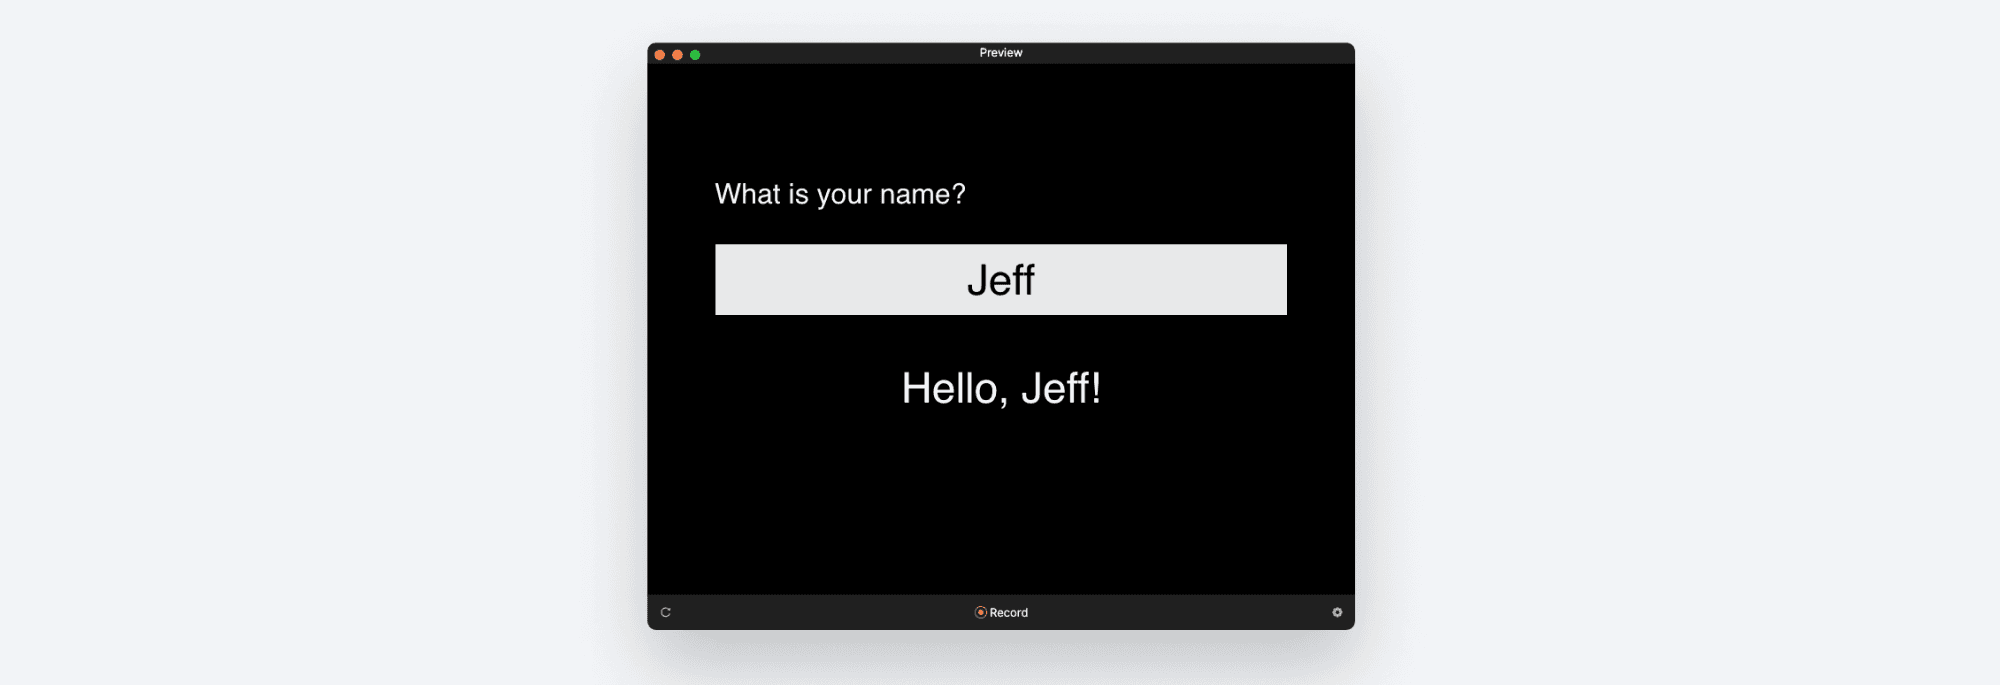
Preview this. Type a name into the input box, and press Enter.

It worked, but it's not quite perfect... there is no space between "Hello," and "Jeff". That's because we didn't tell ProtoPie to add a space. Let's modify our Formula.
In the Text Response, click the Formula box to reveal the ∫x icon.

Modify the static text portion to include a space after the comma, but before the closing quotation mark. Remember that when you write static text, ProtoPie will output exactly what is included between the quotes, including any spaces.

Click the ∫x icon to reveal our Formula.
While we're here, let's make ProtoPie a little more excited to meet you by adding an exclamation point to the end of our greeting. You can join more pieces of text with additional
+characters. Add the static text"!"to the end of your formula as follows:

Click OK to commit your change.
Let's Preview this again. This time, our greeting should include the space and have an exclamation point at the end.
Great job! Formulas in ProtoPie don't end at joining text. In the next lesson, we'll use them to make ProtoPie do some math. See you there!


