

One of the most powerful features available in ProtoPie is your ability to use variables in your prototype. In this lesson, we’re going to talk all about variables — what they are, how to use them, and some particular considerations you need to be aware of when you want to use them.
What you’ll need
In order to follow along with this tutorial, download this sample pie and open it in Studio:
What you’ll learn
By the end of this tutorial, you’ll have learned:
What a variable is and why it’s called a “variable”
What types of data can be used with variables in ProtoPie
Time to complete: ≤10 minutes
What is a Variable?
The word variable is a programming term. It is just a way to store a small bit of information, say, a name, a number, a color value, etc. What you store in a variable can change — or vary, hence the name “variable” — depending on the needs of your prototype. For example, you might store the name “Leah” in a variable called “name” at the beginning of your experience, but later decide to instead store the name “Bern.” ProtoPie gives you the ability to change what is stored in a variable at any time.
Variable Types
When you create a variable in ProtoPie you need to specify what type of information the variable will contain. ProtoPie allows three types:
Number - A whole number or a decimal, e.g.,
25,-403,3.14Text - A sequence of alphanumeric characters, e.g.,
Jeff,40 Bay Street,auston@mapleleafs.comColor - a hexadecimal colour value, e.g.,
#FF0000
The type you choose is important. You can only set or update a Number type variable with numeric information. Similarly, a Text type can only be set or updated with text-based information. You can’t, for example, set the value Jeff to a Number type variable — Jeff isn’t a number. So you need to be mindful of what kind of information you’d like to store in your variable when you create it.
💡 Pro-tip: If you want to perform some math or do some counting, then a Number type is most appropriate. For anything that is text-based — a name, an address, an email, etc. — use a Text type variable. If you want to store color values, say for your design system color palette, use Color type variables.
You can create as many variables as you’d like in your Pie. So if you need a variable to store a number and you need a variable to store some text, you can create separate variables for each.
A Simple Example
Take a look in the example Pie. In the first scene we have a form that asks for the use to input their name. There’s also an empty text layer named Simple greeting. We’re going to create a variable to store whatever the user types into the Your name layer and when the user taps Next we will display the value of the variable in the Simple greeting text layer.
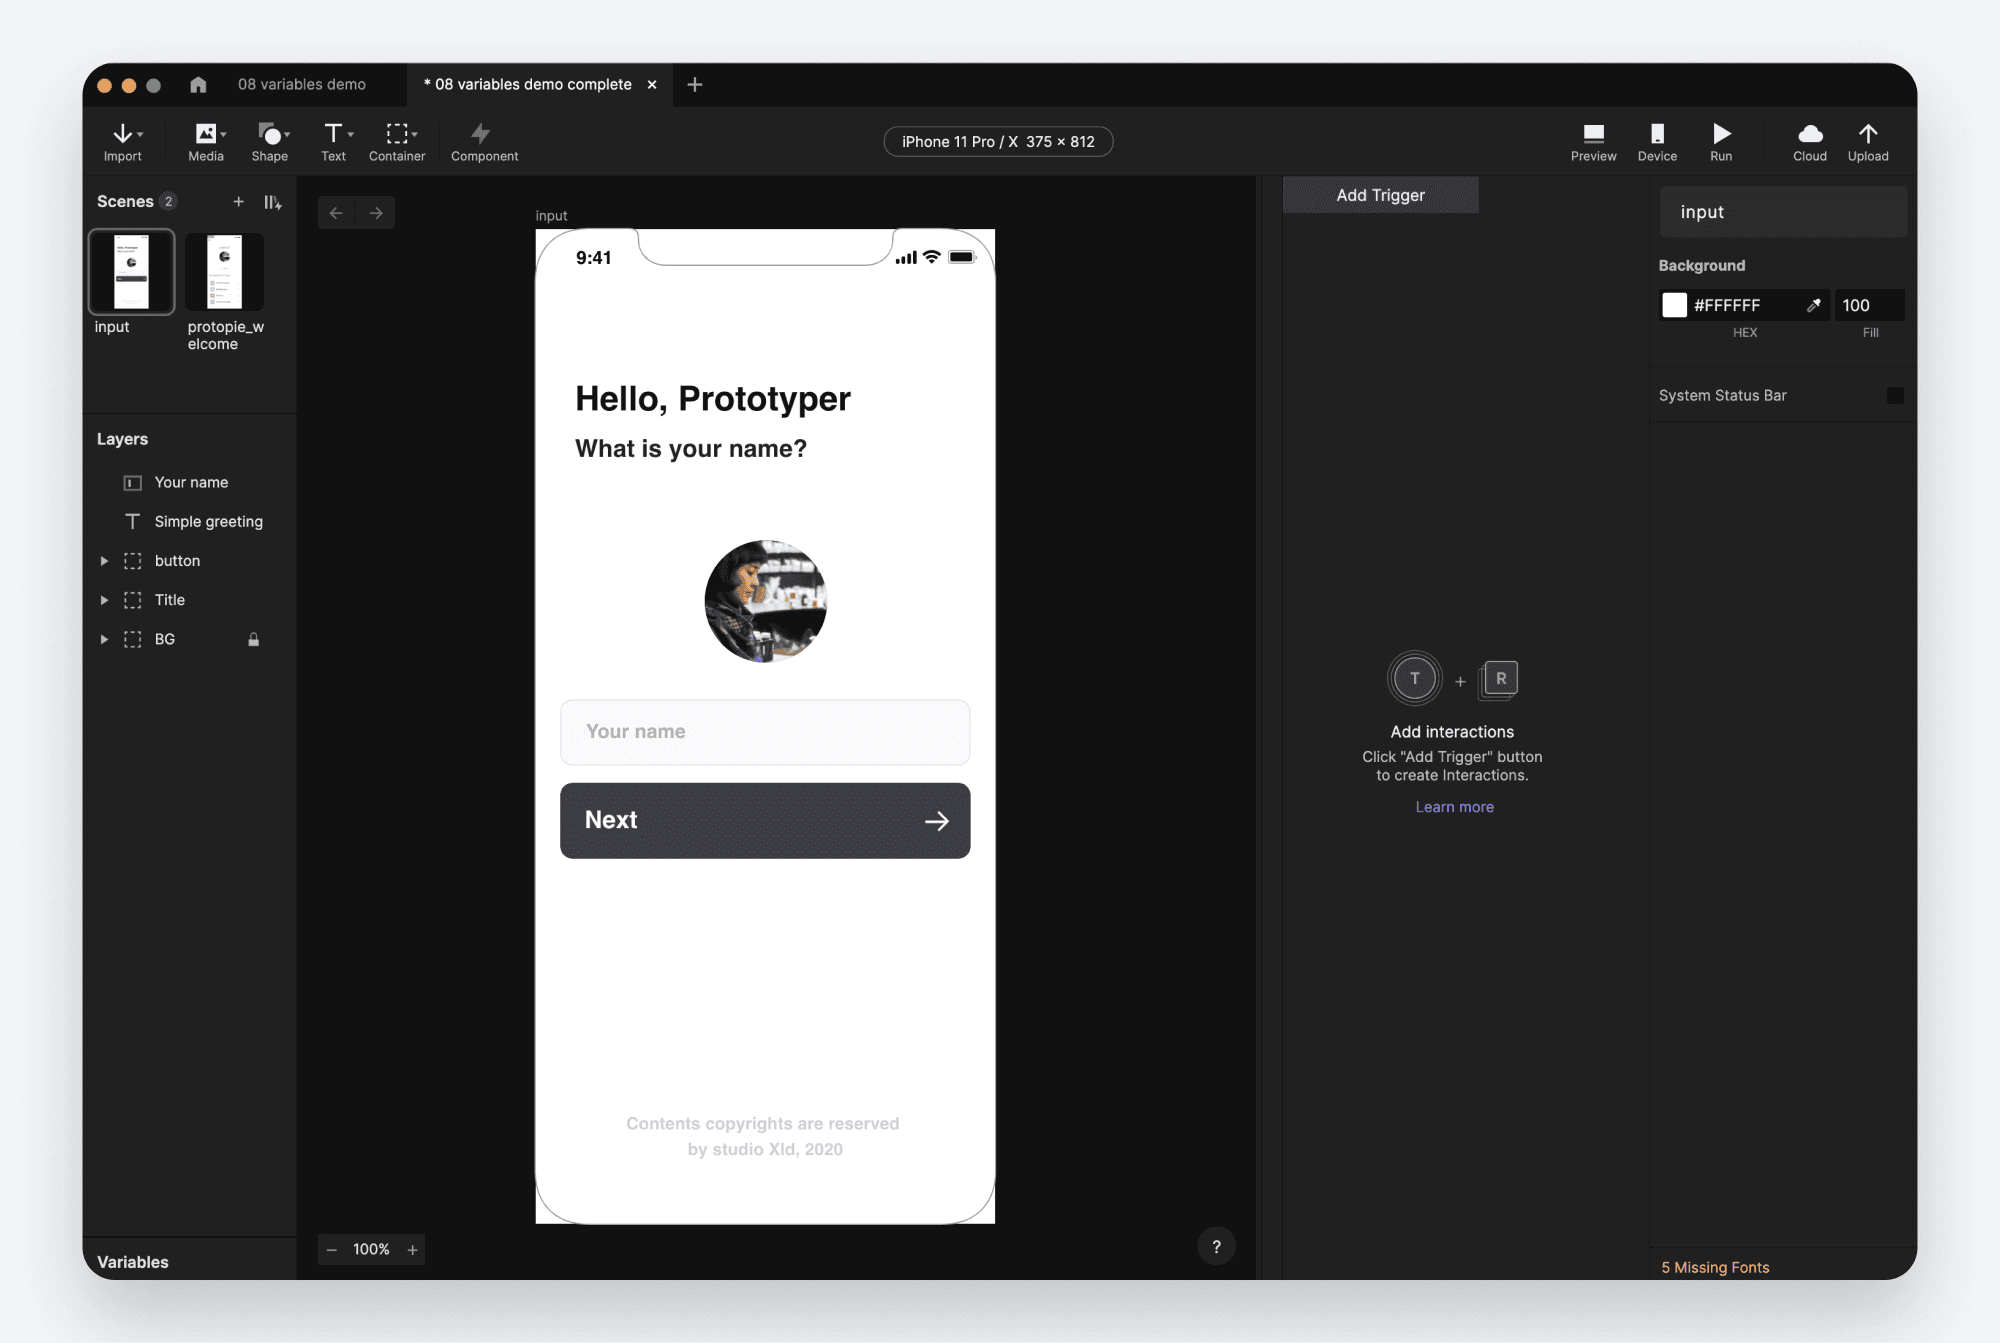
Look for the Variables panel in the bottom left of Studio’s interface. It is most likely collapsed by default. Click it once to expand the panel.
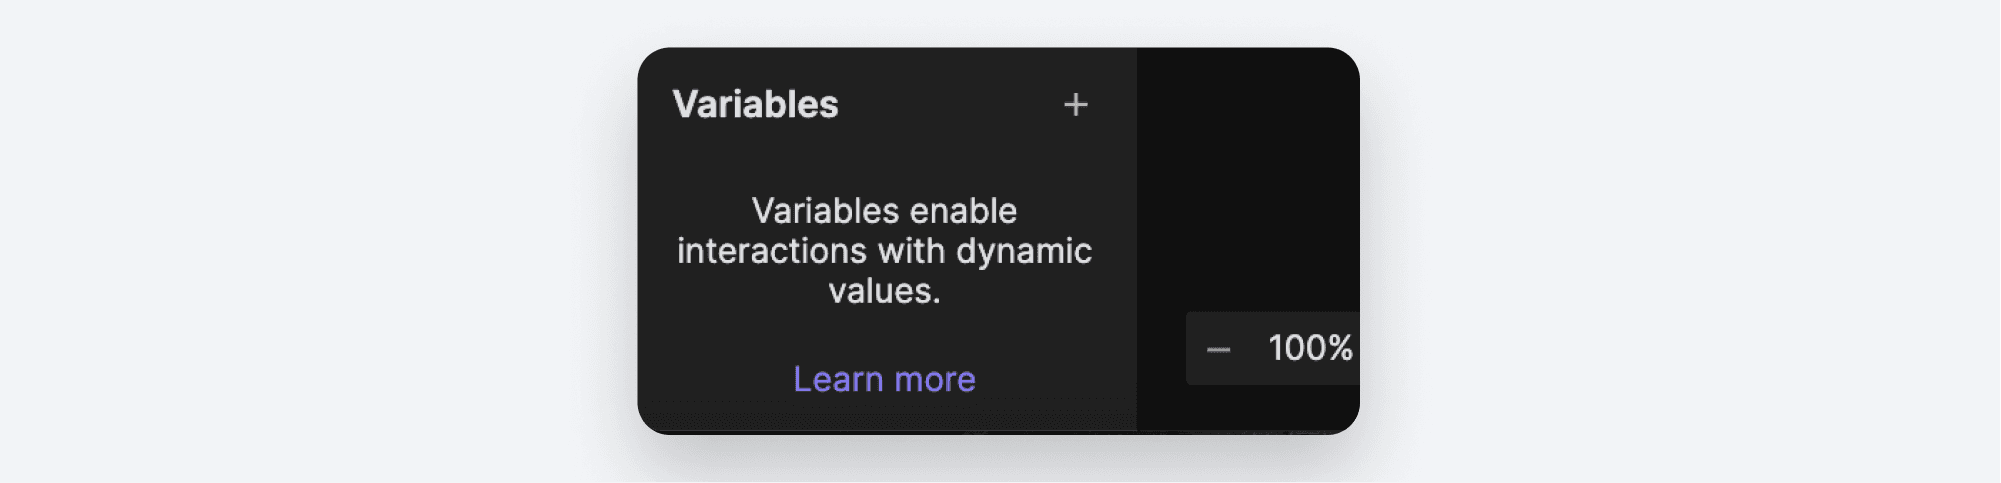
Click the
+icon to create a new variable. You are presented with two options:For All Scenes
For This Scene
We’re going to demonstrate the difference between these two options in a moment.

For now, just pick For This Scene.
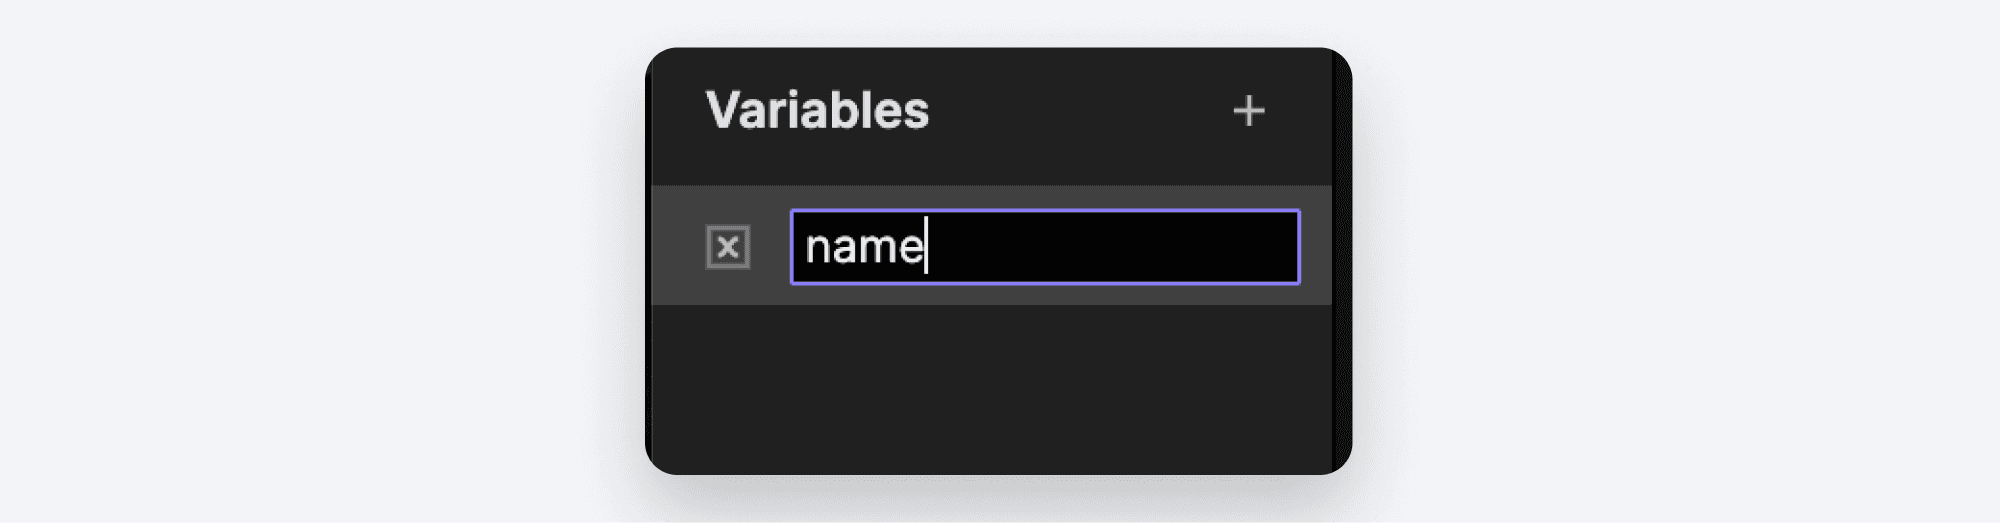
ProtoPie creates a variable named
variable1. This name is not very meaningful for how we intend to use it. So let’s give it a more meaningful name. Since we’ll be using it to store the name of the user, let’s call the variable “name.” Double-clickvariable1and rename it to name.
Now let’s use this variable. We’d like to detect what the user types into the Your name text box and set the value of our name variable to whatever has been typed.
Create a Detect Trigger for the Your name text layer.
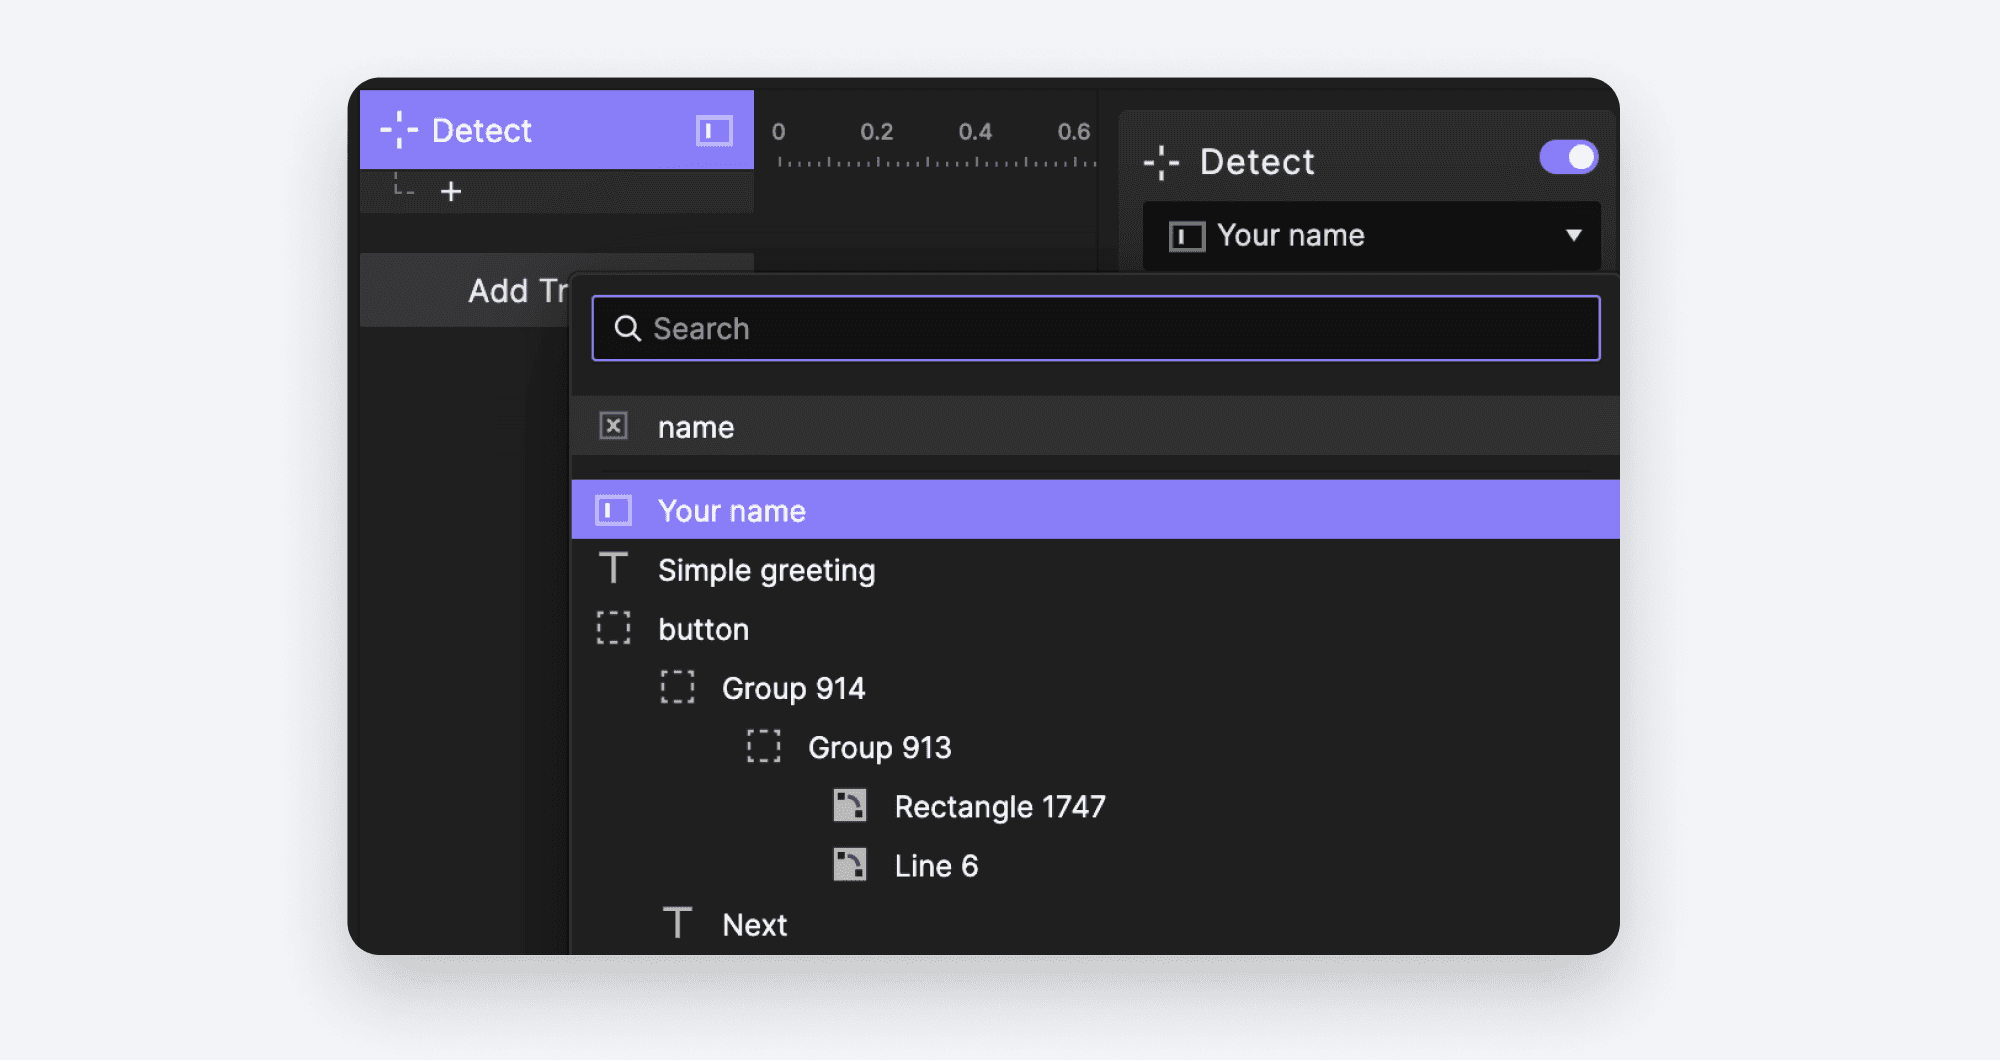
Select the Text property as the property we’d like to watch for changes.

Add an Assign response. We use the Assign response whenever we want to make an update — or assign a new value — to a variable.
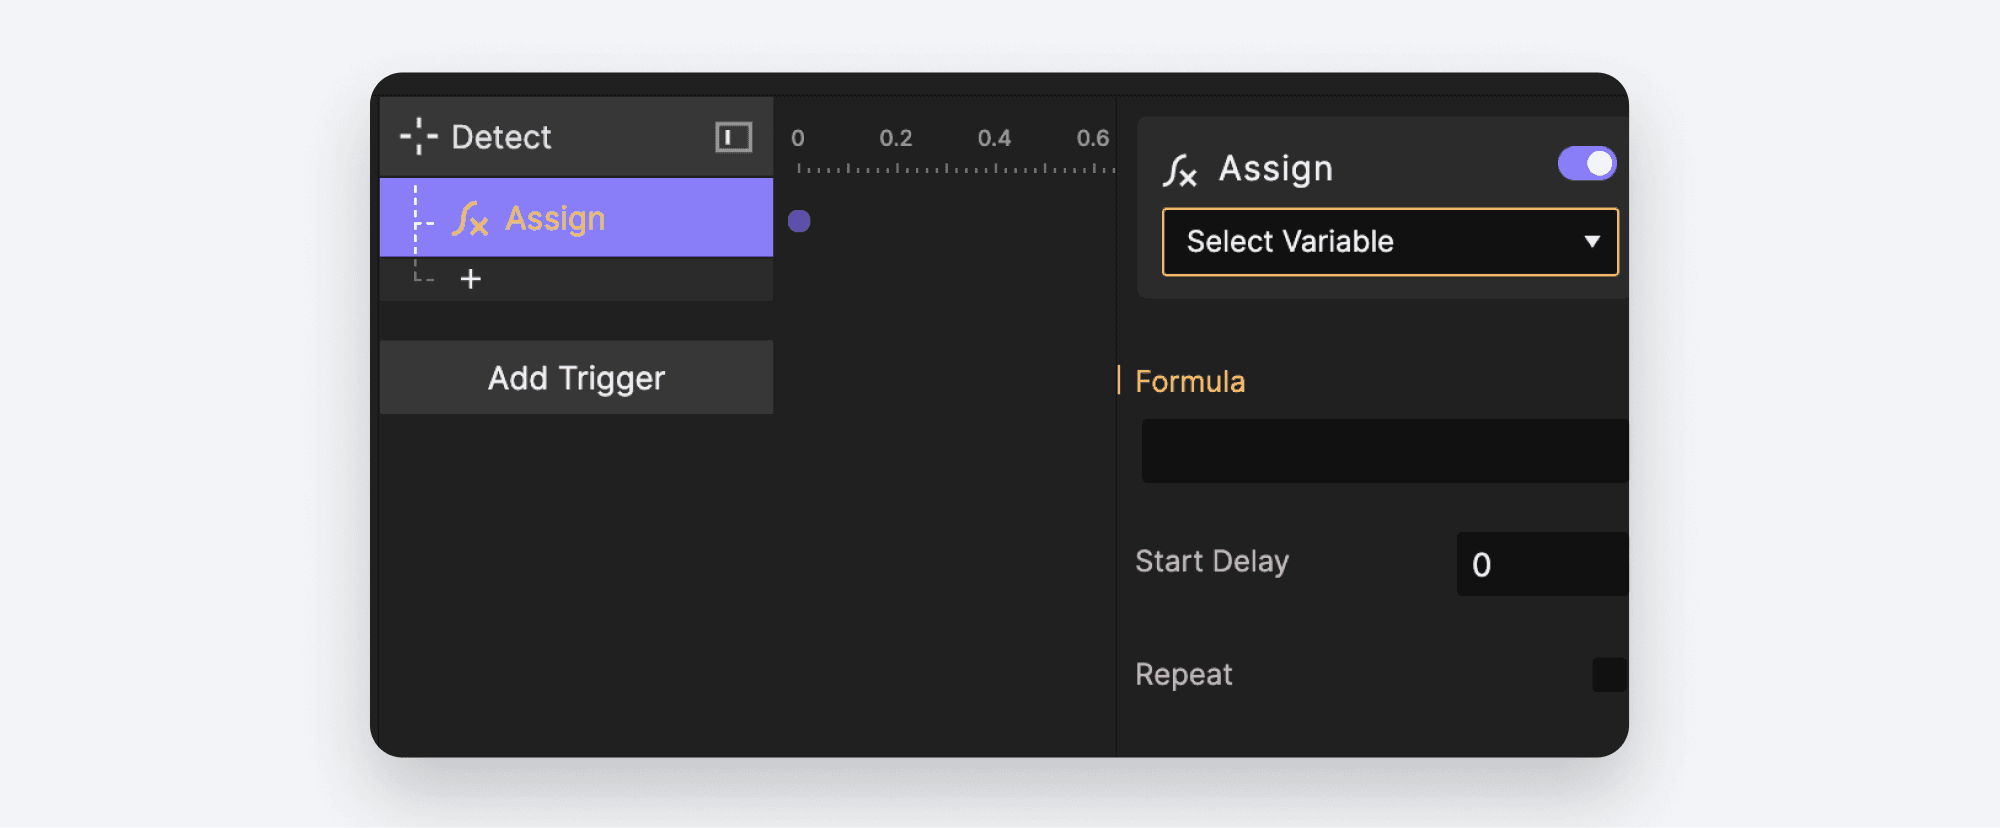
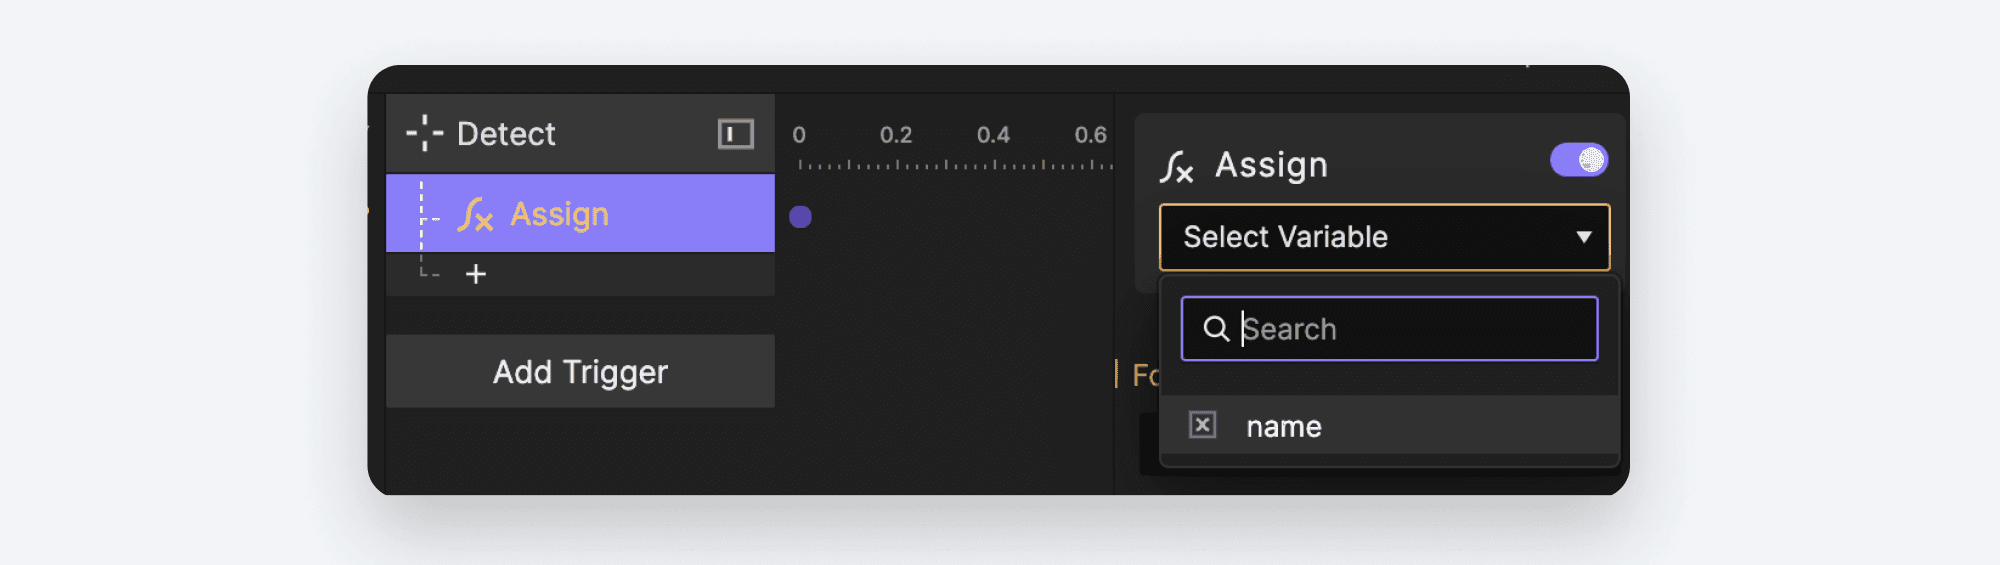
In the Select Variable drop down, choose the variable you just created called name.
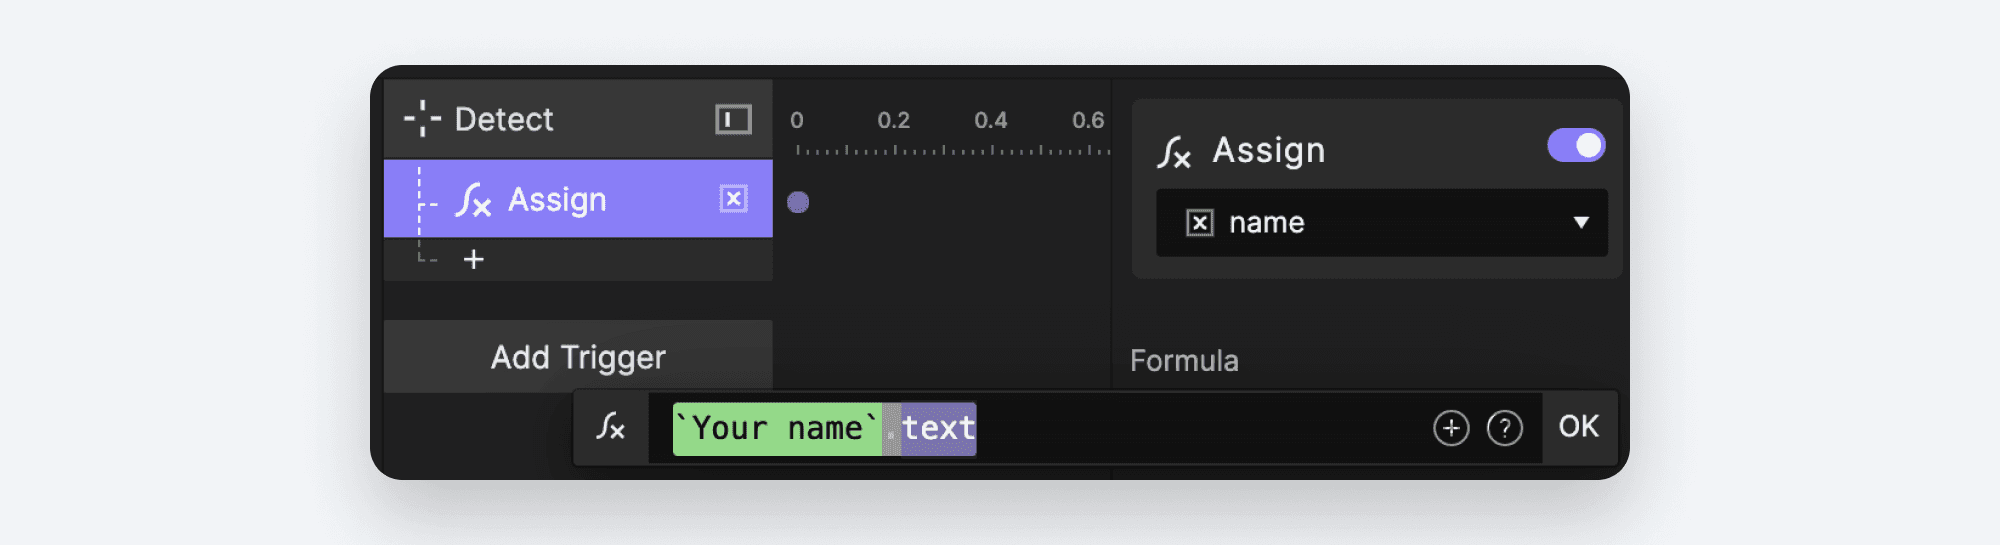
Whenever you assign a new value to a variable, you need to do so using a Formula. Whatever you specify in the Formula box is what gets assigned to the variable. If you don’t know what a Formula is, be sure to check out the previous lesson Advanced feature - Formula basics. Click the Formula box to reveal the **∫x **icon.
In the Formula entry box, click the ⊕ icon and select the layer named Your name. Type the
.character to list all of the properties of the layer. Scroll down and choose Text. Click OK.
Our last step in this process is to display the value of our name variable when the user taps Next.
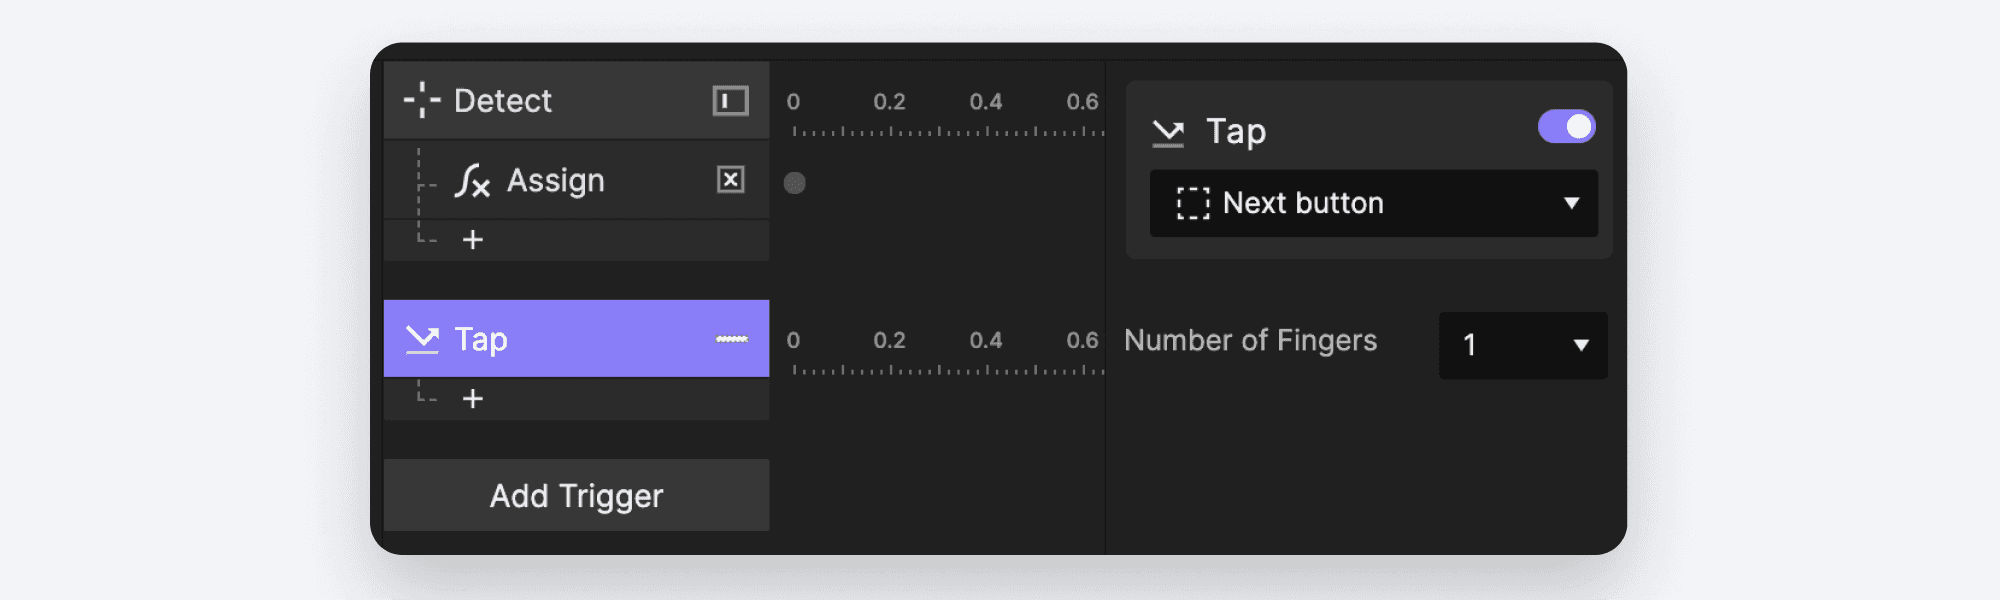
Create a Tap trigger for the Next button layer.
Add a Text response to the Simple greeting layer.
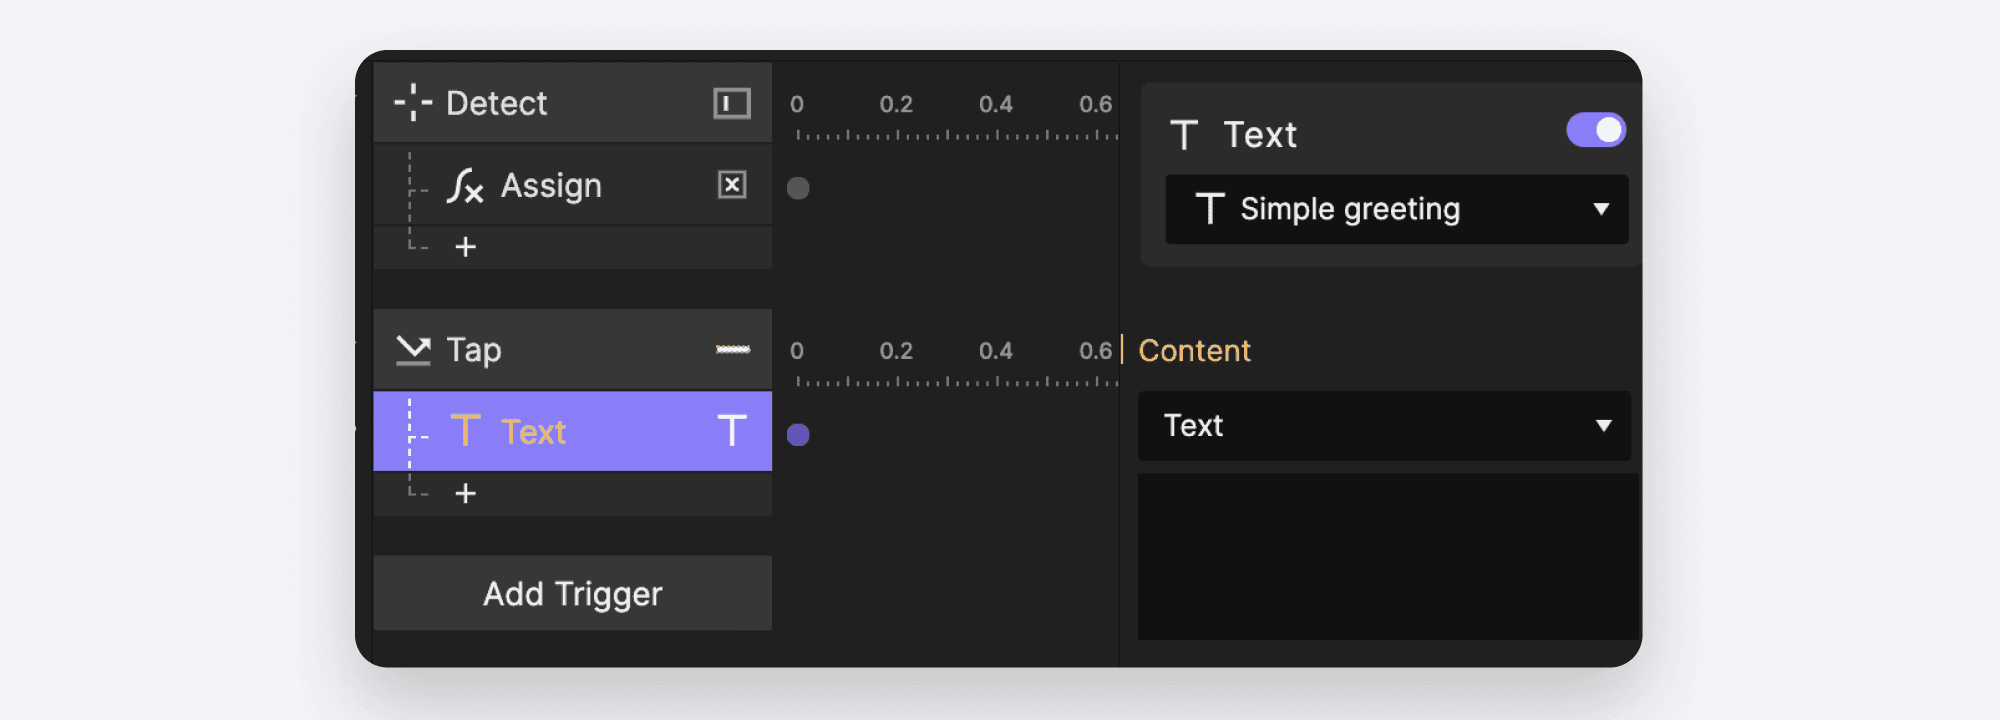
Under Content, choose Formula.
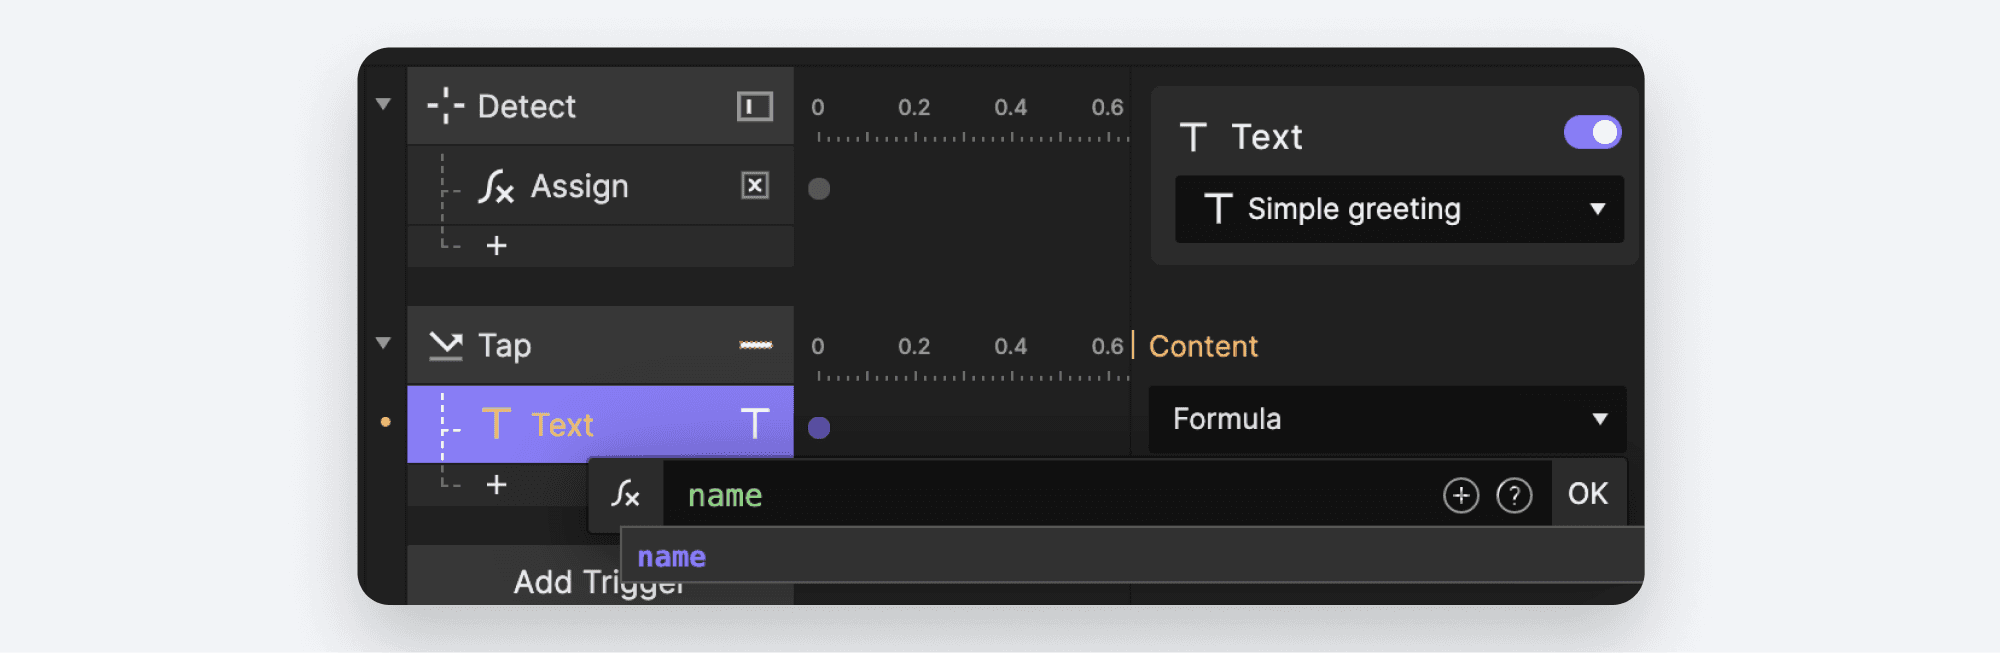
Click the box below Formula to reveal the ∫x icon and expand the Formula entry box. Type
nameinto the Formula entry box and click OK.
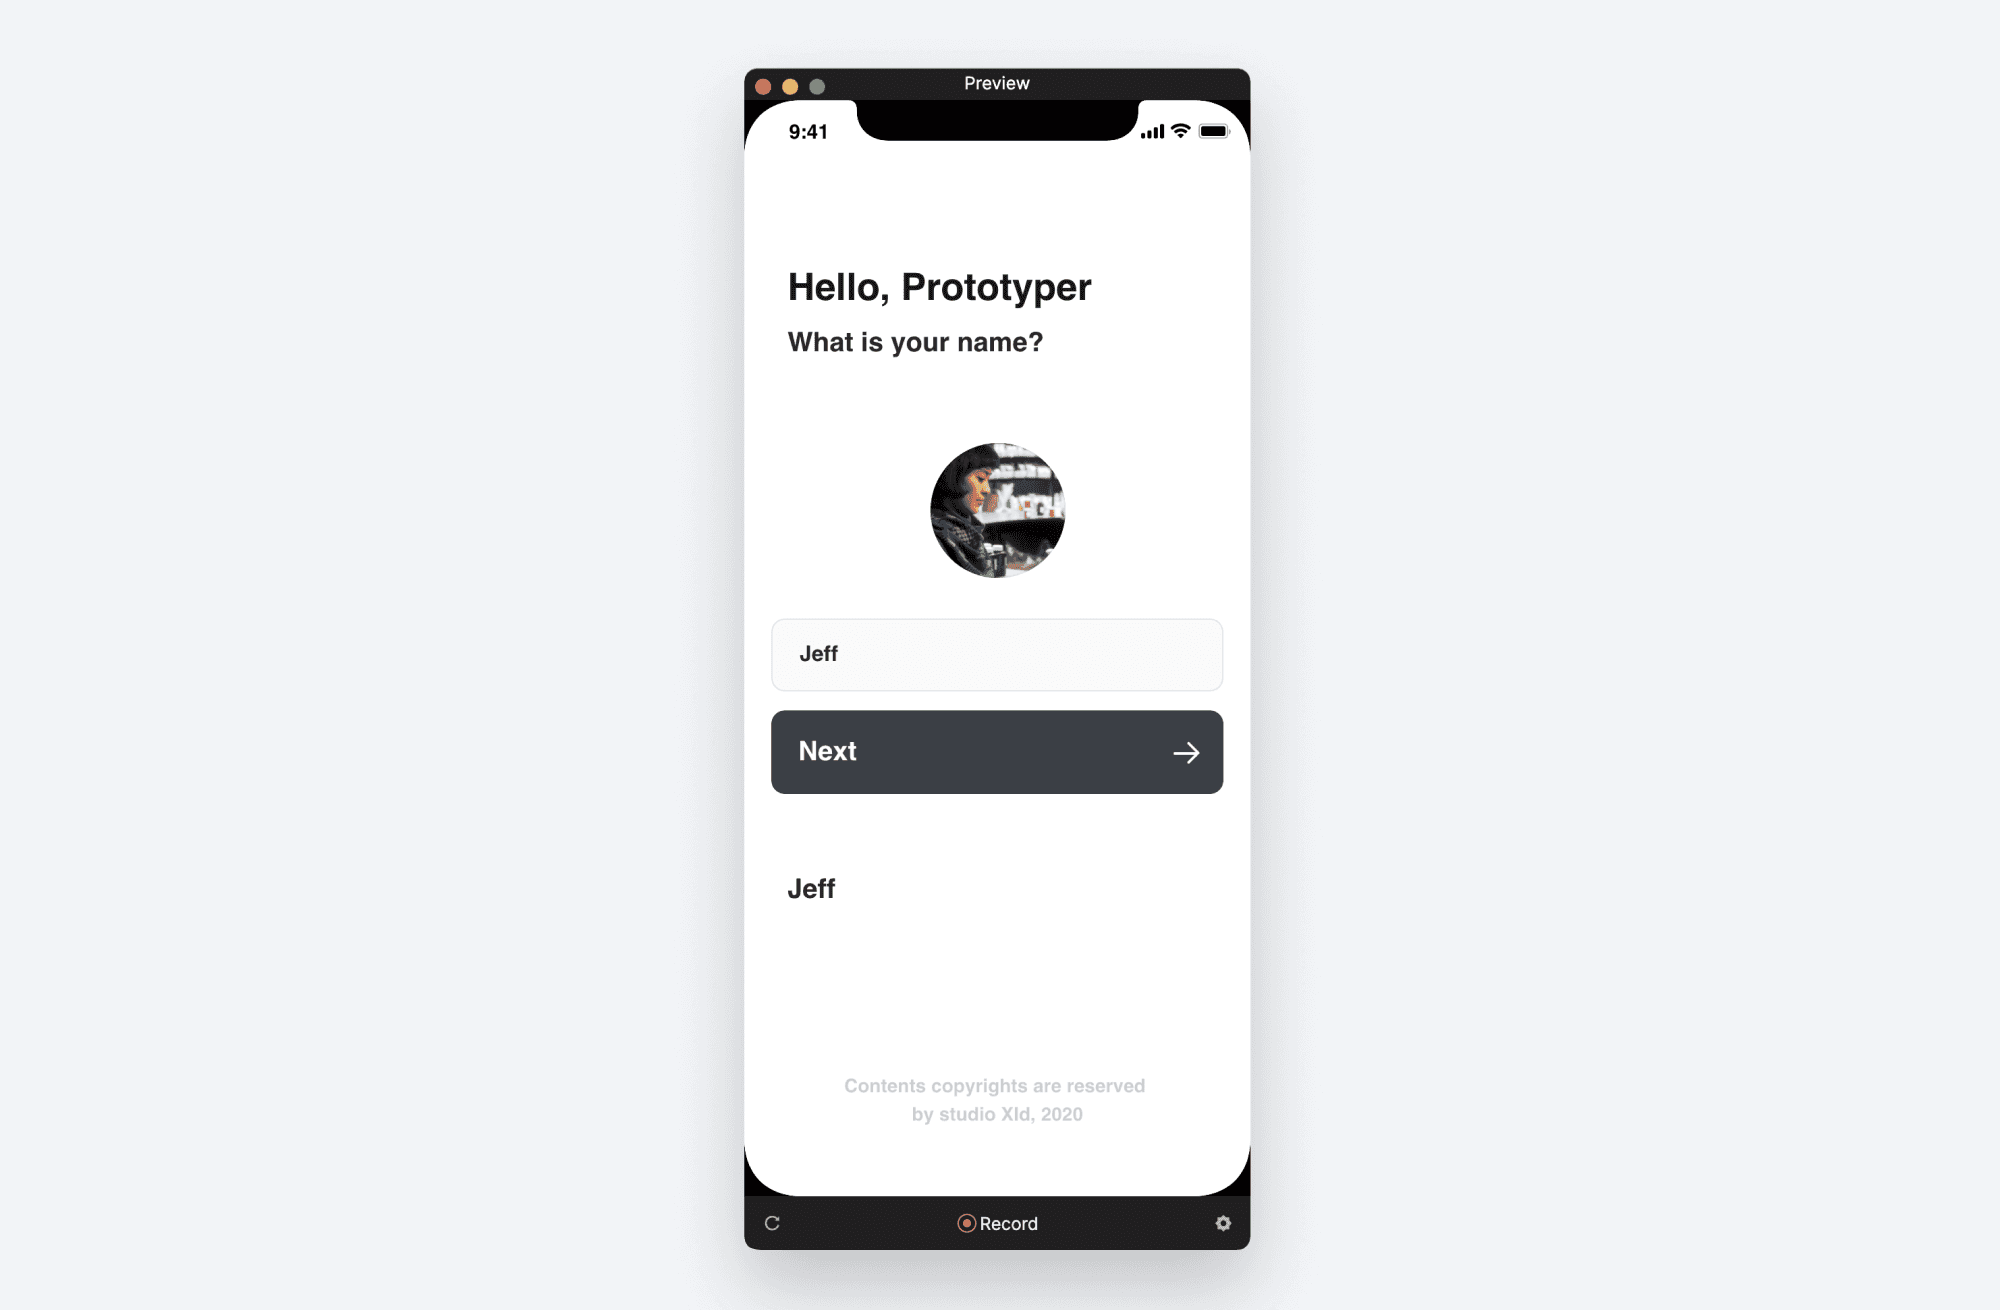
Let’s preview this. Type your name into the box, and tap Next.
What happened? Did you nee your name appear below the “Next” button or did you see "0"?
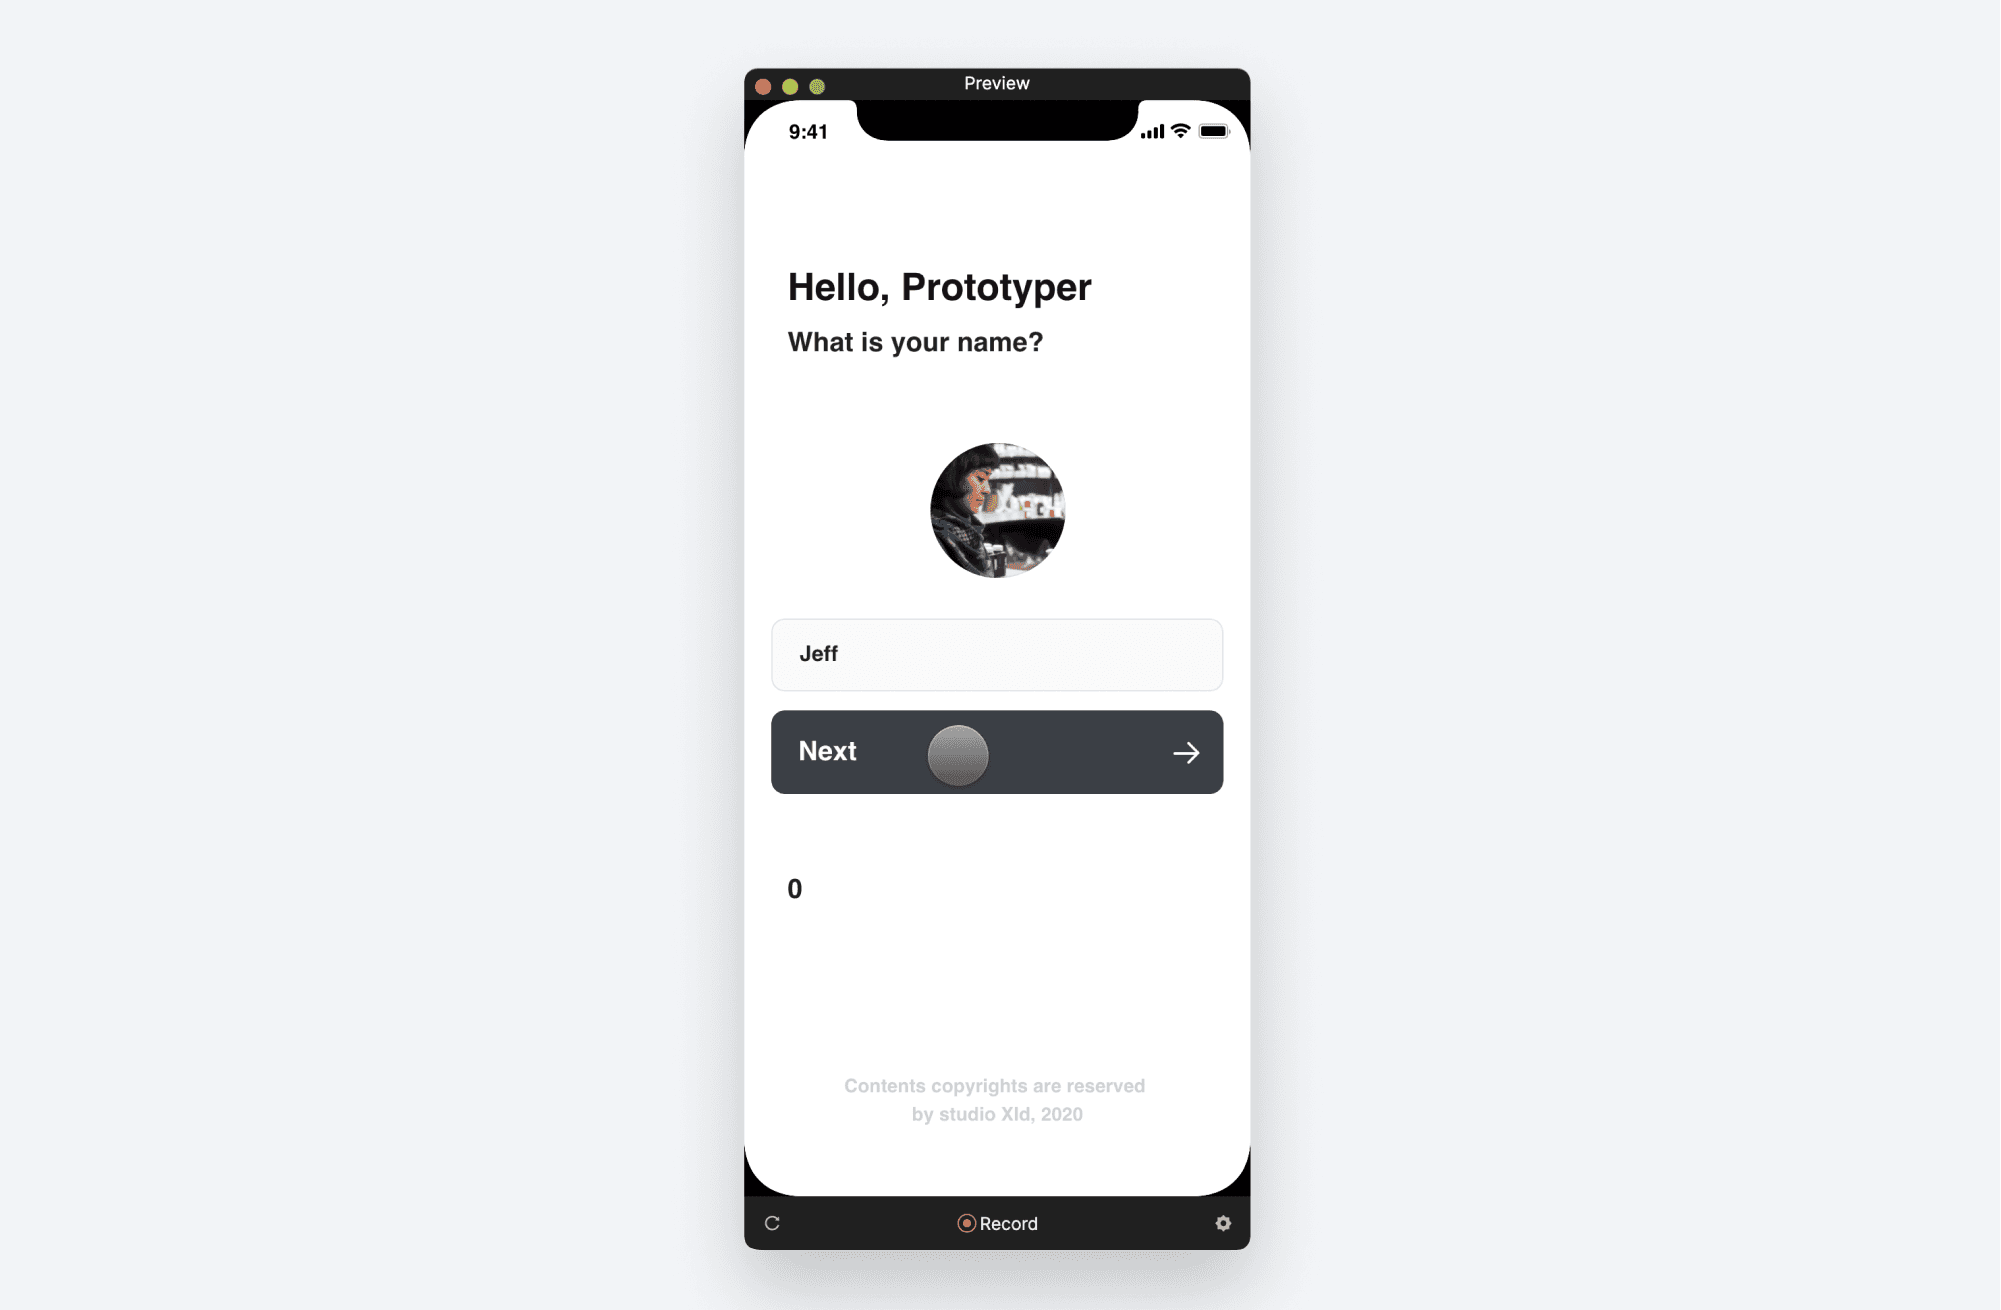
In my instructions above, I intentionally skipped a step as I wanted to demonstrate what happens when your variable’s type is set incorrectly. Let’s fix this problem.
In the Variables panel click the name variable.
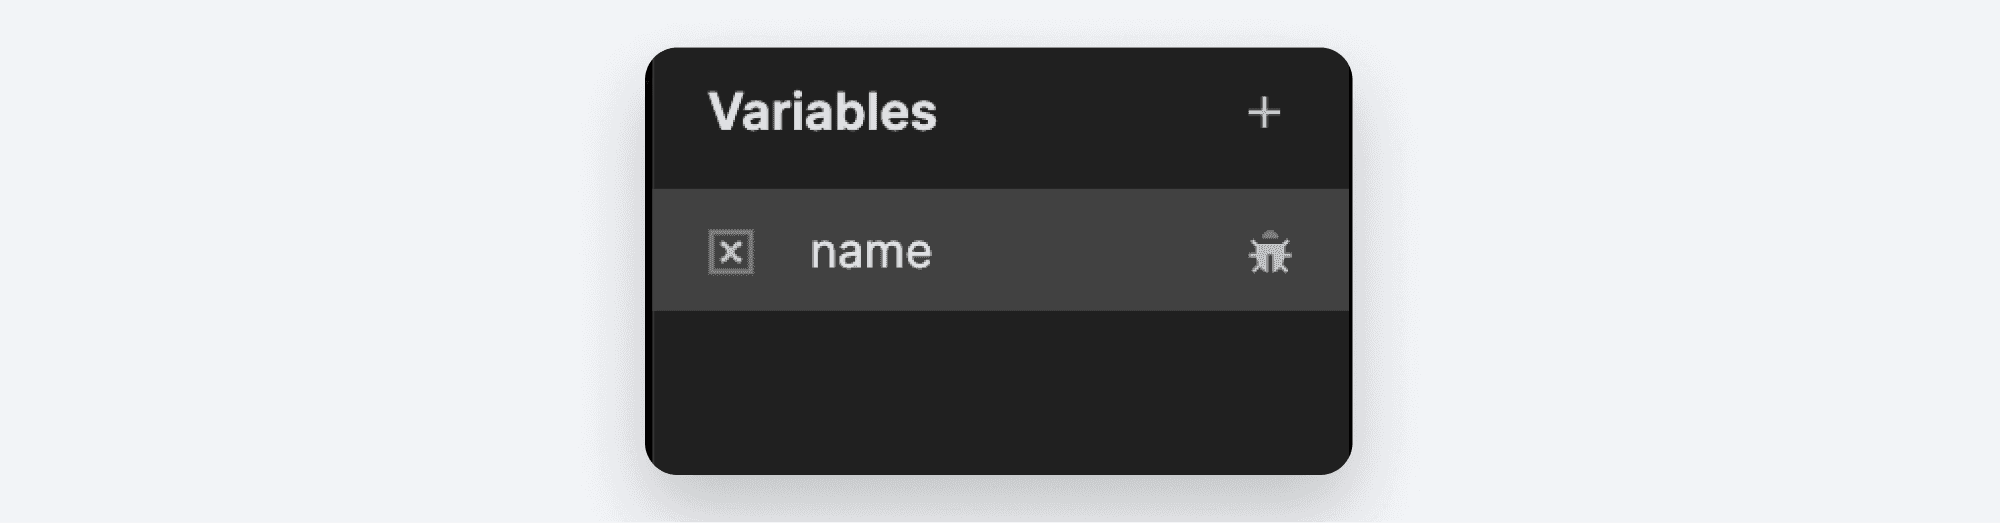
Now direct your attention to the top-right. This is where you can set the type for your variable.
By default ProtoPie chooses Number when you create a new variable. When we enter our name into the Your name text box, we are entering text, which is not compatible with the Number type. Change the type to Text.
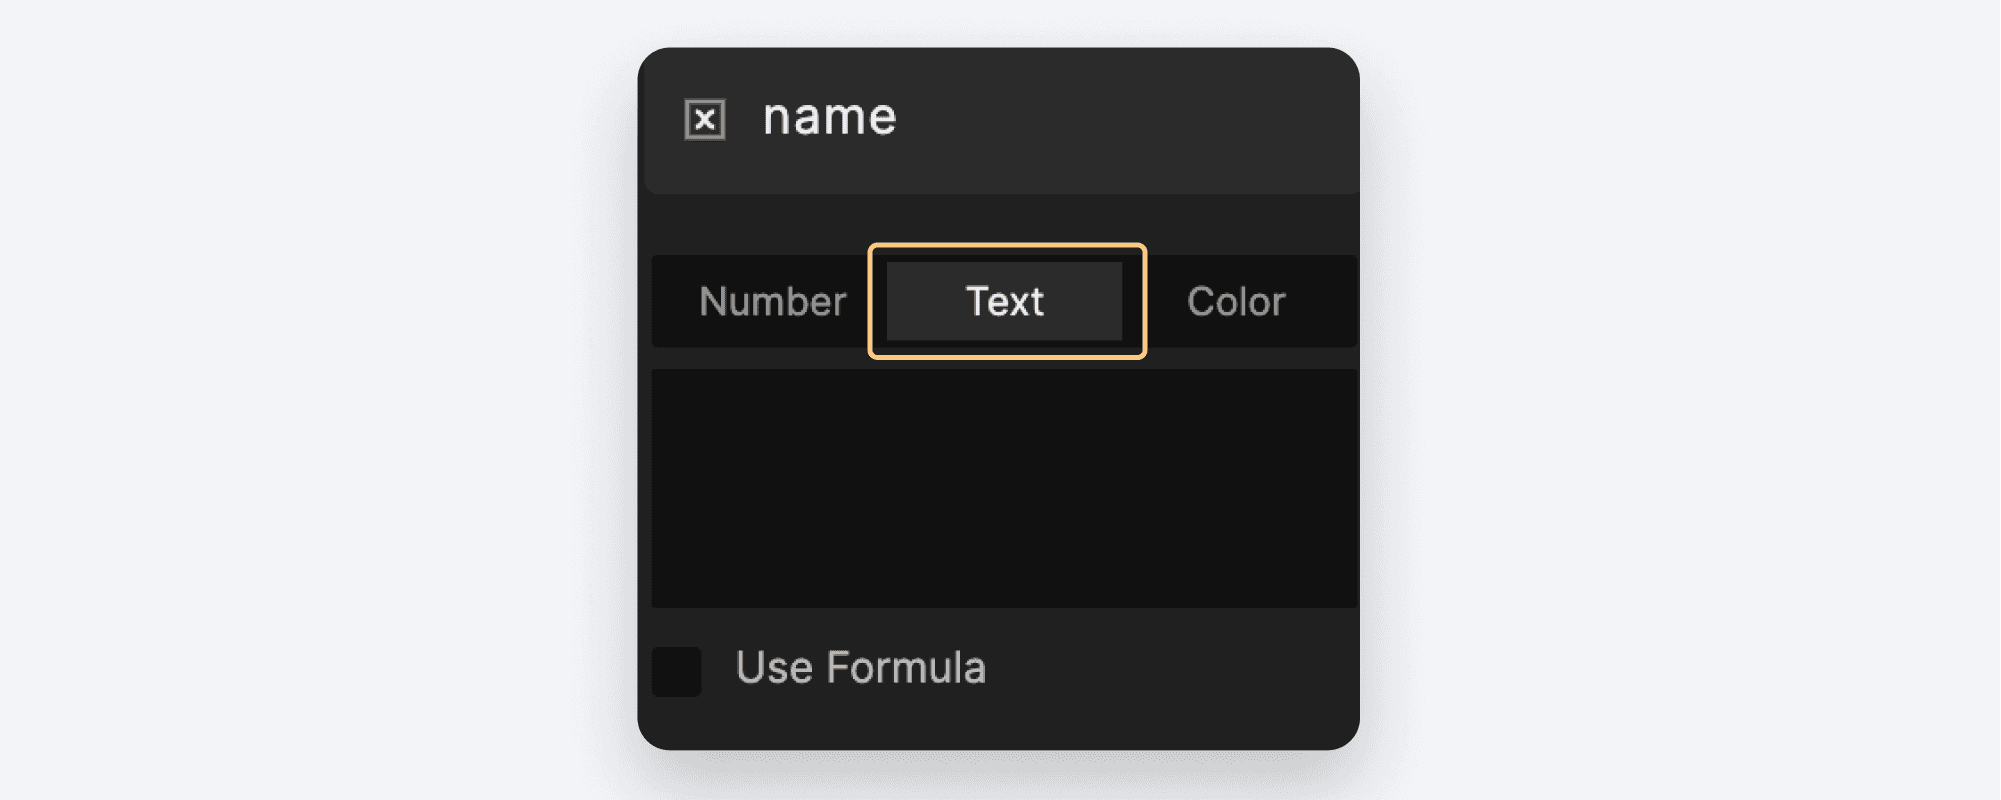
In this control you can also set the initial value. For our purposes, we don’t want an initial value, so let’s leave it empty. But in your future work, there may be reasons why you want your variable to have a specific value when your experience starts. This box is where you’d set it.
Let’s preview this again.
Our experience should now be working. Let's take this a step further in the next lesson. See you there!


