
One day, Darren Bennett decided to bring out the common components of the designs he had created for his clients and put them in a publicly accessible interaction library.
He named it Skeleton UI, the first interaction library created in ProtoPie.
Darren is a ProtoPie Ambassador and Trainer, as well as a highly experienced UX/UI designer. In a recent webinar, he shared his tips on how to use conditions and variables in interaction libraries and how they connect to interaction design systems.
In this article, we’ll break down the basics of conditions, variables, and interaction libraries. Ultimately, we’ll go through in detail how to use conditions and variables in interaction libraries.
ProtoPie Ambassador and Trainer Darren Bennett.
What are ‘conditions’ in ProtoPie?
As the name implies, conditional triggers activate interactions based on specific conditions, such as when a prototype is run, a specific string of text is received or a layer is moved to a specific location. Conditions activate responses based on specific requirements:
Chain
Range
Start
Detect
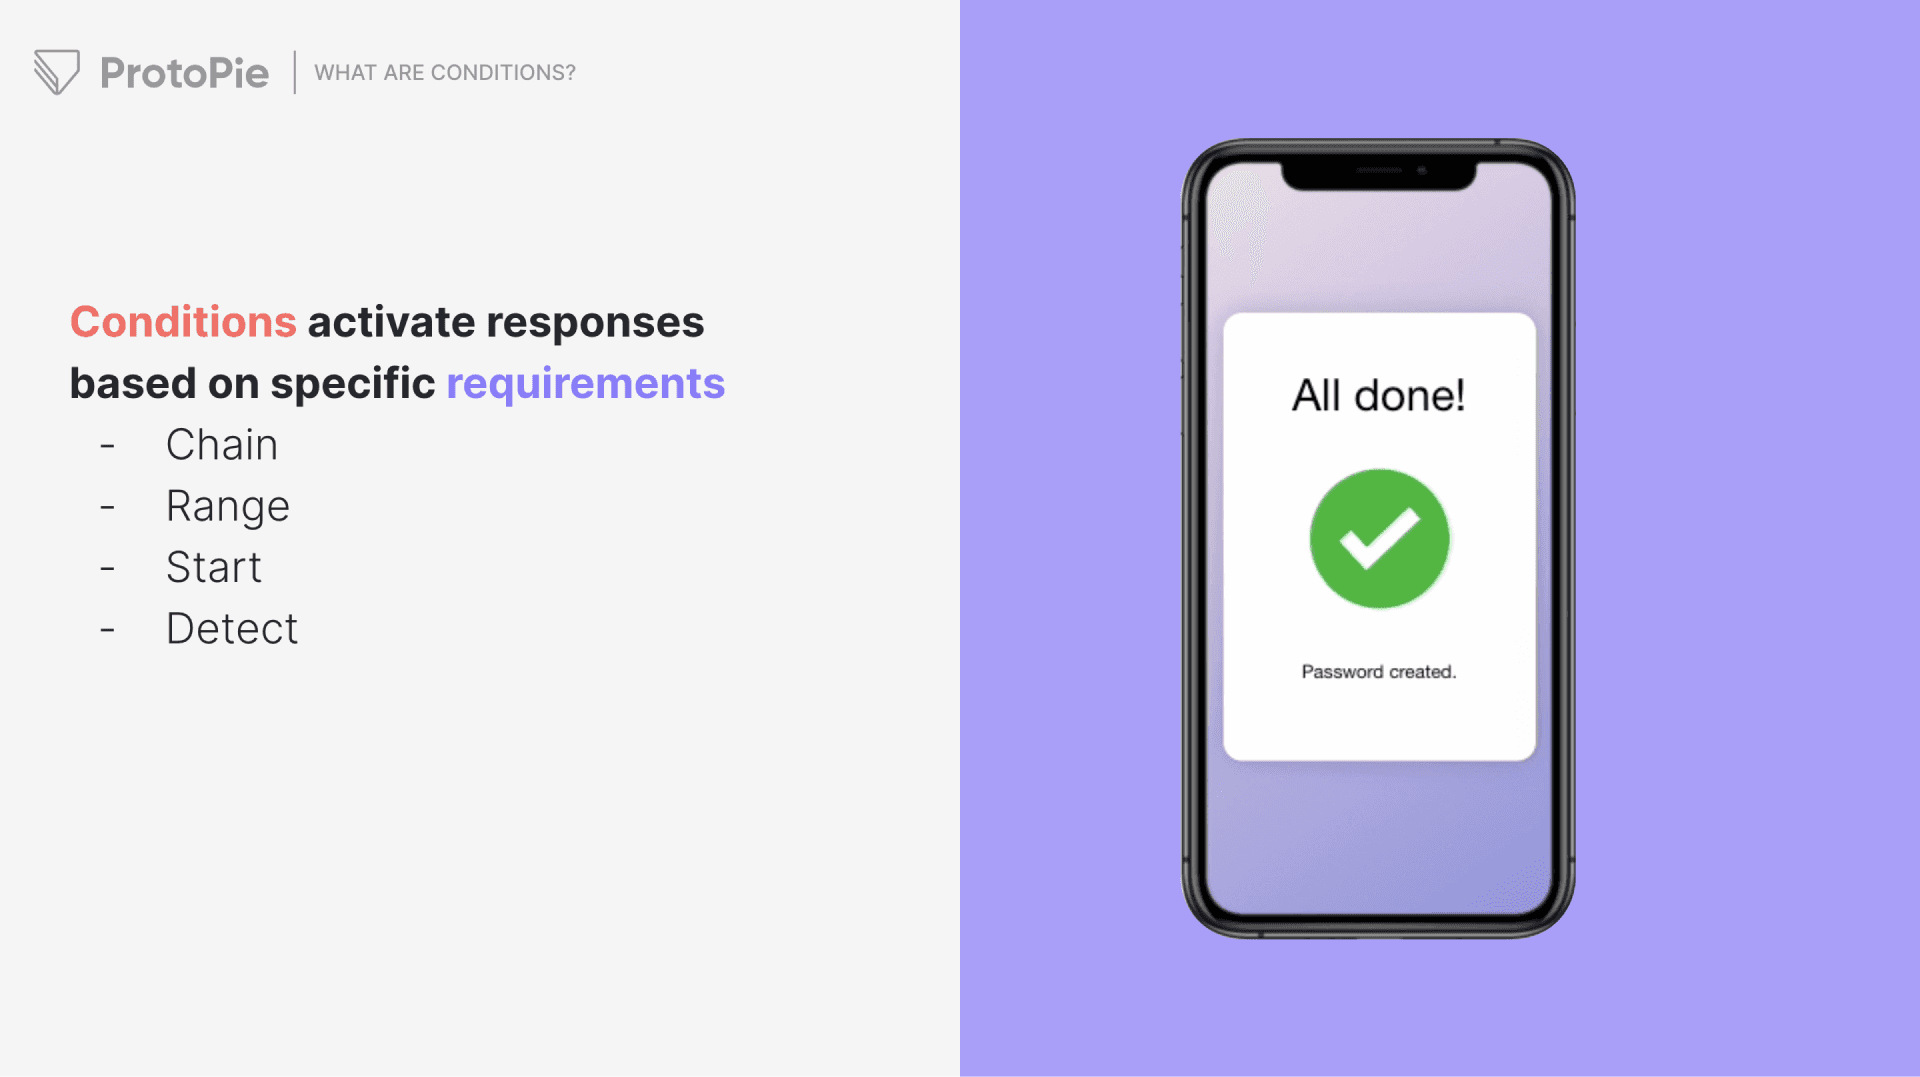
Conditions activate responses based on specific requirements.
What are ‘variables’ in ProtoPie?
Think of variables as ‘baskets’ that store values. Store any data that you might want to use later, e.g., a name, password, or account balance. Modify the value in a variable and detect any changes to a variable for dynamic interactions. Use variables anywhere you can use formulas.

Variables are like ‘baskets’ that store values.
What are ‘interaction libraries’?
Interaction libraries are essentially collections of components existing in ProtoPie Cloud for you and team members to use instances of components in prototypes very easily and quickly.
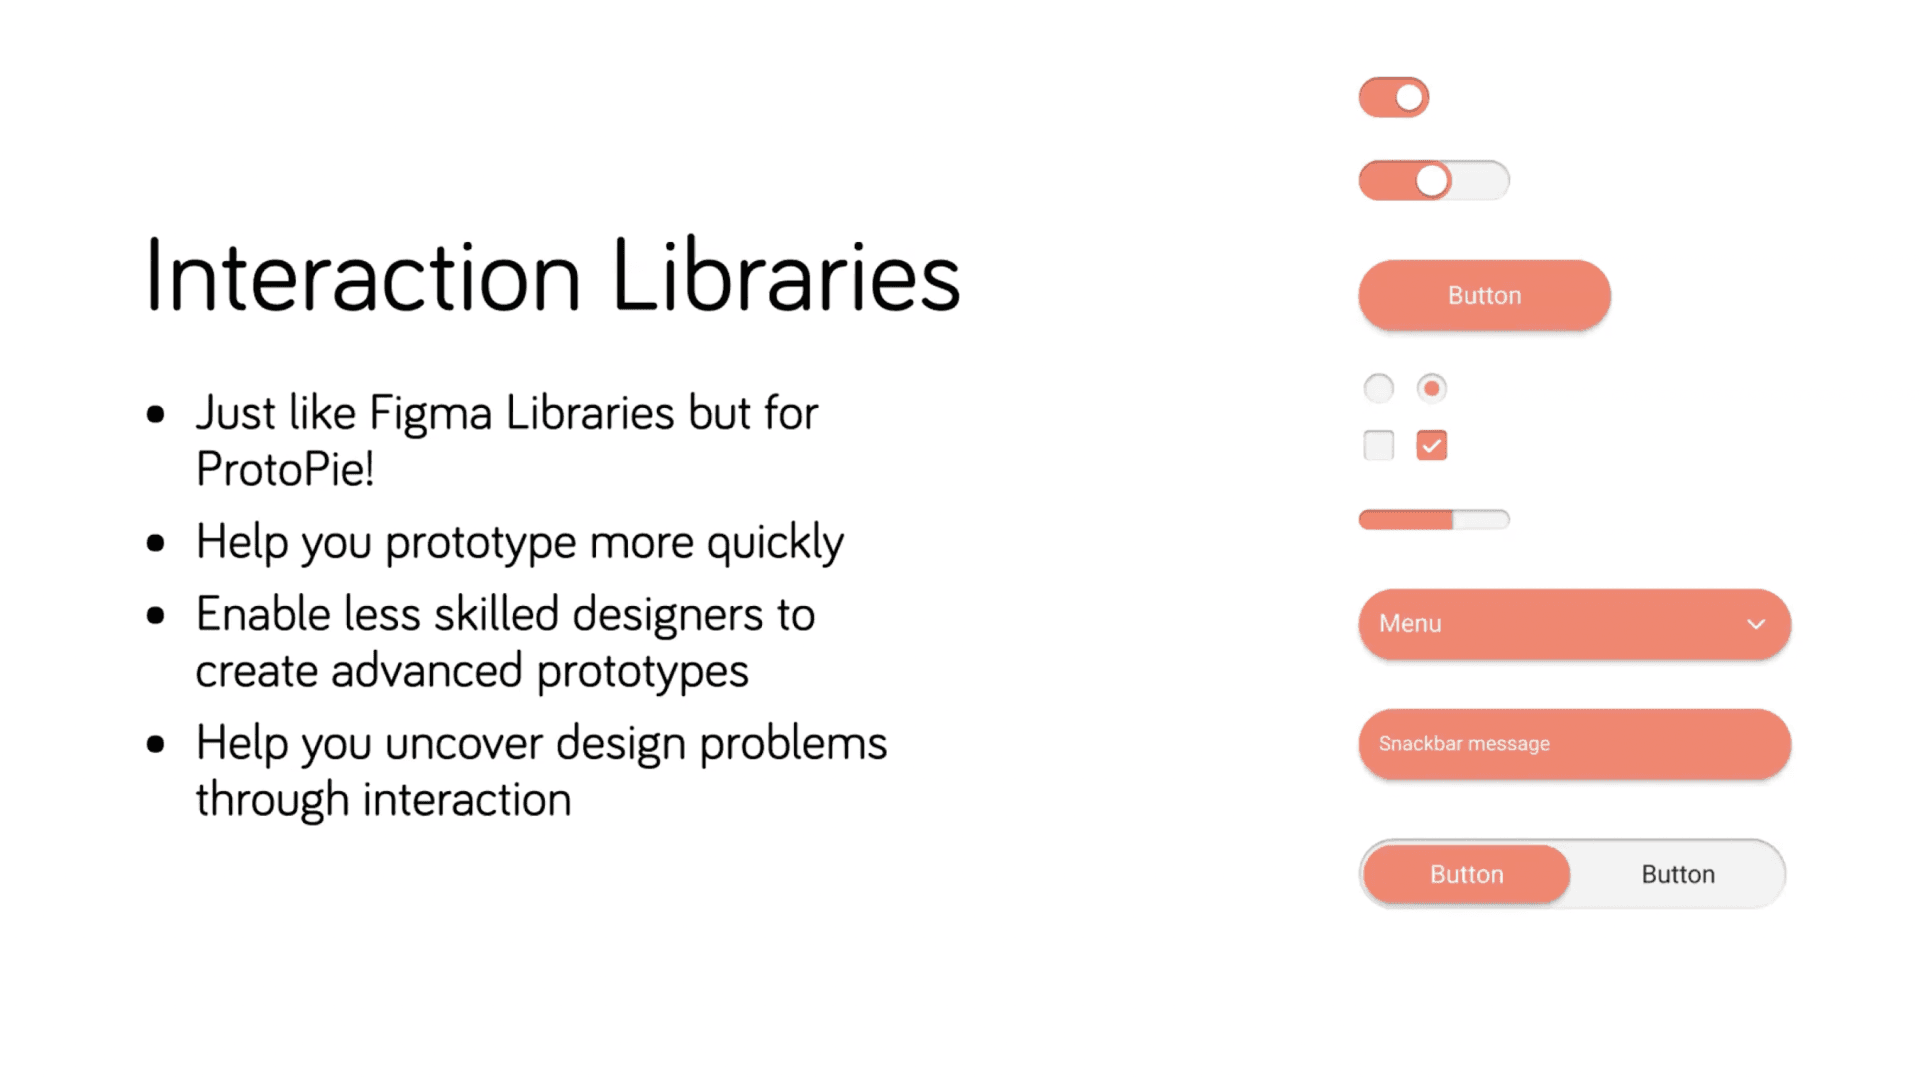
Interaction libraries.
How to use ProtoPie’s conditions and variables in interaction libraries
How to control a component state
We start with the button component—the simplest UI component out there and a component with many states.
Start by creating an override—not only for the disabled state but also for the color states.
On the right-hand side, set the ‘disabled’ value to “1”. If you've got a coding background, you'll be familiar with the fact that 0 and 1 = true and false.
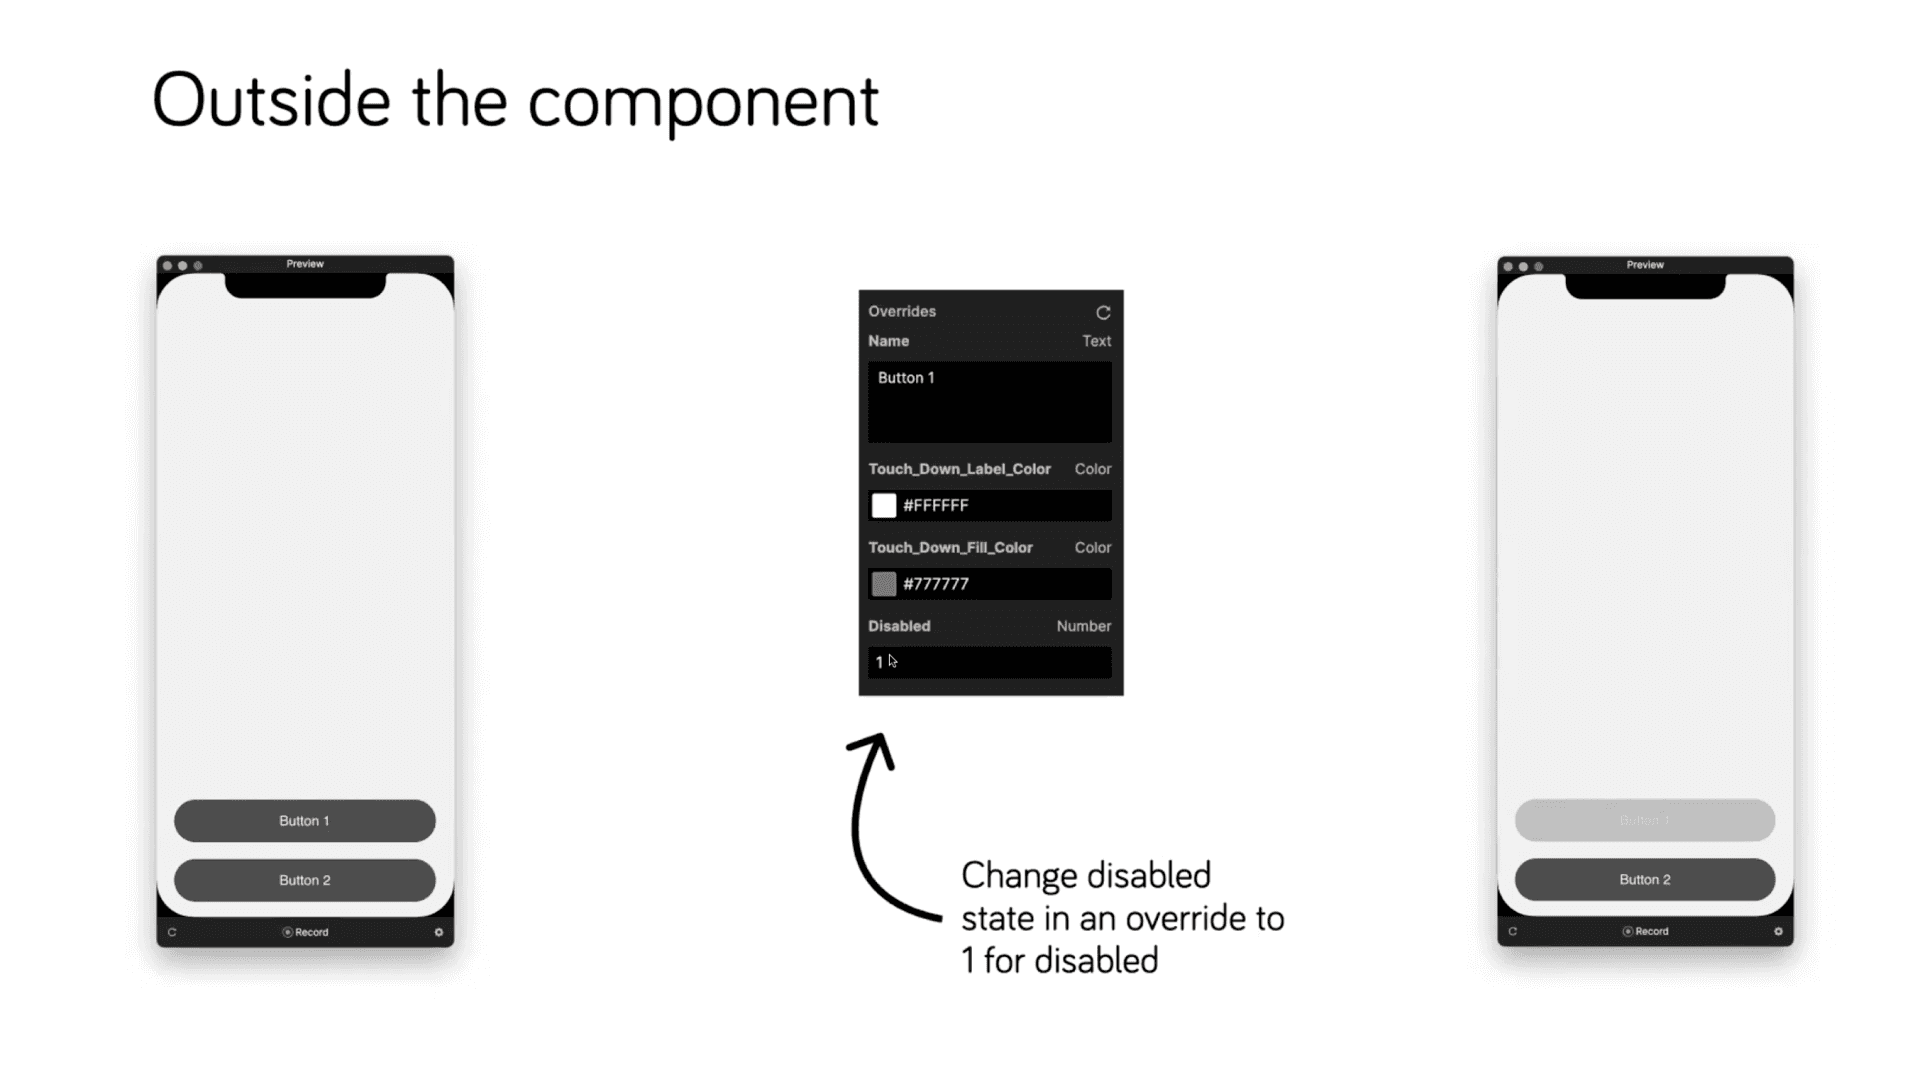
Start by creating an override for the disabled and color states.
Make it overrideable. Check the box to make it accessible to people using your component on the outside. Use a ‘detect’ trigger for when the variable is going to change.
This in turn detects the state and fires off the condition block.

Using the Detect trigger for when the variable is going to change.
Creating unique component instances
As you start getting into components and instances, you’ll want to talk to them directly and individually. Here's how you do it.
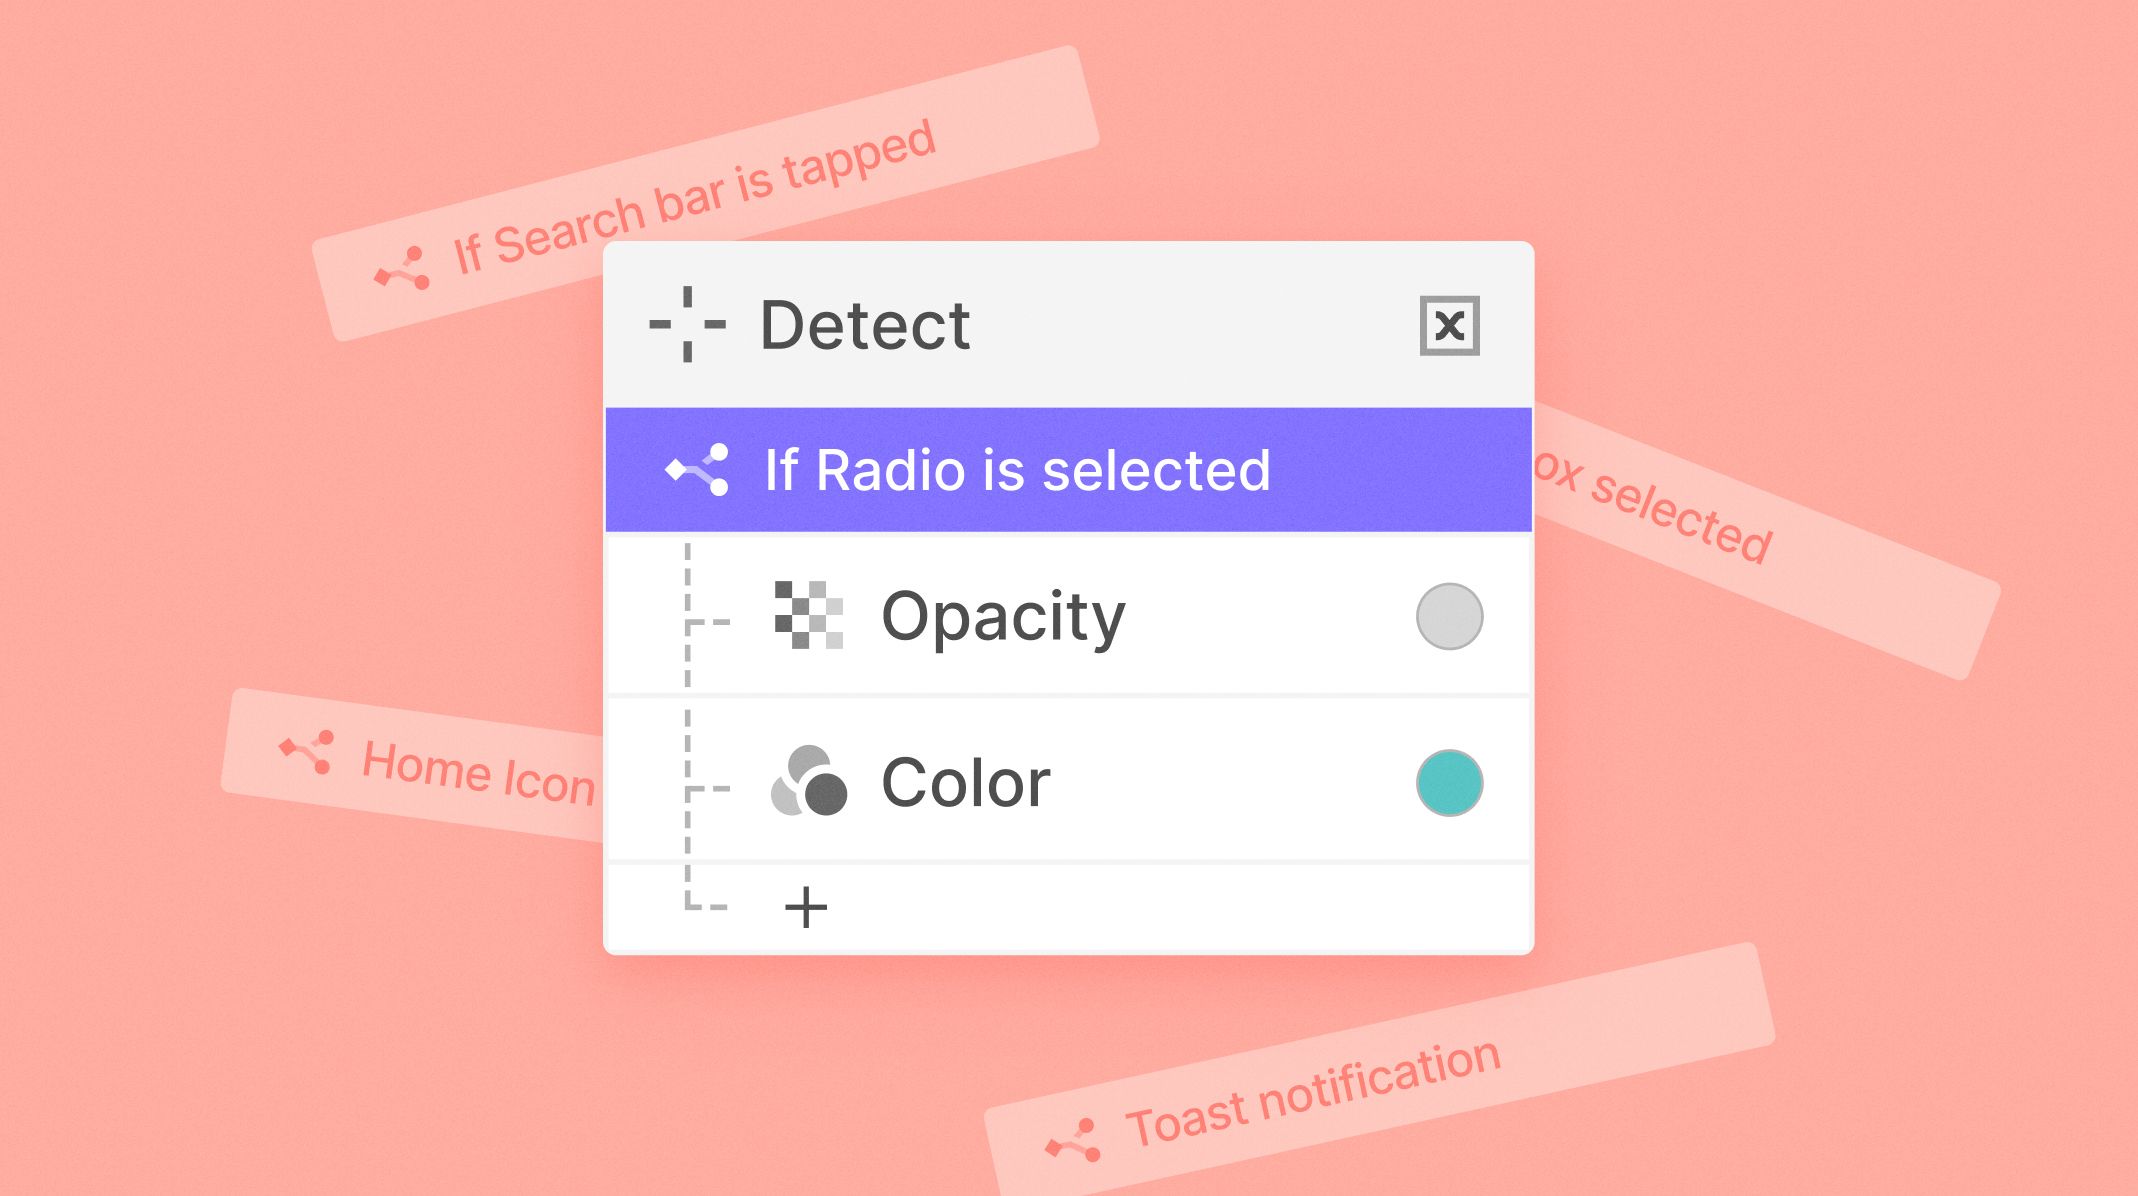
Let’s start with a radio button, a single component that needs to act as part of a group.
Use two variables from the overrides panel on the right: the ‘name’ variable – which gives a unique name to each radio button – and a ‘radio group’ variable to make the component smart, making it aware of any other instances.
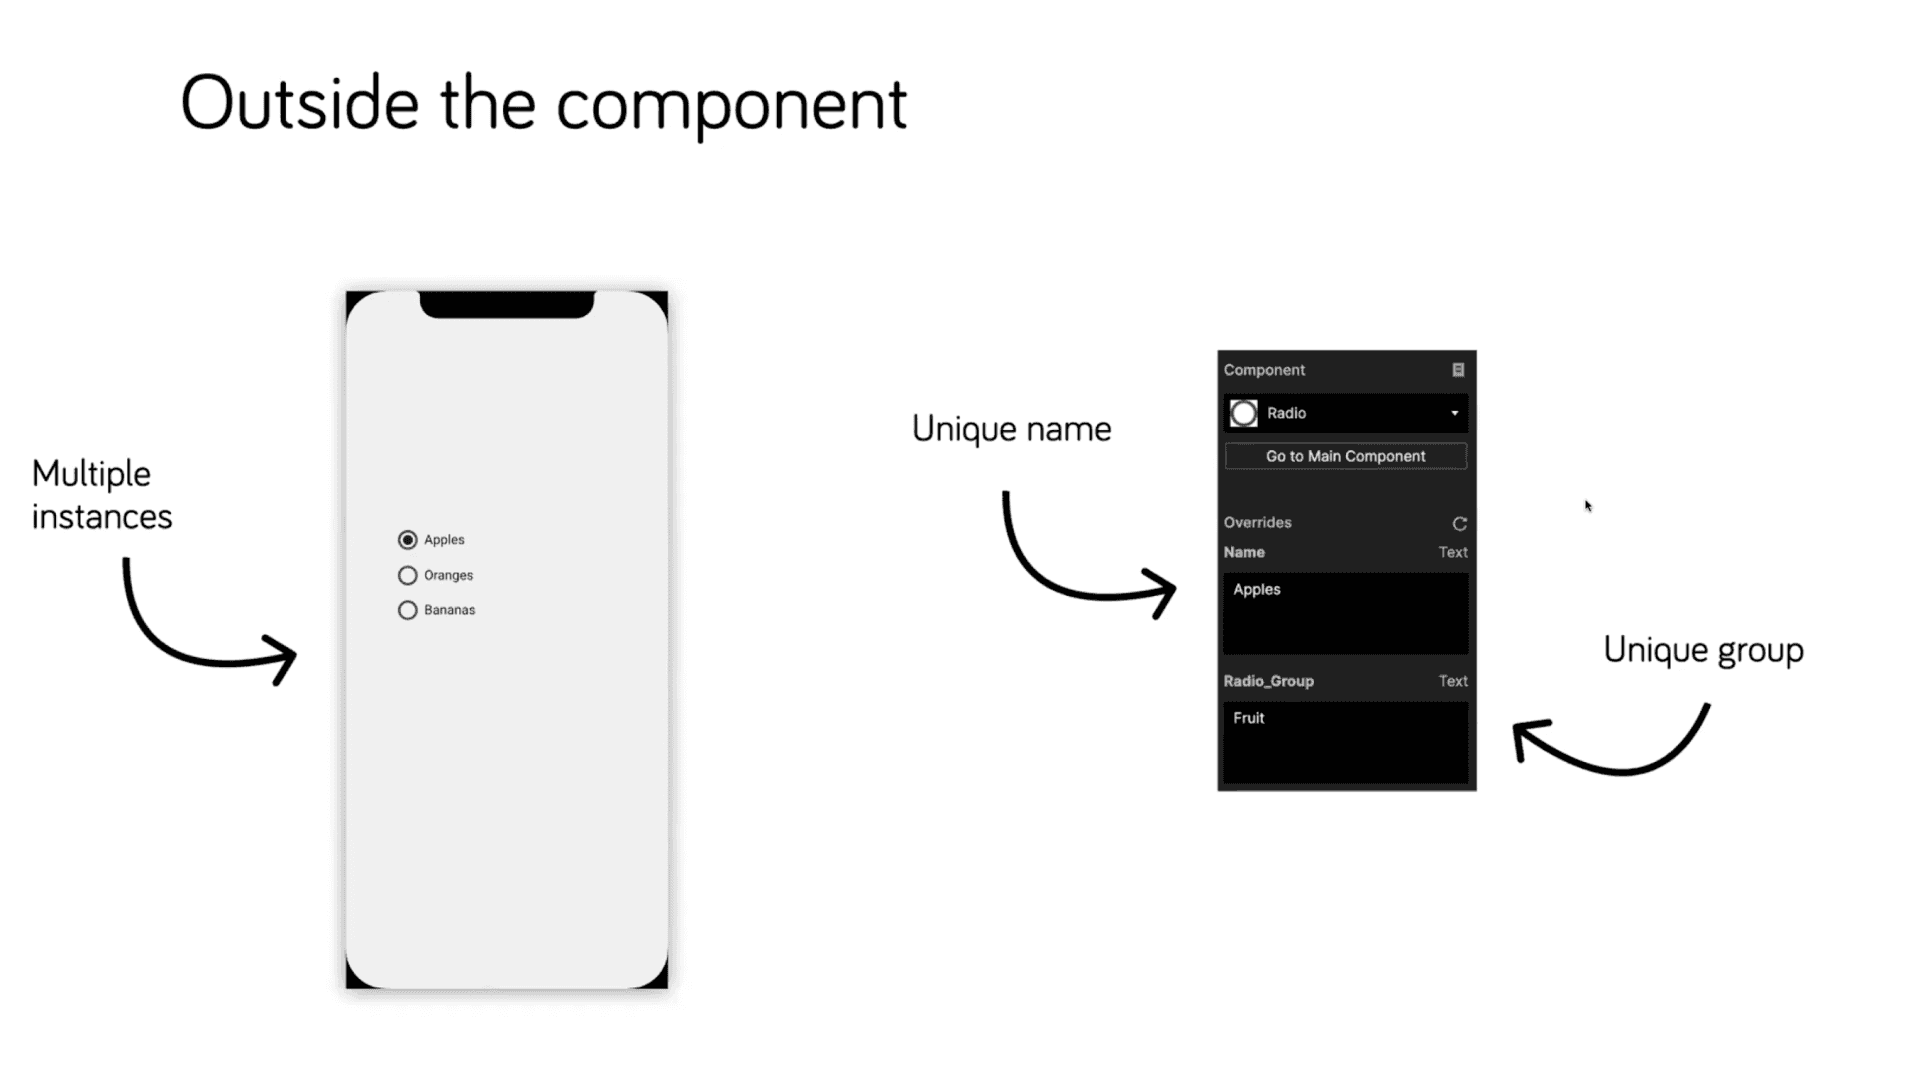
Setting the variables ‘Name’ and ‘Radio Group’.
There are a number of variables on the inside. Notice the ‘name’ and ‘radio group’ variables – the two override variables.
When you click the radio, it will send a message to the scene saying that the radio’s been clicked.
As soon as that hits the scene, you’ll get another message inside of the component receiving it back in. In effect, it’s listening for it.
When they come back, they’re assigned to other variables – ‘ReceivedGroup’ and ‘SelectedName’.
When the message comes in, use a condition that allows you to compare the two variables. Does the name of this radio band match the selected name? Are these two values the same? And if they're the same, does that mean this particular instance has been selected?
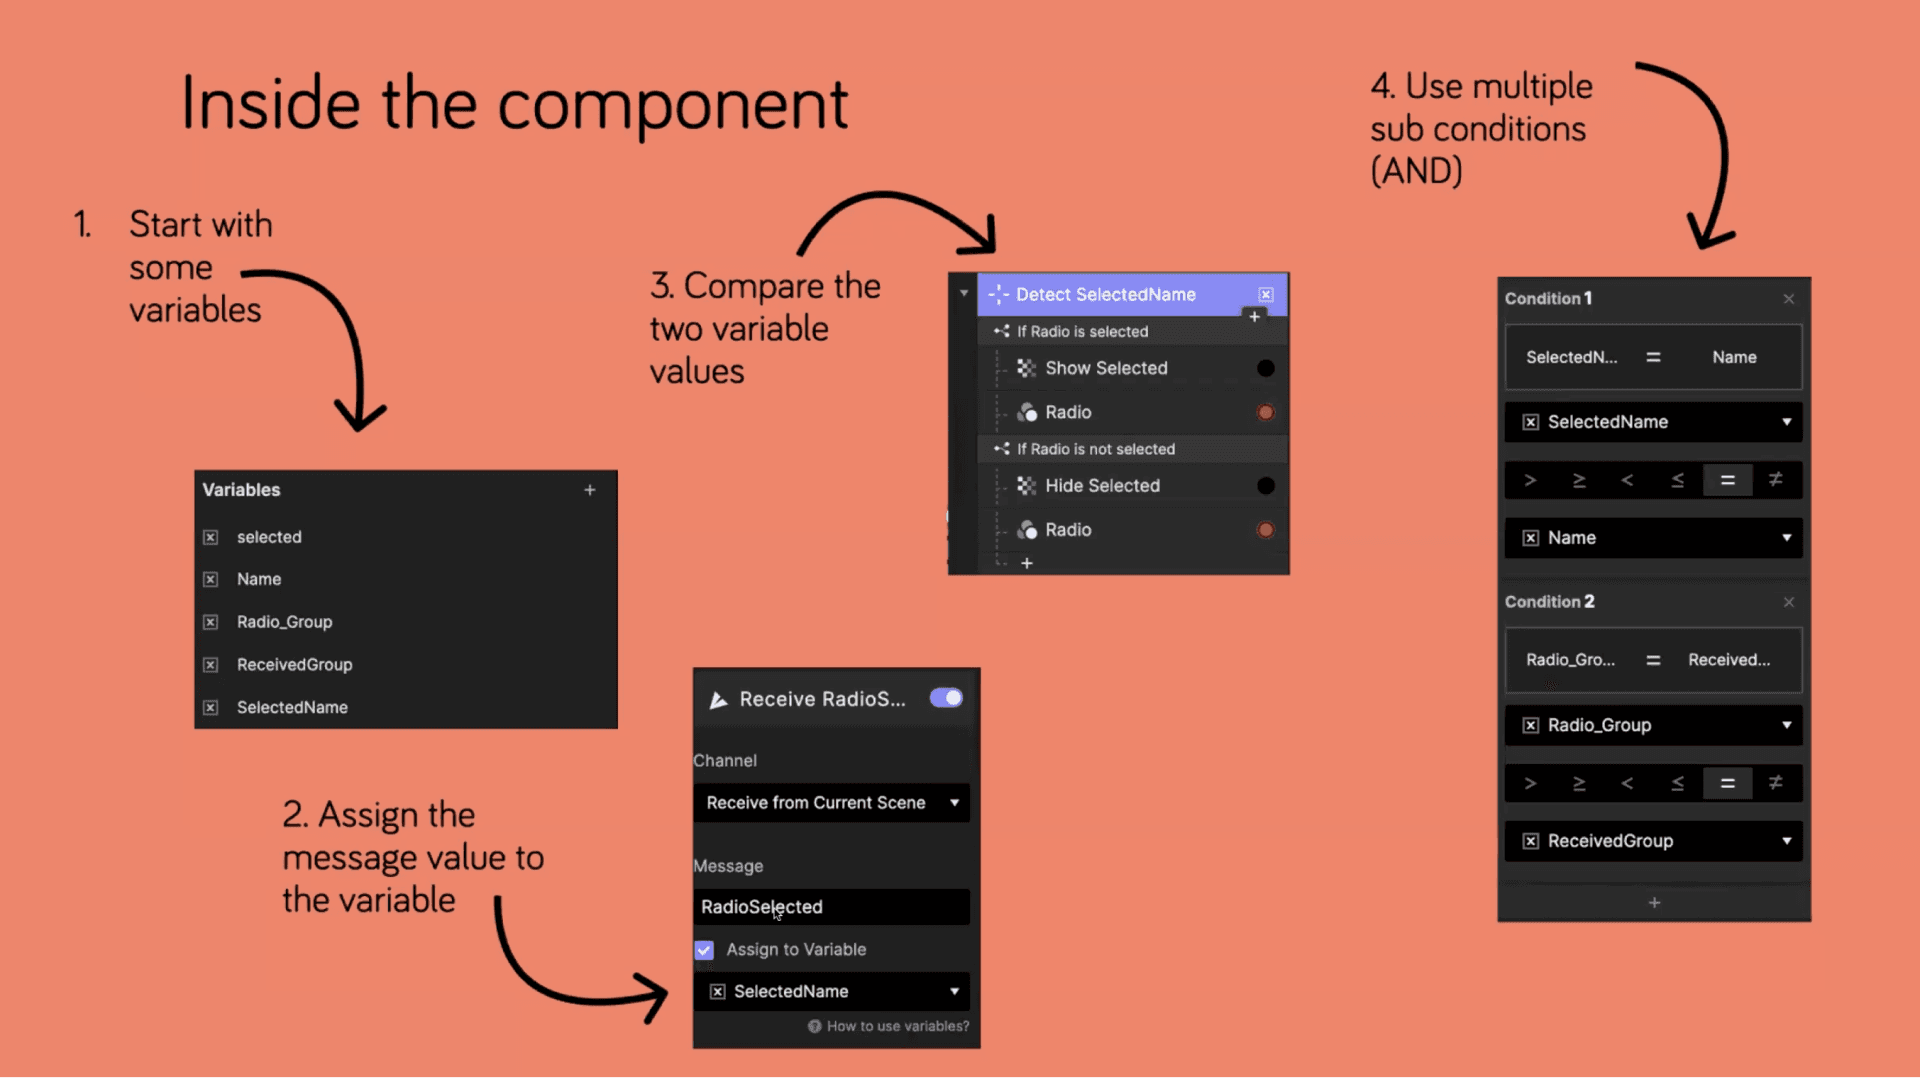
Using a condition to compare the two variables.
It might seem complex, but soon it’ll become second nature.
Using formulas in variables
To illustrate this point, let’s create a timer—an issue that a lot of people in the community are trying to figure out.
It's simple. Normally, it takes a while to come on screen, remains for a particular time, and goes away. However, you have the ability to control the component and the time it stays on the screen.
There’s a simple override function, which is just ‘duration’ – the time it stays on the screen.
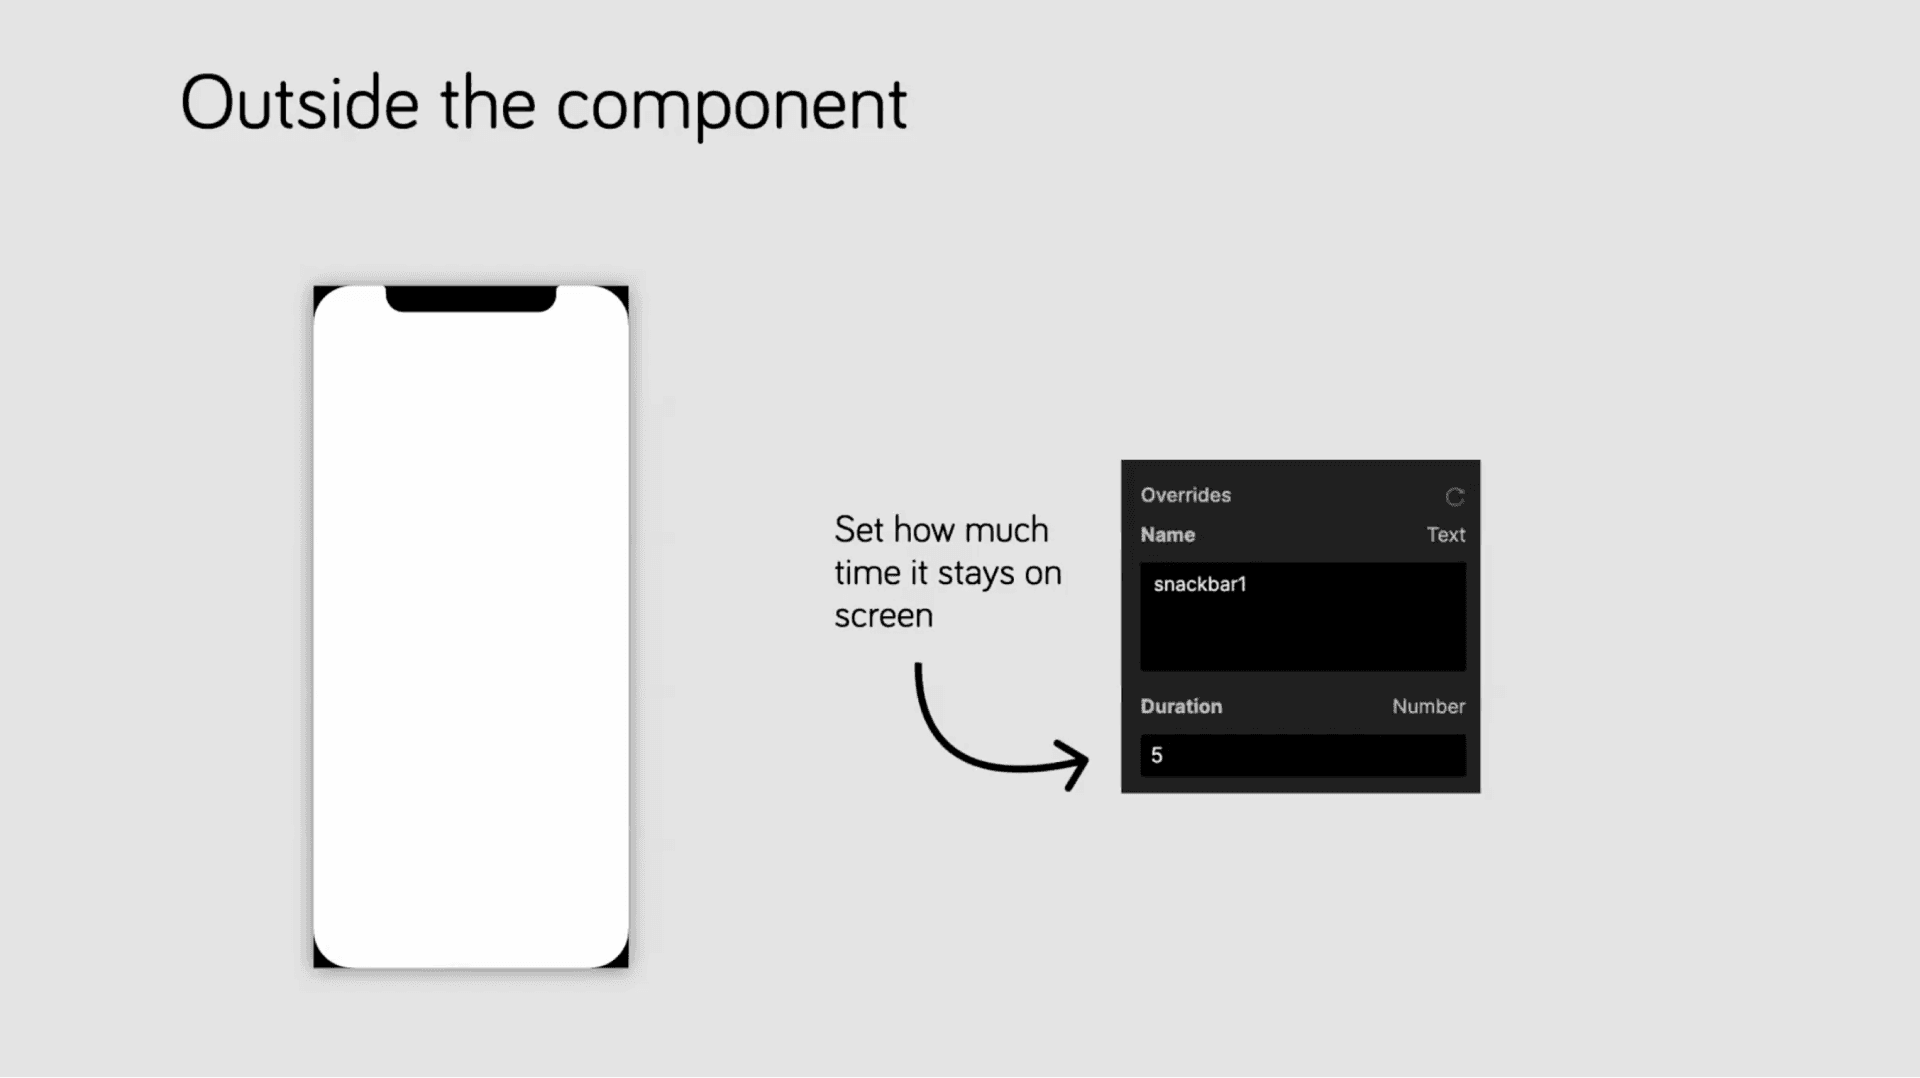
Setting how much time it stays on the screen.
Whatever the value of the timer currently has, add “+1” to it. Enable it to count up by enabling the ‘repeat’ function.
Once the duration is met, use Detect to detect when the timer is complete. When that condition fires, it's going to move the ‘snap bar’ back down and reset the time of the variable back to zero.
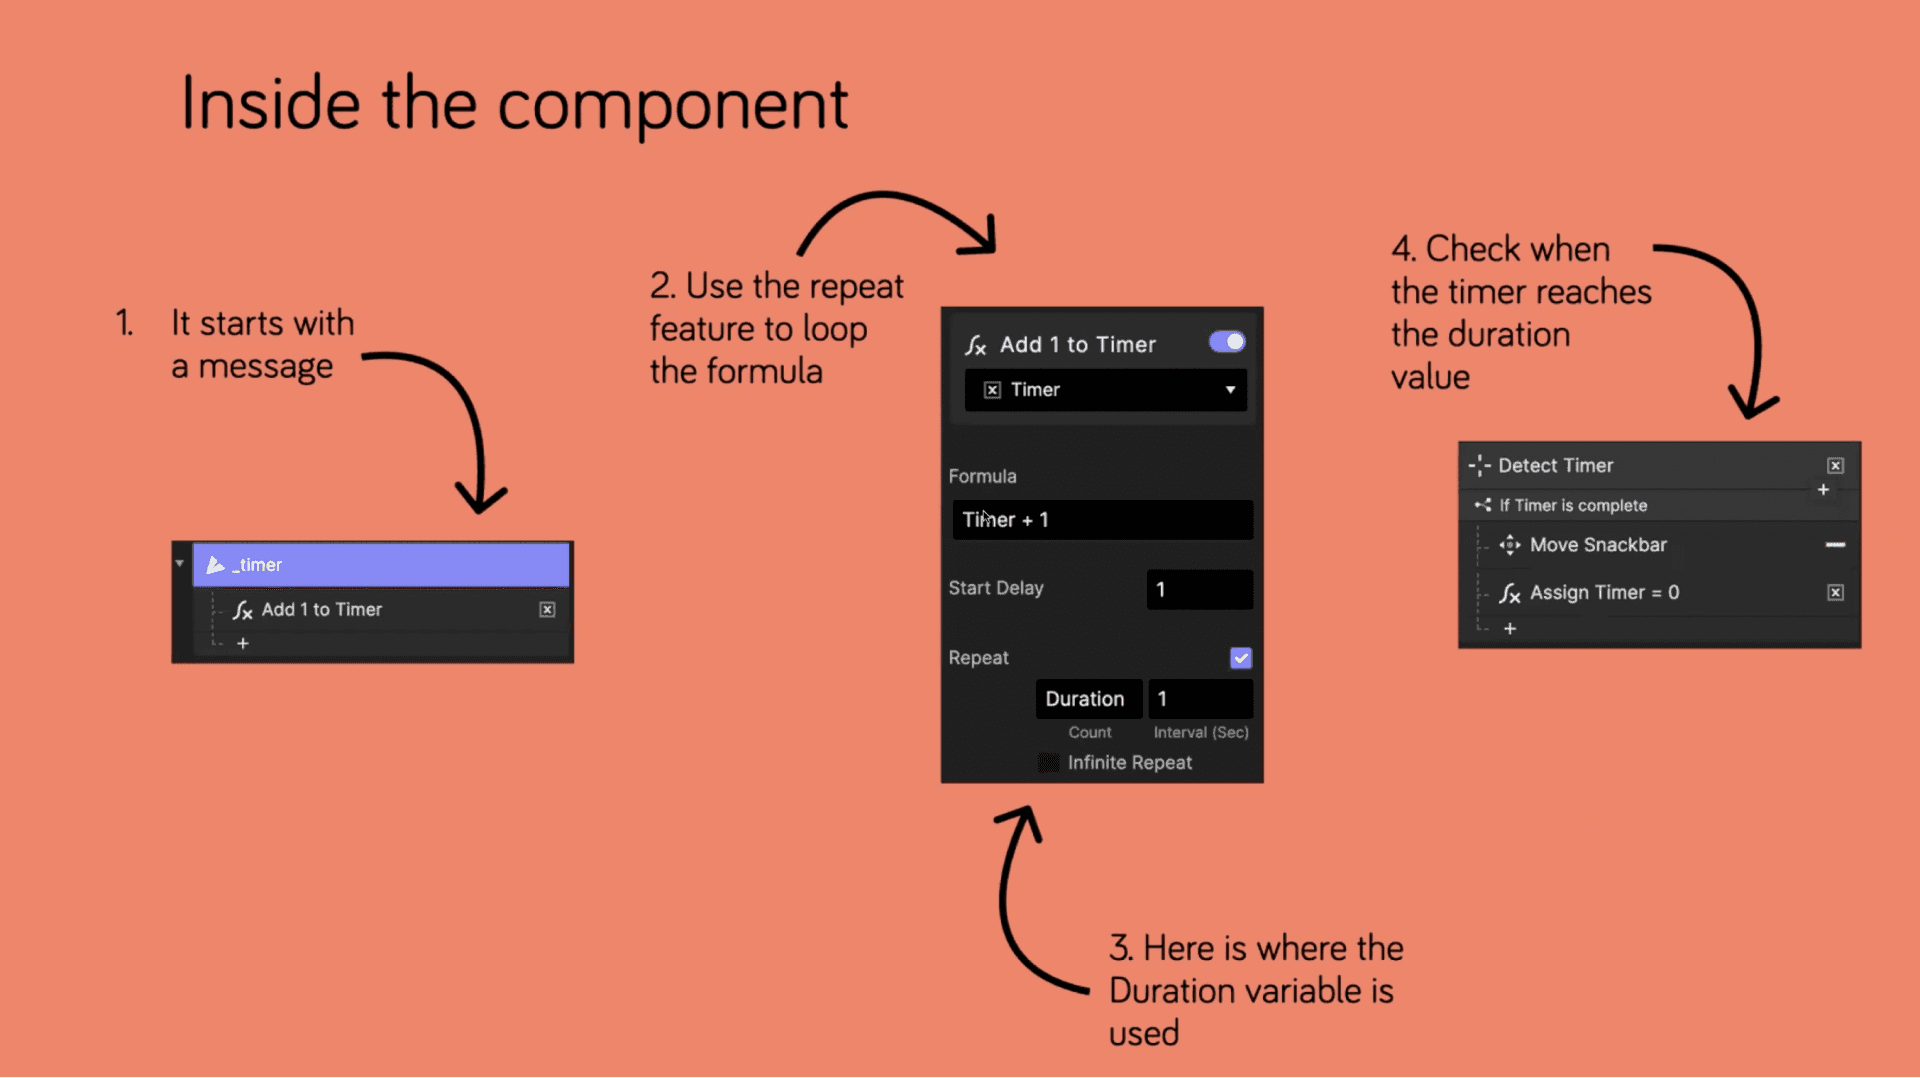
Using the Detect trigger to detect when the timer is complete.
To learn more, check out this tutorial: Create a Stopwatch Timer using Formulas and Variables.
Make creativity boundless with ProtoPie
The design teams at Google, BMW, and GoPro use ProtoPie to unleash their creative powers. Why don’t you?
Download ProtoPie for free right now.
Check out SkeletonUI, the first interaction library created in ProtoPie by ProtoPie Ambassador Darren Bennett.


