
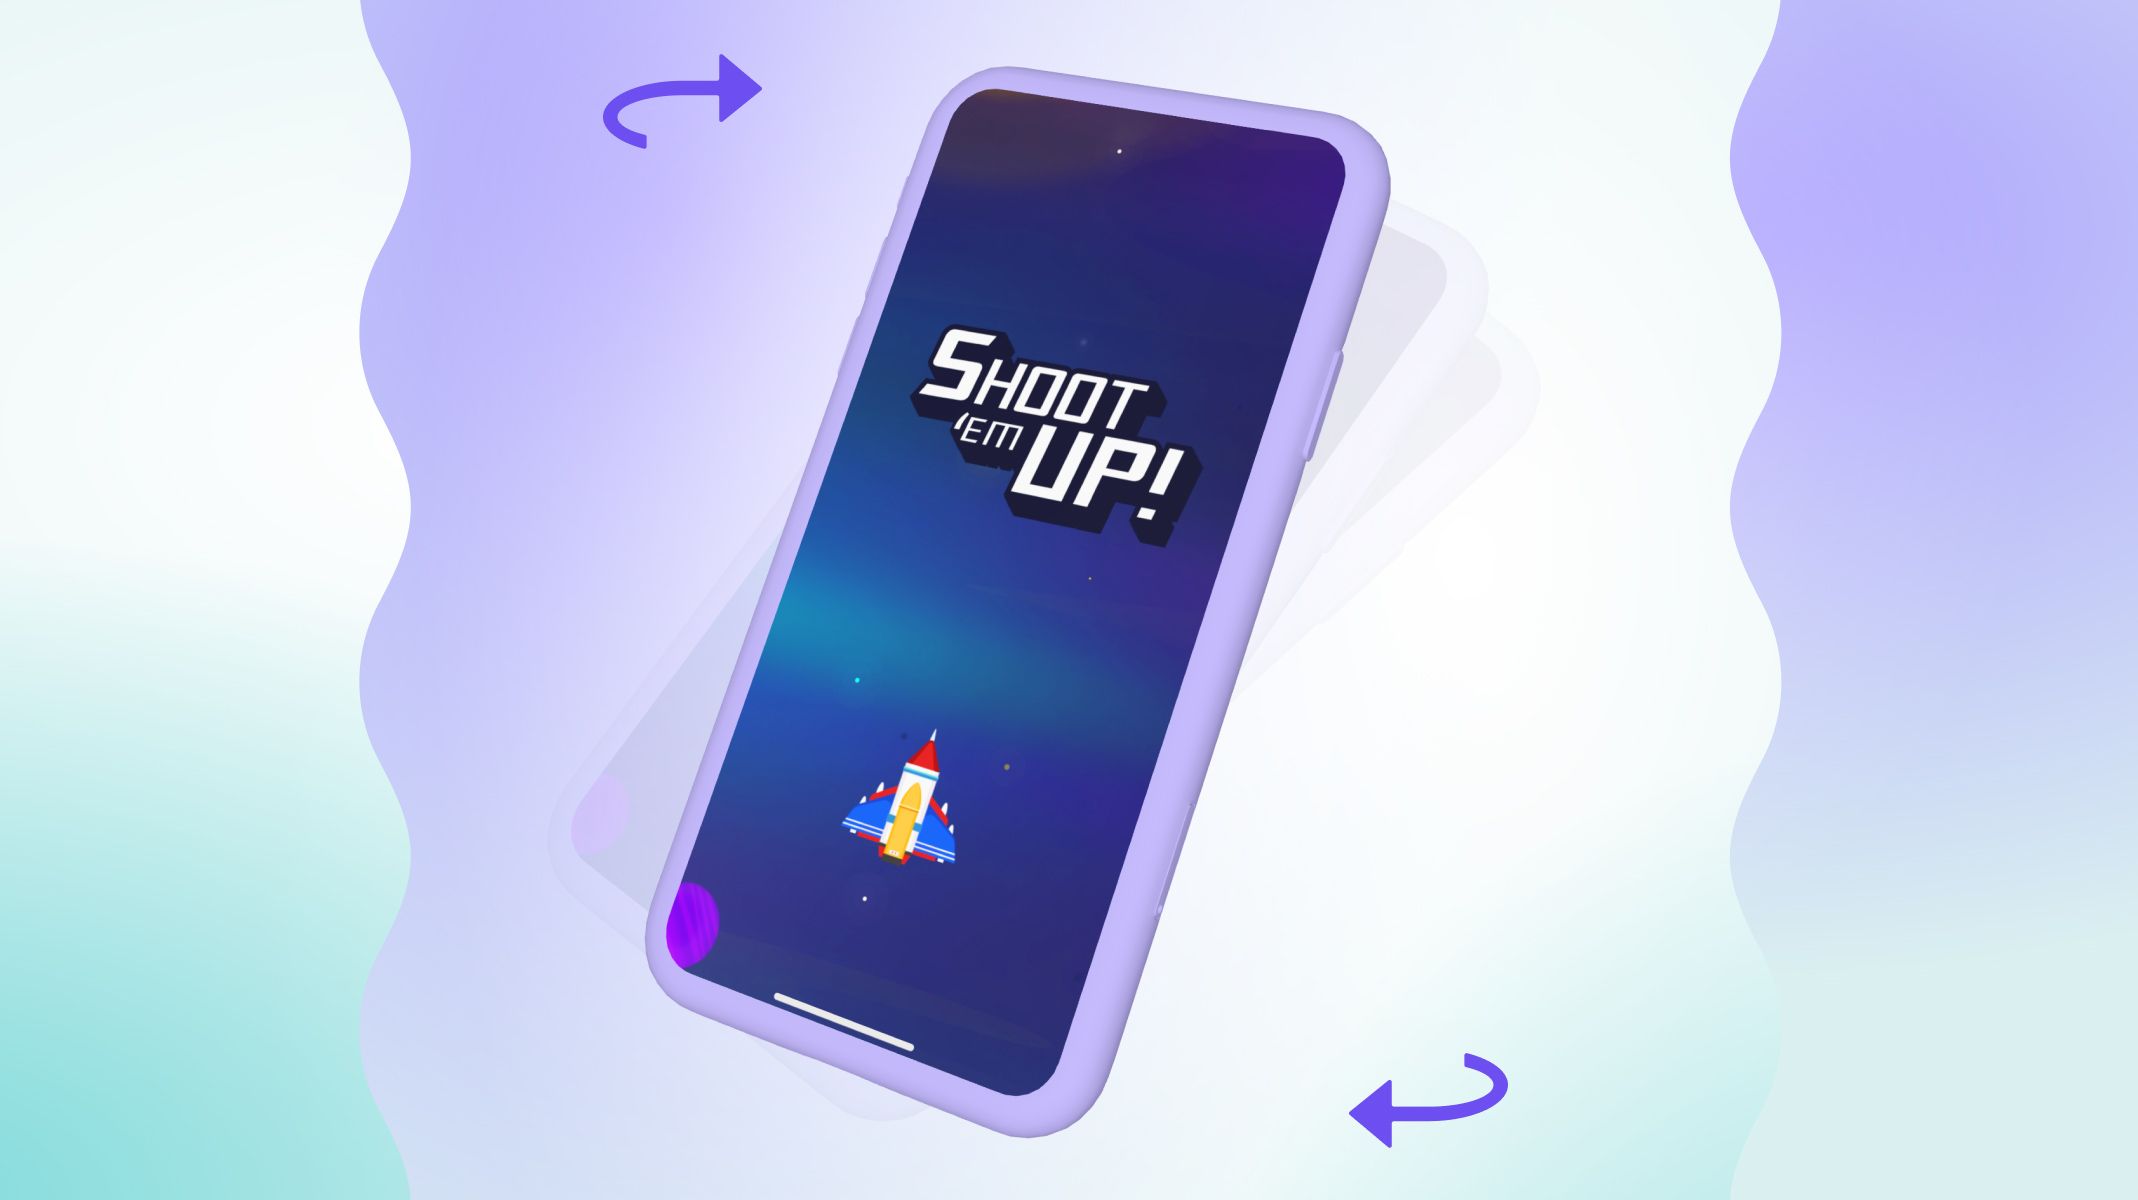
Get ready to enhance your prototypes with an exciting twist—tilt motion control! If you’re a gaming enthusiast looking to push game UX design boundaries, then you’re in the right place.
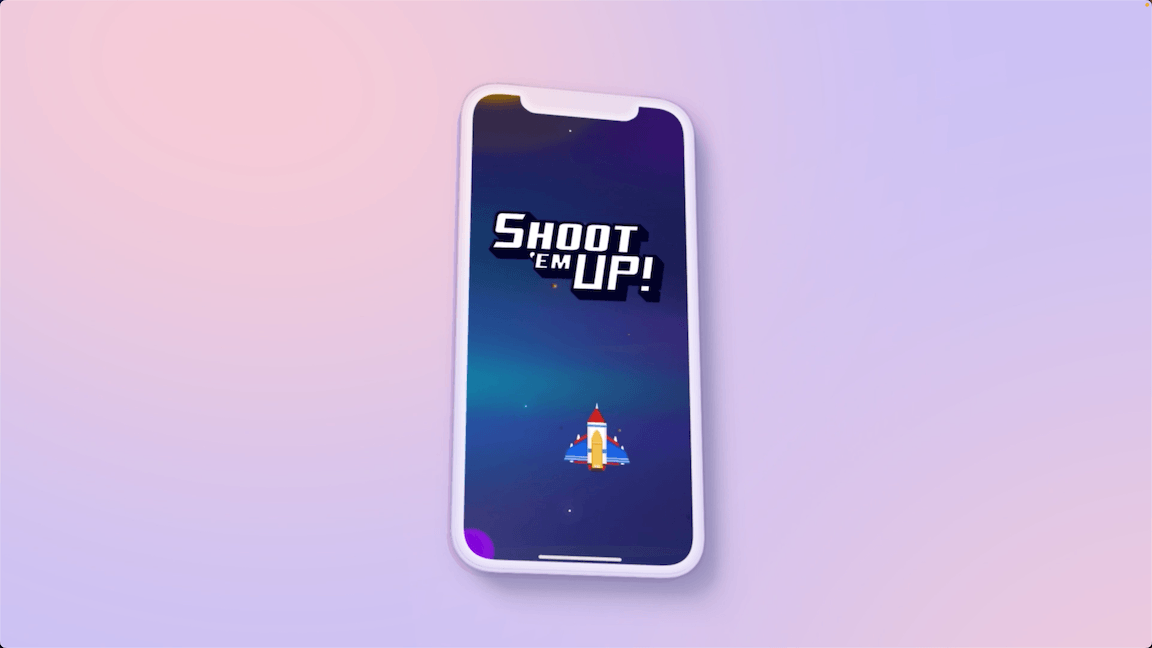
In this tutorial, we’ll guide you in seamlessly integrating device-based tilting into a Shoot 'em Up game prototype. The outcome? An immersive gameplay experience that breaks conventional limitations in the hyper casual game genre.
What truly sets ProtoPie apart is its exceptional native sensor support features, opening the door to an array of creative opportunities. So, let's jump straight into the practical steps and discover how this dynamic addition can genuinely revolutionize your gaming projects.
Overview
What you'll learn
Before you start
How to create tilt interactions
Add the tilt trigger
Understand tilt sensors
Implement move responses
Add vertical tilt control
Test combined control
That's it! Easy as Pie
Join the game prototyping masterclass
Elevate your designs with advanced prototyping
What you’ll learn
By the end of this tutorial, you'll know how to:
Add tilt controls to mobile game prototypes with ProtoPie.
Understand how device tilt sensors work.
Connect tilting to in-game actions for dynamic experiences.
Time to complete: ≤5 minutes
Before we start
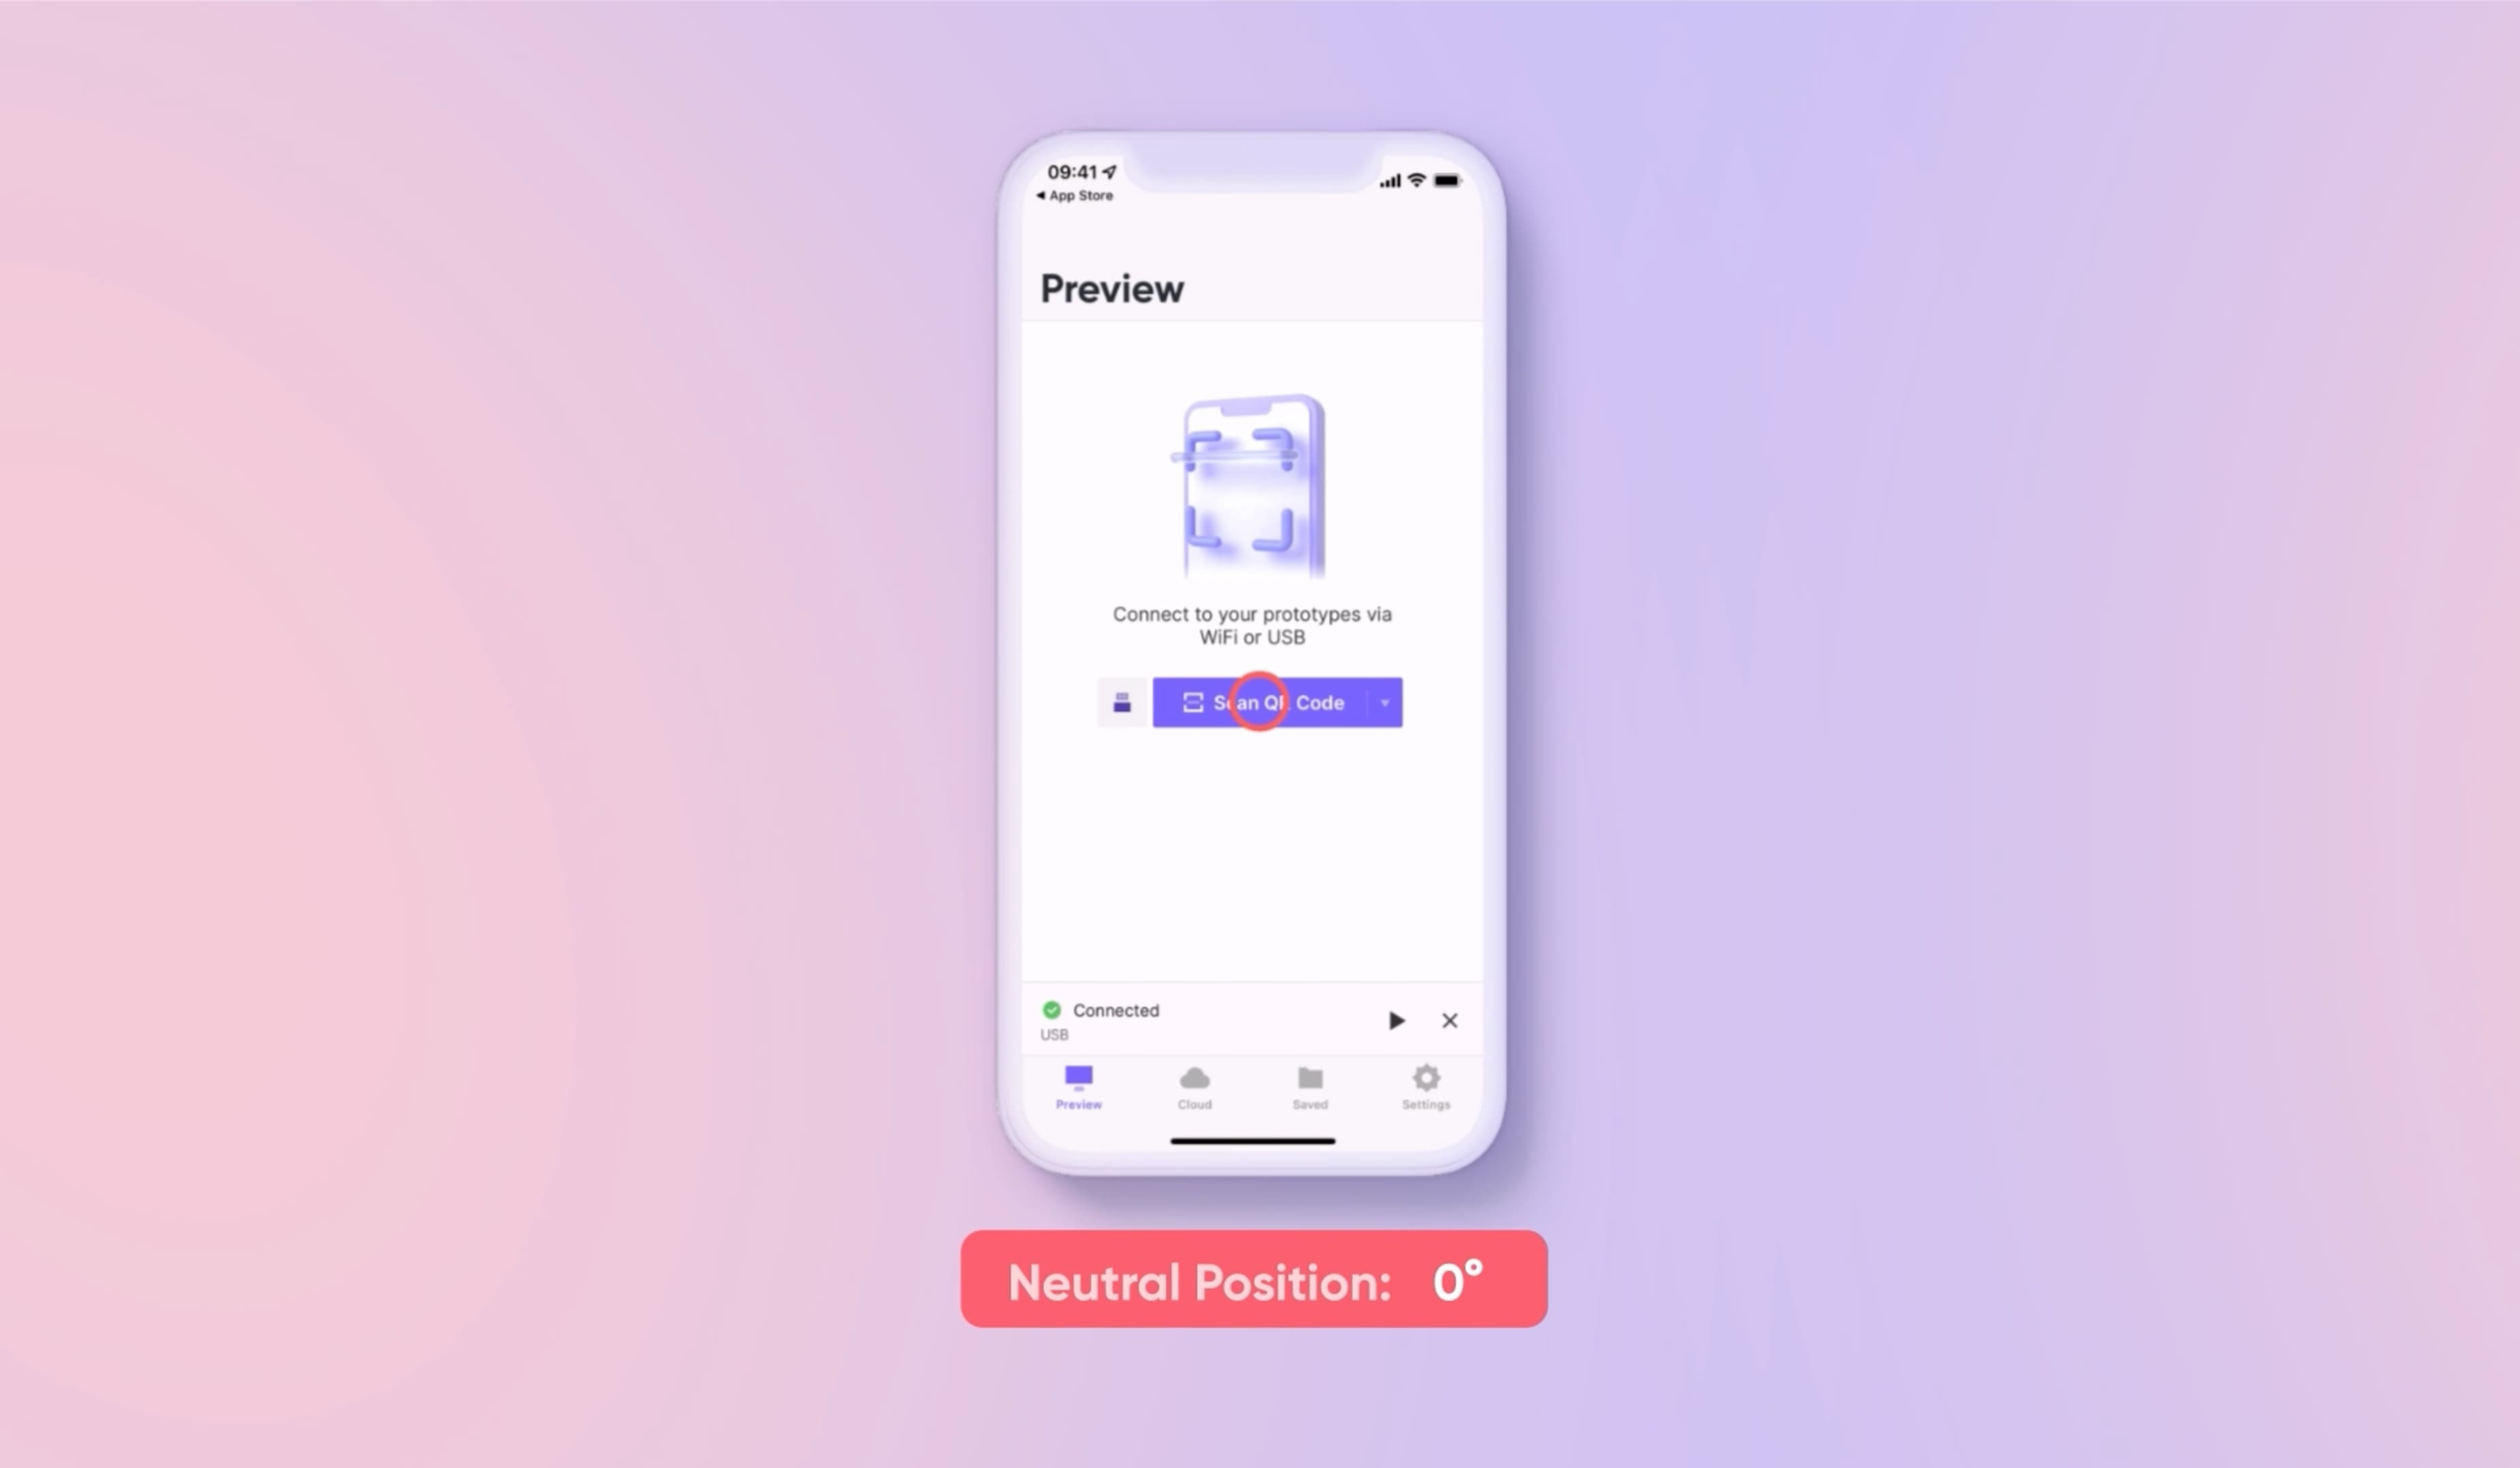
Before we get started, make sure you have the ProtoPie Player app installed on your smartphone. This app will be crucial for testing and validating the tilt motion controls you'll be implementing.
Download the starting Pie file below, and open up our Shoot 'em up game prototype in ProtoPie Studio.
Starting Pie FileCompleted Pie File
How to create tilt interactions
1. Add a tilt trigger
Let's kick things off by introducing the Tilt trigger. It acts as the bridge between your device's tilting and the actions within your game. Essentially, it allows us to choose the specific direction we want to work with — X, Y, or Z axis. ProtoPie will then interpret these subtle tilting motions as input commands.
Sign up for the latest prototyping news.
2. Understand tilt sensors
Before we proceed, it's crucial to understand the technical functioning of the tilt sensors in your device. These sensors utilize Microelectromechanical Systems (MEMS) and Inertial Measurement Units (IMUs) to measure device orientation along the X, Y, and Z axes.
X is for tilting away from you or toward you.
Y is for tilting it left and right as you turn your wrist.
And then Z is for turning it left and right as if you were turning a steering wheel. So the plane of the phone stays parallel to you, but you are moving it left and right as if you returning a steering wheel.
Select Y-Axis Direction: Time to make choices! For this tutorial’s purpose, we'll focus primarily on the Y-axis, which enables lateral tilting motions. Go back to the Tilt trigger and choose the Y-axis as our direction. This lets us bring about intuitive left-right tilting into our game.
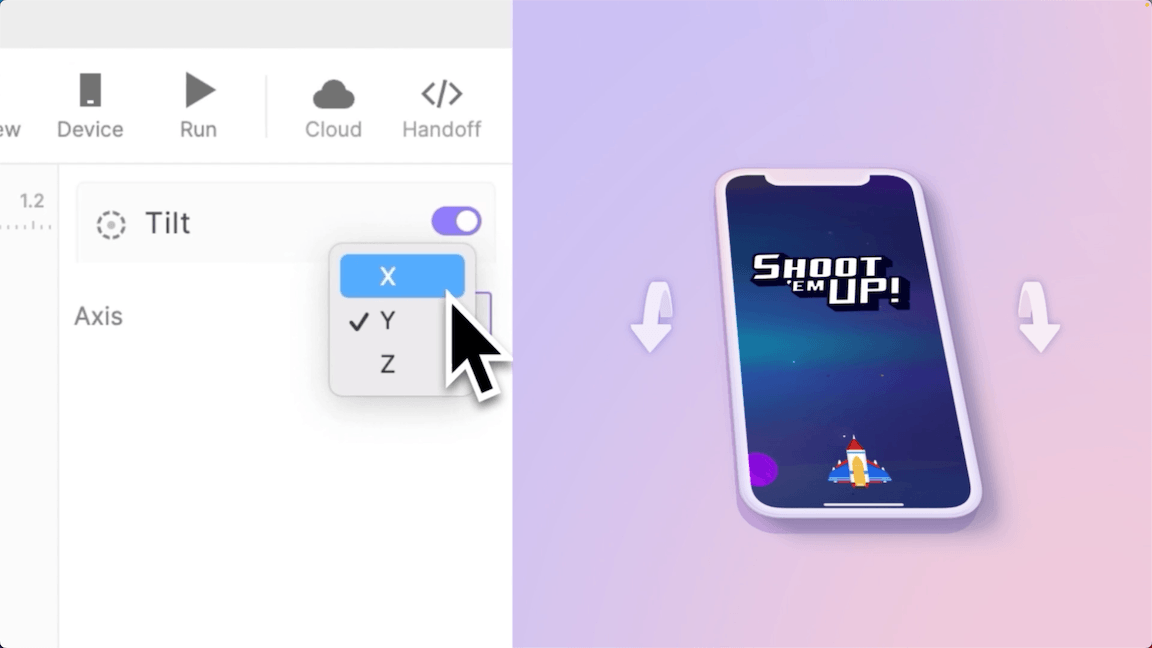
Set tilt direction to Y-Axis
3. Implement move responses
Let’s get our spaceship moving by adding Move responses. This orchestrates the seamless connection between tilting actions in your device and how the spaceship responds.
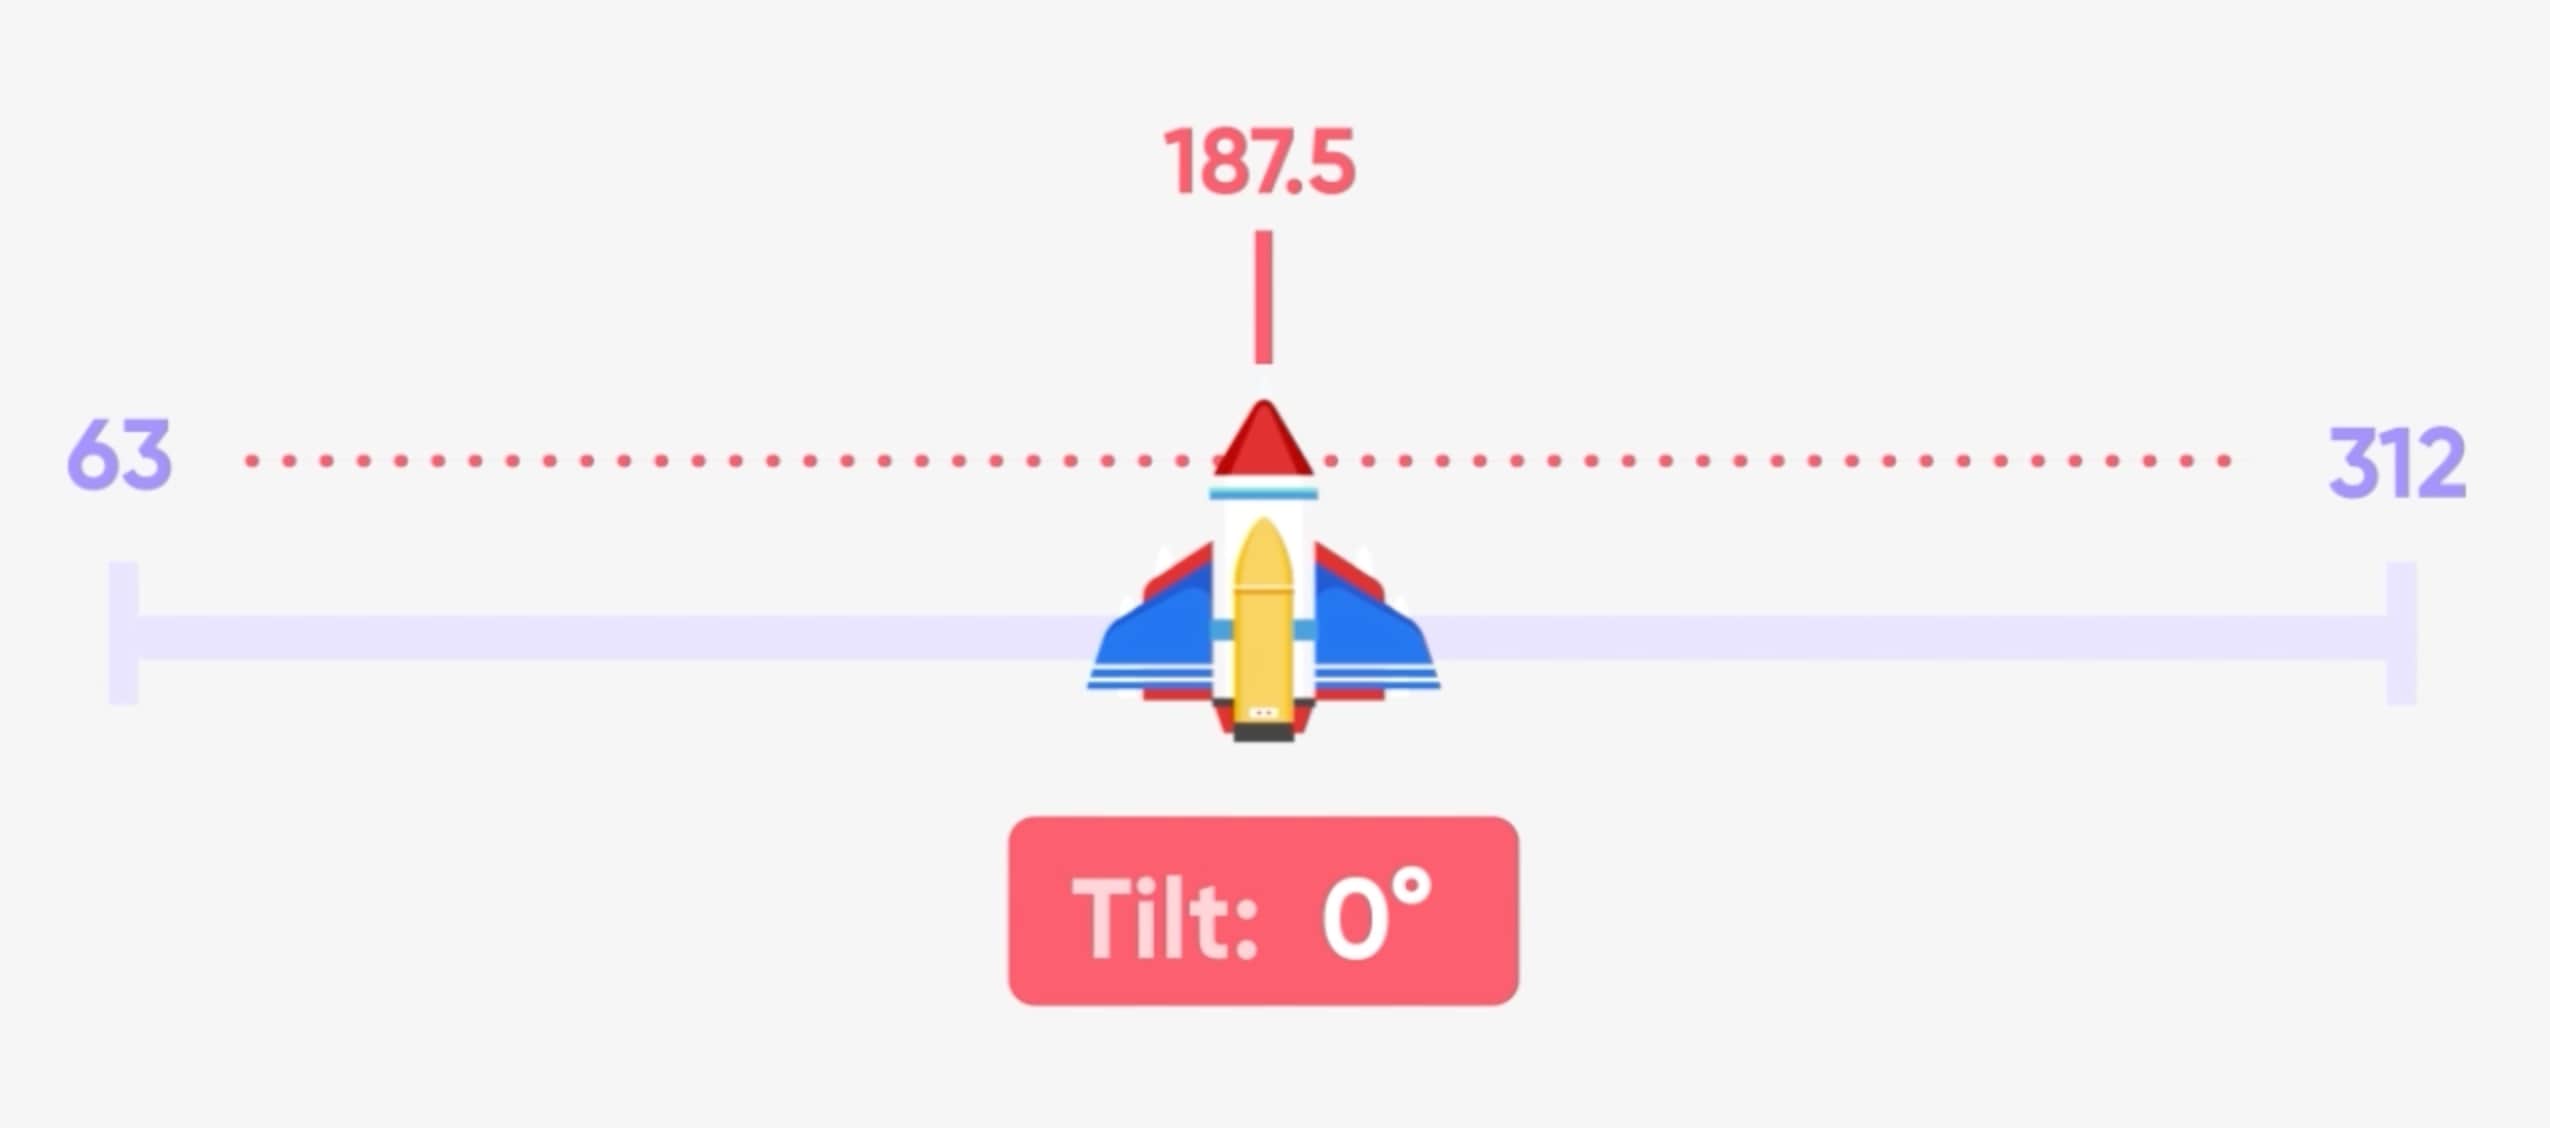
Next, let’s define the Tilt’s Range parameters: minus 10-degree tilt for leftward motion, which will move the spaceship to the X-coordinate of 63 pixels, and an equivalent 10-degree tilt for rightward motion, moving the spaceship to the X-coordinate of 312 pixels.
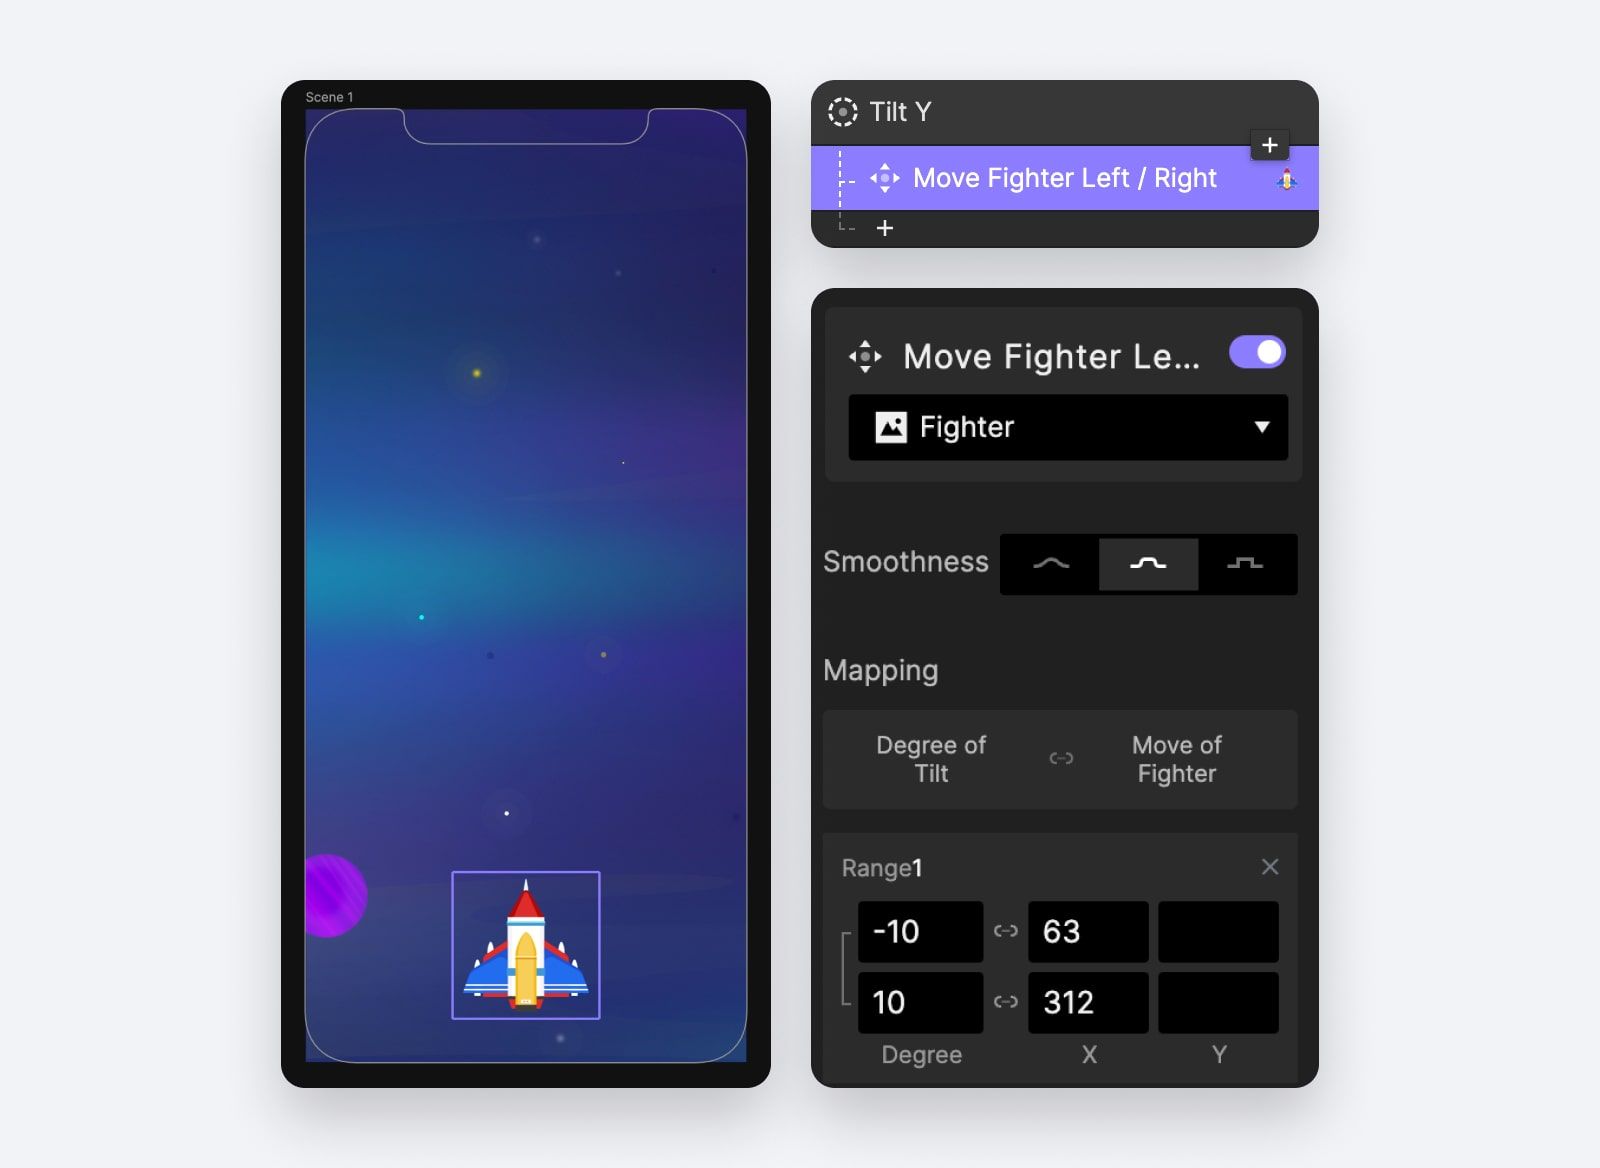
Implement Move responses
💡 Pro-tip! Keep in mind that ProtoPie will automatically fill in the values in between, allowing for smooth and continuous movement.
So, at a neutral tilt of 0 degrees, the spaceship will be positioned halfway between 63 and 312 pixels.
ProtoPie will auto-fill the values in between
**Try with ProtoPie Player: Testing time! Running the prototype will enable you to observe how the spaceship responds to your device's orientation. Grab your smartphone and experience the prototype in action using the ProtoPie Player app. Important: **What you have to remember here is that the initial tilt position of your device serves as the reference point. So, wherever your phone happens to be when you hit the ‘Run’ button, that is considered the neutral point.
The initial tilt position of your device becomes the 'reference point'
4. Add vertical tilt control
Let's add more dimensions to the mix! This time, let's add motion control in the forward and backward directions.
To do this, we'll add another Tilt trigger, this time choosing the X-axis as our direction. Once again, let’s add a Move response on the spaceship. Let’s set the forward tilt, or the direction away from you, as minus 5 degrees. Then the Y-position of the ship should be at 550 pixels.
And as you tilt it back towards you, you can use the neutral position of the spaceship at the bottom point. So, 0 degrees. Then the spaceship will be at 650 pixels.
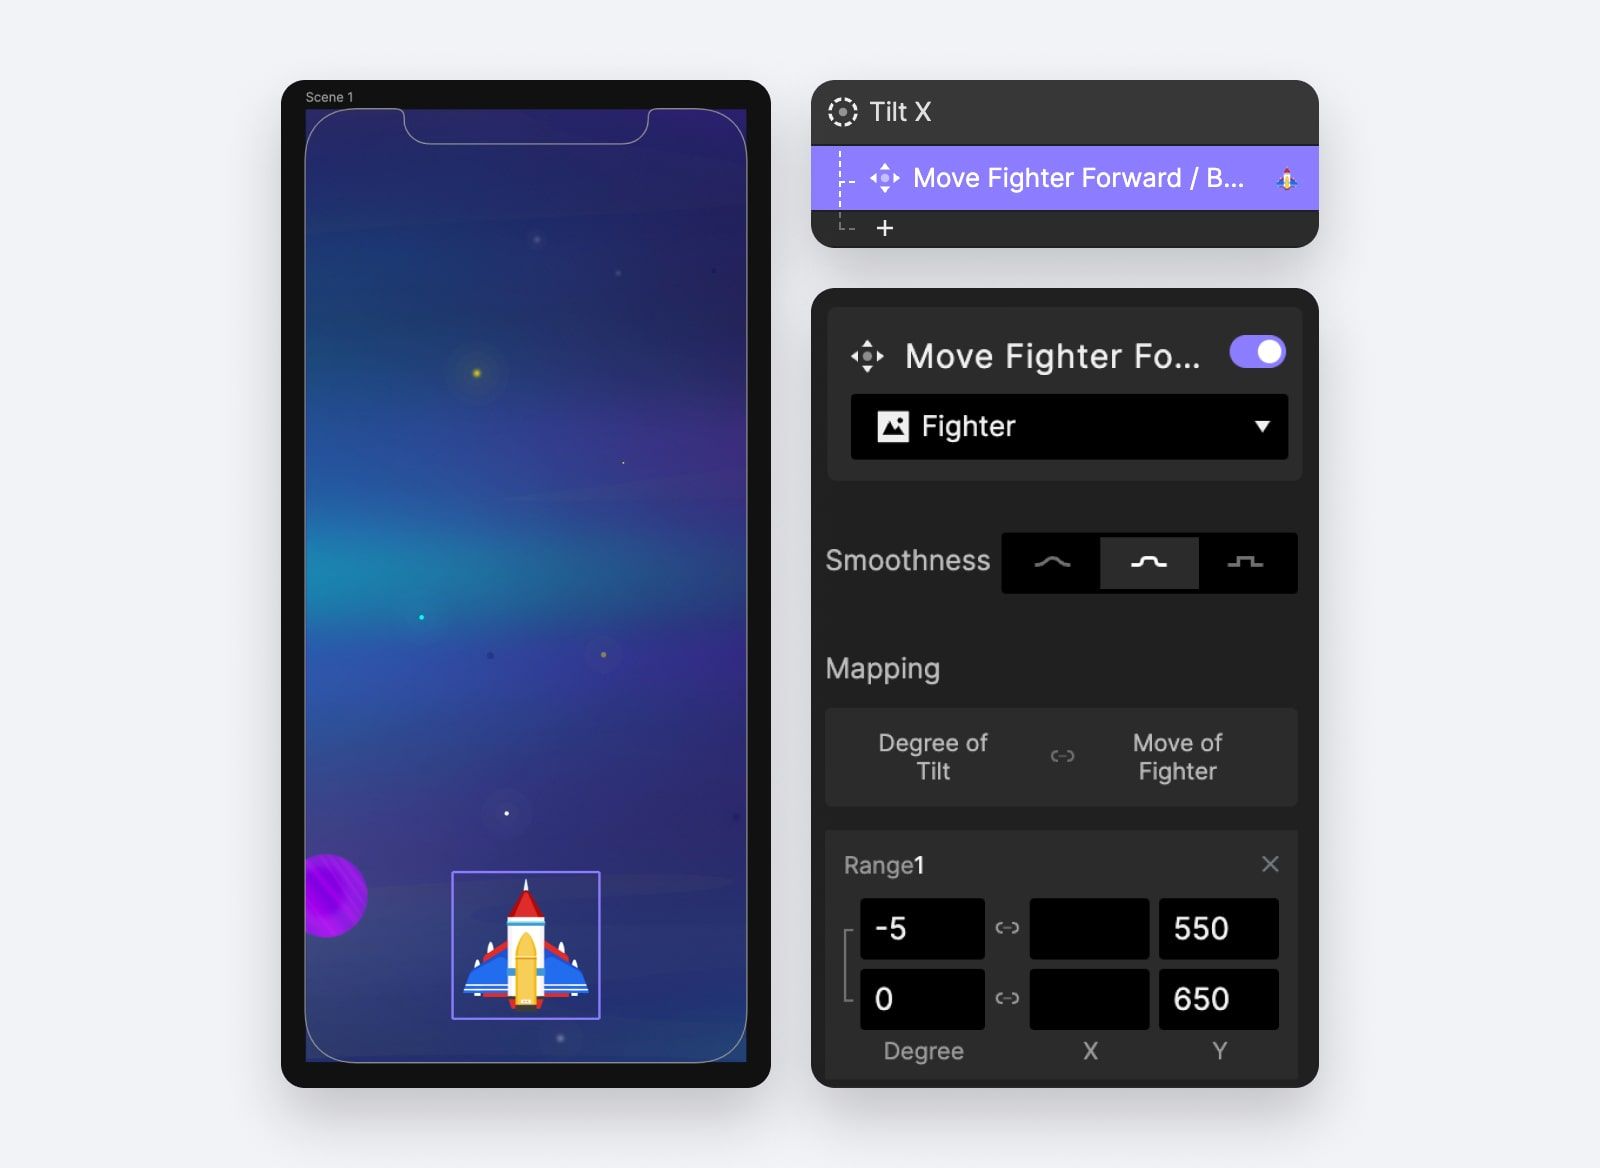
Add vertical tilt control
5. Test combined controls
Ready for the real deal? Run the prototype again in the ProtoPie Player app, and tilt your phone in any direction—left, right, forward, or backward. And notice how they work together.
Because each trigger is only working in one direction of the spaceship, you can have X and Y happening at the same time. ProtoPie’s powerful native sensor support enables the spaceship to fluidly translate your device's tilting into captivating gameplay movements.
Run the prototype and test all the tilt motions
That's it! Easy as Pie
You did it! You've successfully incorporated tilt motion control into your Shoot 'em Up game prototype. With ProtoPie's native sensor support features, you've supercharged your game with dynamic and responsive interactions that set it apart from others.
Join the game prototyping masterclass
Why stop here? Unleash your gaming potential by joining us in **ProtoPie School's free ** Masterclass in Mobile Game Prototyping and explore even more possibilities with ProtoPie. In just under two hours, you will learn everything you need to know in order to make game development way less complex and complicated.
Elevate your designs with advanced prototyping
That's a wrap! You've embraced the power of tilt motion control, and now the stage is yours to create thrilling and immersive gaming experiences. Keep an eye out for more exciting tutorials on your journey to creating the next gaming sensation.


