Introduction
ProtoPie Connect comes with a number of useful and easy to use plugins out of the box for integrating with things like IFTTT, the Logitech G29 steering wheel and Arduino — both via blokdots or direct serial connection. But what if you want to interface with something not covered by the plugins? If you subscribe to the ProtoPie Enterprise plan, it’s possible to write your own bridge app to connect your Pie with any product or service.
What you’ll learn
In this lesson you’ll explore a Node.js app that interfaces with ProtoPie Connect using a connection technology known as Socket.io. In particular, you will:
Start with some standard “boilerplate” code that will get you connected quickly to ProtoPie Connect from your app.
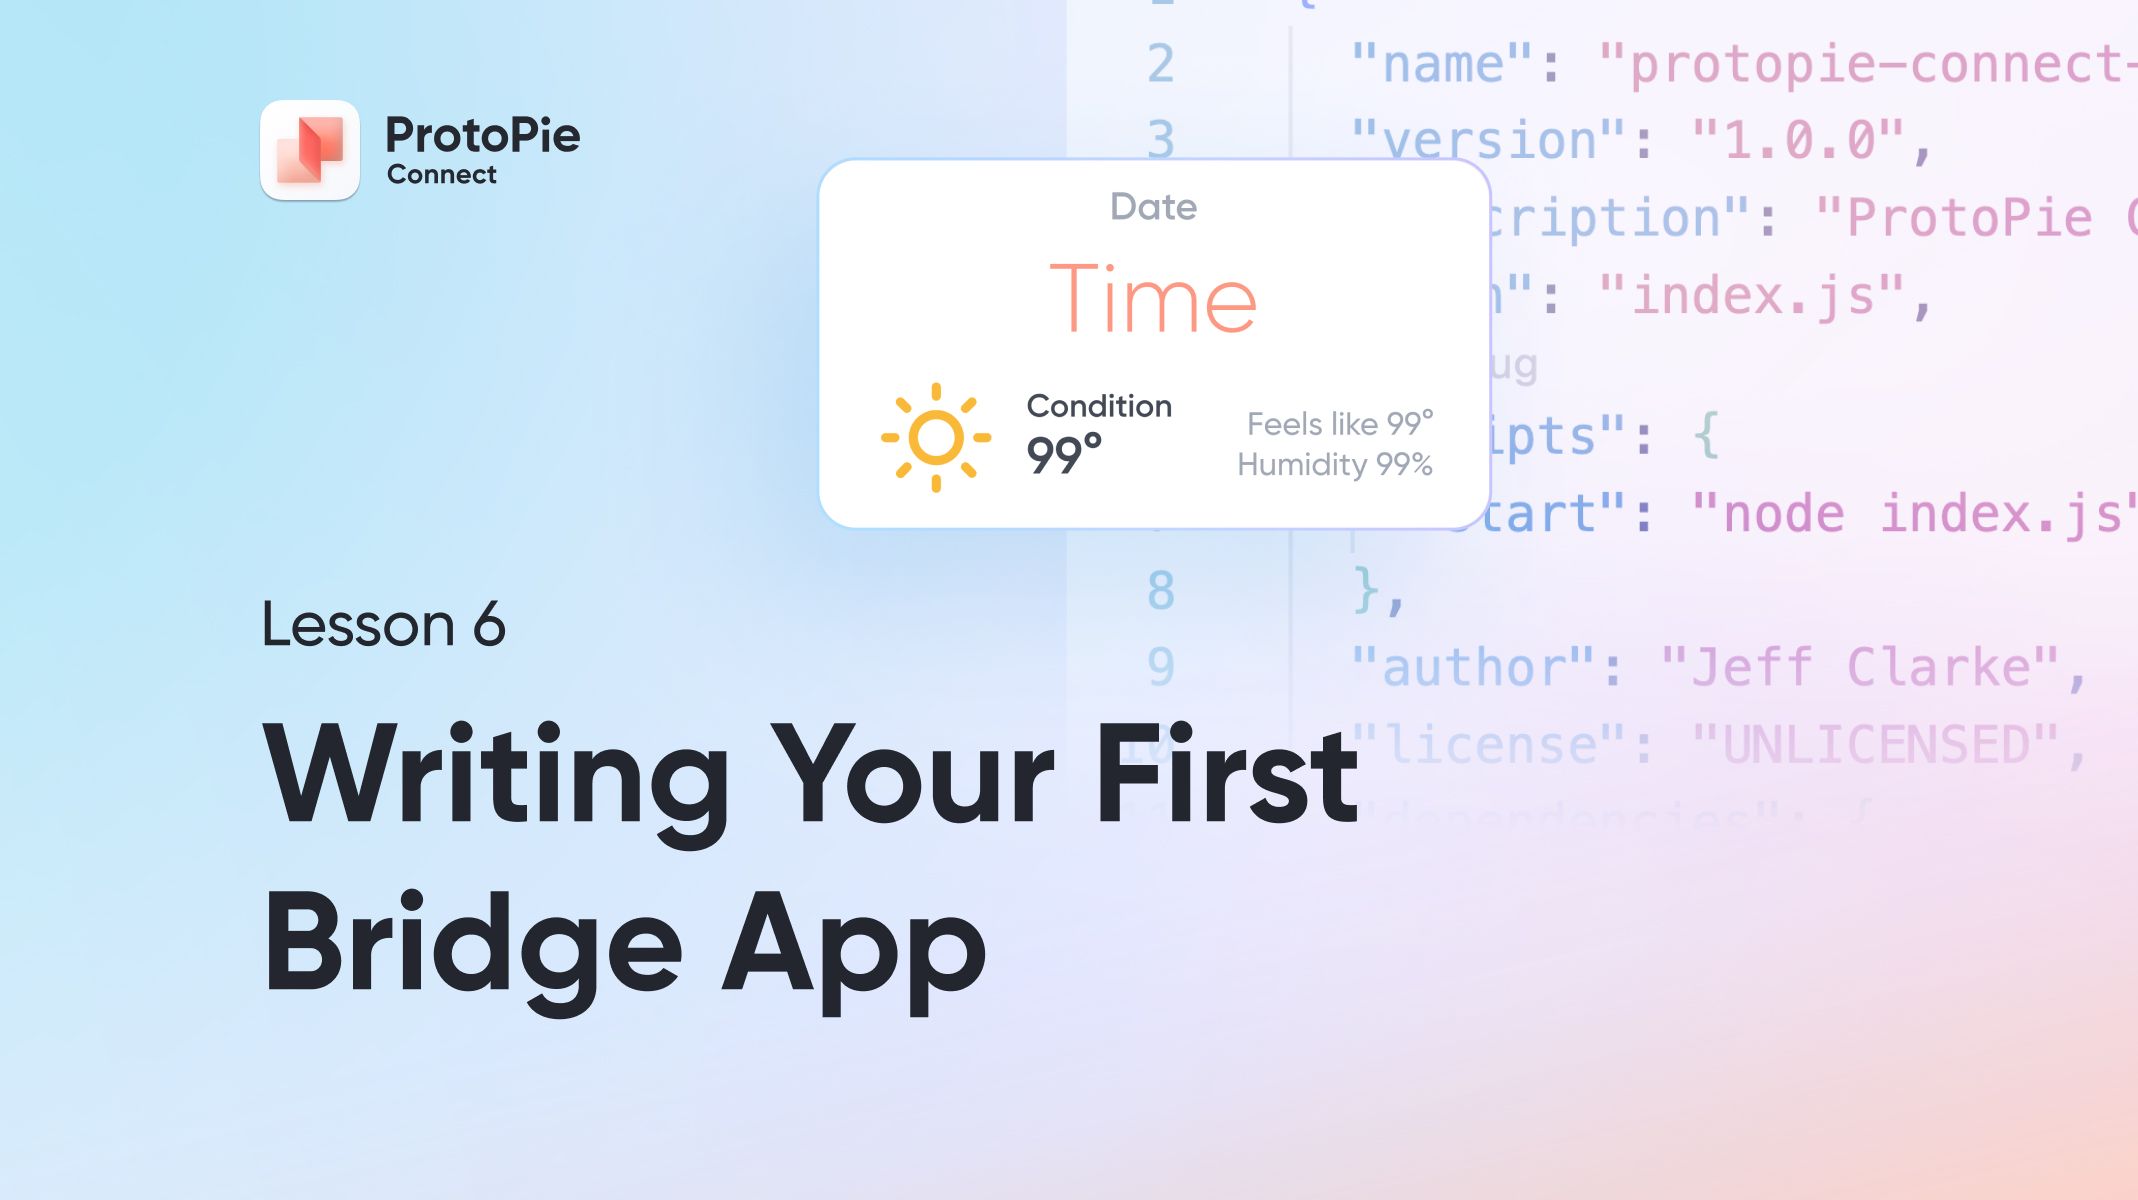
Use the Moment.js library to provide a formatted date and time to your Pie.
Use OpenWeather’s API to retrieve current weather conditions and provide them to your Pie.
Time to complete: ≤45 minutes
What you’ll need
A ProtoPie Enterprise subscription
Writing custom bridge apps for ProtoPie Connect only works with the full version of Connect included with the ProtoPie Enterprise subscription. Enterprise subscribers get the added ability to use and write custom plugins with ProtoPie Connect.
Some coding experience
You won’t need to be a professional developer to follow along with the examples below. If you’ve ever coded with JavaScript before — even simple stuff — you should be fine. But if you’ve NEVER coded before, you’re going to be in way over your head.
If you’re brand new to coding, I suggest going through the following tutorials first:
Learning to code is a time commitment for sure, but it’s a really useful skill for a prototyper, and even as a designer, knowing just a little bit about coding will do wonders for your relationship with your engineering team.
A decent text editor
We’re coding, so we need to use a good text editor. Utilities built-in to your OS like Notepad will work, but they’re not ideal. Fortunately there are many great editors available:
I’ll be using Sublime Text in my examples, so if you want to see what I see, use Sublime Text.
An OpenWeather account
Head over to OpenWeather’s web site and make an account. You’ll need one in order to connect to their weather API. We’ll be using a free service, so no need to set up a paid account.
The starting code and Pie
I’ve written some code to get you started. Download this ZIP file and extract it somewhere convenient on your computer. And open the Pie file in ProtoPie Studio
[Bridge App Start Code] [Weather Control Pie]
Let’s do this!
Follow along with the video below.
Code
At 25:39 in the video I paste in a snippet of code for the Icon Map. Here is that code so you can copy and paste it in to your project.
Here is the complete finished code.
To use this code:
Install dependencies with
npm install.Edit
index.jsand add your Open Weather API Key on line 66Run the bridge app with
npm start.
Edit line 66 with your API Key
Finished Pie File
Here is the finished Pie file in its completed state:
And there you have it! But we won't stop here. Let's go and try to take this to another level in the final installment in this series with Intro to ProtoPie Connect 7 of 7: Advanced Bridge App - Connect to Your Smart Home .