Introduction
Quite often we would like to create prototypes that involve physical devices. While ProtoPie Connect’s built-in plugins are quite versatile in interfacing with all sorts of things, it is inevitable that you come across something that is not covered by these plugins. Much like in the previous lessons, subscribers to the Enterprise plan can write custom bridge apps to allow communication between ProtoPie and any device you can imagine.
What you’ll learn
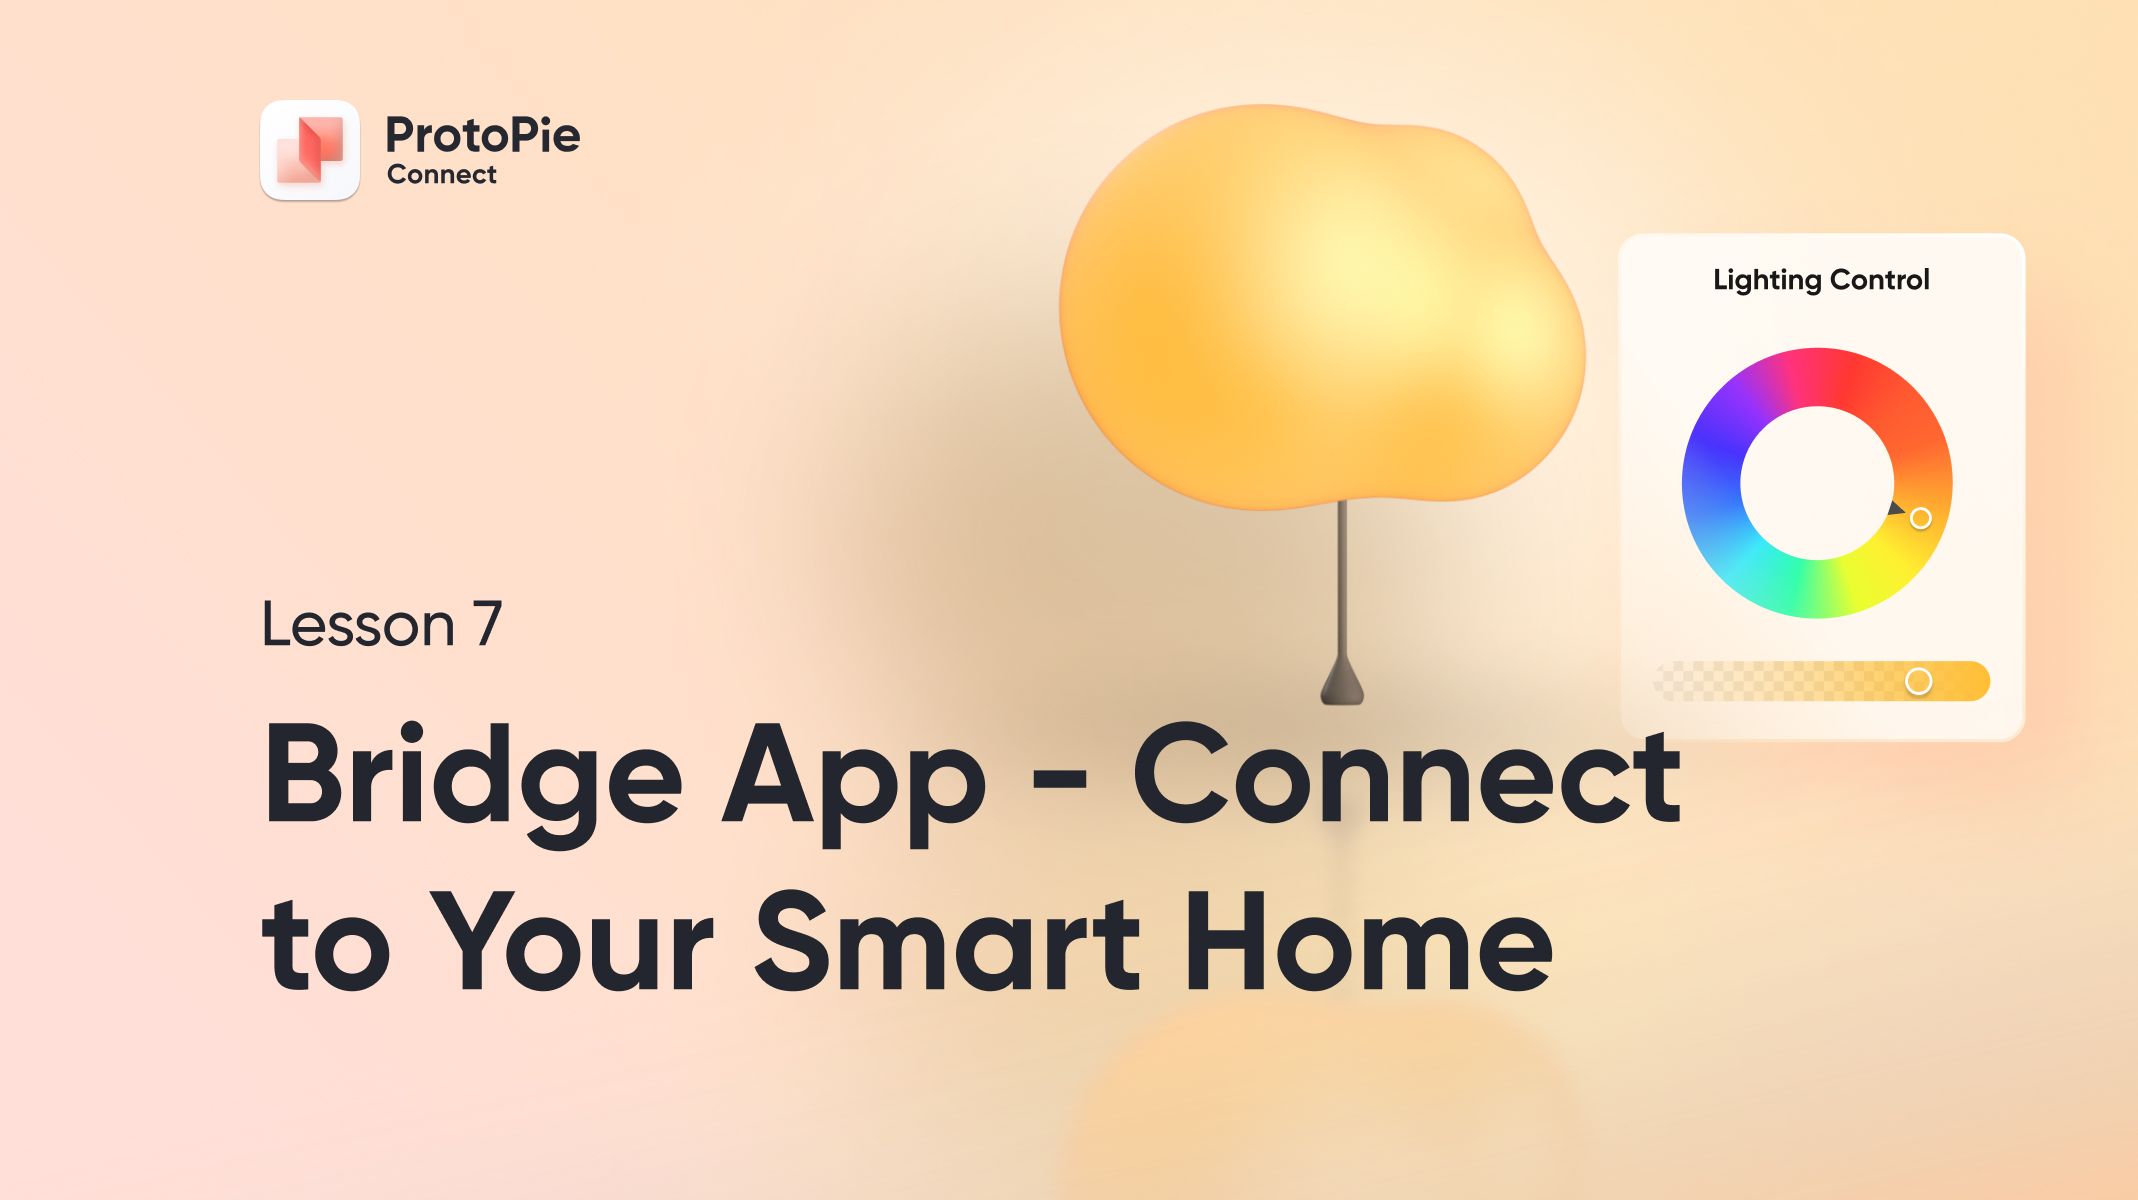
So you just learned how to build and run your very first Bridge app in the previous lesson. In this one, we’ll connect to our smart home through an open source application called Home Assistant in order to physically control a smart light bulb.
Once again, we’ll start with the standard “boilerplate” code that gets us connected quickly to ProtoPie Connect from your app.
We’ll use the Home Assistant WebSocket API to relay commands to turn our smart light bulb on and off.
You’ll see how it’s possible to run multiple bridge apps simultaneously.
We’ll create a portable plugin file to make sharing your bridge app around with your team easy.
Time to complete: ≤30 minutes
What you’ll need
A ProtoPie Enterprise subscription
Writing custom bridge apps for ProtoPie Connect only works with the full version of Connect included with the ProtoPie Enterprise subscription. Enterprise subscribers get the added ability to use and write custom plugins with ProtoPie Connect.
Some coding experience
You won’t need to be a professional developer to follow along with the examples below. If you’ve ever coded with JavaScript before — even simple stuff — you should be fine. But if you’ve NEVER coded before, you’re going to be in way over your head.
If you’re brand new to coding, I suggest going through the following tutorials first:
Learning to code is a time commitment for sure, but it’s a really useful skill for a prototyper, and even as a designer, knowing just a little bit about coding will do wonders for your relationship with your engineering team.
A decent text editor
We’re coding, so we need to use a good text editor. Utilities built-in to your OS like Notepad will work, but they’re not ideal. Fortunately there are many great editors available:
I’ll be using Sublime Text in my examples, so if you want to see what I see, use Sublime Text.
Home Assistant running on your network with at least one smart light
Installing and configuring Home Assistant is outside of the scope of this tutorial, but if you head over to Home Assistant’s Getting Started page, you should find everything you need to get up and running.
Any dimmable smart bulb that Home Assistant supports will work for this tutorial.
If you don’t have a dedicated machine to run Home Assistant on, you can run it in a virtual machine on your computer, which will work just fine for this lesson.
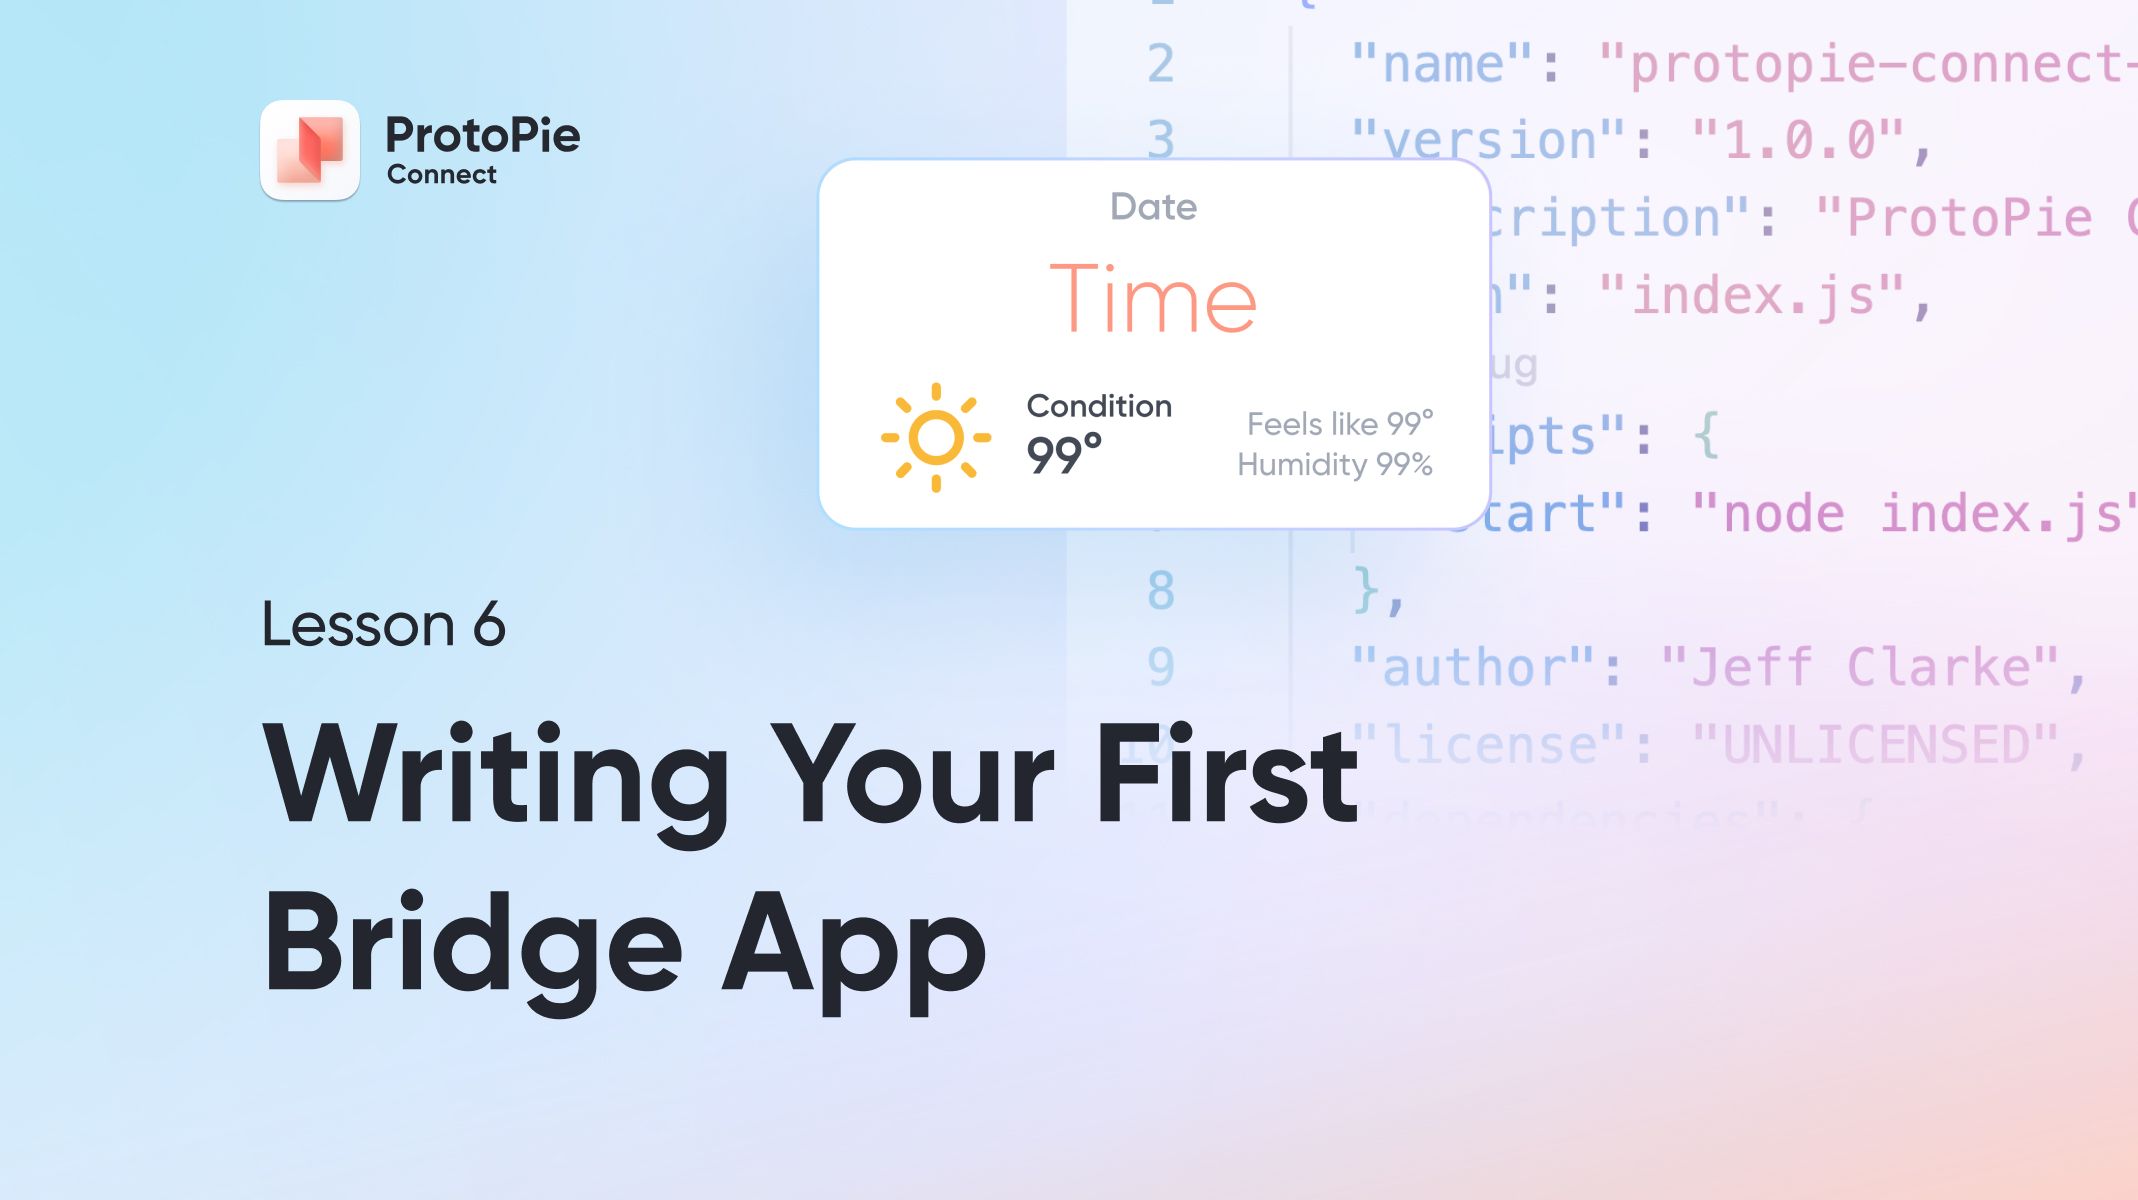
The boilerplate code
This is the same code we started with in the previous lesson. Download this ZIP file and extract it somewhere convenient on your computer.
The starting Pie files
Download and open the following Pie files in ProtoPie Studio.
[Wall Control Pie] [Mobile Controller Pie]
Let’s do this!
Follow along with the video below.
Resources
Finished Pie File
Here is the Light Sliders Pie file in its completed state: