Introduction
In this quick tutorial, you’ll follow a very simple example that shows how you can use ProtoPie Connect’s built-in IFTTT plugin to create an integration between your Pie and a third-party online service.
What you'll learn
In this tutorial we’ll cover the following:
What is IFTTT?
How IFTTT works with ProtoPie Connect
How to build a simple applet in IFTTT and trigger it from ProtoPie Studio
Time to complete: ≤15 minutes
What is IFTTT?
IFTTT stands for “If This, Then That” and it’s pronounced like “Gift” but without the “G.” It’s an online platform that allows interoperability between hundreds of popular internet services, creating new possibilities for automation. Just have a browse through IFTTT’s Service’s page to see all of the many apps and products currently available for use in IFTTT, things like Twitter, Dropbox, Evernote, FitBit, Amazon Alexa, and Google Assistant, just to name a few among the 700+ on offer. You can read more about what IFTTT is here.
It works similarly to ProtoPie’s Trigger and Response model. You create applets that are triggered by something you define and in response certain actions are performed. For example, in a smart home scenario, you might create an applet to turn on your hallway lights when the front door is unlocked. Or, more specifically:

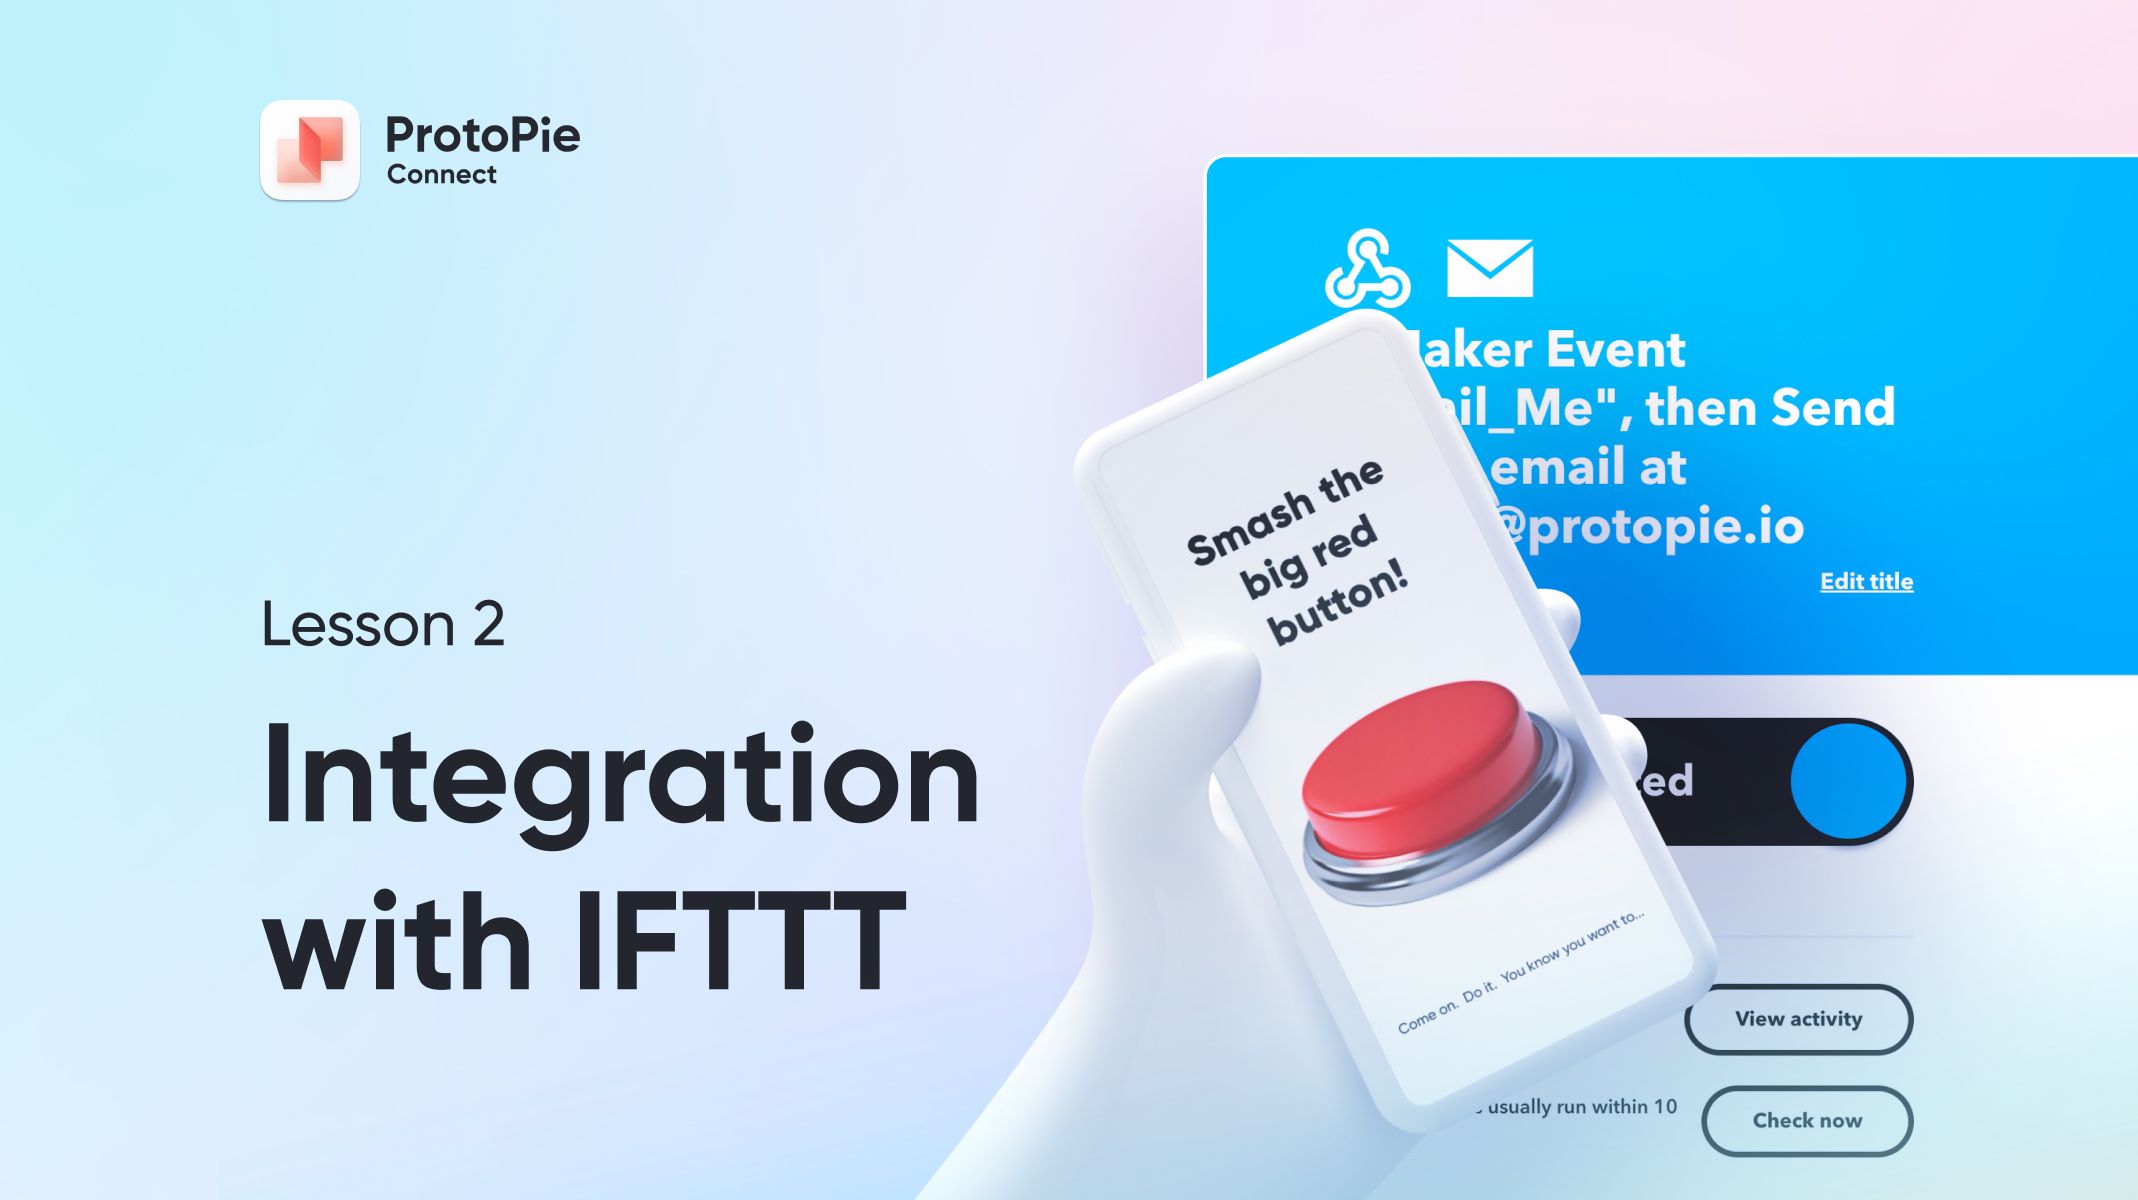
How does IFTTT work with ProtoPie Connect?
ProtoPie Connect has a built-in plugin that can be used to trigger something called a “Webhook.” You can think of it in almost exactly the same way that Send and Receive works in ProtoPie. A message — called an “Event” — is sent to IFTTT. IFTTT, in turn, is configured to listen for that event, and takes whatever action you have configured. And, like with ProtoPie, a little bit of data can optionally be sent along with the message.
In our example, we’ll be using a Webhook as a trigger, and the action will be to send en email.
Let’s do this!
Download the starting Pie here, and follow along with the video below!
At the 3:27 mark of the video I demonstrate building something called a "JSON string" as the value that we send along with our message to Connect. You can follow along with the video or just copy this — it will work as-is:
"{\"value1\":\"" + Name.text + "\"}"
If you’re unfamiliar with JSON, check out the resources at the bottom of this article to learn more.
That’s it! Easy as Pie
While this is a very simple example of how you can use the IFTTT Plugin, it illustrates just how easy it is to get your Pie working with a third-party service. Any service that IFTTT supports can be triggered with a Webhook event from ProtoPie Connect. It’s easy to see how your Pies can jump from Studio’s preview window to start interacting with all sorts of stuff on the internet.
Resources
At the 3:27 point in the video we built something called a "JSON string," that eventually got passed on to our IFTTT applet. JSON is used all over the internet to store and transfer information in a human readable format. Here are a few resources where you can learn more about JSON:
Finished Pie
Here is the Pie file used in this tutorial in its finished state:
See you in Intro to ProtoPie Connect 3 of 7: Arduino Part 1 - Connecting with Blokdots!