

Introduction
Expanding image overlays are present in a variety of applications ranging from social media to eCommerce. They are a great user pattern for engaging users quickly towards interesting media with the potential to facilitating quick access to functions such as sharing or commenting.
In this article, we'll have you making your own expanding previews in no time using the toScreen formula in conjunction with a long press trigger.
In this lesson, you'll learn:
Utilizing the Long Press trigger to show the overlay
Moving the desired image onto the screen through using the
toScreenformulaAdding customized effects to the transition
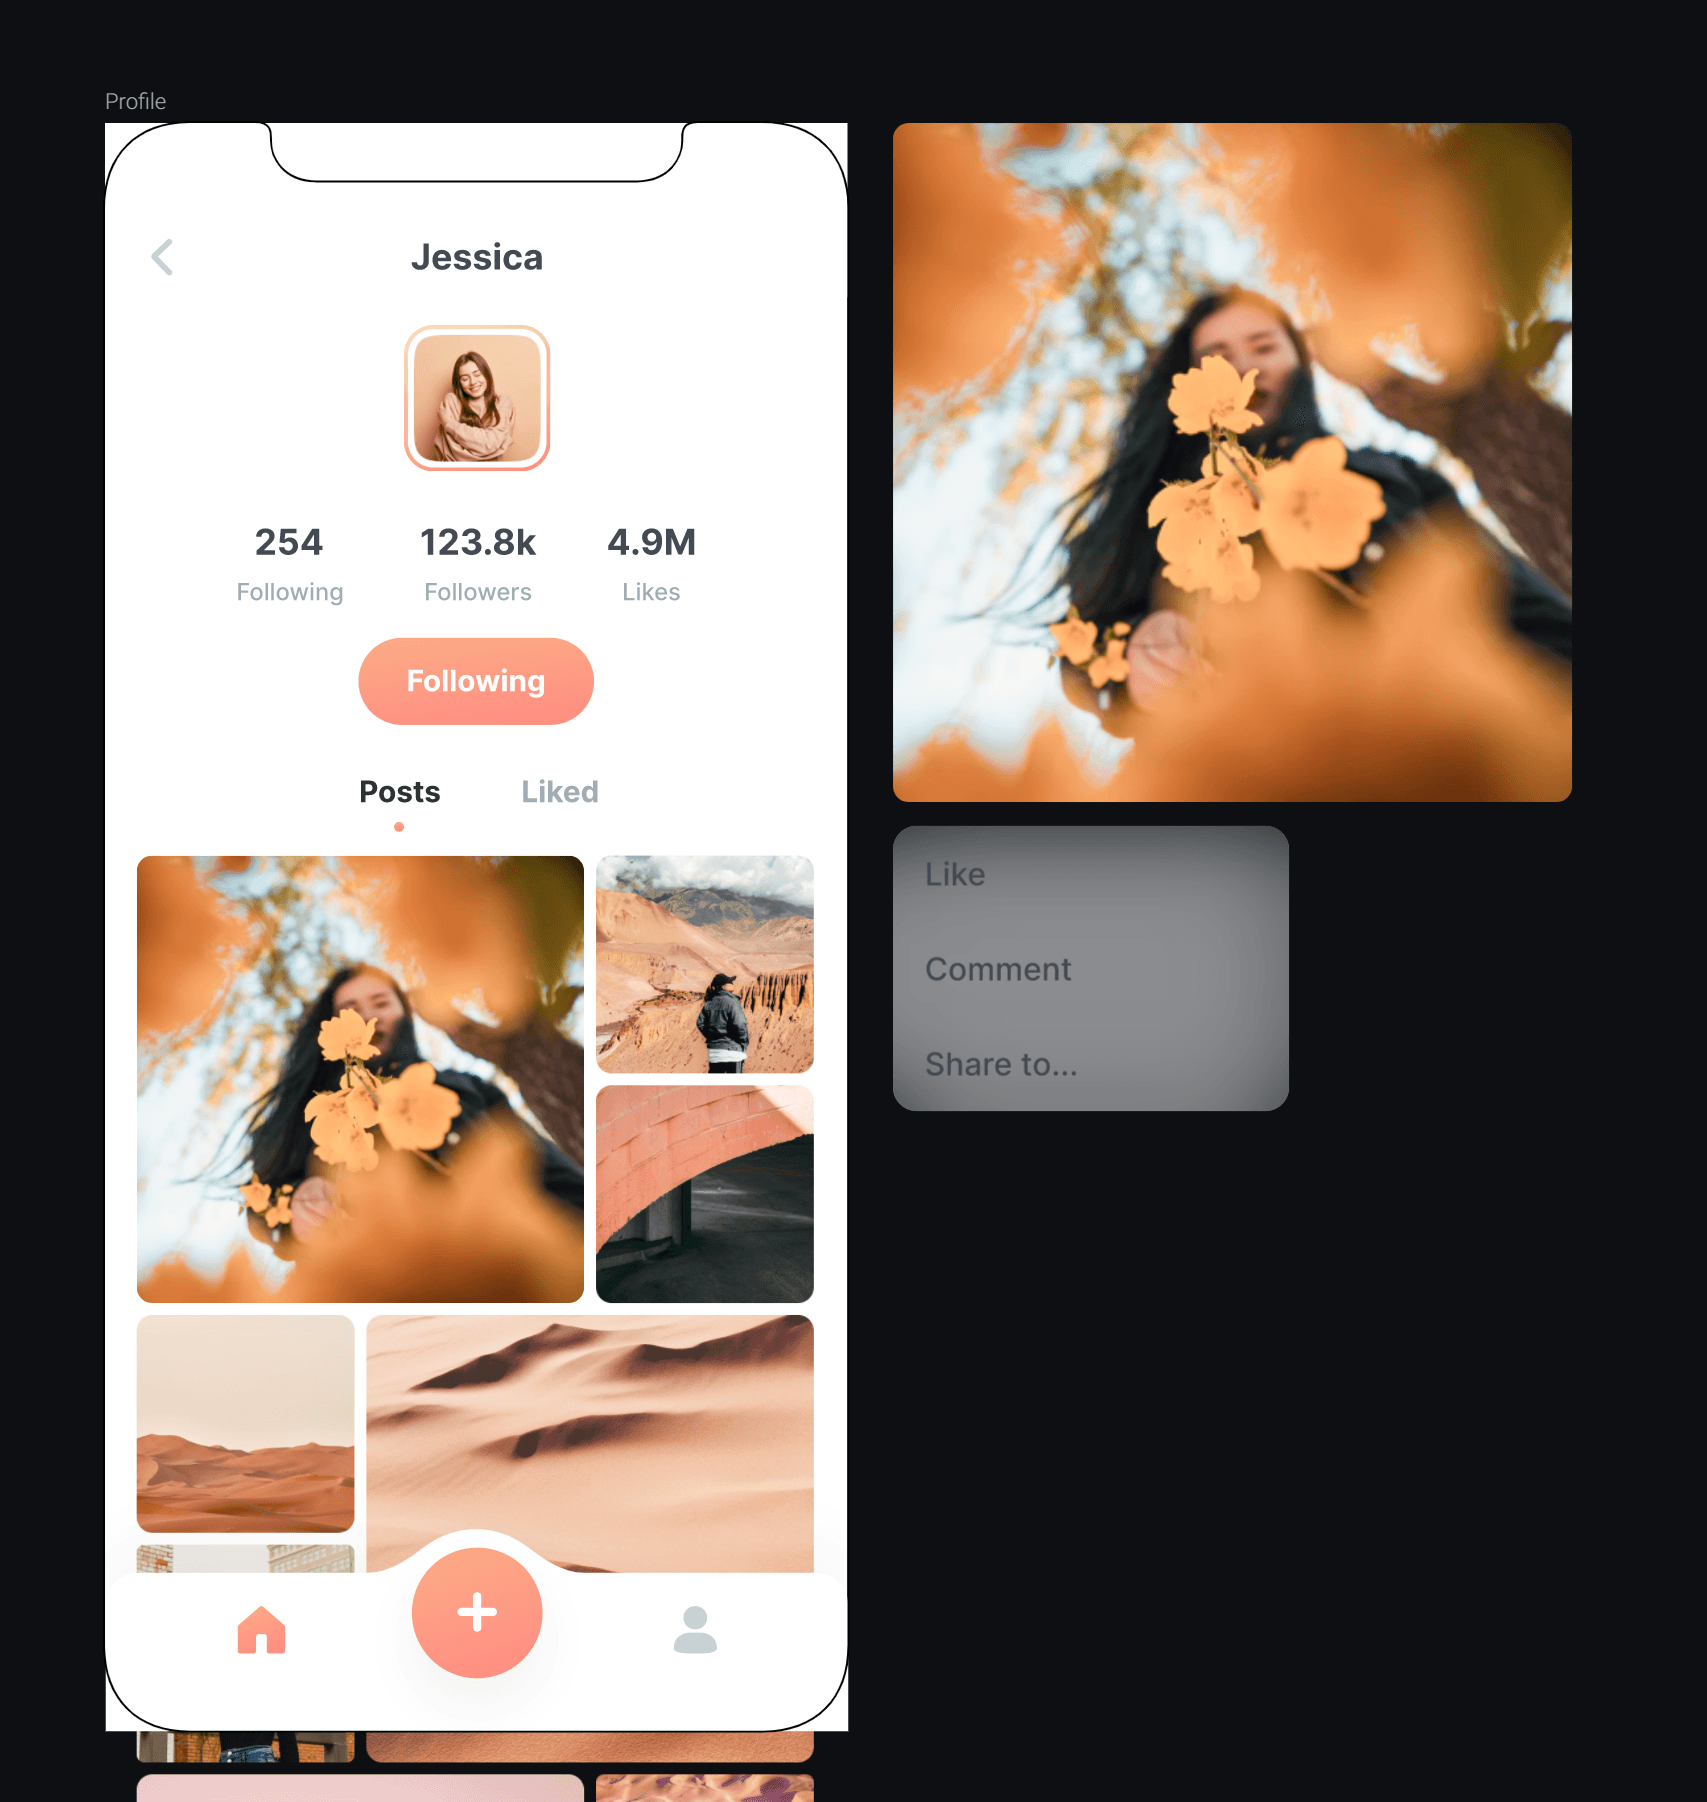
By the end of this tutorial, you'll be able to make something like this!
[Starting Pie File] [Completed Pie File]
Step by step instructions
Before starting
After opening the asset, go to the second scene (Profile). Our tutorial will be started from there.
Now you'll see the assets are in their final state. So let's start by arranging our assets.
Set the opacity of the Overlay layer to 0
Move the image 1 copy and Menu outside the scene as shown below
1. Creating an overlay using Long Press
Here we will set the foundation for the expanding overlay creating a blur layer.
1. Select the corresponding image (image 1) in the image feed to the provided enlarged image and add a Long Press trigger onto it.
2. From here, in your layer panel, select the overlay shape. Return to the trigger we have just added and create an Opacity response. Set the opacity to 100.
Give it a try! Tap and hold the image with the long press trigger on the profile screen.
2. Creating the expanding image preview
This step will effectively be moving the image from outside of the frame to a given position on the screen instantaneously.
💡One thing to take note of in this section is that we cannot use the Reorder response. Why?
Our target image is inside a scroll container
We have an overlay layer that is firstly, outside of the scroll container, and secondly also at the top of the layer hierarchy.
Therefore if we were to use the Reorder response, the reordered image would still be beneath the overlay layer. To combat this, we will use a replica of the image that will appear above the overlay to replace the existing image on the screen.
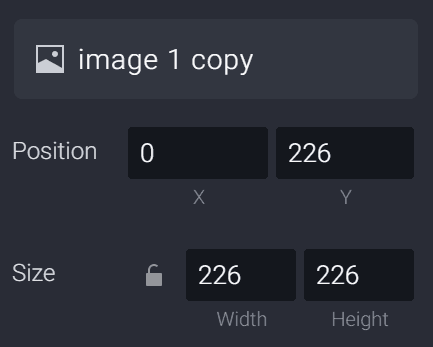
1. For this example, we will be making the animation of the expansion from the bottom left-hand corner of the replacement image. To cater to this, make sure the origin of image 1 copy is set to the bottom left corner.

2. As we are going to attempt to replace the on-screen image (image 1), start off by resizing the off-screen image (image 1 copy) to the same size as its on-screen counterpart - 226x226.
3. Now we want to engage the Long Press we previously created to trigger the relocation of image 1 copy and Menu. But first, let's group them together and rename the container as "Image & Menu" for good practice.
4. Add a Move response attached to Image & Menu under the Long Press trigger.
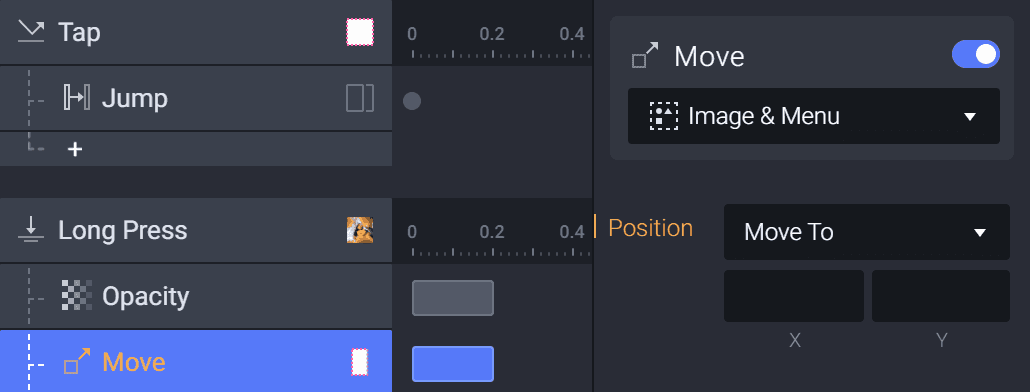
5. Click the image and try to drag it up and down. Notice how when we scroll vertically, the X-coordinates of image 1 are always constant whereas the Y-coordinates are changing. With this factor in mind, fill in the destination of the Move response. You can find the X-coordinate by copying that of image 1 (X = 16) as we know it will always remain constant.
6. This is where it gets a bit tricky! To be able to determine our Y-coordinate regardless of its position, we utilize the toScreen formula (fx). As we are after the Y-Value, we will use the toScreenY formula. The formatting of the code will be as such:
toScreenY('Scroll Container','image 1'.x,'image 1'.y)``
💡 toScreenY: Return the Y-coordinate relative to the screen. Layers in a container or component follow the coordinates relative to the aforementioned container or component.
toScreenY(containerName:LAYER,x:NUMBER,y:NUMBER)→NUMBER
In this case, the formula is setting the Y-coordinate of our off-screen Image & Menu to that off the Y-coordinate of image 1 which is located inside Scroll Container.
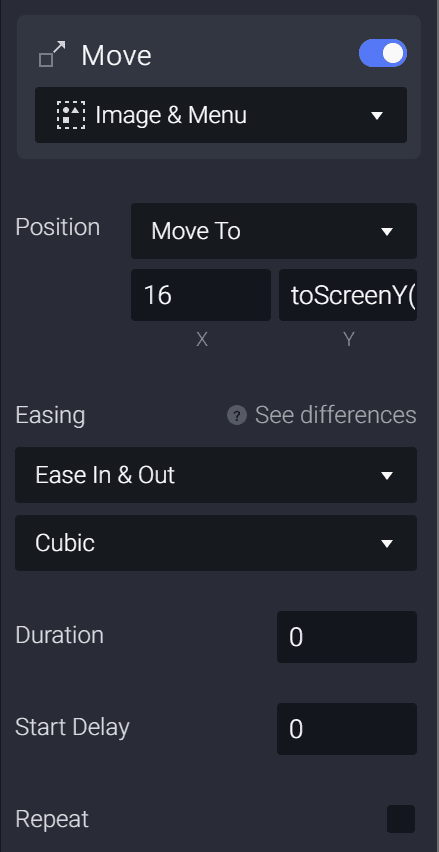
7. To create this instant replacement to simulate a Reorder response, change the duration of the Move response to 0 seconds. This will make the image effectively appear on-screen in the provided X and Y coordinates.
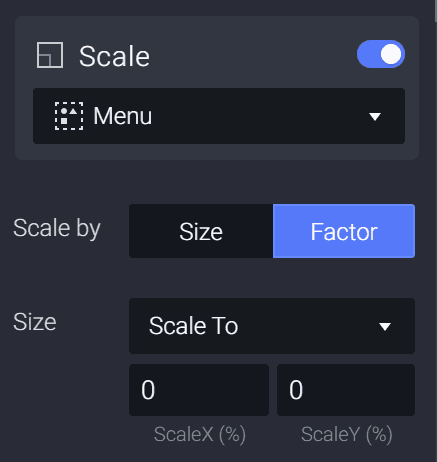
8. Follow this up by adding a Scale response to the Long Press trigger, scaling image 1 copy to its original size - 343x343.
We can also apply a Radius response, changing the scaled radius to 12 to maintain visual consistency after scaling.
💡For consistency of micro-interactions, make sure all the durations of your responses line up (In our case 0.2 seconds)
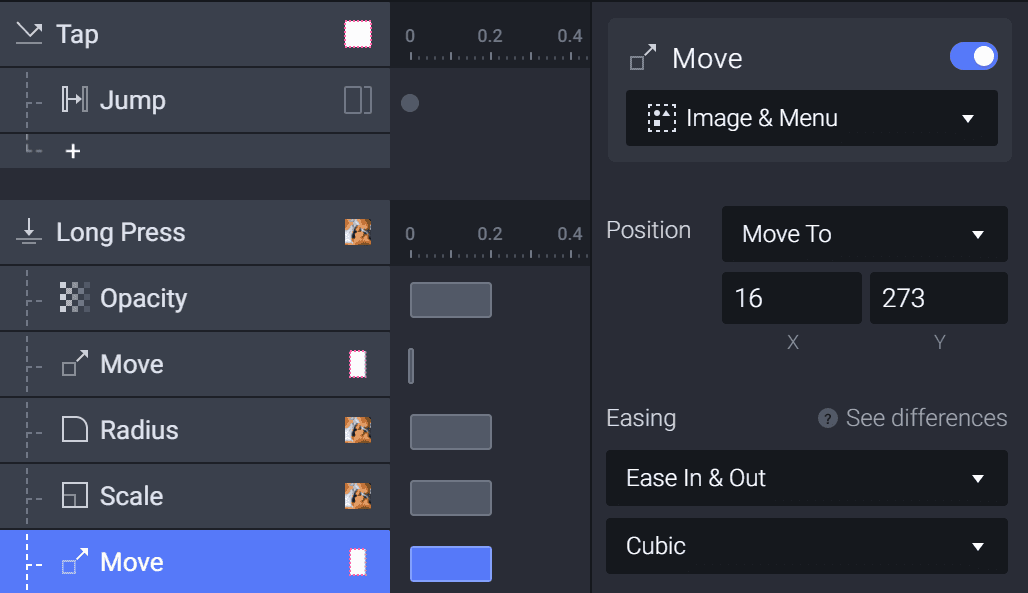
9. As a final touch, add 1 final Move response. This move response will be the endpoint vertical position of your image and menu. Adjust the Y-coordinate to your liking and play around with the result. We recommend trying 273 for this example so that the image is central.
3. Customizing the effect
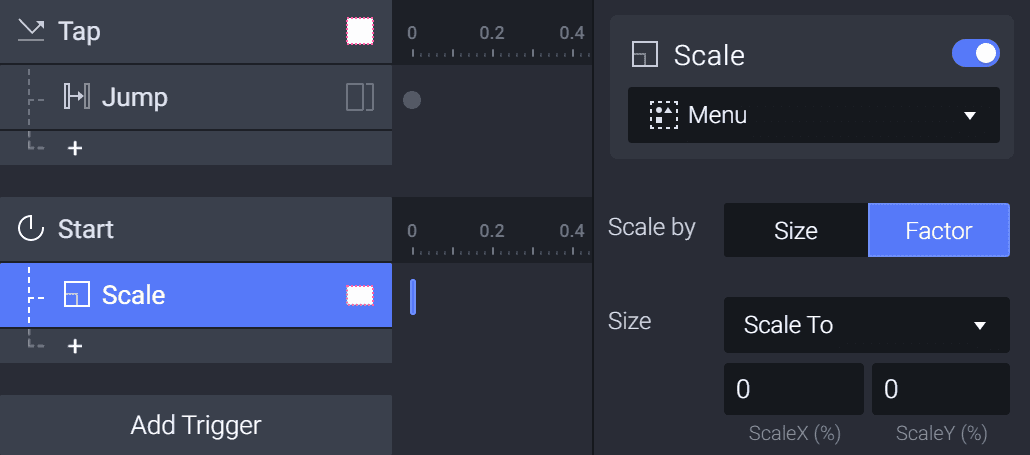
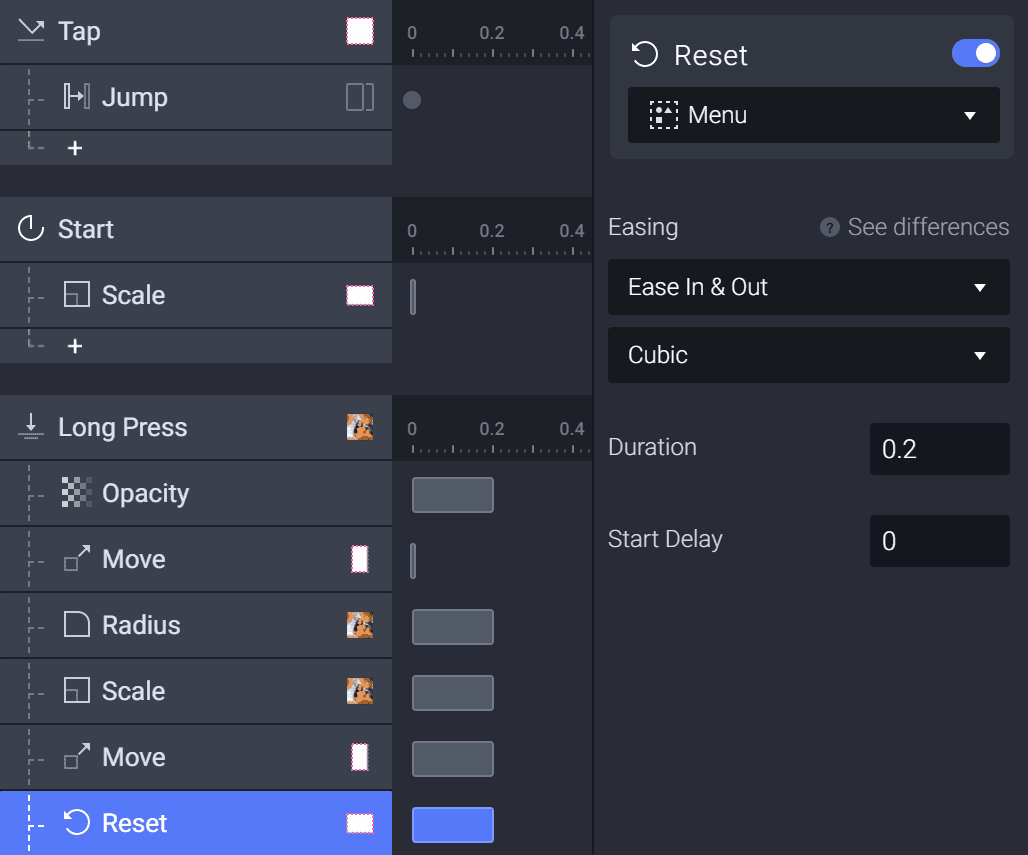
1. First off, let's give an initial state to the Menu. To do this, add a Start trigger. Then create a Scale response attached to the Menu inside the Start trigger. Scale the menu to 0x0.
2. Add a Reset response attached to Menu under the Long Press Trigger.
With these 2 steps accomplished, you will see an expanding effect for the Menu in the preview window.
Once opened, we now need a way to reset the overlay. This unfortunately involves slightly more than just a Reset response to create that seamless micro-interaction.
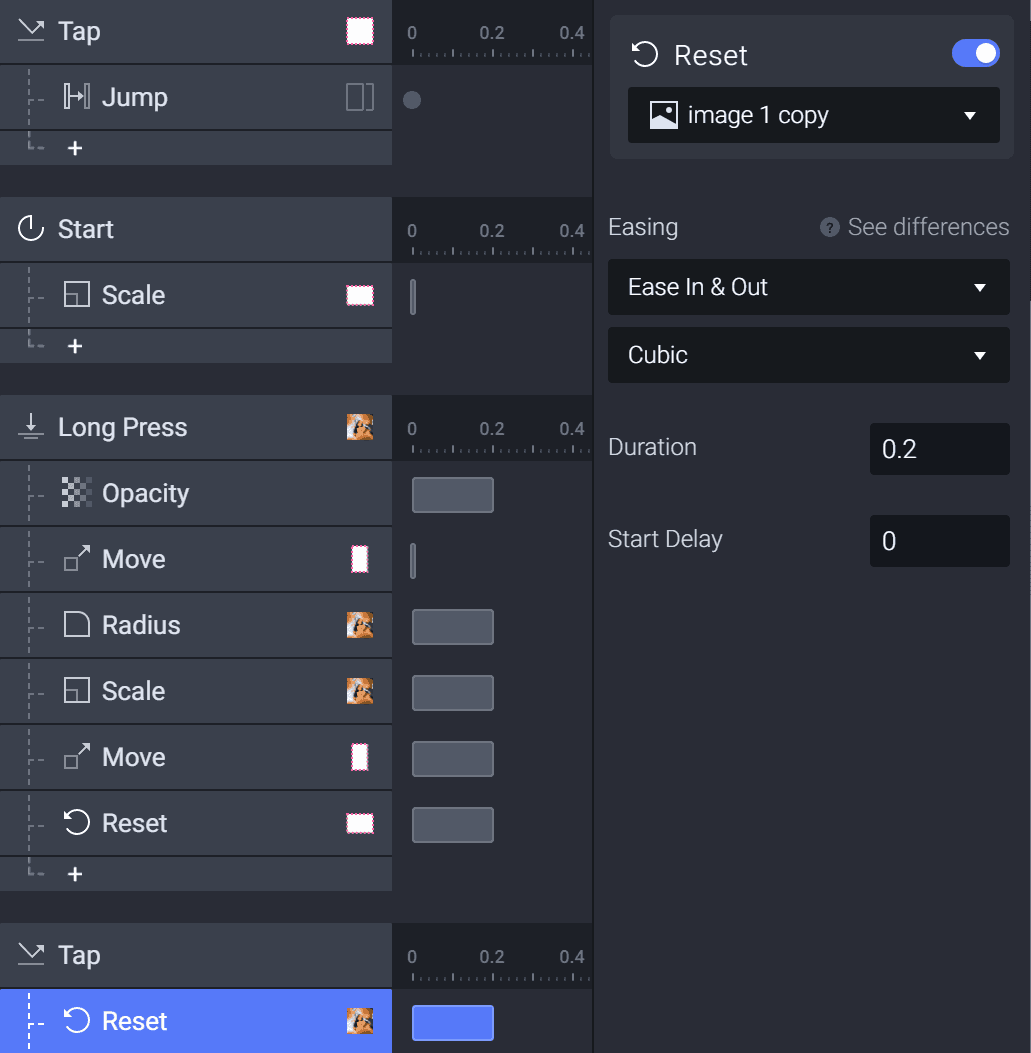
1. First off, set a Tap trigger onto the overlay with a Reset response attached to image 1 copy.
2. We then want to hide the menu upon retracting. We can do this by attaching a Scale response to 0 to the Menu.
3. Next, we want the Image & Menu container to return to the position of image 1 to create that reverse effect. To do this, attach a Move response to the container and move it back to the initial destination after the Long Press.
x = 16
y =
toScreenY=('Scroll Container','image 1'.x,'image 1'.y)
4. Now we want to return the container to its initial position off-screen. This is done simply by attaching a Reset response firstly to the Image & Menu container, setting its duration to 0 seconds, and placing it after all the other interactions have finished so that it jumps back instantly after the micro-animations have concluded.
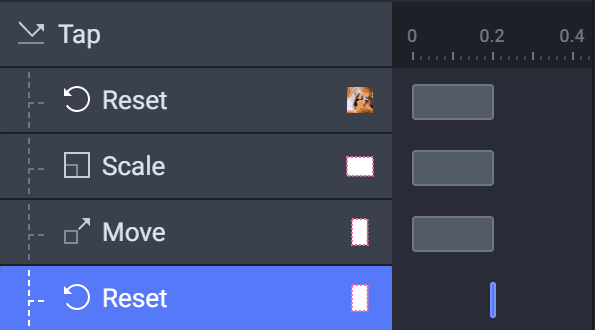
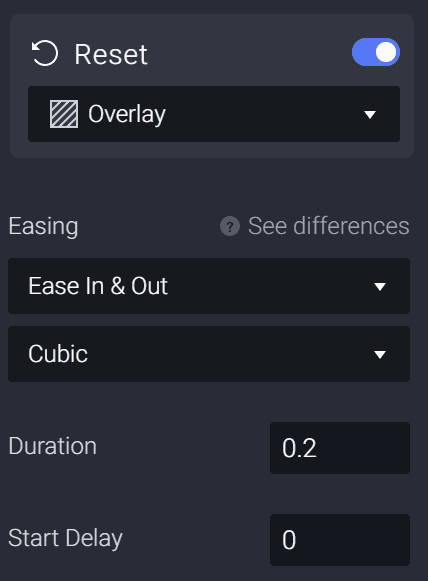
5. And finally, one final Reset response is attached to the overlay to reset its opacity, revealing the original profile page.
Congratulations!
You're done! You've created an expanding image preview! Try applying this to your own design concepts and see what ideas you can bring to life!
We would love to see your crazy experiments. Create your own prototype and share it on Twitter or Instagram with #MadeWithProtoPie


