Create a Scrolling Wheel Picker with 3D Rotate
Add extra attention to detail to your scroll picker experience by using Chain and 3D Rotate.


Introduction
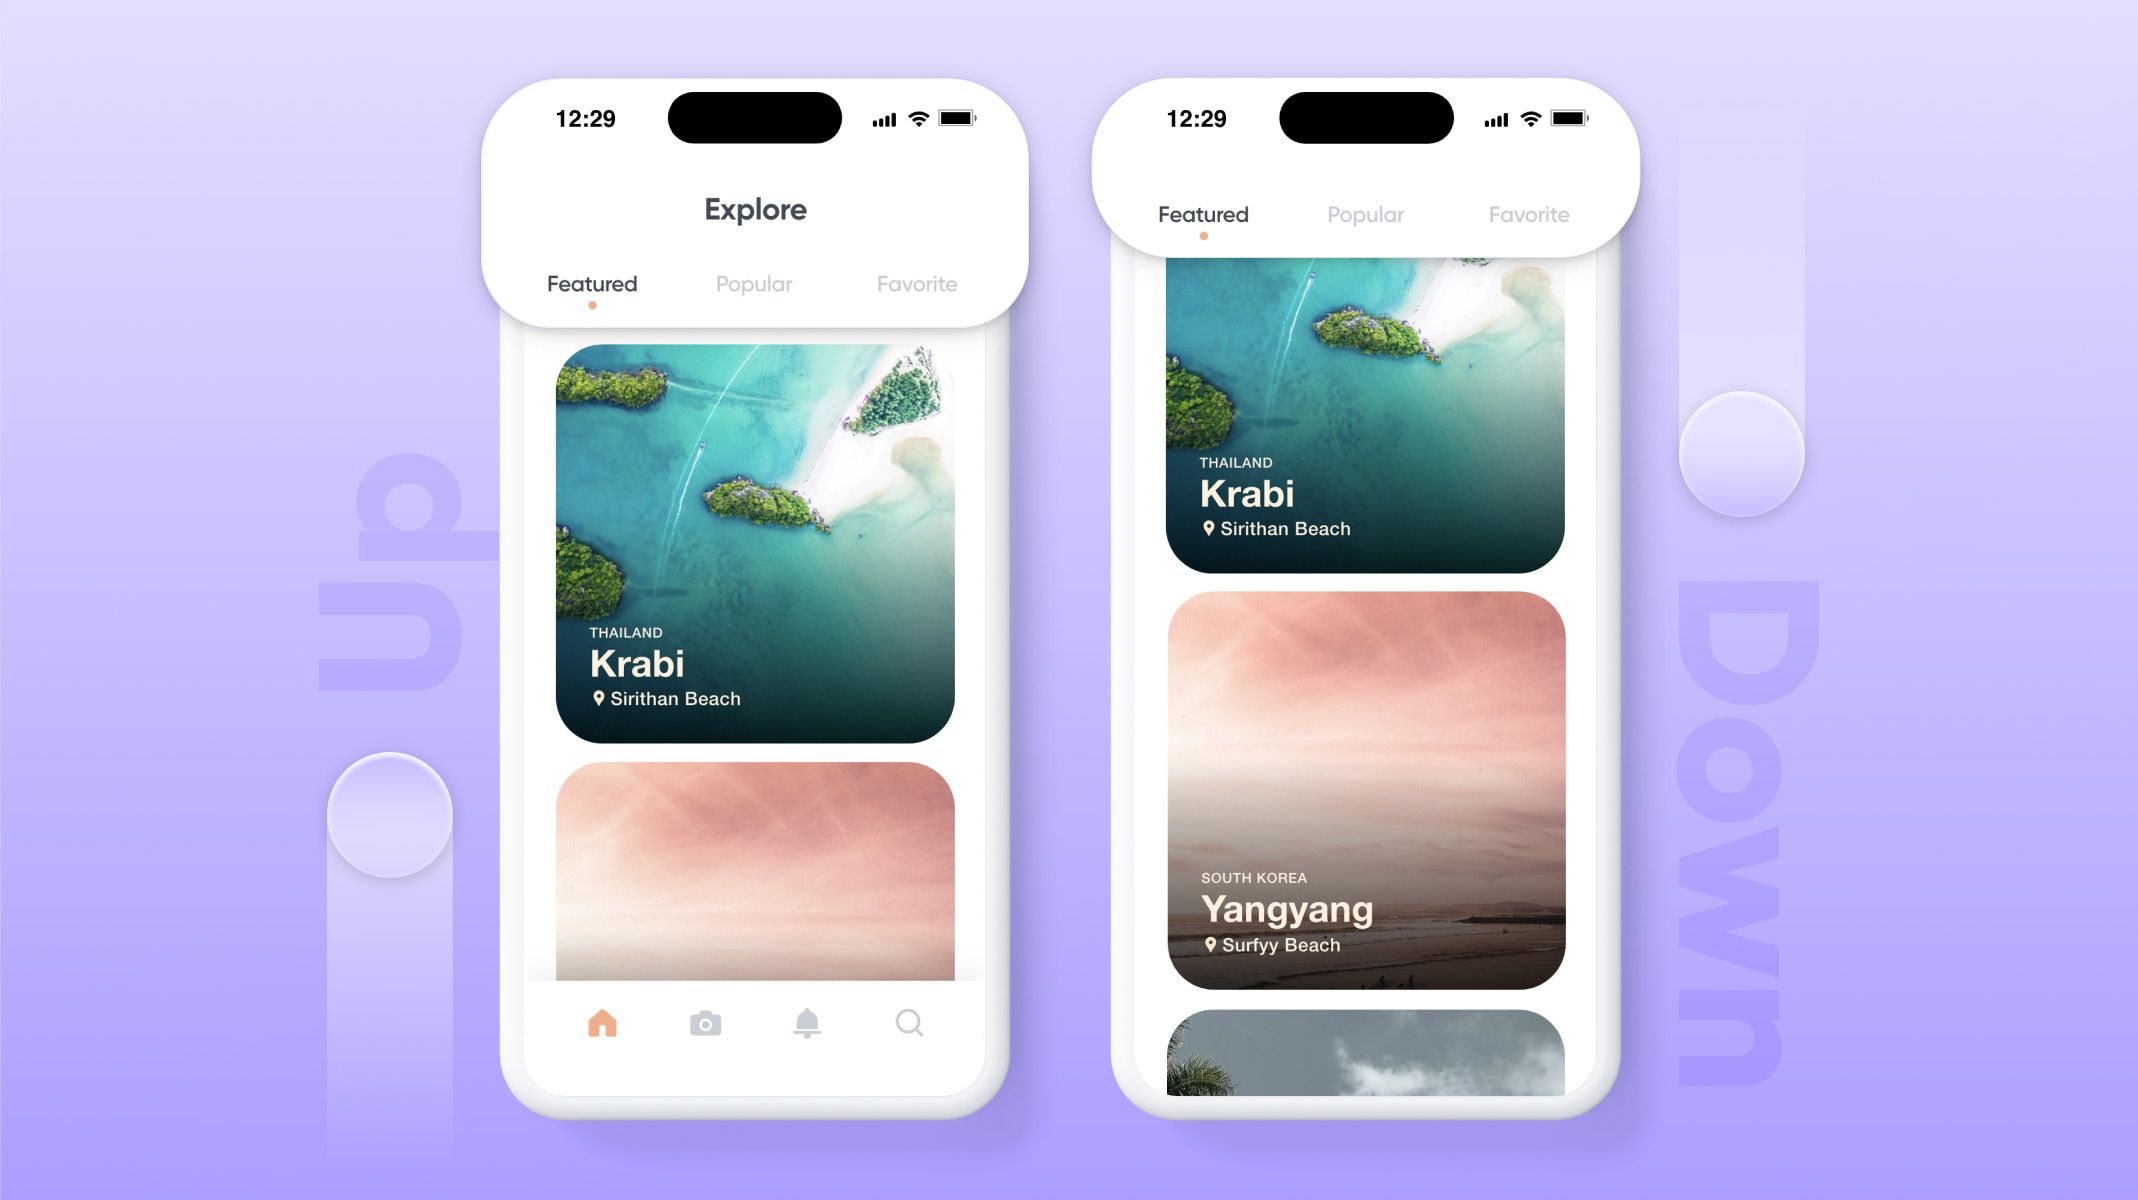
Scrolling pickers are super intuitive, and they are super ubiquitous. Most commonly, you'll see them when you're picking out your birthdate in an online form, or when you're selecting an item from a small list. All you have to do is scroll to your intended item in the picker, and voilà!
While scroll pickers are super easy to use and understand, they can be super delightful to use as well! In this article, you'll learn how to create a scrolling wheel picker that provides an extra visual sense of depth by using ProtoPie's Chain and 3D Rotate functionality.
What you will learn
- Making a scrollable view using a Paging Container
- Getting the scroll value by using a Variable
- Adding an extra sense of depth by using Chain and 3D Rotate based on the scroll value
- Setting the initial rotation for each list item by using Start
In the end, you'll be able to make something like this!
Step-by-step instructions
1. Making scrollable view using a Paging Container
Here, we will create the base component that will be scrollable.
1. Add a Paging Container, and set the dimensions to 327 x 216 so that it covers the white box in the scene. For easier reference, rename this container to Paging.
2. Select all the month layers, i.e. June, July, and so forth, to December. Drag these layers into the Paging Container. This is the list that will become scrollable inside the container.
💡 It's important to use those dimensions, especially a height of 216, for the Paging Container because:
- It will help center each list item in the container during scrolls. Each of the month layers has a height of 72, and in the paging container, three of those layers will be visible at once — which gives us the height 216 (i.e. 3 ✕ 72).
- It becomes the only area on the screen that will respond to the user's touch for scrolling.
3. Select the Paging Container, and change the following from the properties panel.

- Change Page by from Container to Custom, and set the value to 72. Doing so makes each scroll interval (page) equal to 72, which directly corresponds to the height of each of the month layers, e.g. June, which is also 72. Together, they make sure that each of the month layers will be perfectly aligned during scrolling.
- Change Scroll to 72. Doing so offsets the scroll by a value of 72 at the start of the scene. Since the first month in the list is June (and it has a height of 72), the 72-point offset will make the second list item, i.e. July appear selected.
4. Add an extra margin at the end of the list, so that the last item, i.e. December, can appear selected at the center of the scroll wheel. To do this, we can add a rectangle. Let's rename this to Margin.
Make sure Margin is inside the Paging container and has the same dimensions as the other month layers, i.e. 217 ✕ 72. This will ensure December appears in the center.
Also, make sure that the Opacity for Margin is set to 0, otherwise, you will see an unsightly addition to the list.

5. Select the container Paging once more, and from the properties pane, make sure Clip Sublayers is enabled. This will hide all the content outside of the component bounding box.
2. Getting the scroll value by using a variable
To make further interactions, we will need to know how far the user scrolls the list. To do this, we will use a variable, and get it to detect and store the scroll value. Here's how:
1. Create a variable For this scene. For easier reference, rename this variable to Scroll. It's important to choose For this scene because we will be assigning a formula directly to this variable, and that works only for variables in a set scene.
2. With the variable Scroll selected, enable the Use Formula option from the properties pane.
3. In the formula box that appears below, use the formula 'Paging'.scrollOffset. Paging specifies the container Paging, and scrollOffset returns its current scroll value.

4. Click on the debug icon next to Scroll to see the variable's value in real-time in the preview window. You can press this icon again to hide the scroll value from the preview window.

3. Adding an extra sense of depth by using Chain and 3D Rotate based on the scroll value
This step is the secret sauce to making a true-to-life, and visually delightful prototype. Here's how:
1. Add a Chain trigger to the Paging Container, and set the value to Scroll in the property panel.

2. Add a 3D Rotate response to the layer June.

In the properties panel for 3D rotate, use the following values:
- At the start of Range 1, the scroll of Paging at 0 should 3D rotate the layer June to 0, i.e. it remains flat as it currently is. At the end of Range 1, scrolling Paging to 72 should rotate the layer June to an angle of 35.
- Set the Rotation Direction to upward.
Together, these values make June rotate from 0º to 35º upwards when the scroll of Paging goes from 0 to 72.
3. In the same manner, add a 3D Rotate response to the July layer. This time, we need to rotate the layer upward when Paging is scrolled upward and rotate it downward when Paging is scrolled downward. To do this, we will use two Ranges.
- For Range 1, scrolling Paging from 0 to 72 should rotate July from -35º to 0º. Since we are using a negative angle (-35º), set the direction upward.
- For Range 2, scrolling Paging from 72 to 144 (i.e. 72 ✕ 2, since July is the second item) should rotate July from 0º to 35º. Set the direction upward.

4. The process needs to be repeated for each of the month layers.

Check out the completed pie to make sure you have the chain values set correctly.
4. Setting the initial rotation for each list item by using Start
As you'll see in your preview window (or in the screen recording above), the rotation angle for the month layers transitions instantly from 0 — note, for example, how September changes from being flat to rotated when it first appears on the screen.
This happens because we've defined 3D Rotation for each of the layers for a specific scroll range, but layers such as September are outside of that range when the prototype starts. When they do come into that range, the 3D rotation happens instantly and might appear a bit jarring.
Visually, this feels a bit glitchy, but it can be easily fixed! Here's how:
1. Click Add Trigger in the Interaction Panel, and select Start.
2. Inside the Start trigger, add a 3D Rotate response to the June layer. Change Rotation to Rotate To, and set the value to 35. Set the direction upward. Finally, set the Duration to 0.

💡 Setting the duration to 0 will instantly rotate the layer to 35º as soon as the scene starts. We want the effect to be instant so that there isn't an animation visible to users when the scene starts.
3. July doesn't need a Start value since it is at 0º when the scene starts by default. For August, and each of the subsequent layers, the process above needs to be repeated — with only one change. The Rotate To value should be set to -35º.

4. And you're all done! Try out your prototype in the preview window.
That's it!
Great job! You've learned how to create a paging container, and set its initial value, and its live scroll value by using a variable. You've also learned how to use the Chain trigger and 3D Rotate response to that scroll value. Finally, you've also learned the effect of using Start to set the scene, and the improvements it can bring.
Try playing around with these learnings and you will be able to create even more interesting interactions! We would love to see your crazy experiments. Create your own prototype and share it on Twitter or Instagram with #MadeWithProtoPie
.jpg?fm=webp)

.jpg?fm=webp)