

Introduction
In recent years, parallax has become a trend in websites and mobile apps. Parallax scrolling effect is a technique where the background of a website scrolls at a slower pace than the foreground. The purpose is to achieve an illusion of depth within the 2d scene of a website.
In this article, we will learn how to build a parallax scrolling effect using the Chain trigger in ProtoPie.
What you will learn
Understand how parallax works
Create a scroll container to make a scrollable view
Use chain to set different speeds for background elements
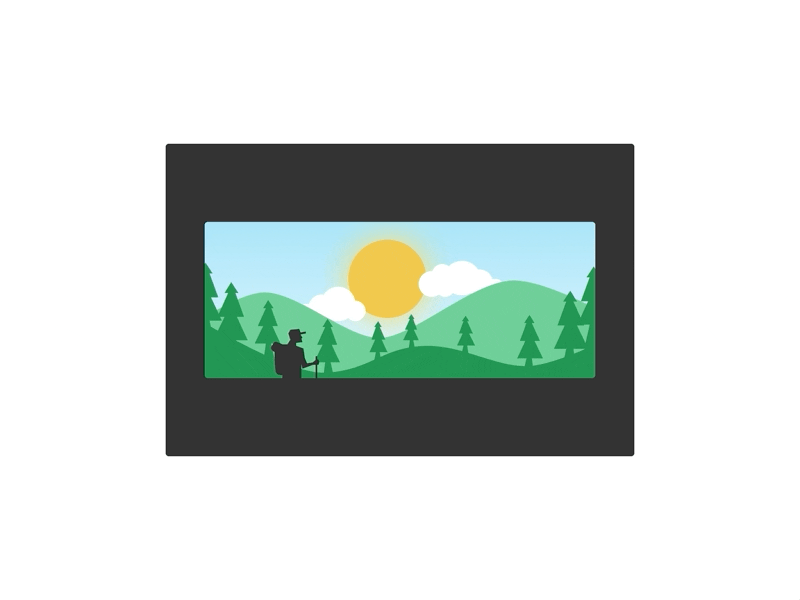
In the end, you’ll be able to make something like this!
Understand how parallax works
Before we jump into the prototype, let’s understand how parallax scrolling works and structure our layers to optimize the parallax scrolling effect.
How does it work?
To make a parallax effect, every element is moving at a different pace and time. That is how we achieve the illusion of depth, even though we are scrolling in 2D.
The rule of thumb moves the “furthest” objects the least, like how it looks in the real world.
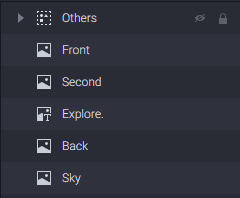
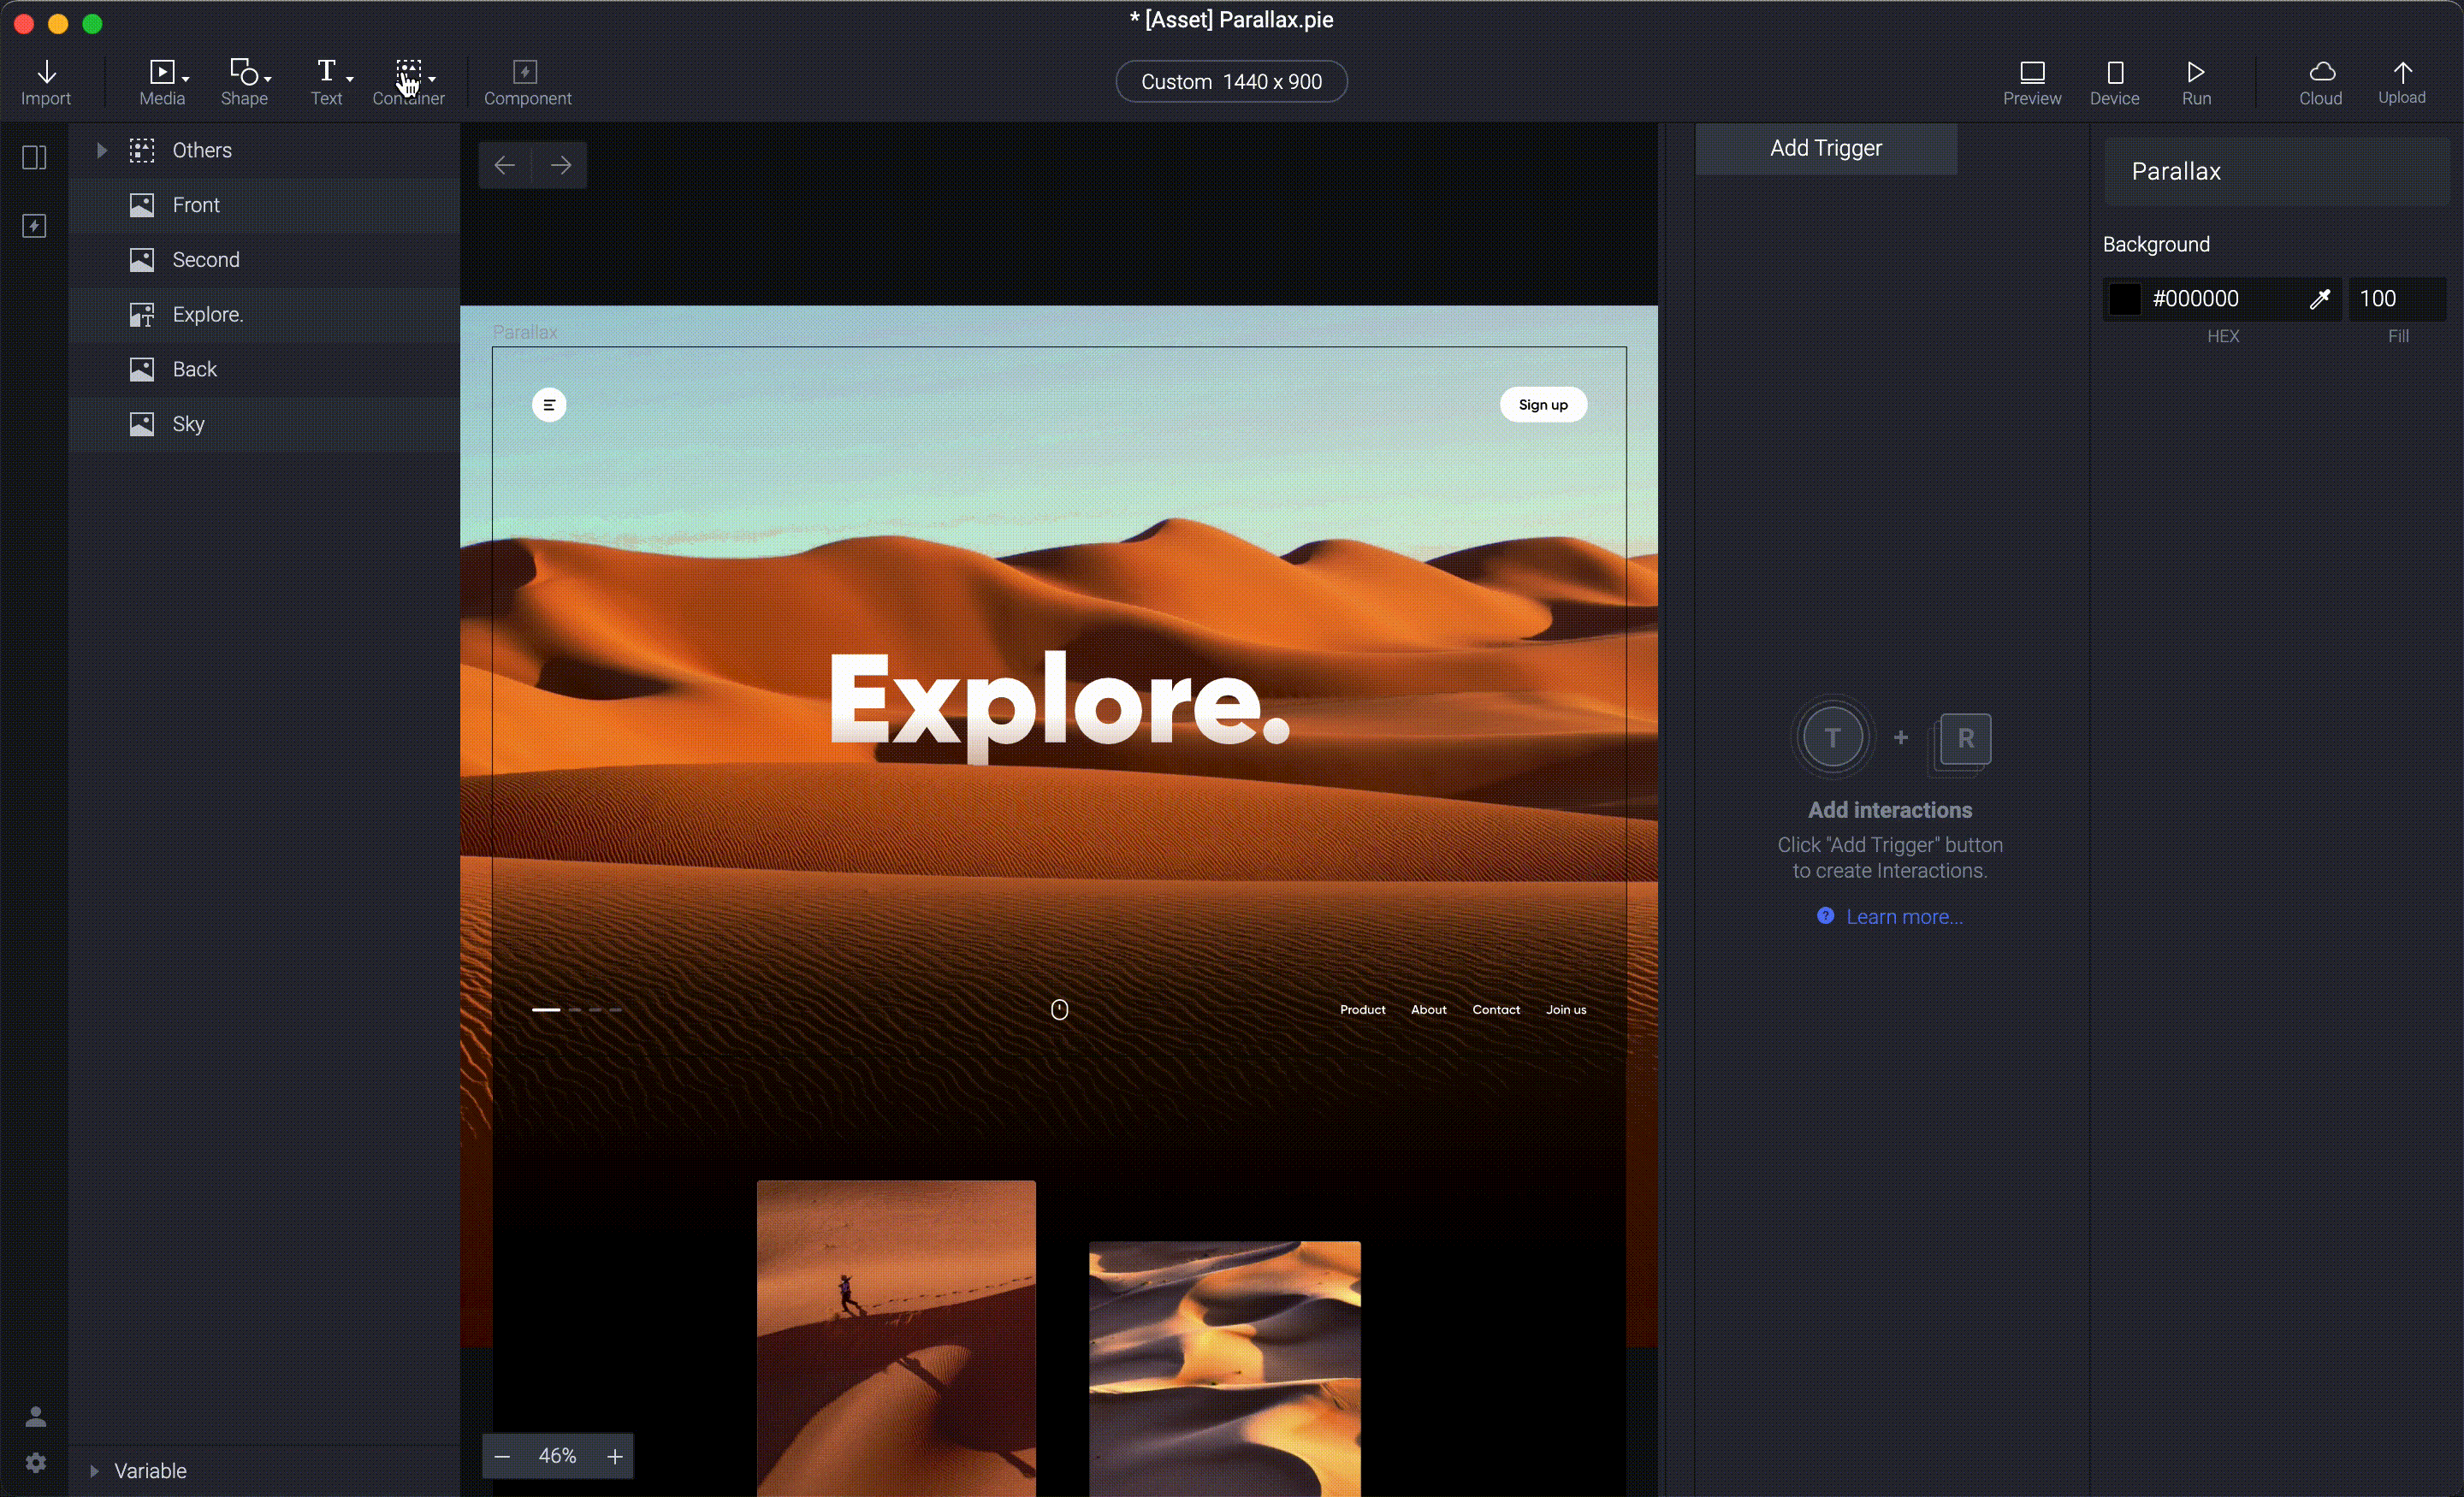
Prototype layer structure
In parallax scrolling, you need to put each element in different layers to adjust its properties individually. Take a look at the asset file and see how the image assets are put in separate layers.
Step-by-step instructions
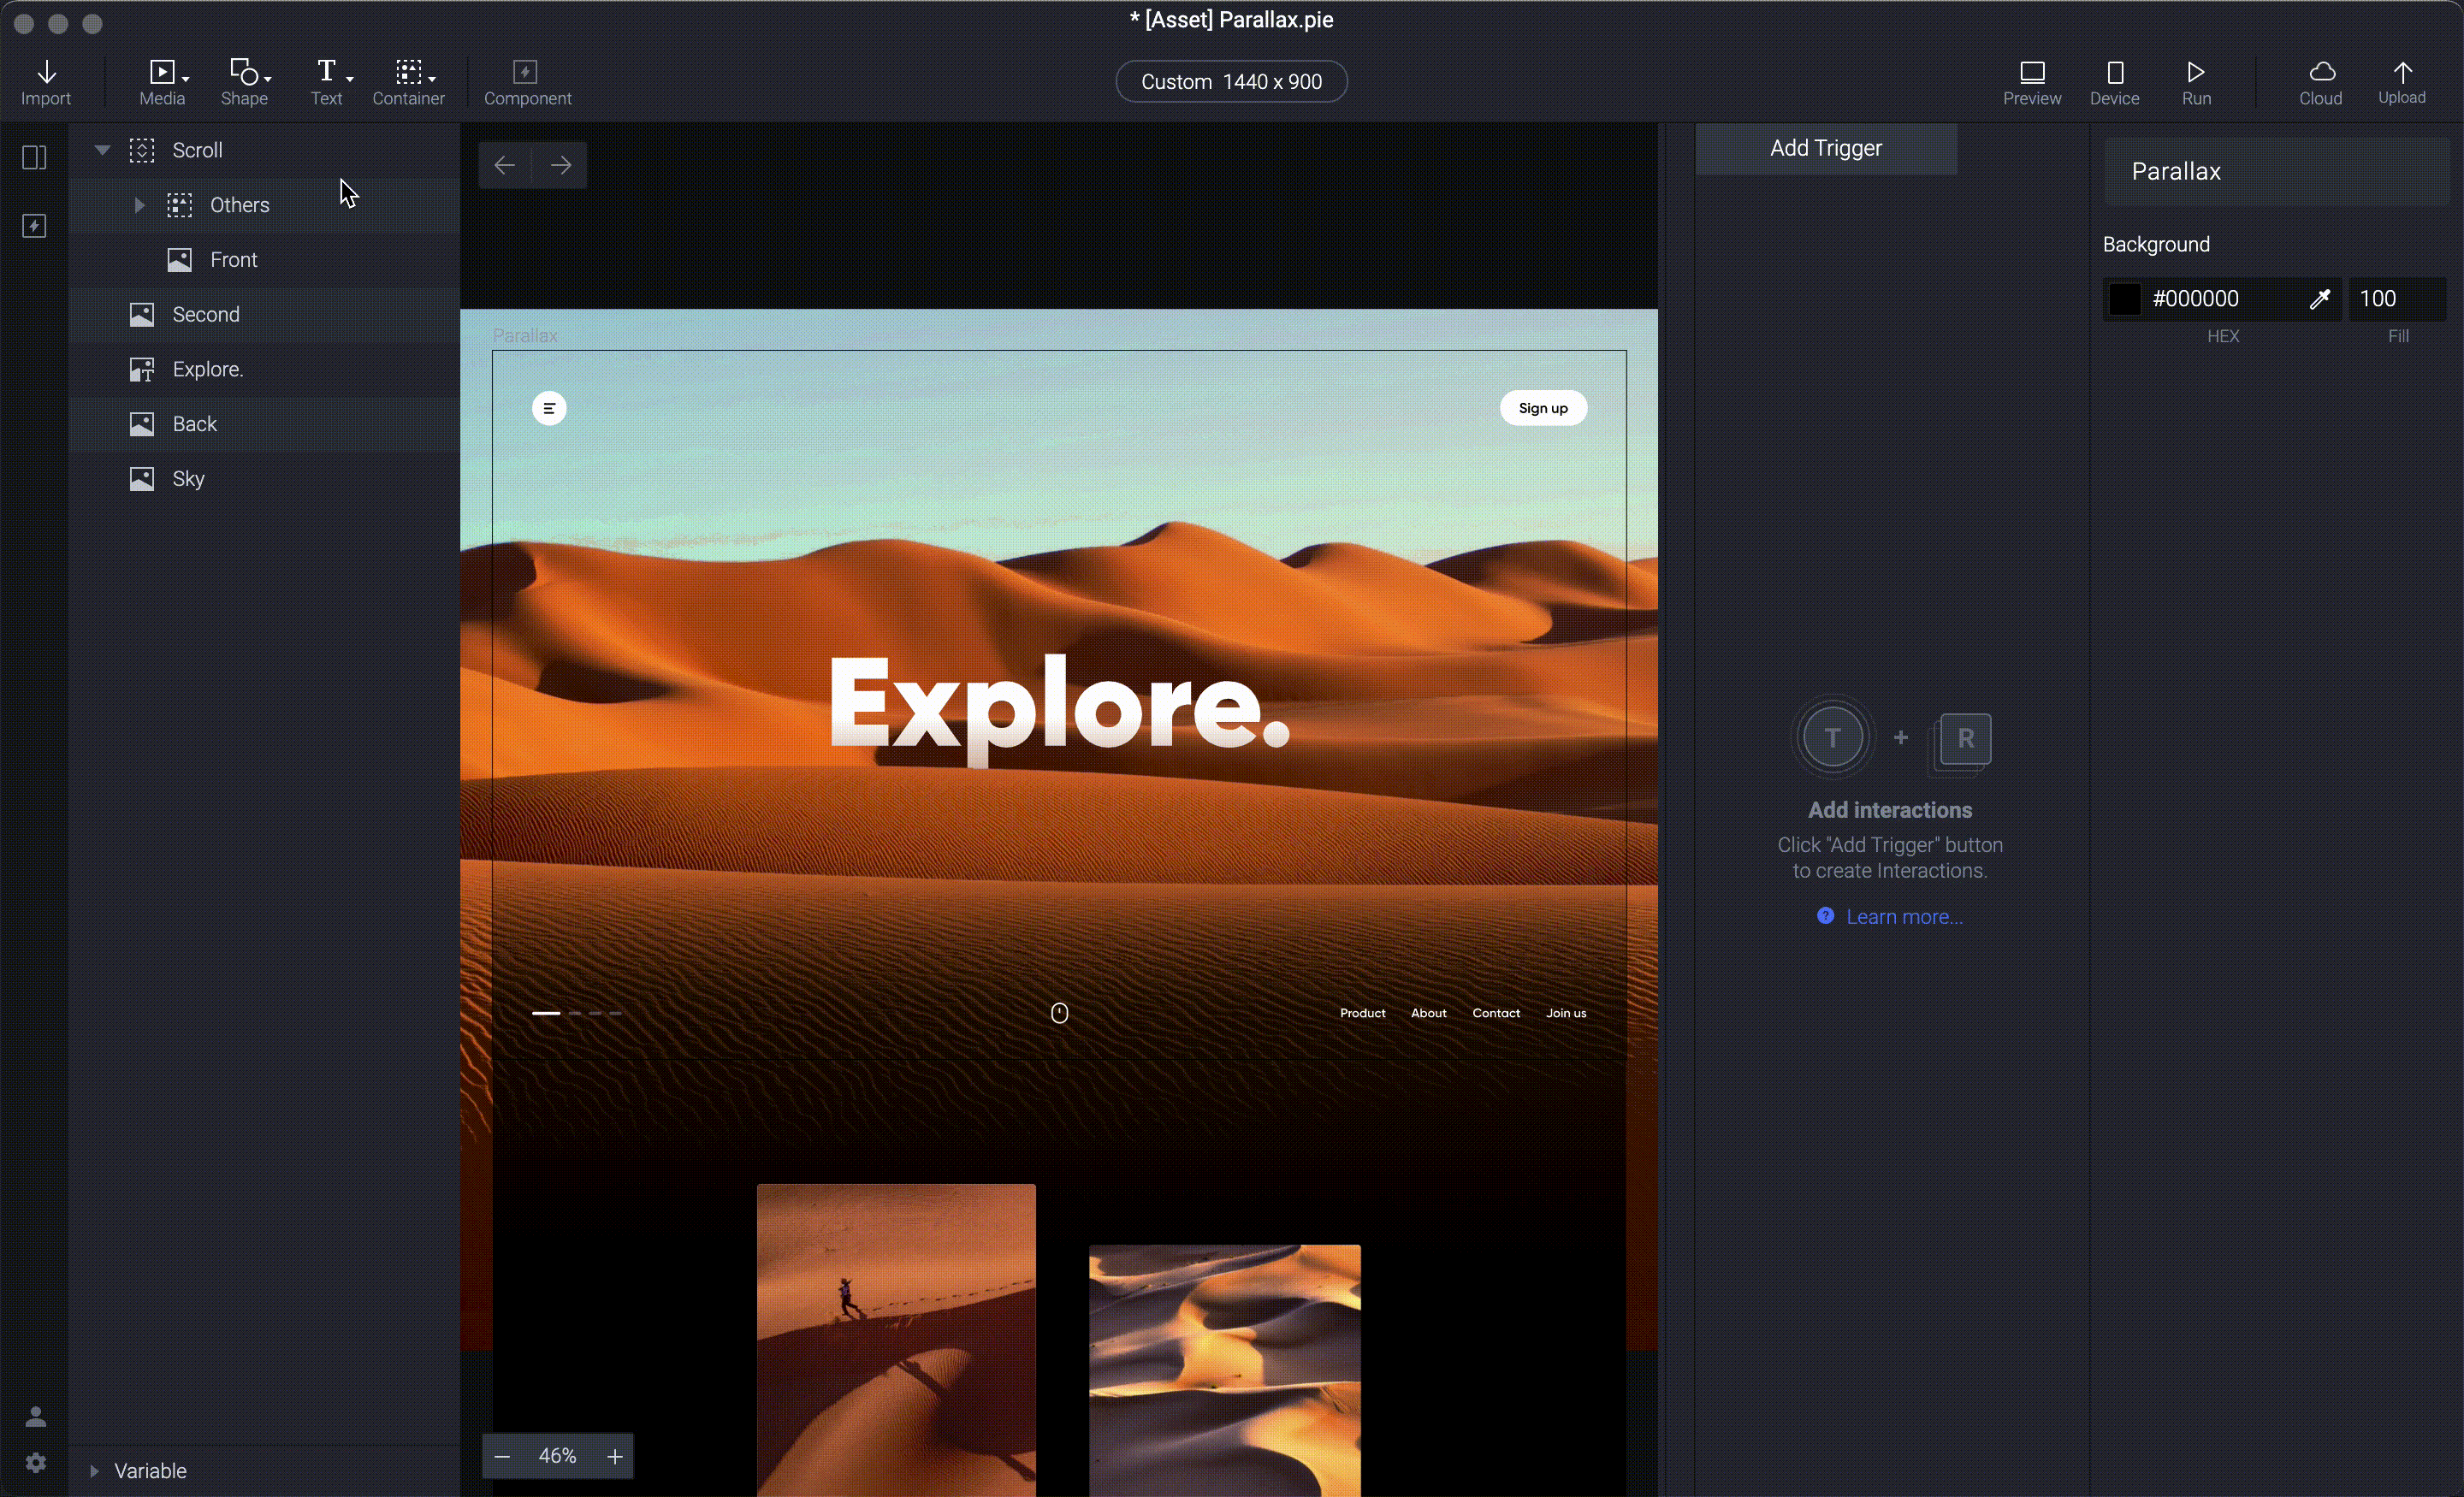
1. Create a scroll container to make a scrollable view
We need a scroll container to trigger the parallax movements of other layers. Let’s add a full screen-sized (1440900)* scroll container.
Drag the Others and Front layers into the scroll container. We want these 2 layers to move along with the scroll container.
If you click on preview, you won’t be able to see any parallax effect yet, even if you scroll the page up and down. The reason is that we haven’t added any response to the chain trigger, which is what we are going to do next!
💡 Tips: If you don't see any scrolling interaction in your prototype preview, set the Scroll Paging layer properties to Scroll and the direction to vertical.
2. Use the chain to set different speeds for background elements
Using the Chain Trigger
The Chain is a conditional trigger that enables us to change a layer's property based on a change of property of another layer.
For example, the red box’s size changes as we drag the green box up and down in the image below. In ProtoPie, we can do this because the scale of the red box is “chained” into the Y position of the green box.

In this parallax scrolling tutorial, we will “chain” the positions of the elements to the scrolling position of the scroll container.
Add a chain trigger to the scroll container.
Remember the rule of thumb of parallax? The furthest object should move the least while you scroll.
In the assets file, the Front layer is the nearest, and the Sky layer is the furthest. Since the Front layer is inside the scroll container, we don't need to add a chain response to the Front layer.
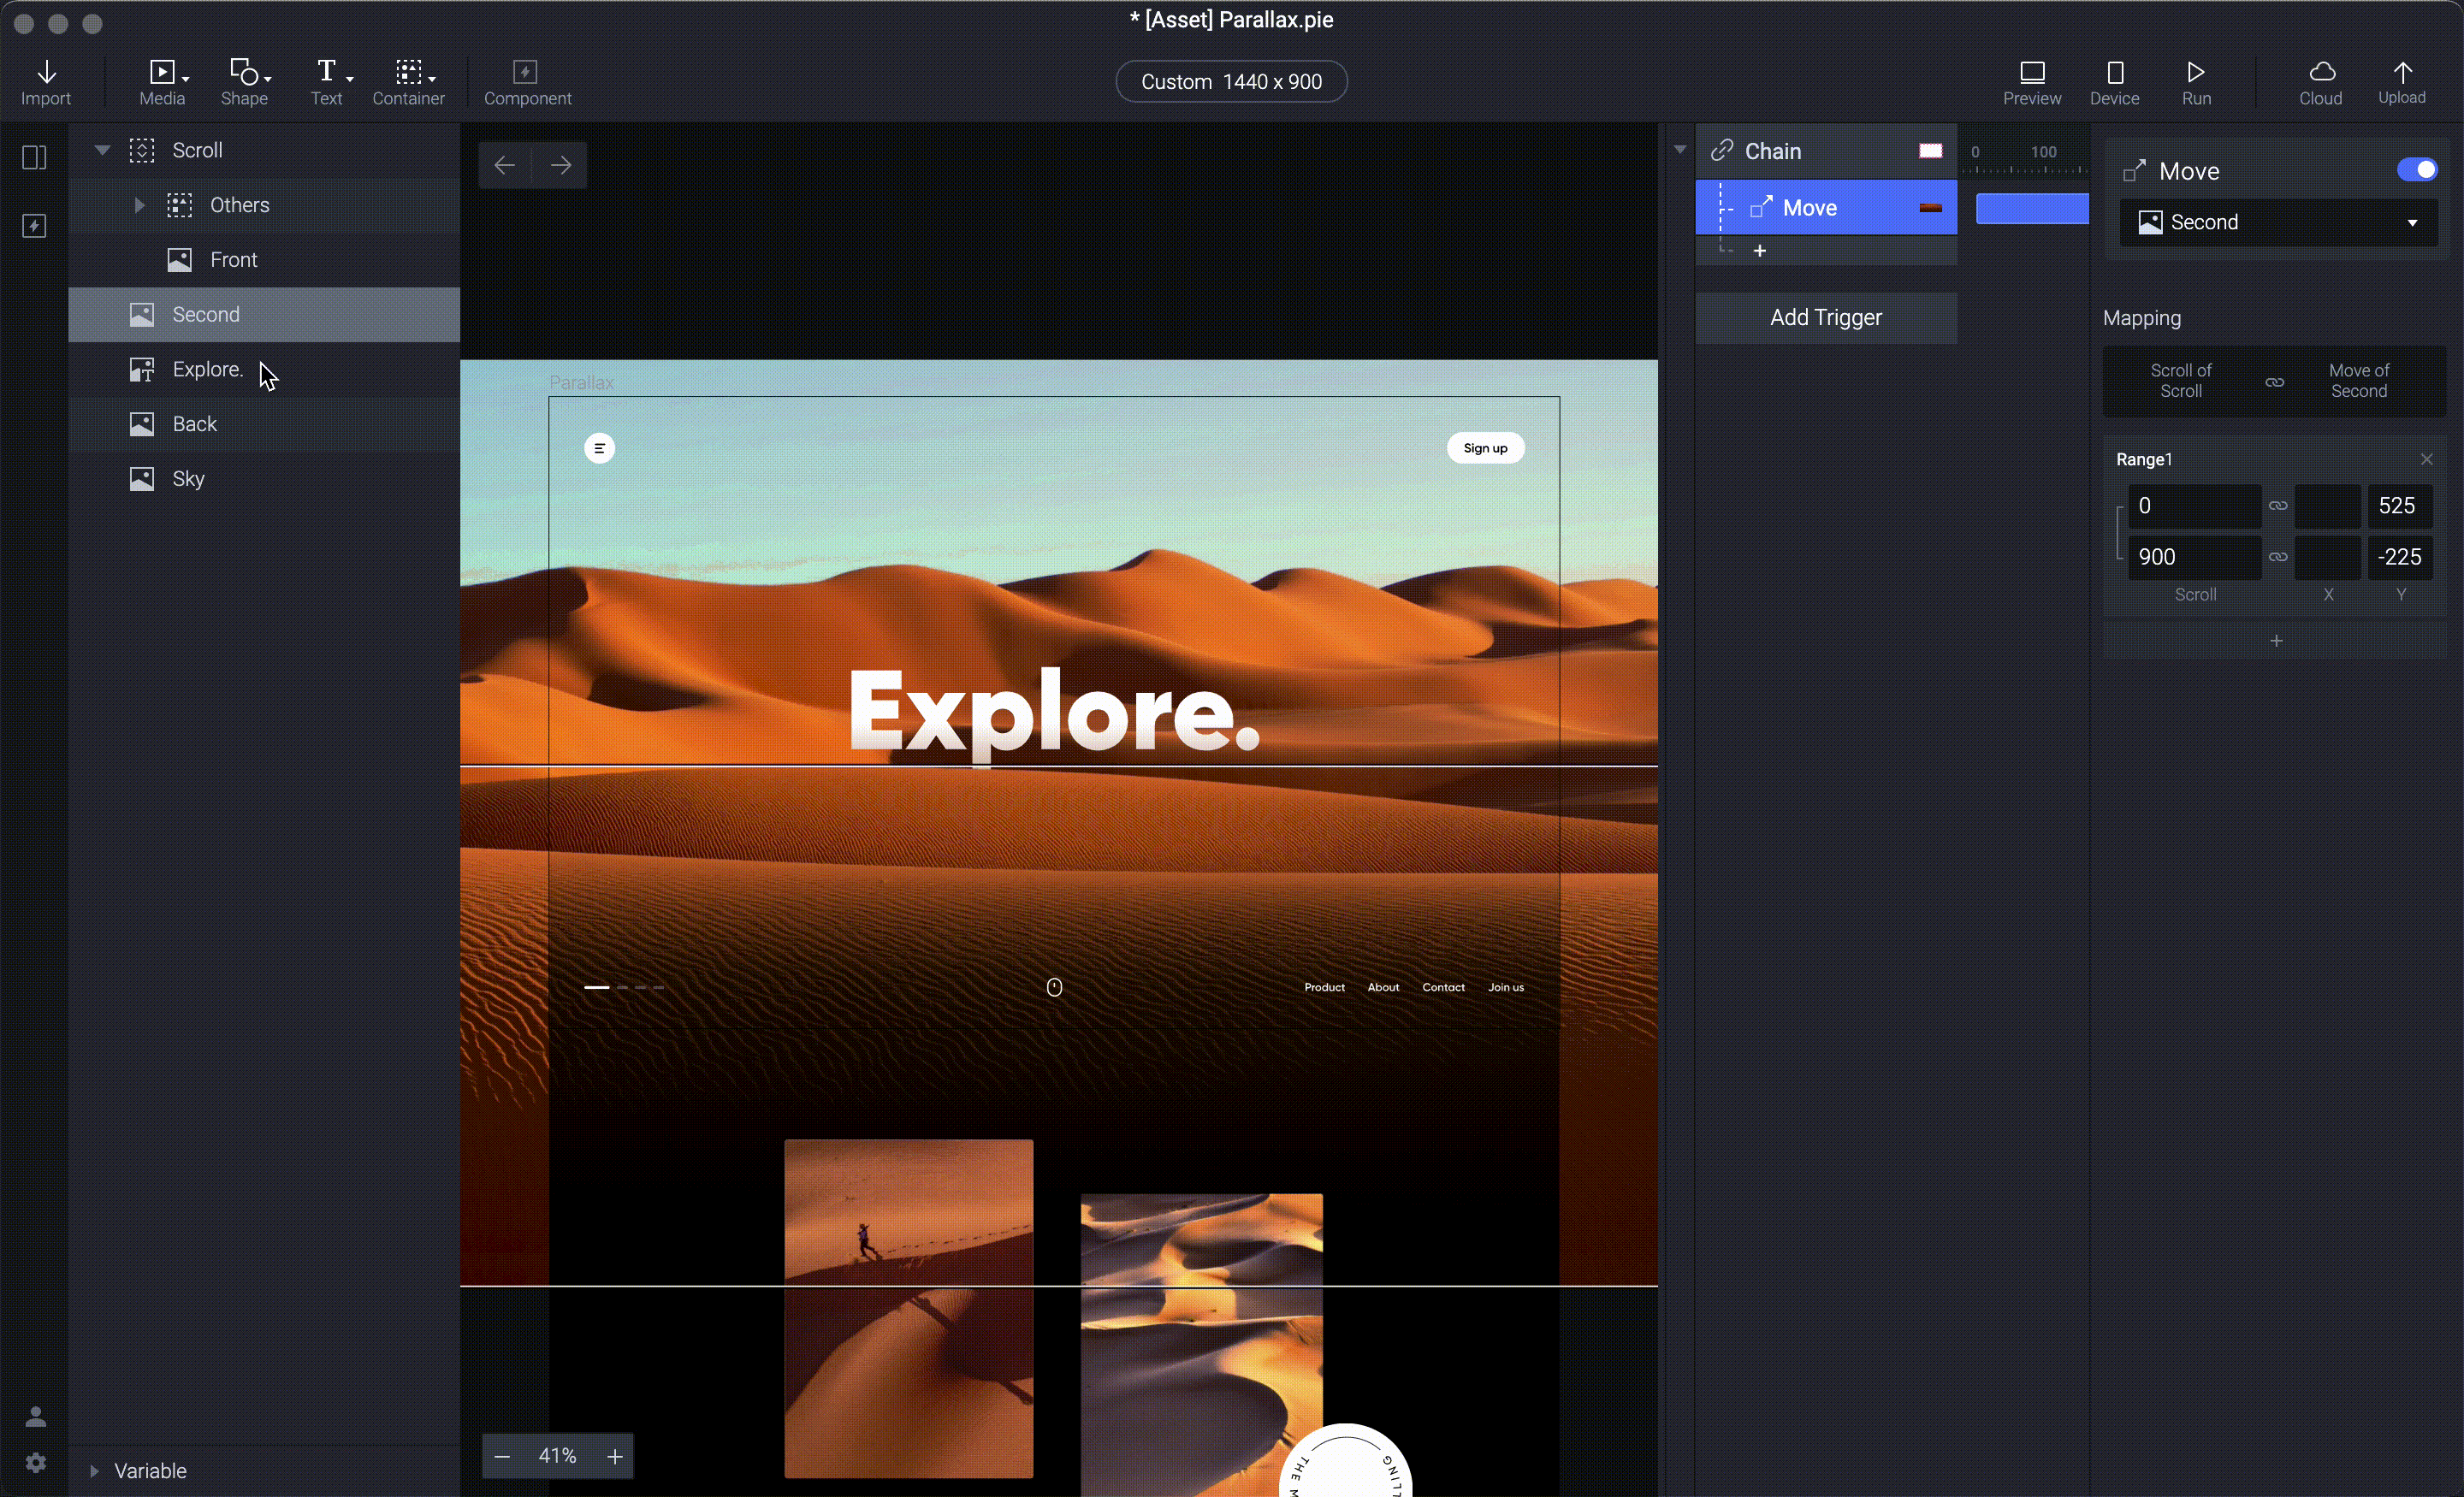
Select on the Second layer and then add a move response below the chain trigger. First, let's set up the scroll range from 0 to 900. Then, set the Y range from 525 to -225.
What do these numbers mean? It means as the user scrolls from 0–900 pixels; the Second layer will move by 750px - which is the distance between the initial position (525) and the layer's end position (-225).

💡 Tips: Feel free to play around with the start and end position of the layer. However, to achieve a good parallax scrolling effect, make sure that it is below the scroll range. The layer should not move together with the scroll, it should drag a little bit instead.
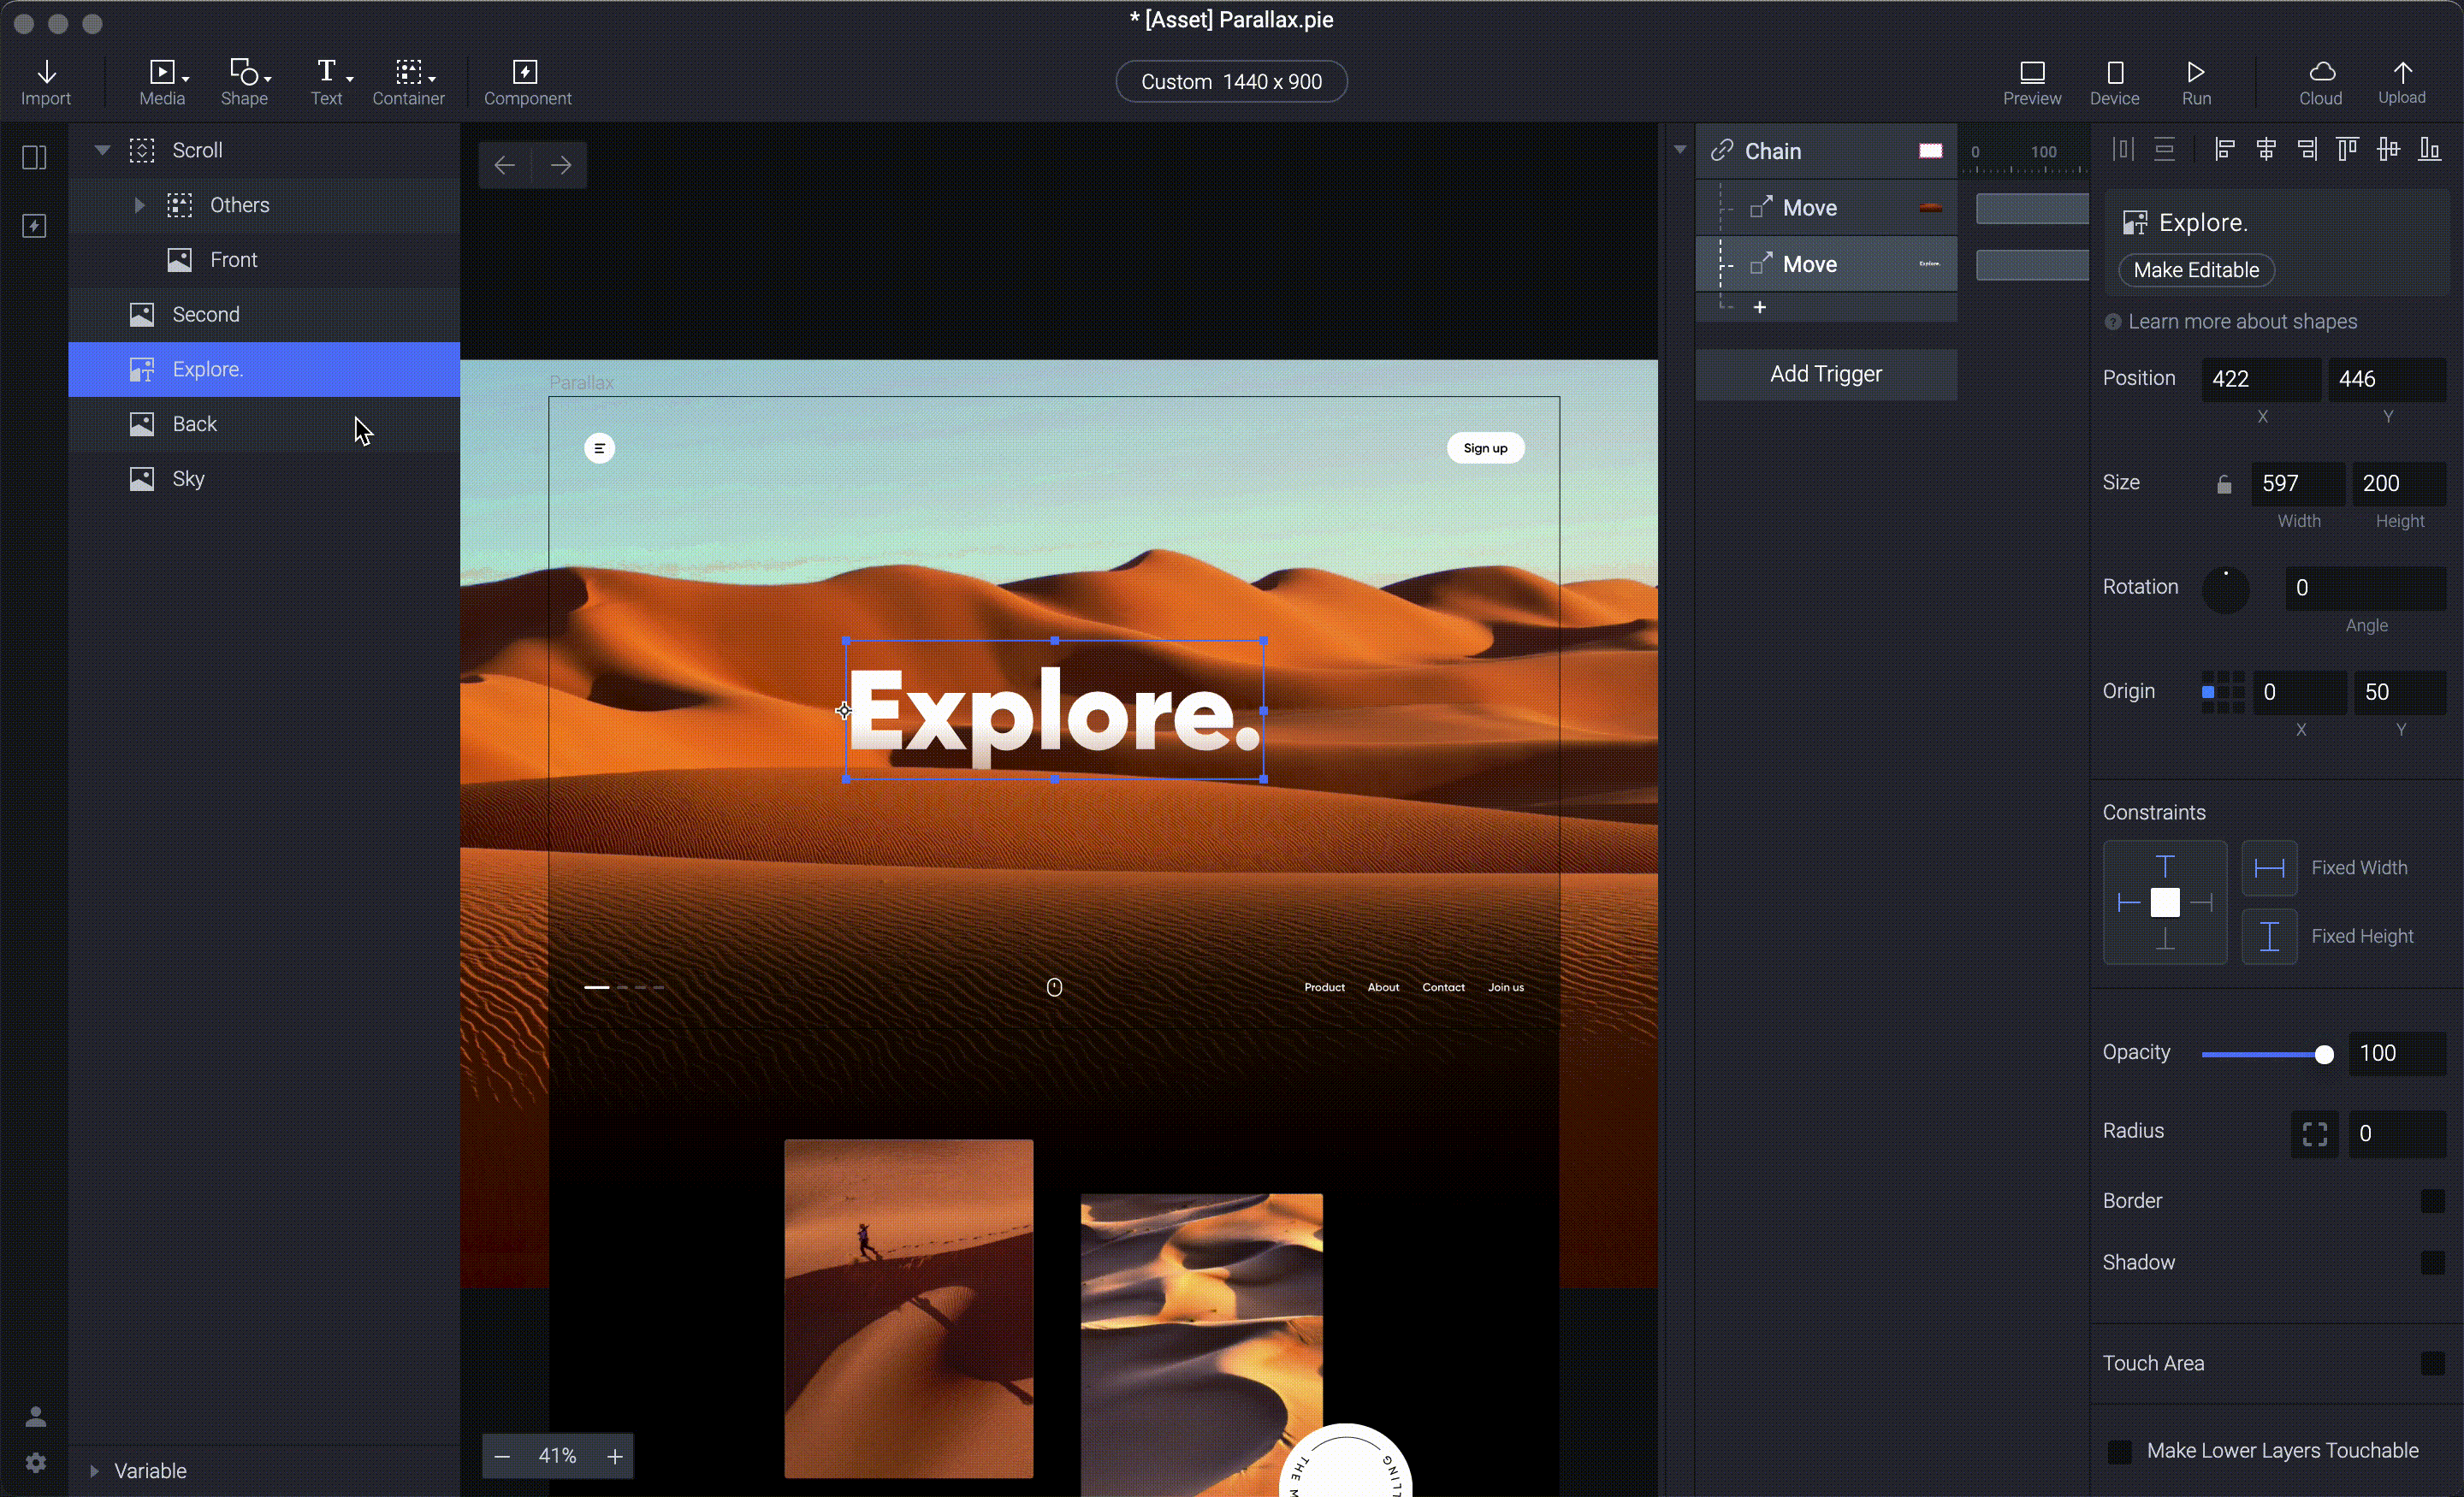
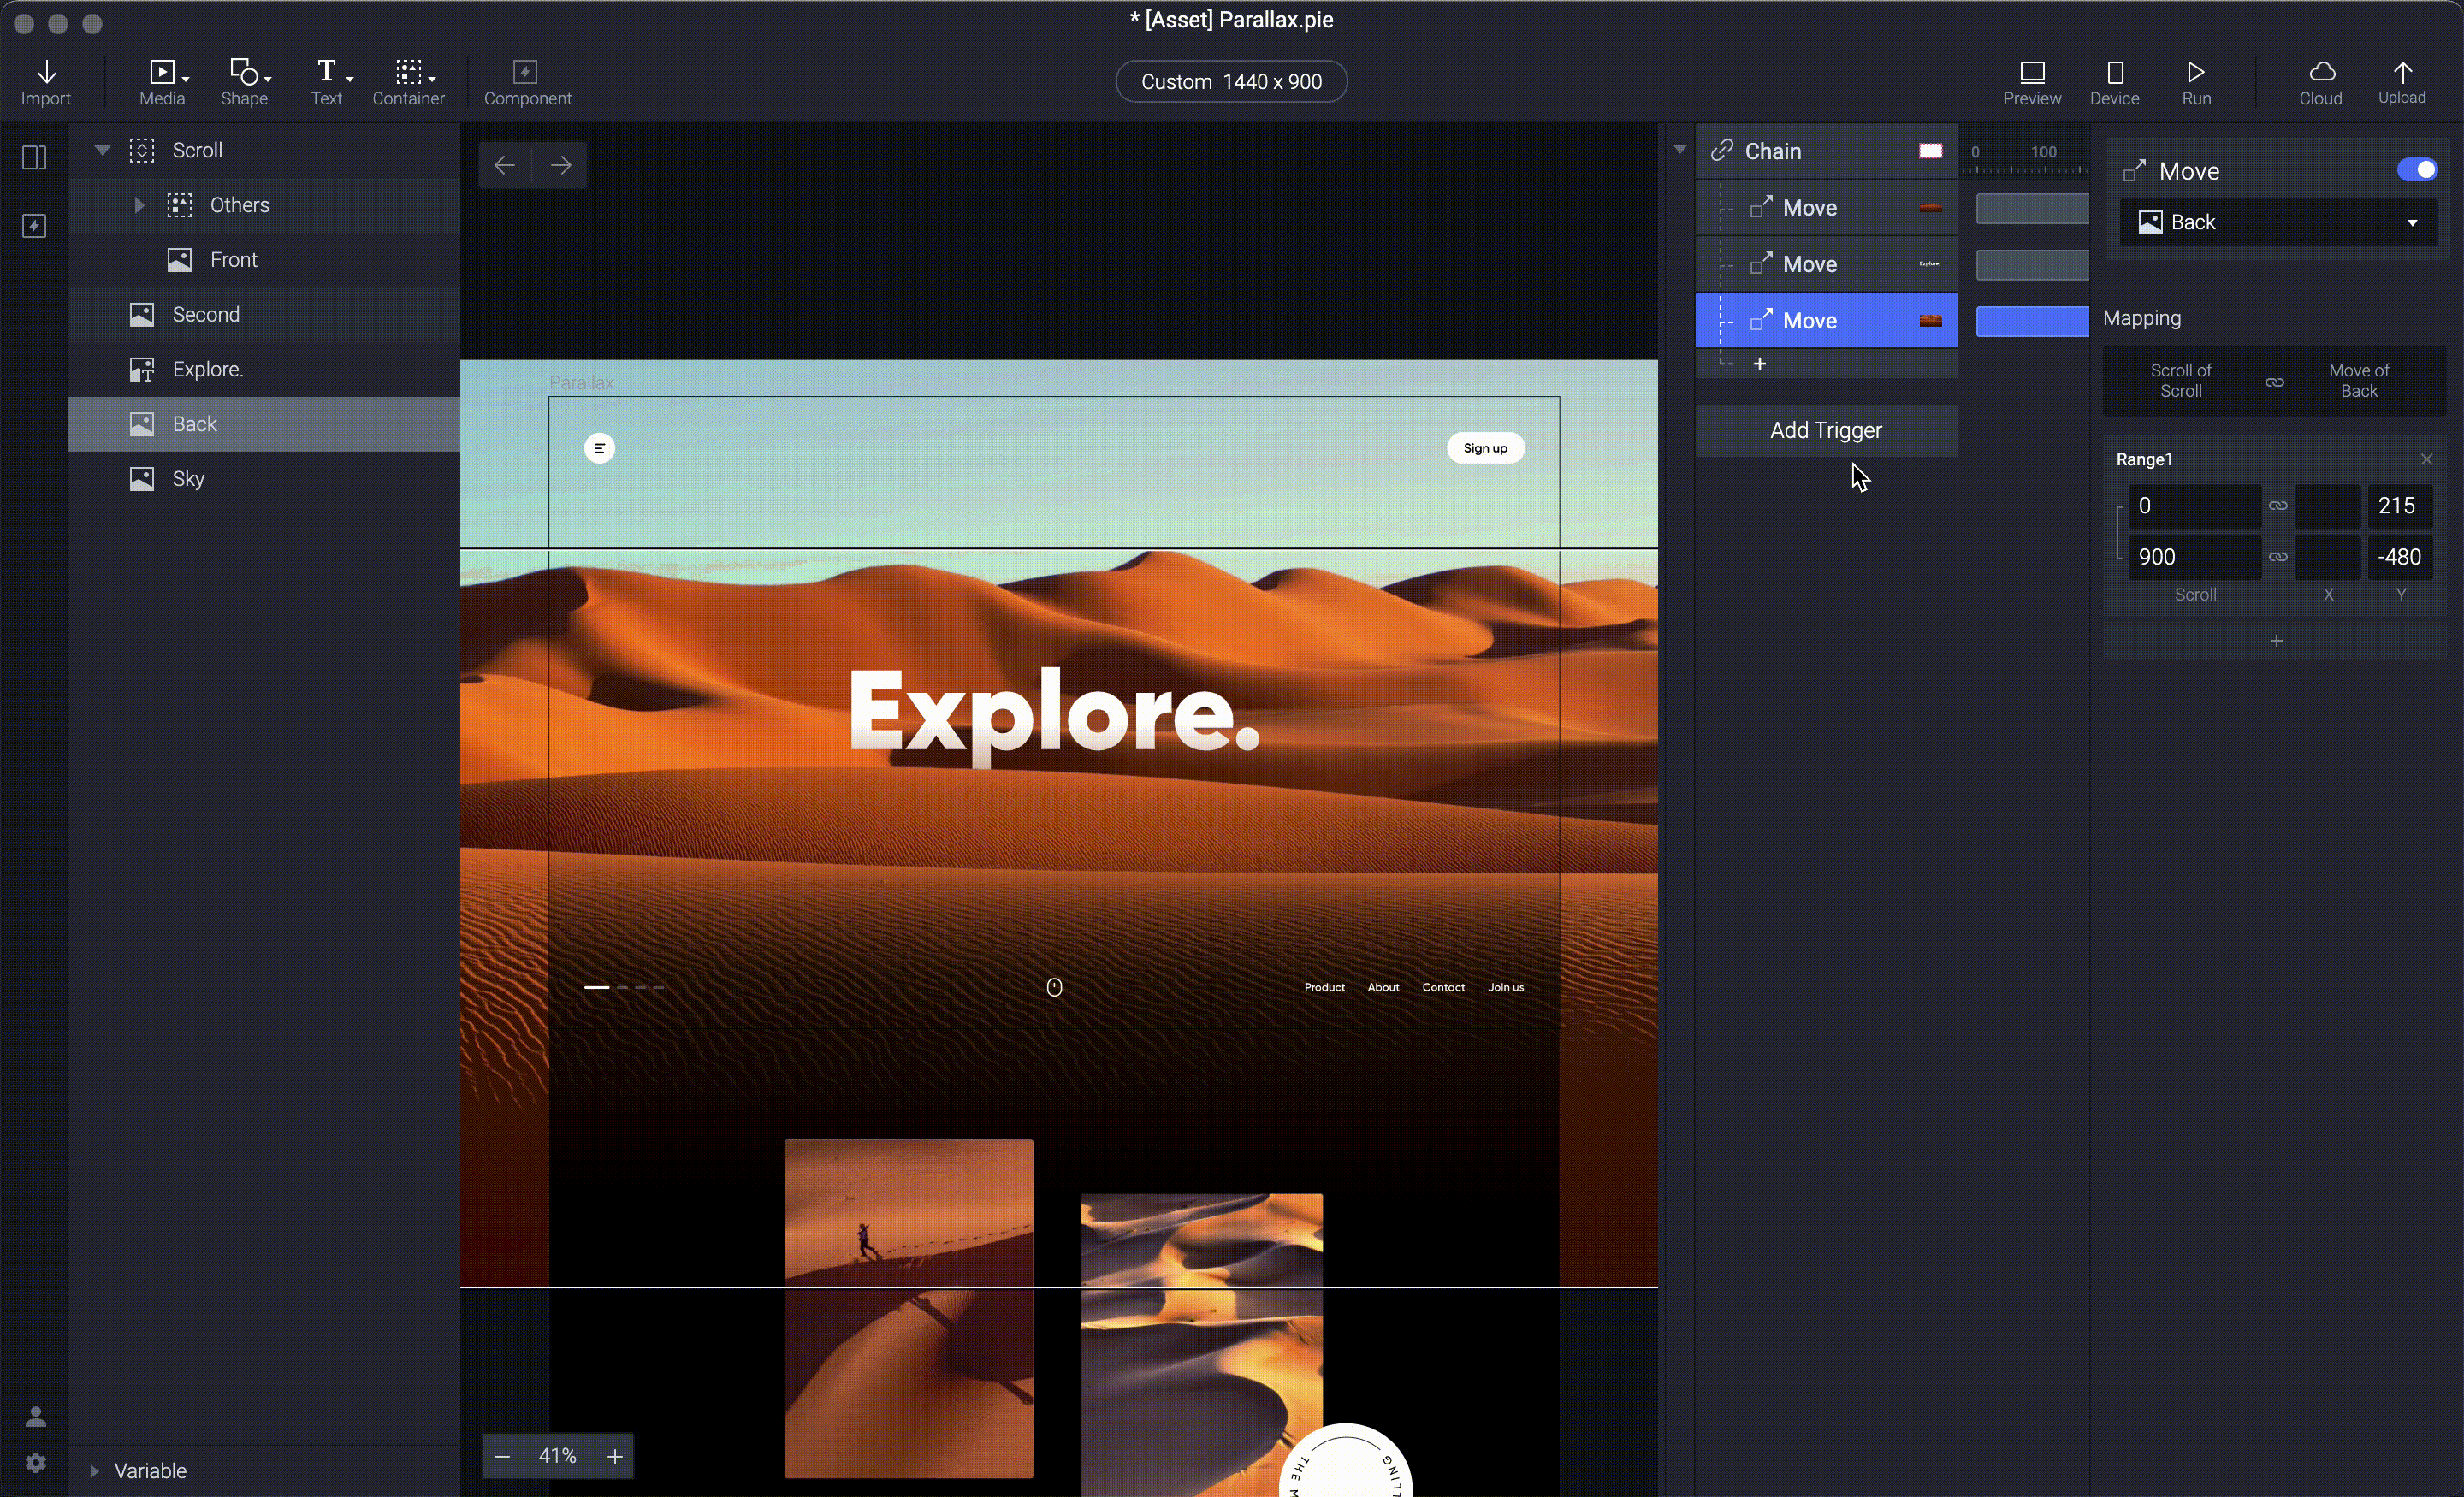
Using the same method to set the move responses for the other layers.
Optically the farther the layer, the shorter the distance of movement. Set the moving distance of the layer to a decreasing value.
That's it!
Now you can click on preview and see how your Parallax scrolling effect in the prototype. Play around with it and enjoy the subtle animation that you just made.
In this tutorial article, you’ve learned about parallax, how to achieve the parallax effect, how to use the chain trigger, and how to set up a response to it.
More importantly, you are now able to create a Parallax Scrolling effect in ProtoPie; that’s quite something!
Did this use case tutorial help you? Take part in this 1-min survey to help us to improve our educational content.


