
ProtoPie Connect offers the nearly limitless capability to take your prototyping beyond the digital screen, and in true ProtoPie fashion, ProtoPie Connect includes several plugins to make this really easy. One such plugin is the new API Plugin which allows connection to common data services without the need to write any code. This article will take you through a few examples, showing you how simple it is to start working with real data in your prototypes.
Download ProtoPie Connect
To follow along with this tutorial, you’ll need to download and install ProtoPie Connect. If you already have ProtoPie Connect installed, make sure to update it. You’ll need the latest version to complete all of the steps in this tutorial. As ProtoPie Connect is only available to paid plans, you’ll need either a Pro or Enterprise license.
What is an API?
API stands for “Application Programming Interface,” and it’s the common way remote systems communicate with each other. In particular, the ProtoPie Connect plugin works with RESTful APIs. It’s not important that you understand exactly what RESTful means, but it’s enough to know that many MANY APIs you’ll find on the web are of this type and, therefore, can be used with the plugin.
A RESTful API transaction occurs in two parts:
You request a remote system’s URL asking for some data. Often this request is accompanied by some parameters that better describe what you are looking for.
The remote system responds with some data or an error in case things go wrong. This response is usually formatted as JSON.
What is JSON?
JSON is a standard way of formatting information. JSON is convenient because it is text-based and, therefore, readable. This format makes it easy to understand and use. This article assumes you already have some familiarity with JSON, but if you need a primer, many great resources on the web can quickly get you up to speed. Here is one, for example.
A Basic Example Using the API Plugin
This example is as straightforward as it gets. Download the Useless Fact Machine starter Pie below and follow along.
Open the Pie in Studio. If you preview this Pie, you’ll see that all of the interactions and animations are complete. Drag the coin above the handle of the gumball machine and let go.
Drag the coin above the handle of the gumball machine and let go.
We’re going to complete the last step, and that is to make a request to an API that will give us back a useless fact. We’ll then take that fact and display it as if it were printed on the gumball.
The API we’re using is a freely available internet API aptly named “Useless Facts.” Details of the API can be found here. The specific request URL (or endpoint) we’ll be using is this one.
Go ahead and click it! You’ll see you get a response that looks something like this in your browser:
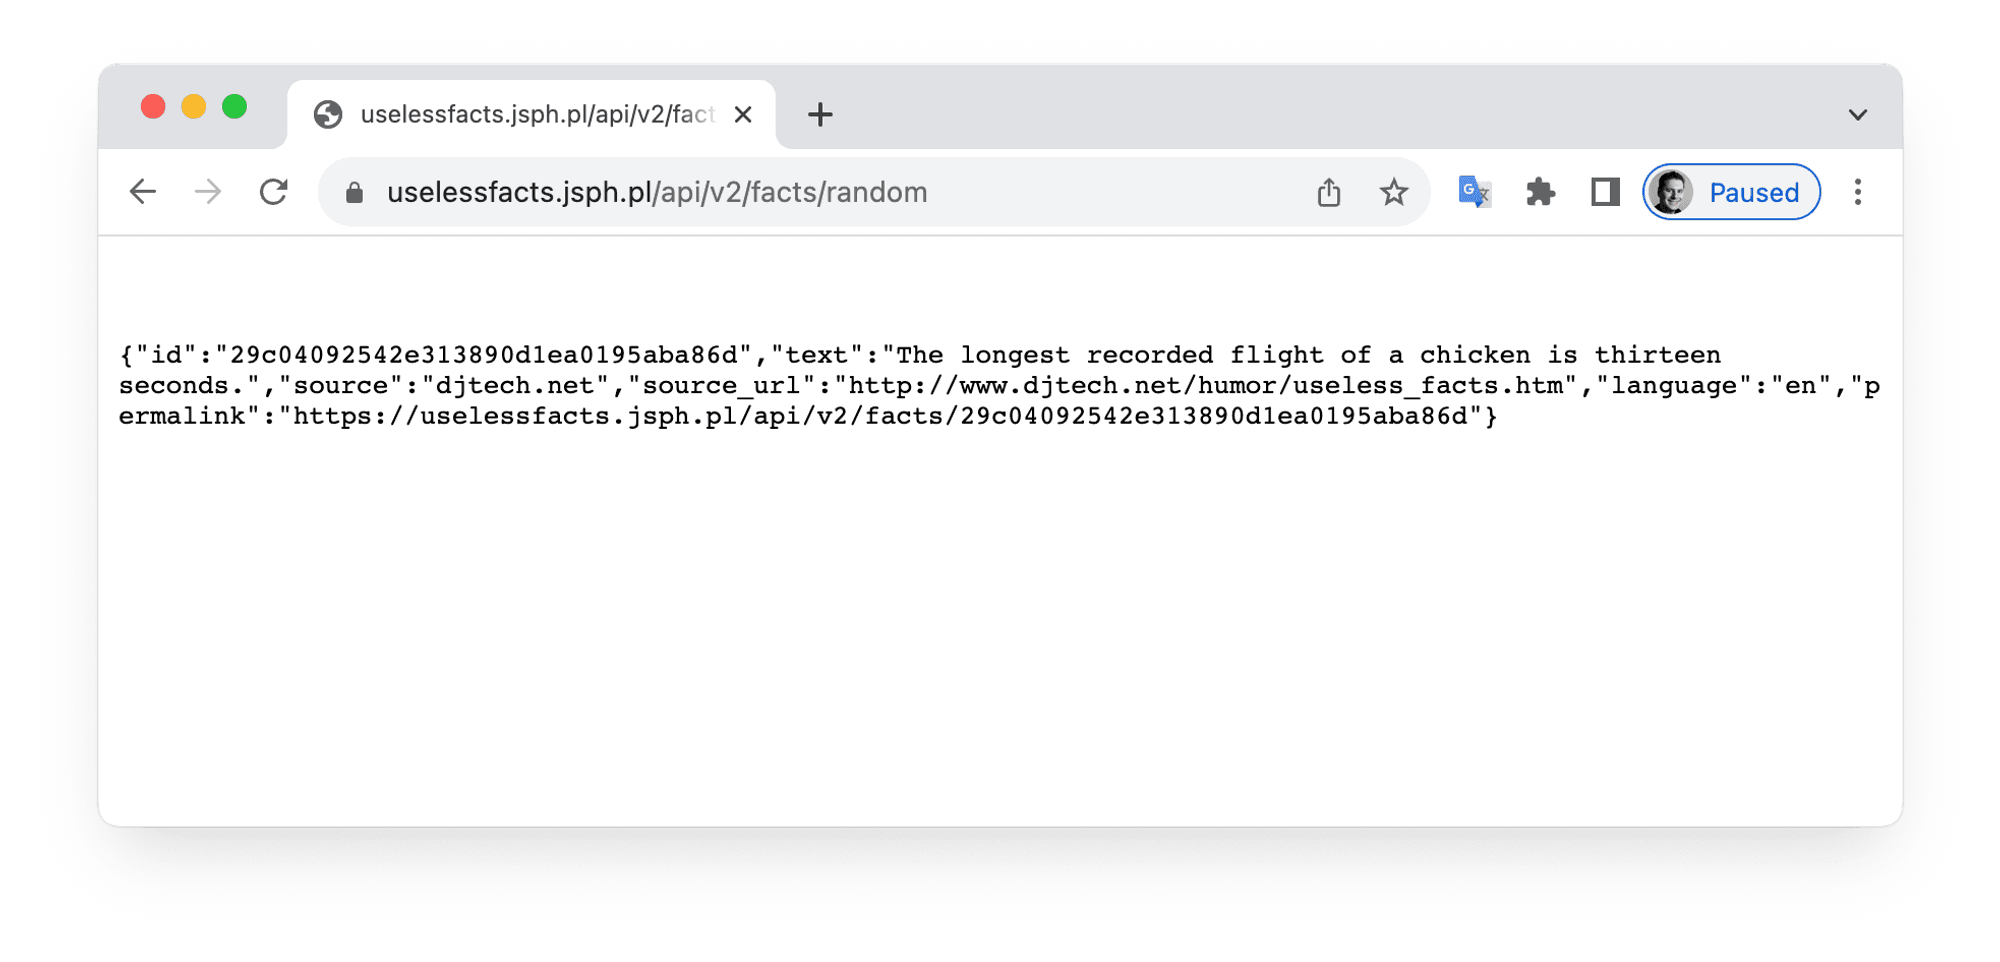
“Useless Facts” request URL.
This is the response in JSON format. Notice how even though it is just text, it’s not super easy to read. So here’s a pro tip! Install the JSON Formatter plugin for Google Chrome. Once the plugin is installed, Google will automatically format the gibberish from above into this:
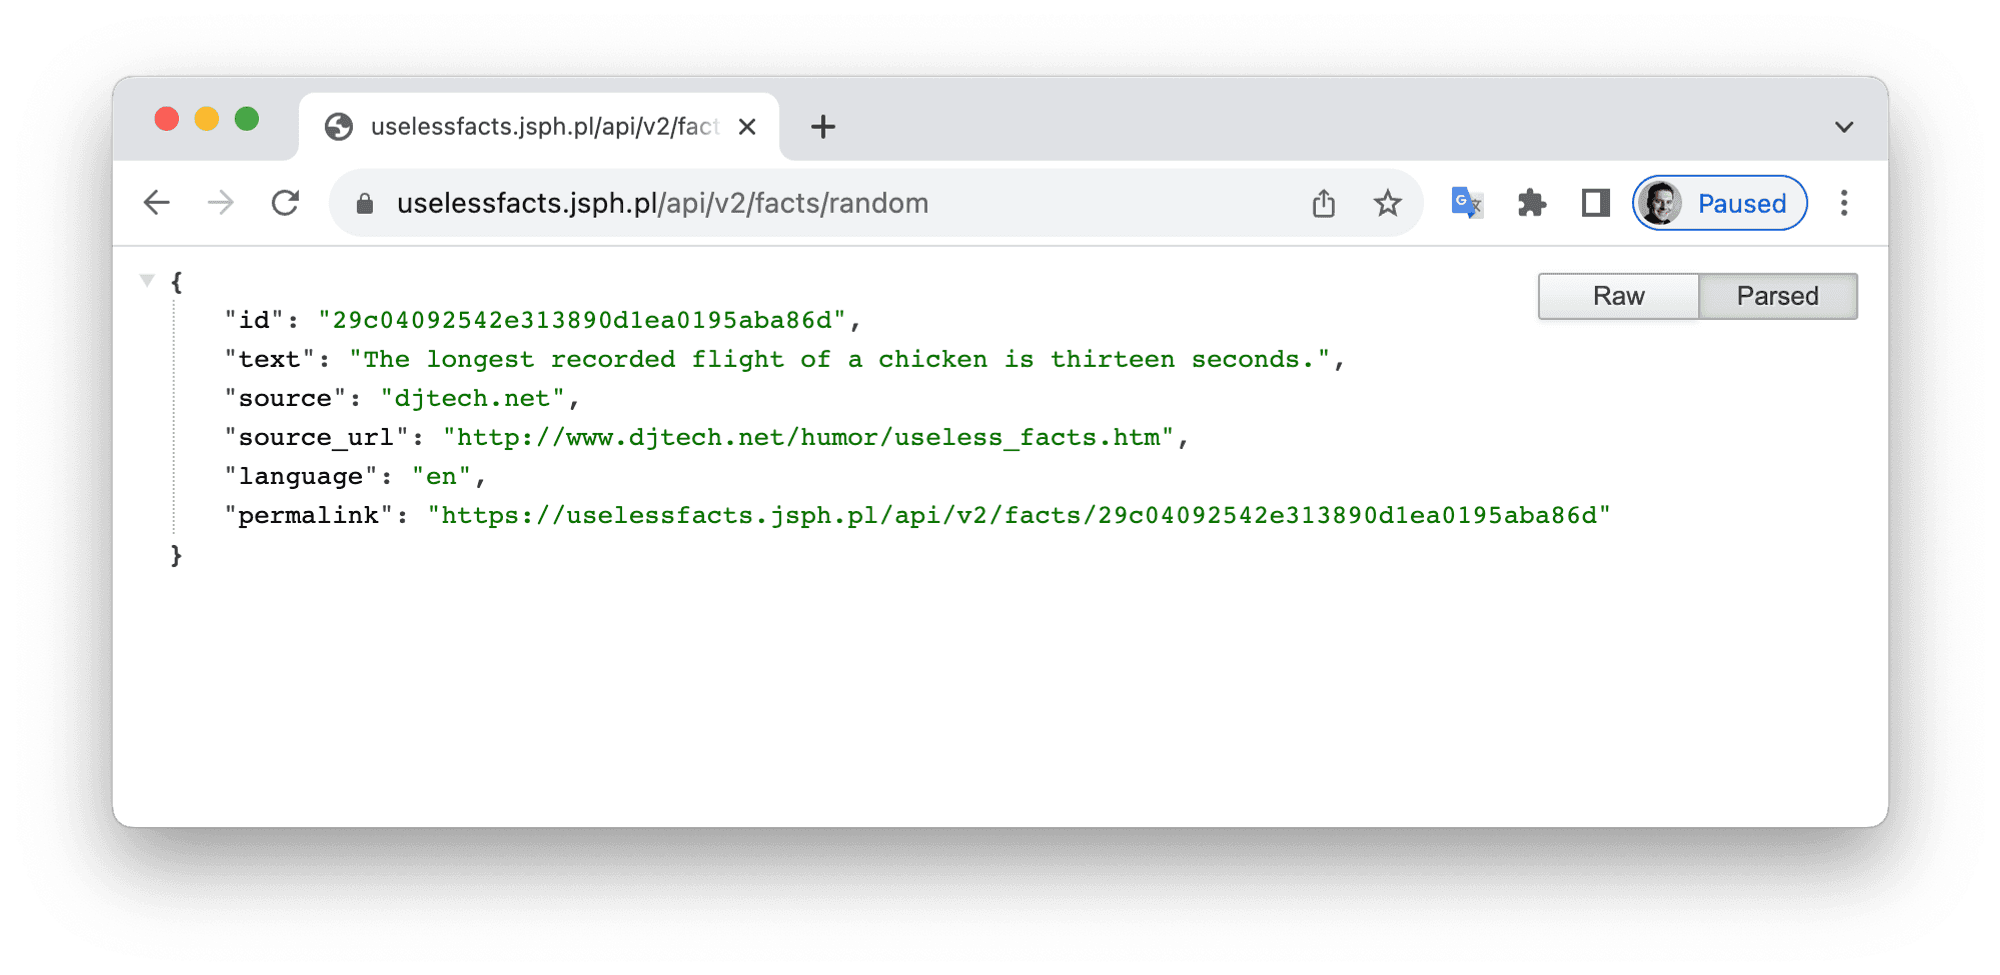
JSON Formatter plugin for Google Chrome.
JSON, at its most fundamental, is a collection of key and value pairs separated by a colon character. The text to the left of the colon is the key, and the text to the right of the colon is the value. For our purposes, we’re interested in the key named “text” — the value of this key is our random useless fact!
Sign up for the latest API prototyping news
Configuring the API Plugin
Working with data in ProtoPie involves three steps:
Configure the plugin in ProtoPie Connect.
Author your Pie to Send a message to trigger the API request and to Receive a message with the API’s response.
Run the Pie through ProtoPie Connect to see it in action.
Let’s focus on this first step.
Start ProtoPie Connect
Click on Plugins in the top-right, then on API.
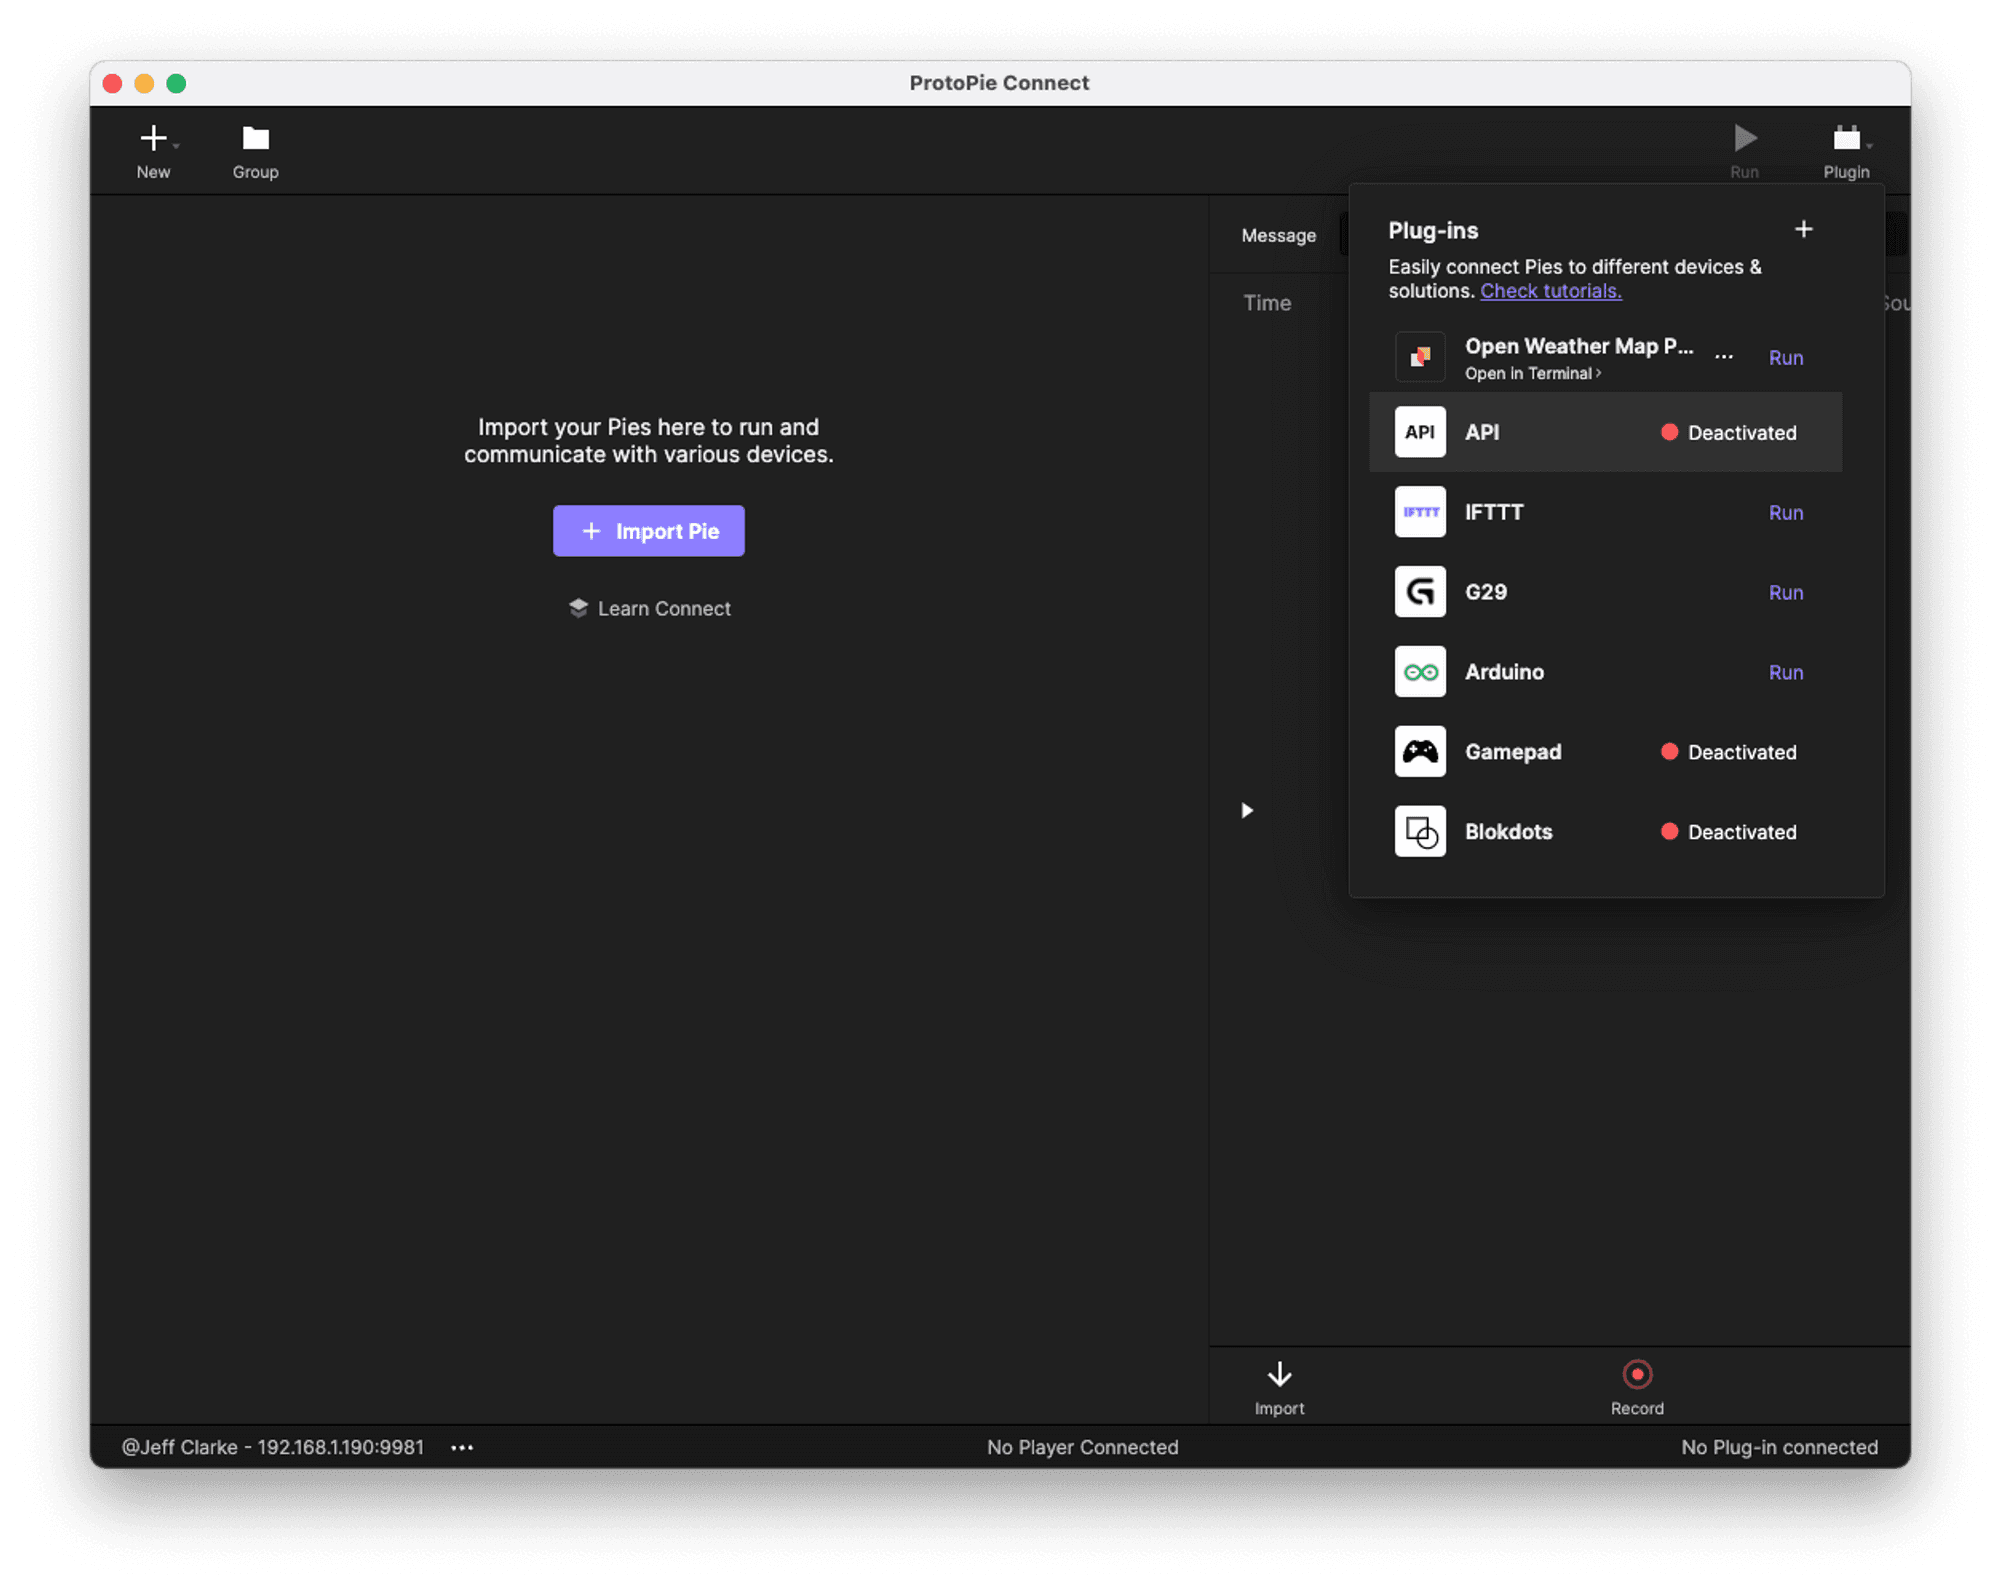
Click on Plugins in the top-right, then on API.
You’ll see something that looks like this:
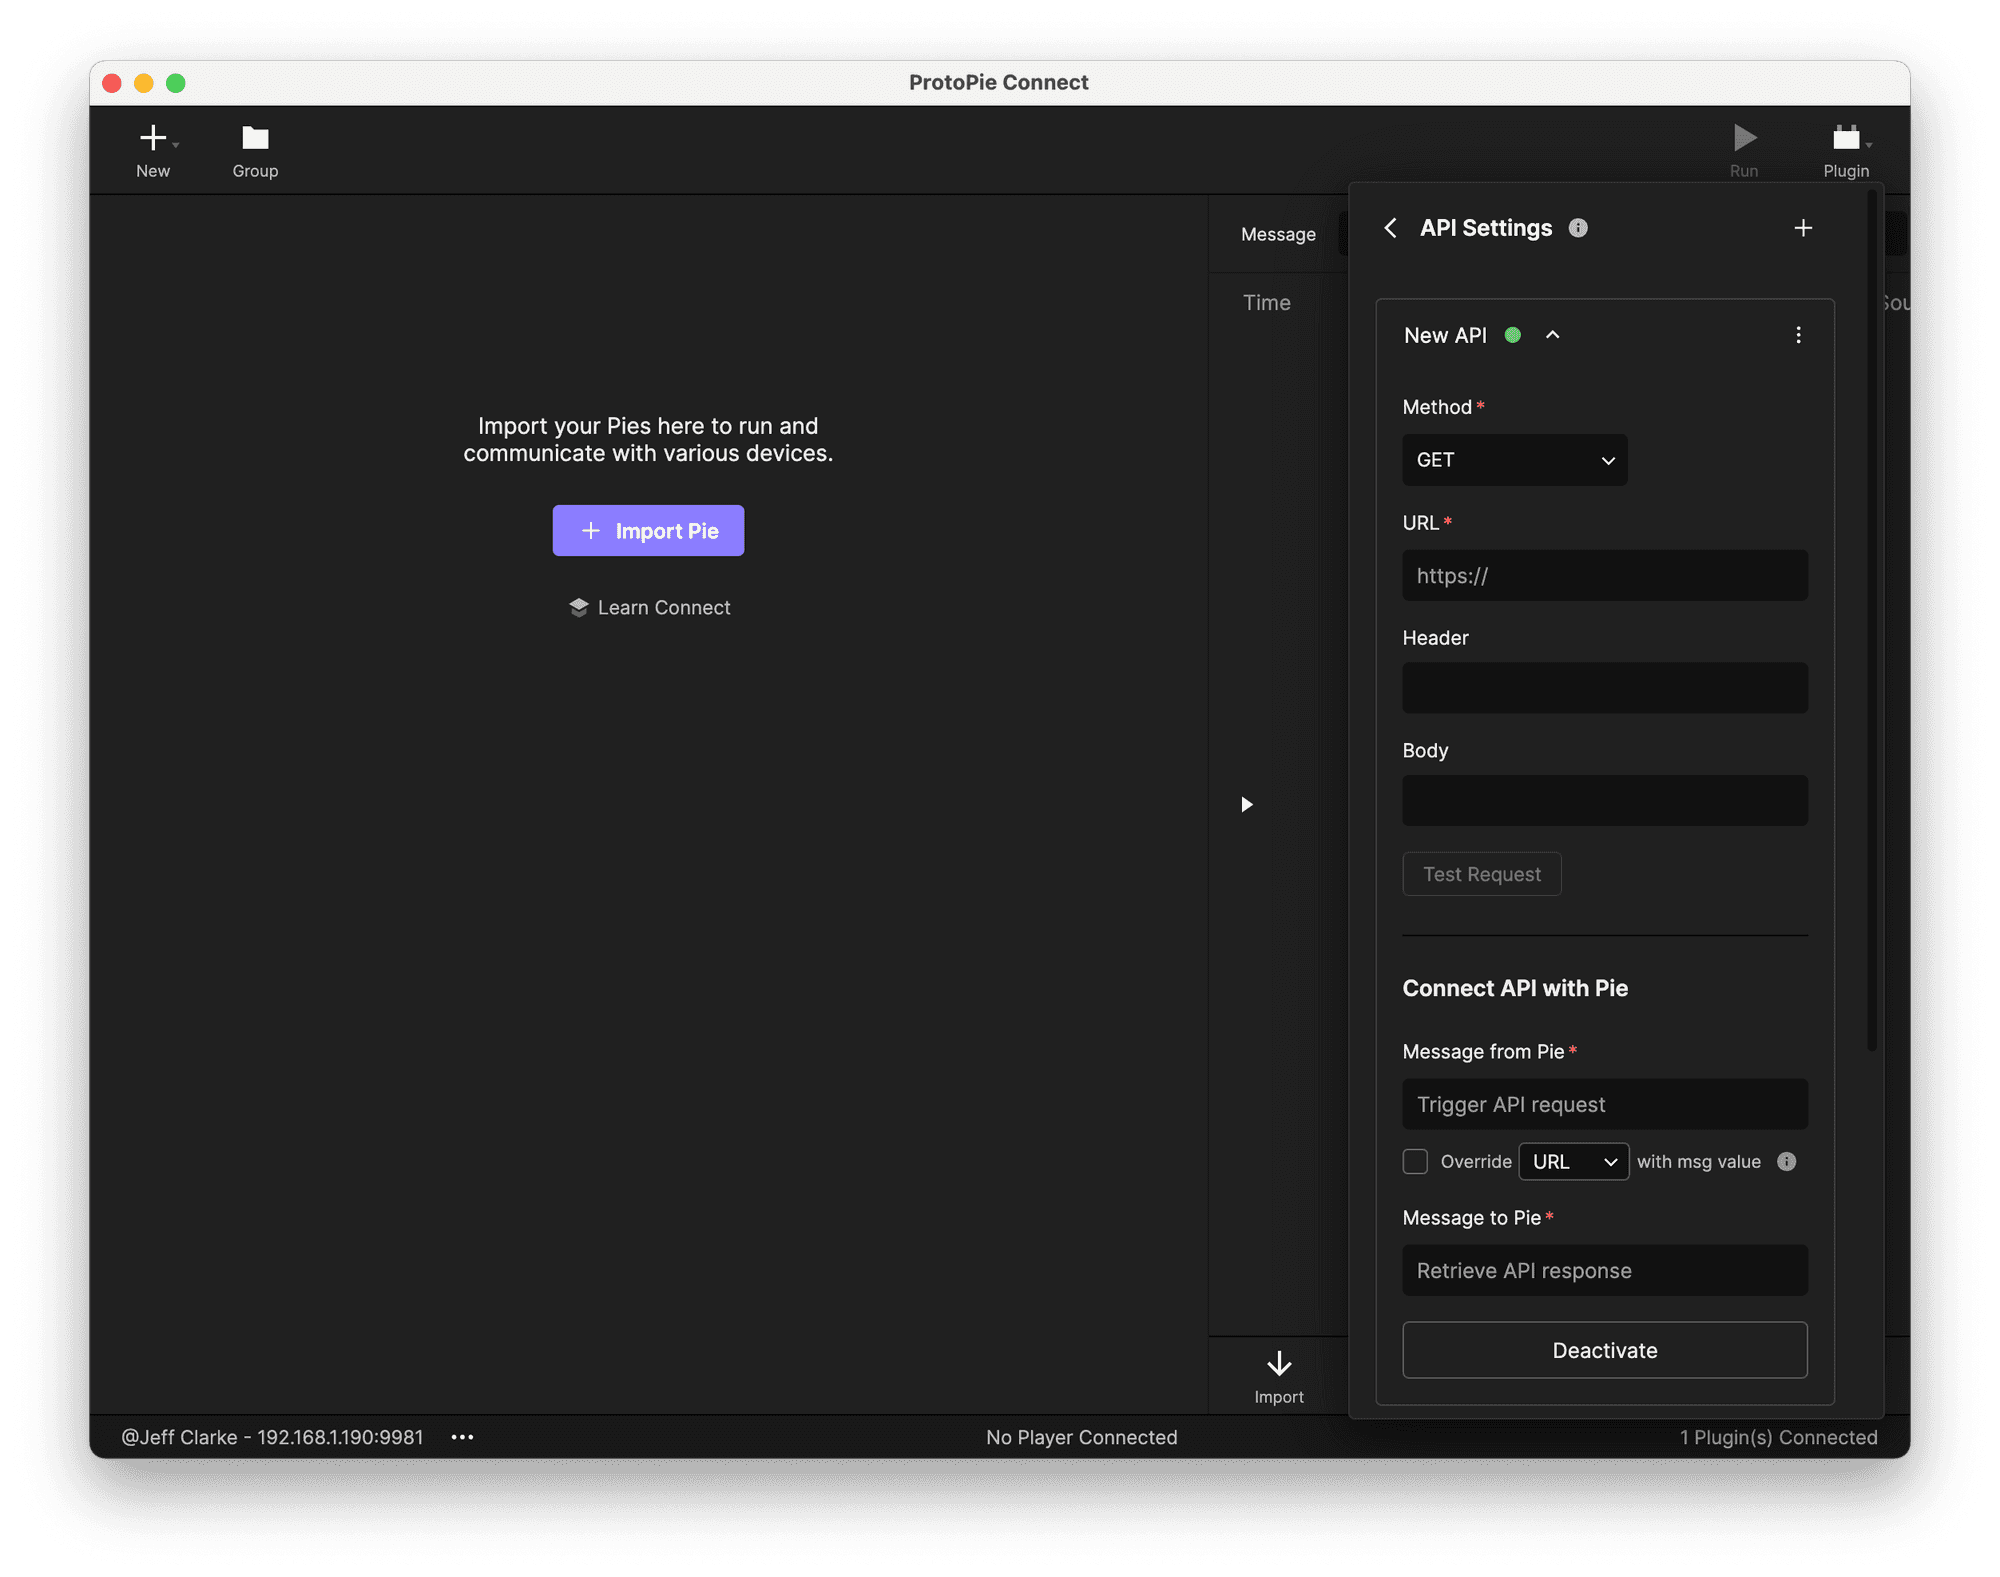
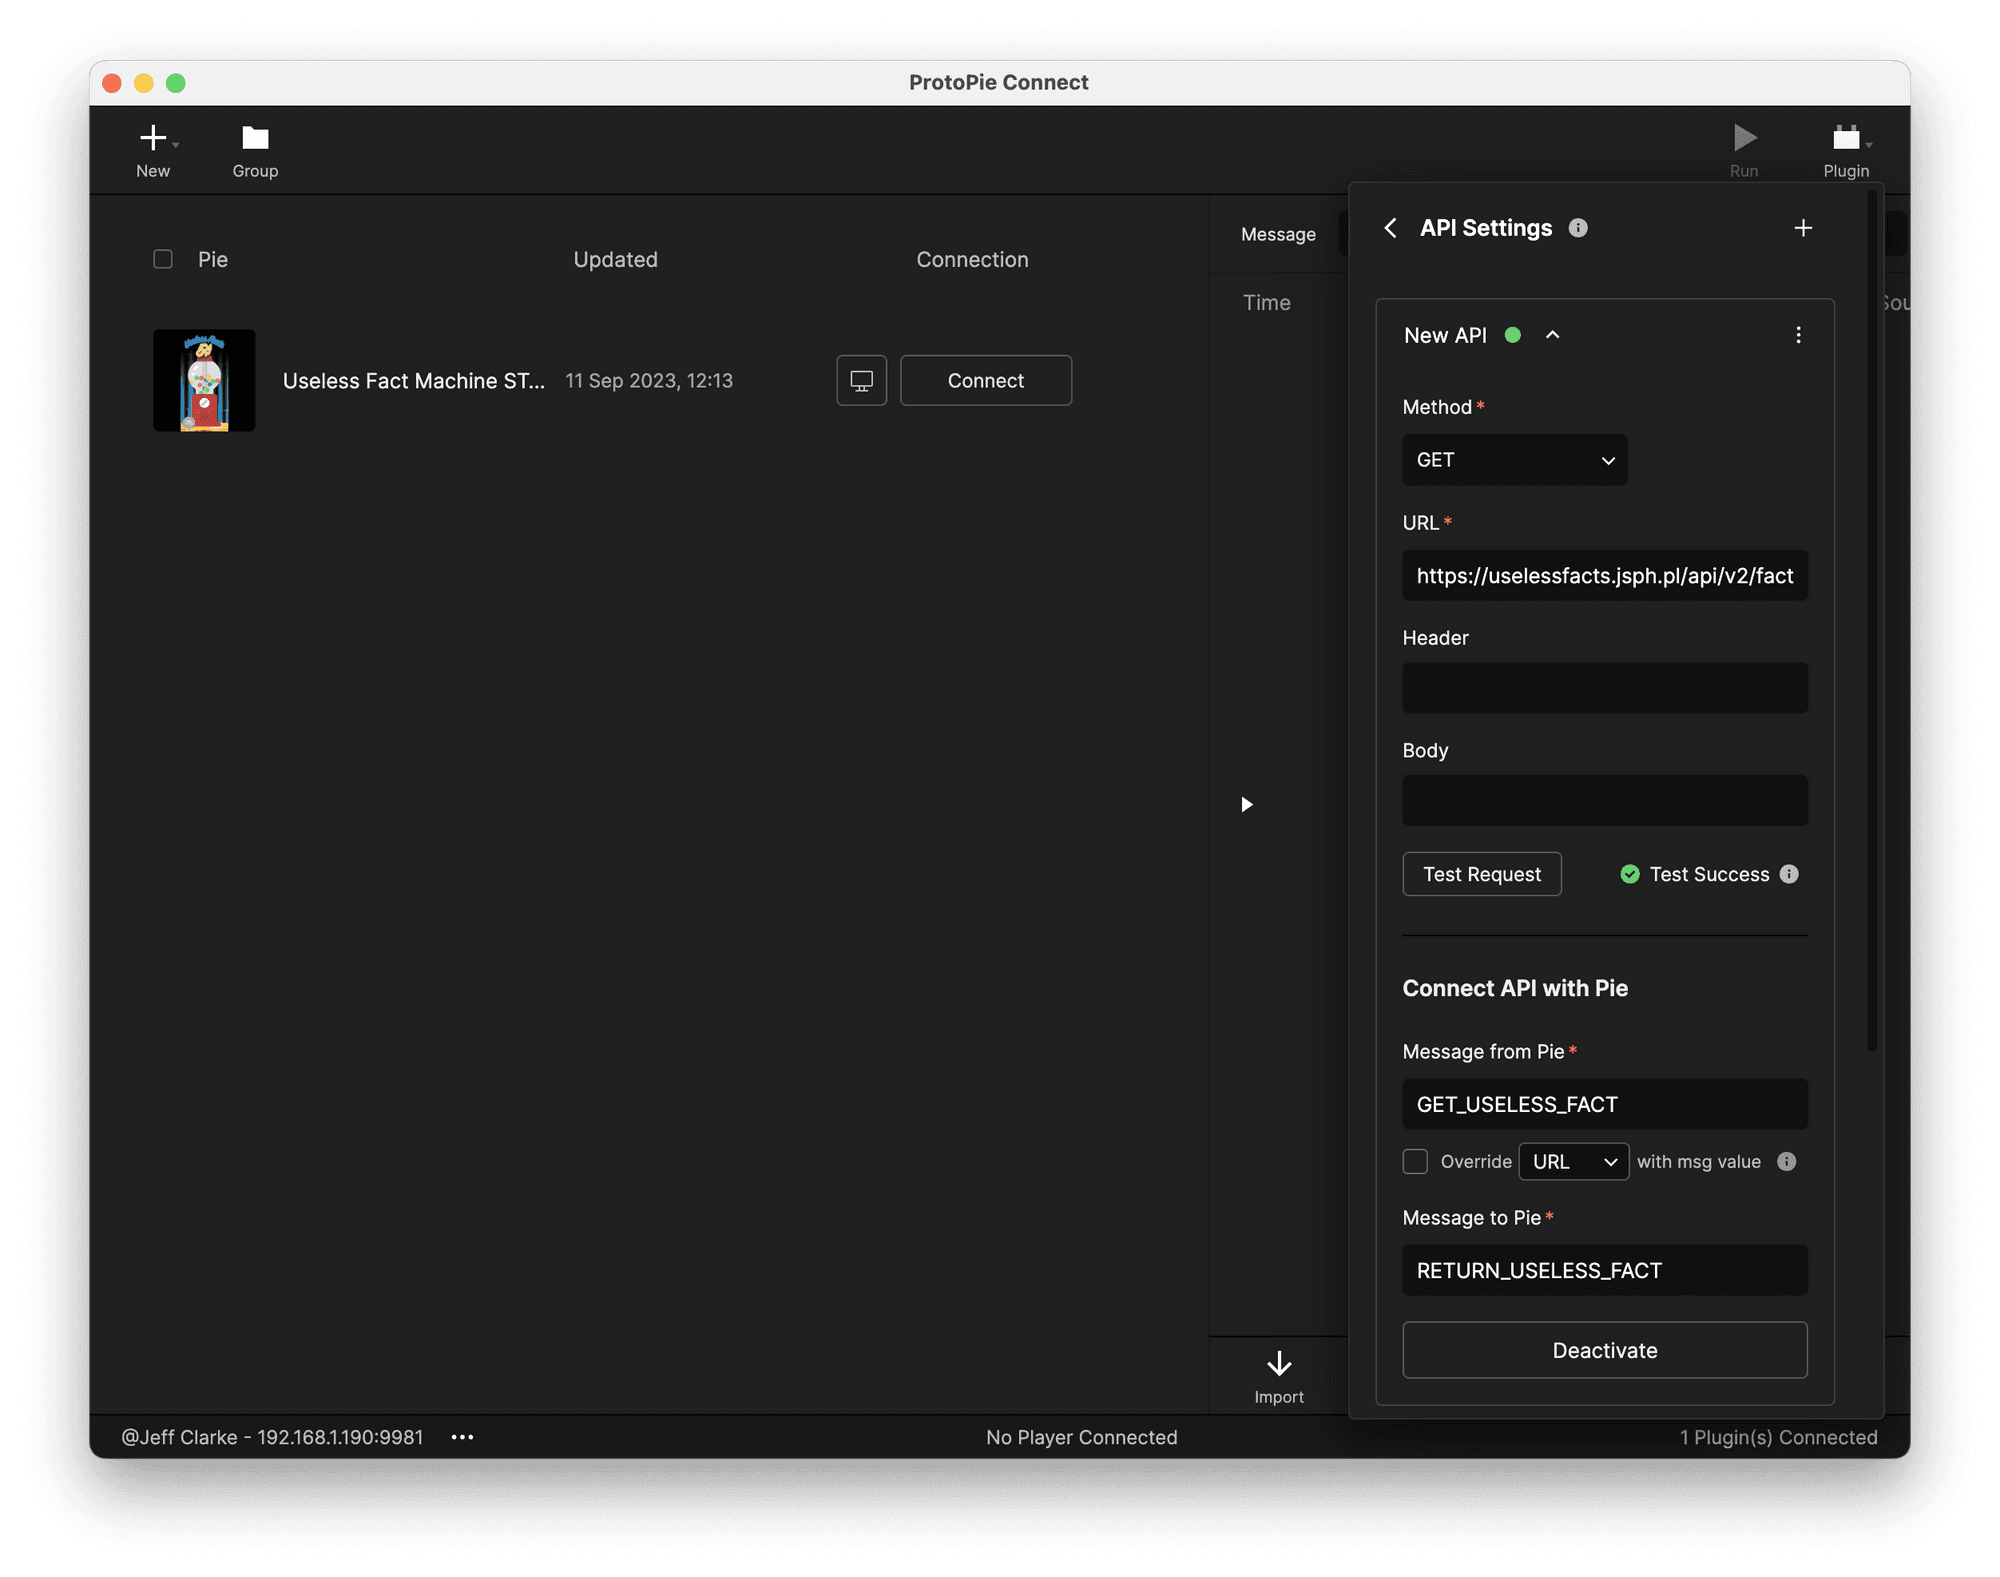
Configuring the API Plugin.
Configure it as follows:
In the URL field, fill in the request URL to the API:
https://uselessfacts.jsph.pl/api/v2/facts/randomFurther down under the section named Connect API with Pie, fill in the Message from Pie field with
GET_USELESS_FACT.Fill in the Message to Pie field with
RETURN_USELESS_FACT.Click on Activate.
To verify that everything is working, click on Test Request. You should see a message that says “Test Success.” If you don’t, go back and make sure you’ve entered everything exactly as I have above.
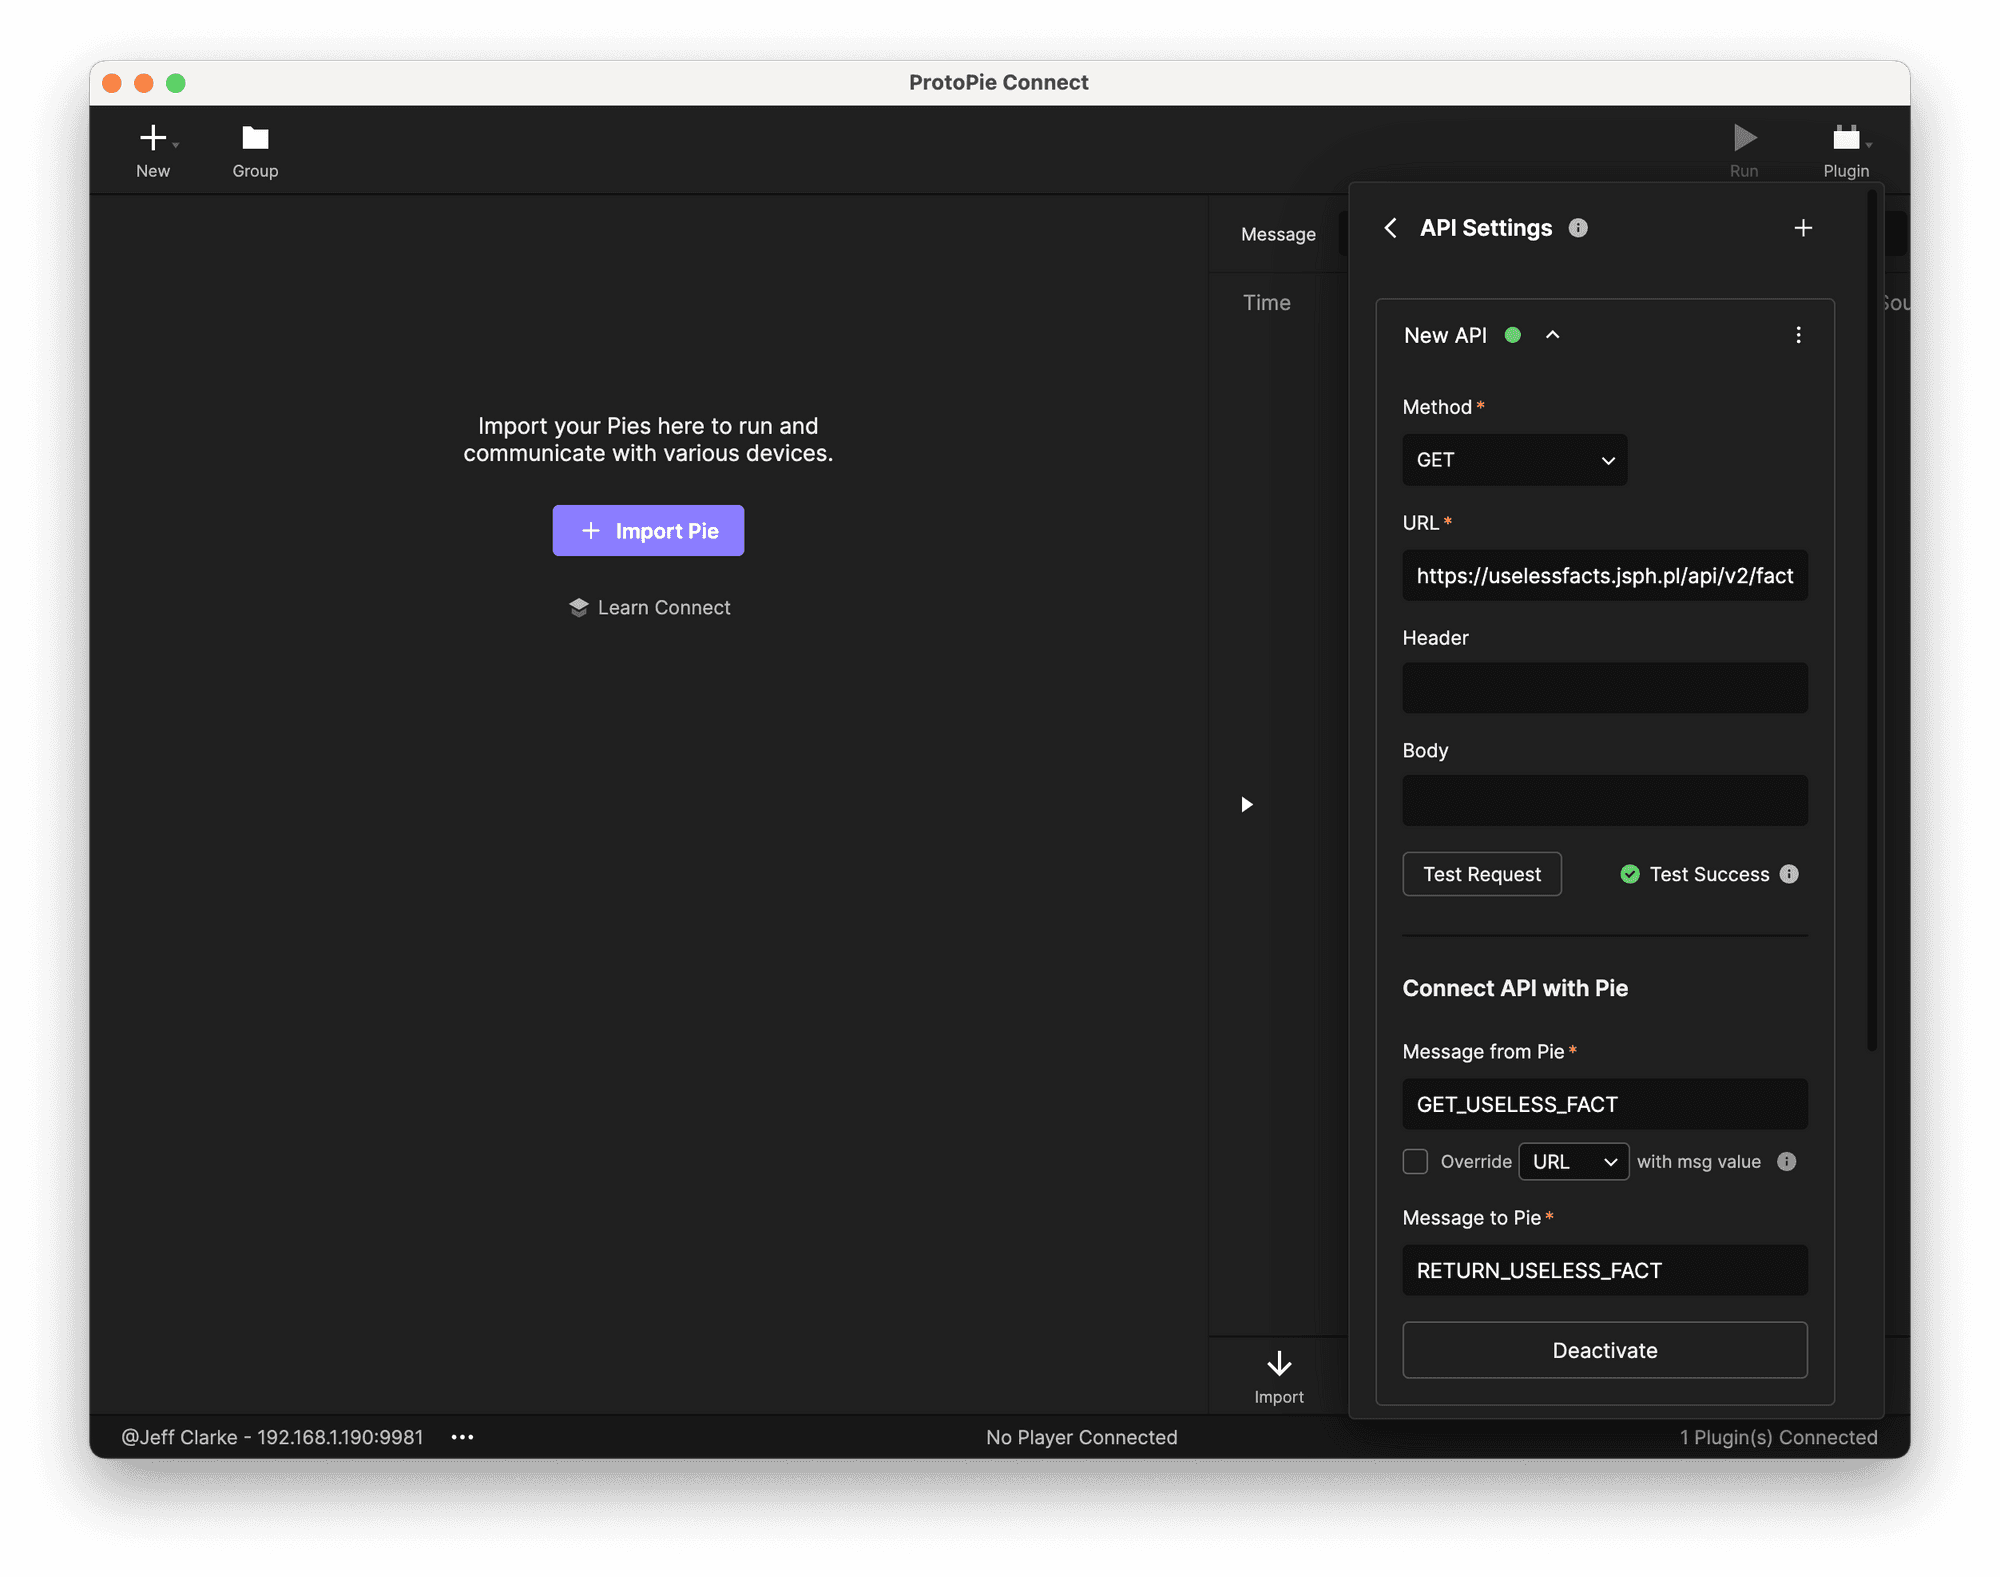
The API plugin is configured and ready to use!
That’s it! The API plugin is configured and ready to use!
NOTE: The messages we used — GET_USELESS_FACT and RETURN_USELESS_FACT — are completely made up. You can use any message you want here. You’ll want to ensure you use the same messages in your Pie file (see the next step).
Author your Pie to use the Plugin
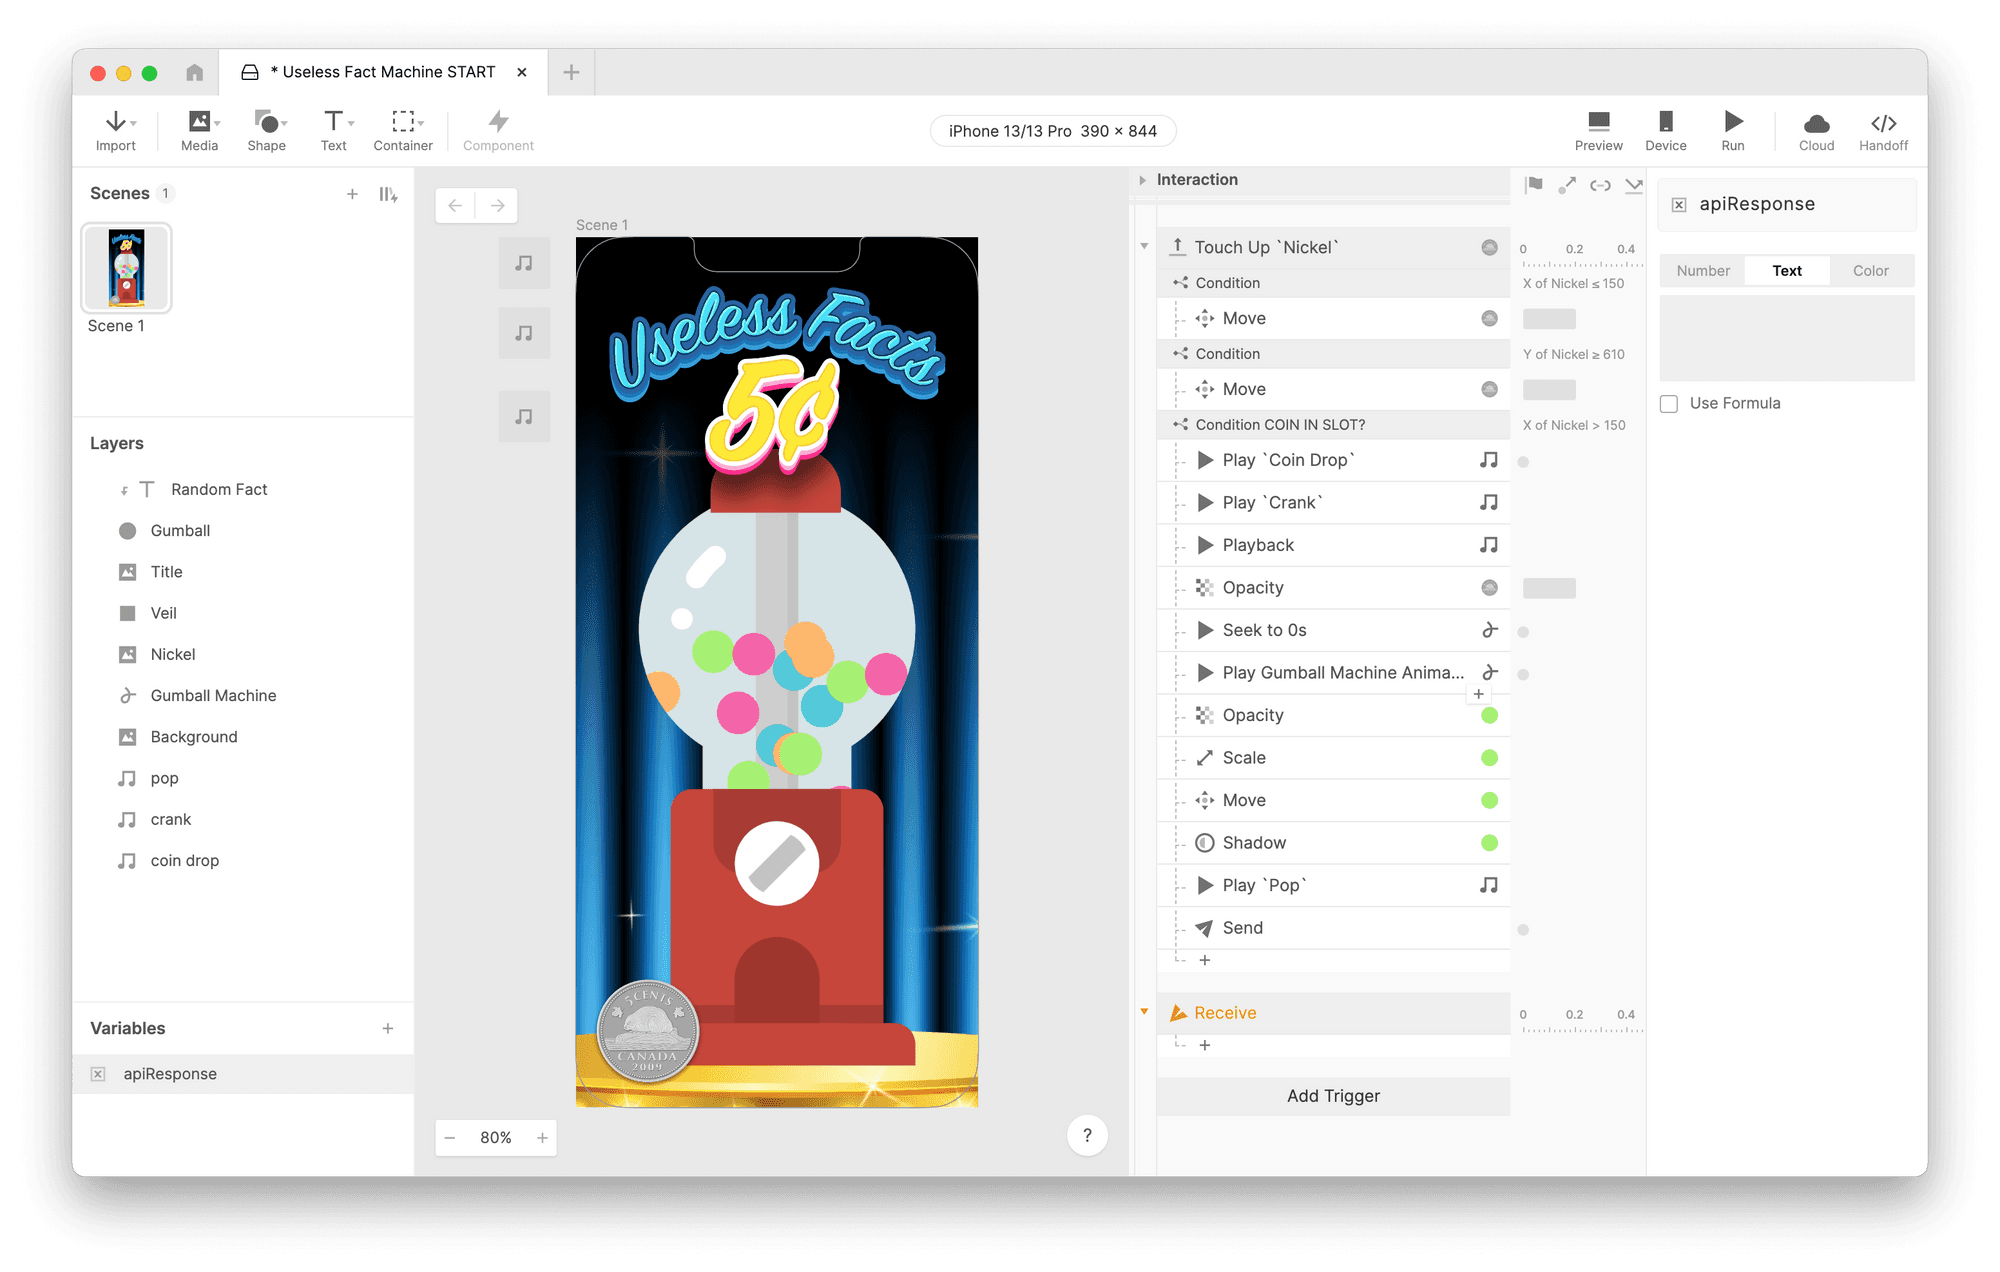
Return to ProtoPie Studio. Notice the Trigger named Touch Up “Nickel.” This trigger fires when you release the coin after dragging it.

The Touch Up “Nickel" trigger fires when you release the coin after dragging it.
Add a Send Response under this trigger. Configure it as follows:
For the Channel, select ProtoPie Studio. Any time you want to communicate through ProtoPie Connect, you need to use this channel.
For the Message, use the same thing you configured in the plugin in the Message from Pie field. In our case, we used
GET_USELESS_FACT.
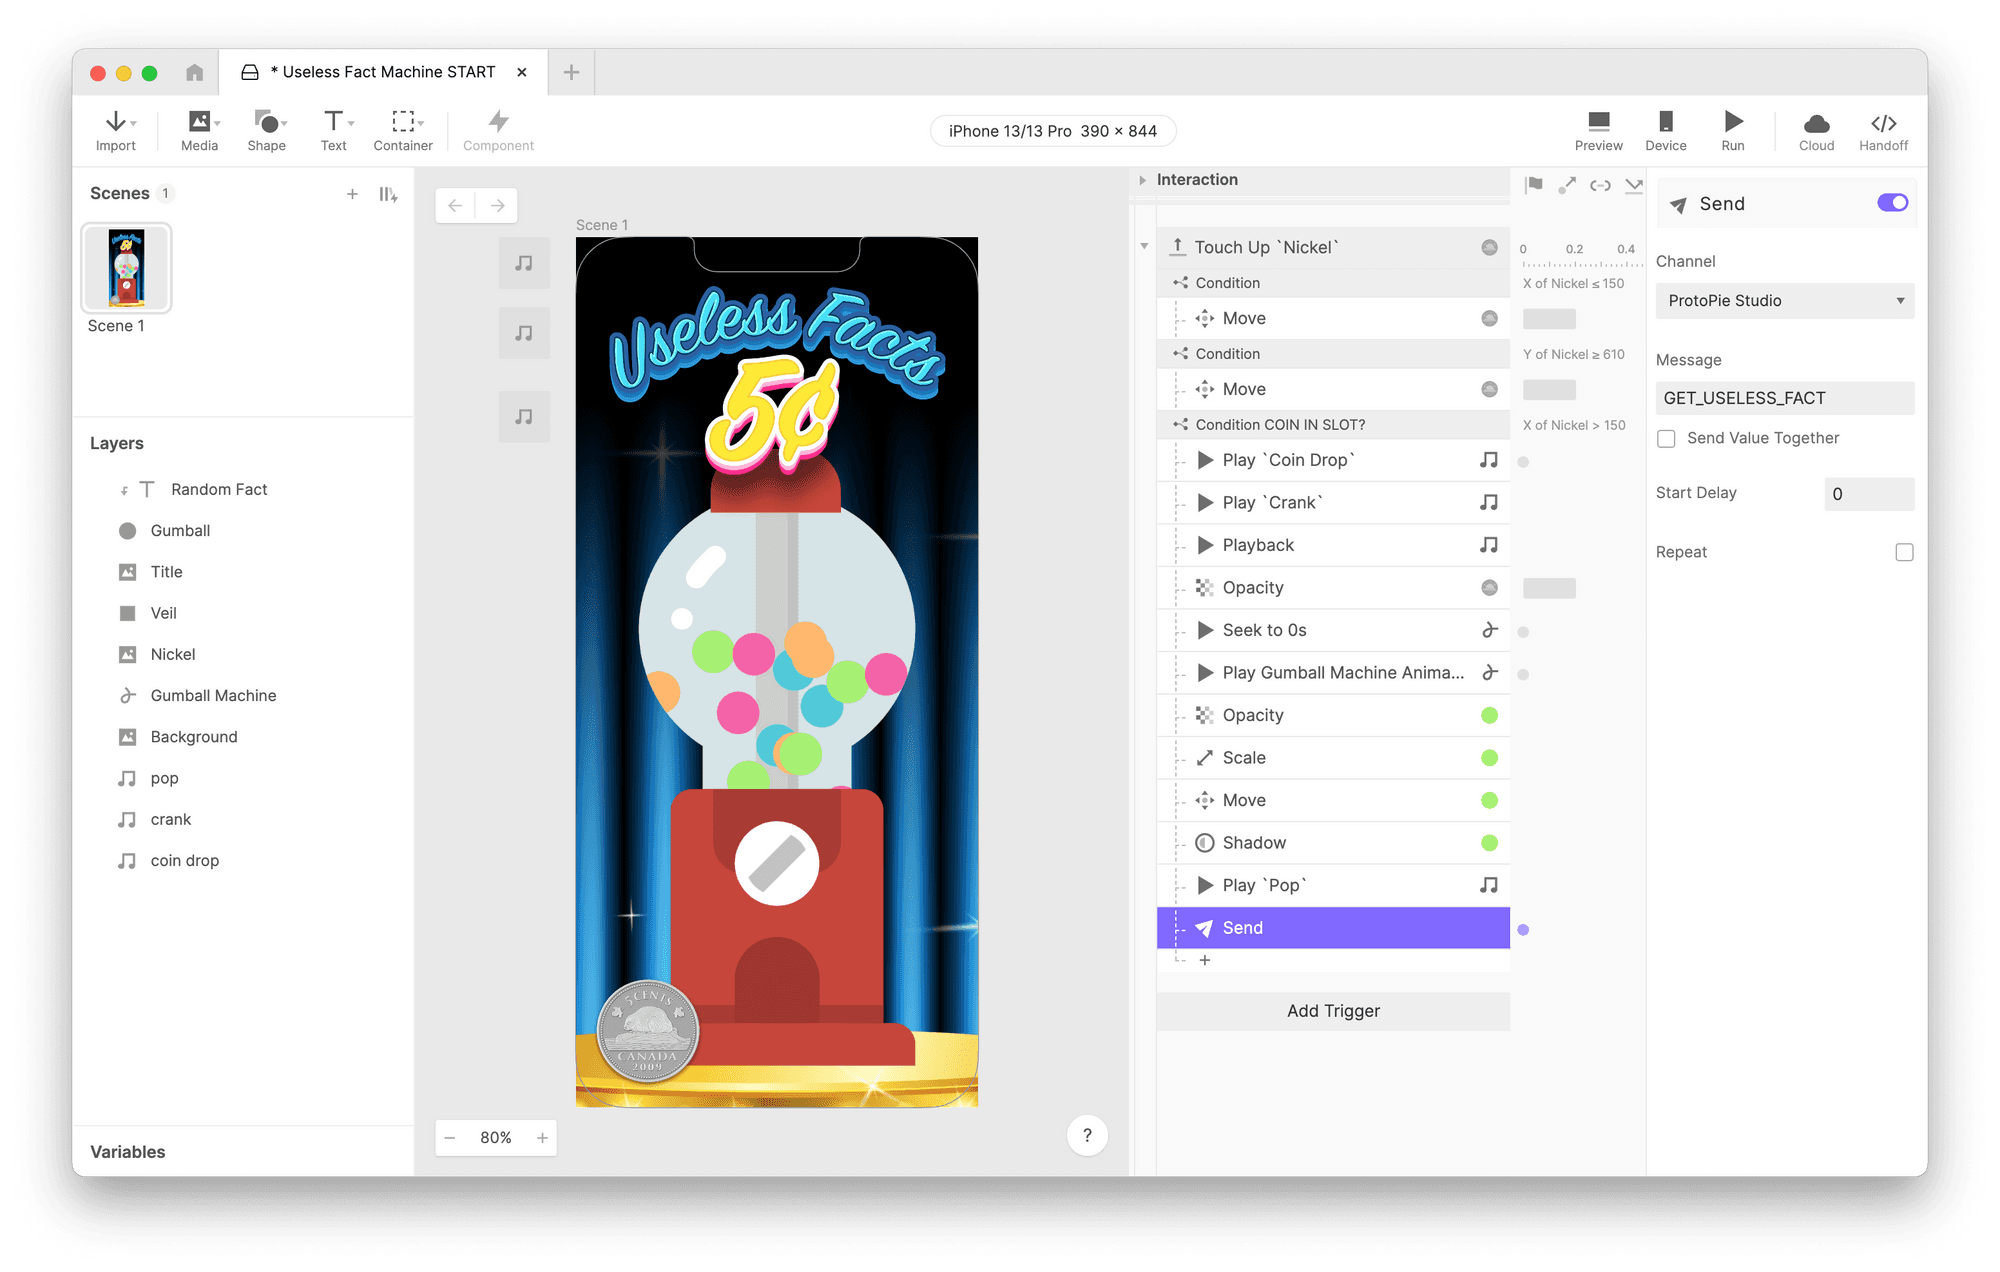
Configuring the Send response.
This Send will fire when we drop the coin in the machine and trigger the API Plugin to make the request to the Useless Facts API.
Now we need to set up a mechanism to receive and use the response from the API. Add a Receive Trigger. Configure it as follows:
Once again, use ProtoPie Studio as the Channel.
For the Message, use the same message you configured in the Message to Pie field in the plugin. In our case, we used the message
RETURN_USELESS_FACT.
The actual JSON response will be included as the value of the message. To use it, we need to assign it to a variable. We don’t have one yet, so let’s create one:
In the bottom-left of ProtoPie Studio, click on the Variables tab to open the variables panel.
Click the + icon in the panel's top-right to create a new variable. Since we only have one scene in our Pie, it doesn’t matter if you choose For All Scenes or For This Scene.
Name the variable something appropriate. I’ll use the name
apiResponse.Since the API responds with JSON — essentially text — we must ensure the variable is a Text-type. In the variable’s properties in the top-right of Studio, click Text.
In the variable’s properties in the top-right of Studio, click Text.
Now return to the Receive Trigger, and check the box beside Assign to Variable. In the new drop-down list that appears, select the variable you just made.
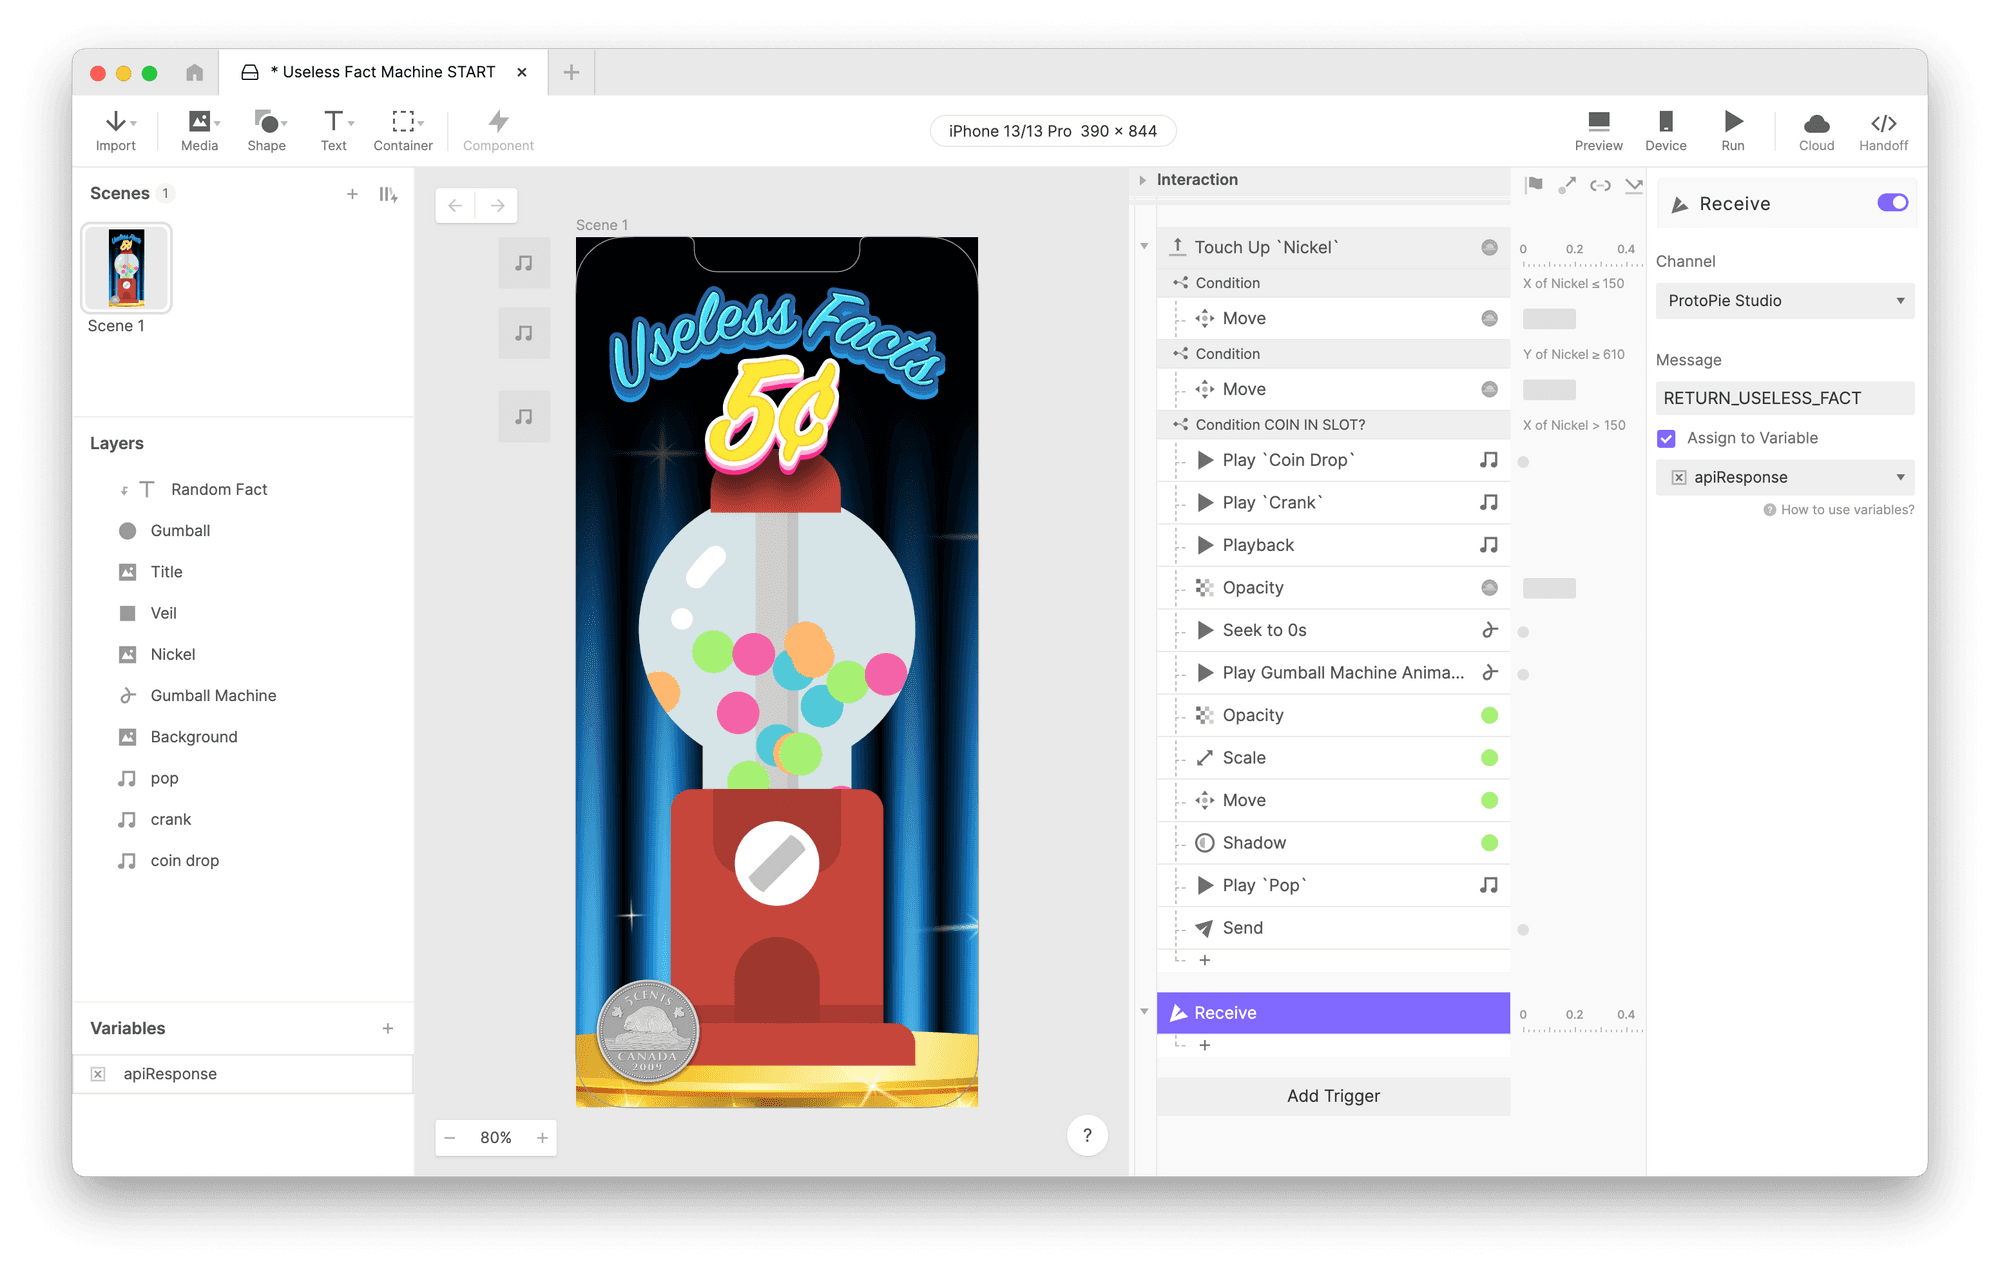
Return to the Receive Trigger, and check the box beside Assign to Variable.
At this point, our Pie will have the response to the API stored in the Text variable apiResponse. Now let’s use it!
At the top of the layer stack, there is a Text layer named Random Fact. We will fill in that text layer with the value of the “text” key from our API response.
Add a Text Response under the Receive Trigger you just created.
Select the Text layer Random Fact from the drop-down list.
Choose Formula from the drop-down list under Content.
Use the following formula:
parseJson(apiResponse, "text")
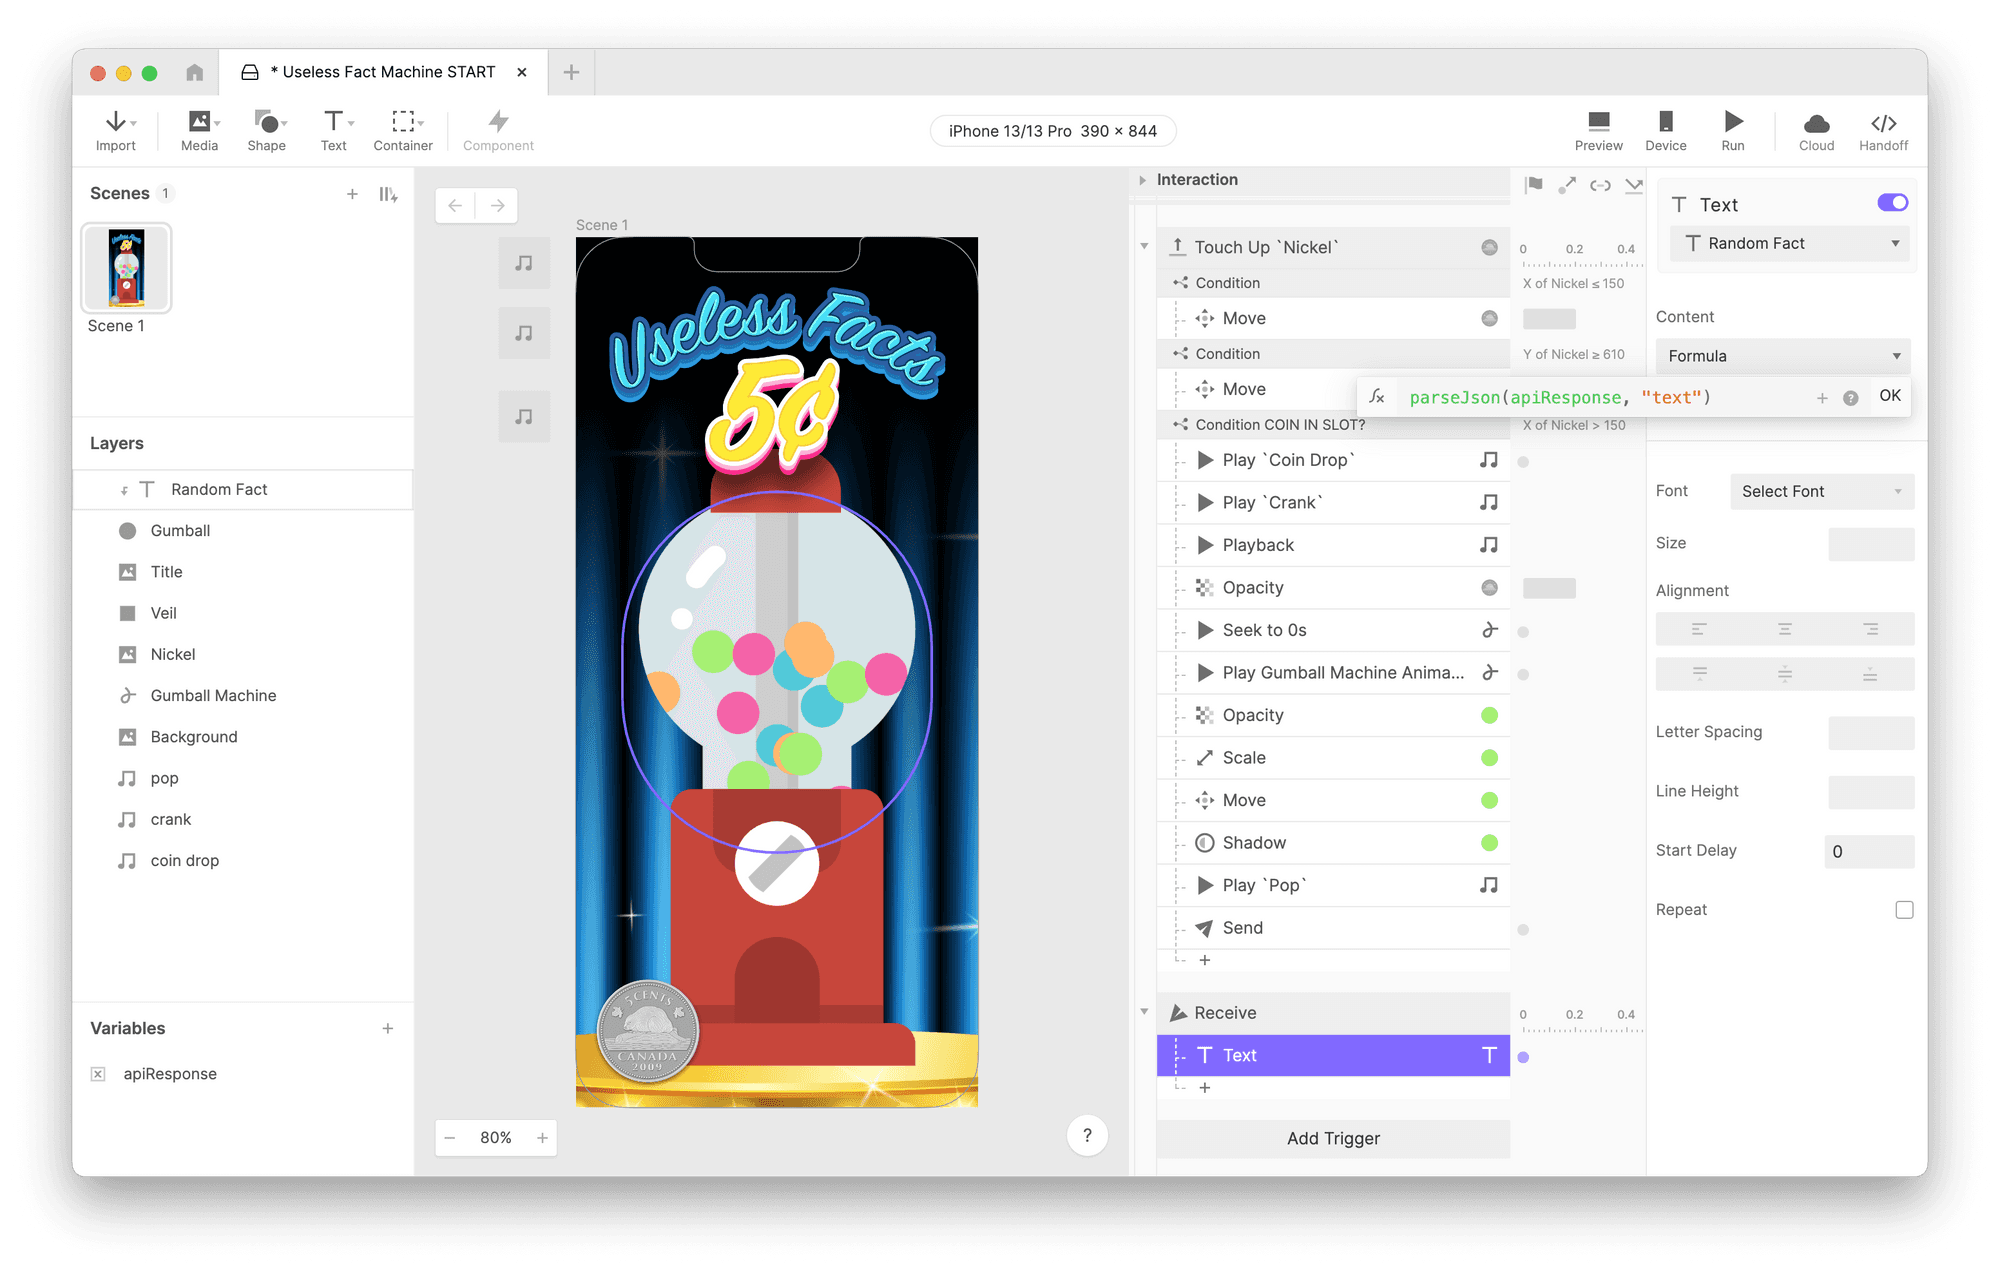
Use the following formula: parseJson(apiResponse, "text").
What did we do?
We used the parseJson() function to extract data from the JSON response stored in our apiResponse variable. If this is the first time you’re seeing this function in action, be sure to read up on the docs here. The parseJson() function is essential for working with data returned from the API Plugin, and we’ll be using it again through the more advanced examples in part 2 of this series.
Save your Pie somewhere convenient on your computer. We’re ready for the final step!
Preview in ProtoPie Connect
For the Pie to retrieve the data, the Pie needs to be running through ProtoPie Connect. If you tried previewing the Pie in Studio, you’d have noticed that it looks like nothing has changed. This is because Studio has no knowledge of the ProtoPie Connect or the API Plugin.
Return to ProtoPie Connect and drag the saved Pie into the left side of ProtoPie Connect’s interface.
Drag the saved Pie into the left side of ProtoPie Connect’s interface.
Click the icon that looks like a computer monitor. This will open the Pie in the desktop web view.
Drag the coin onto the machine and watch the magic unfold!
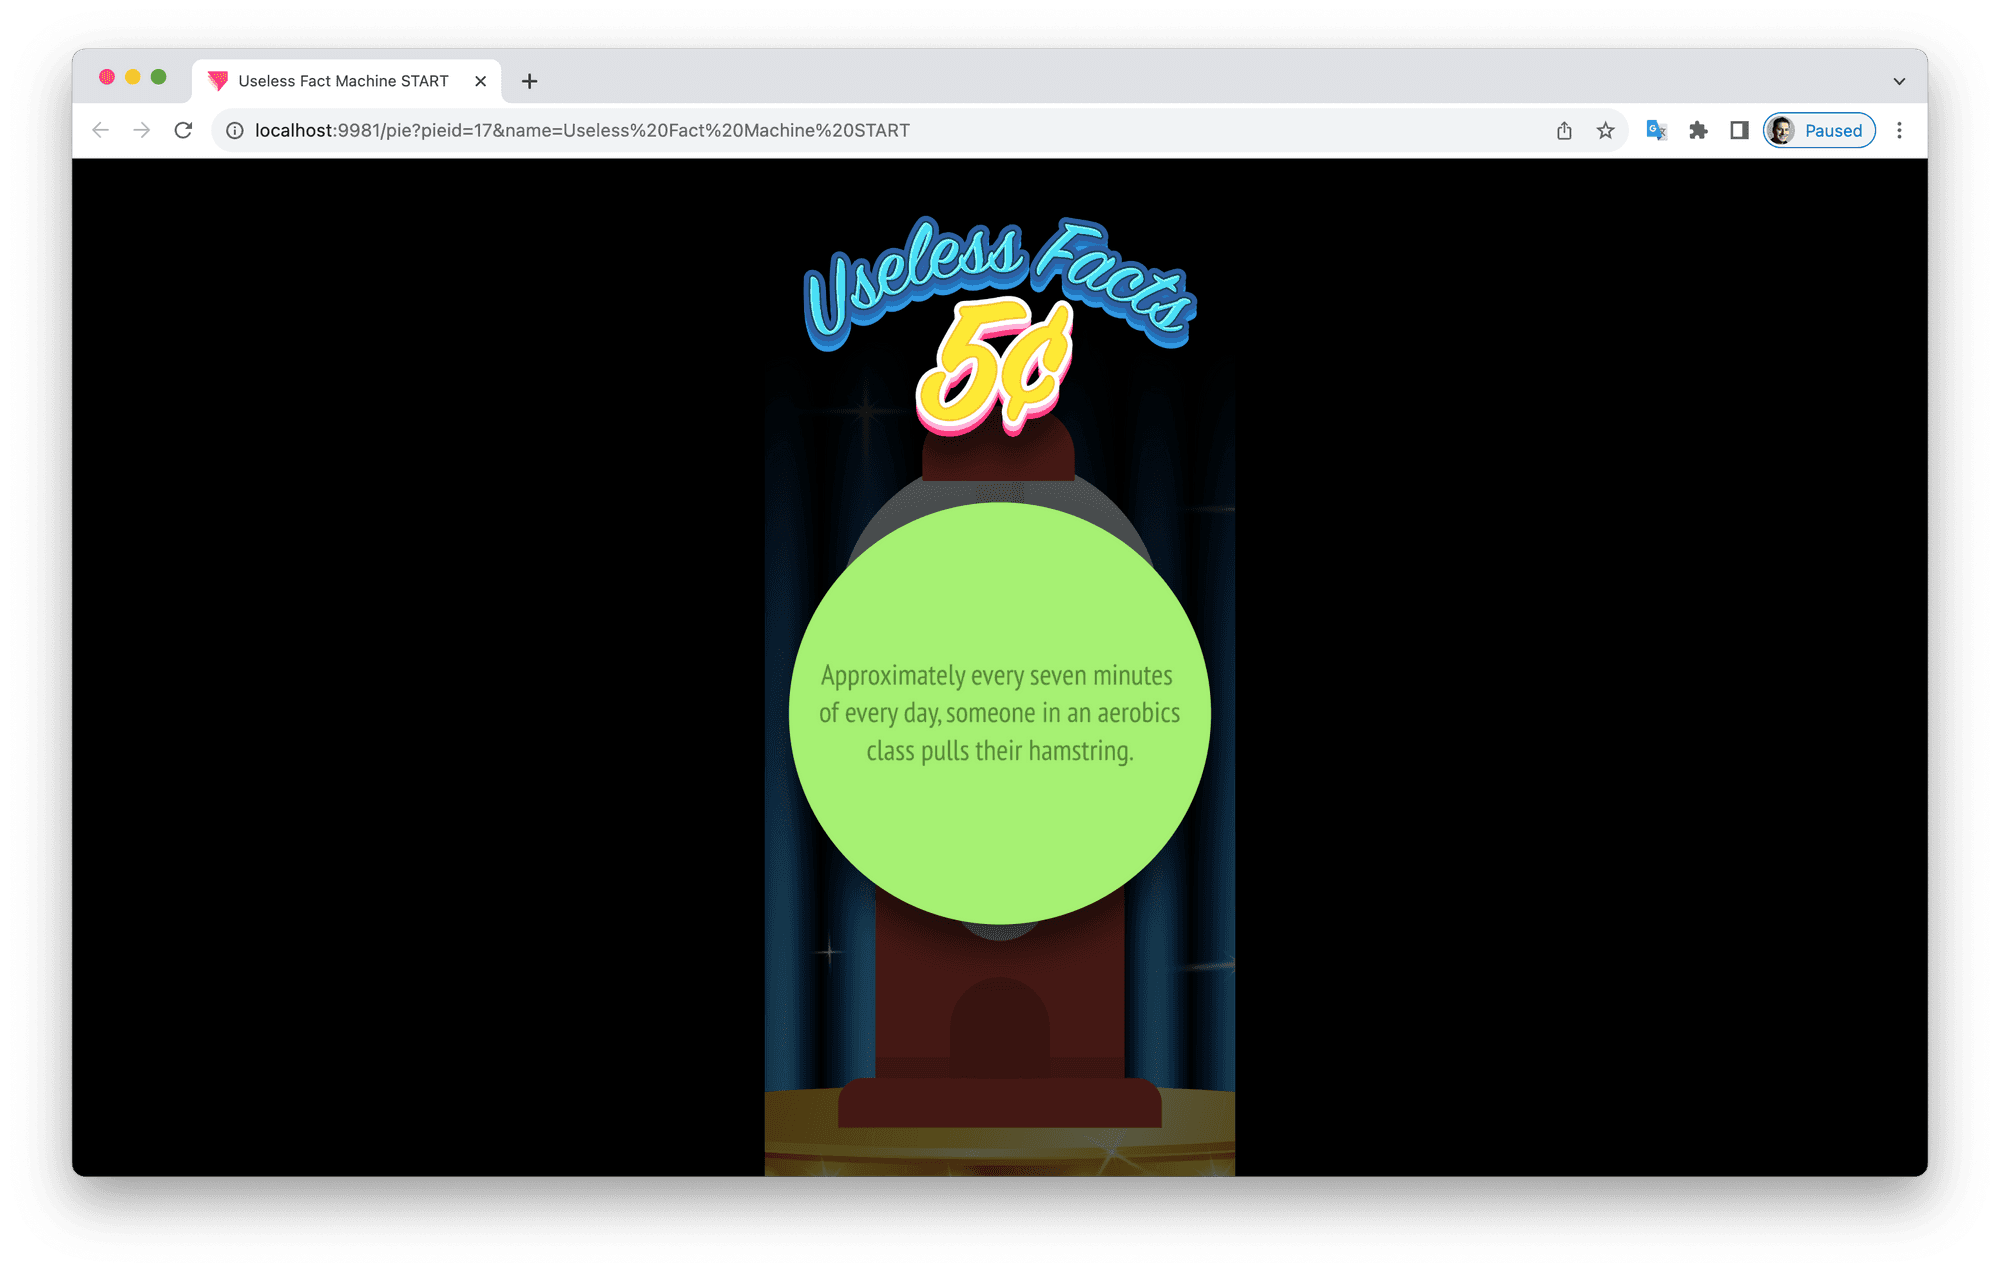
Drag the coin onto the machine and watch the magic unfold!
Notice how the flow of messages is displayed in ProtoPie Connect. This is useful for troubleshooting bugs in your interaction.
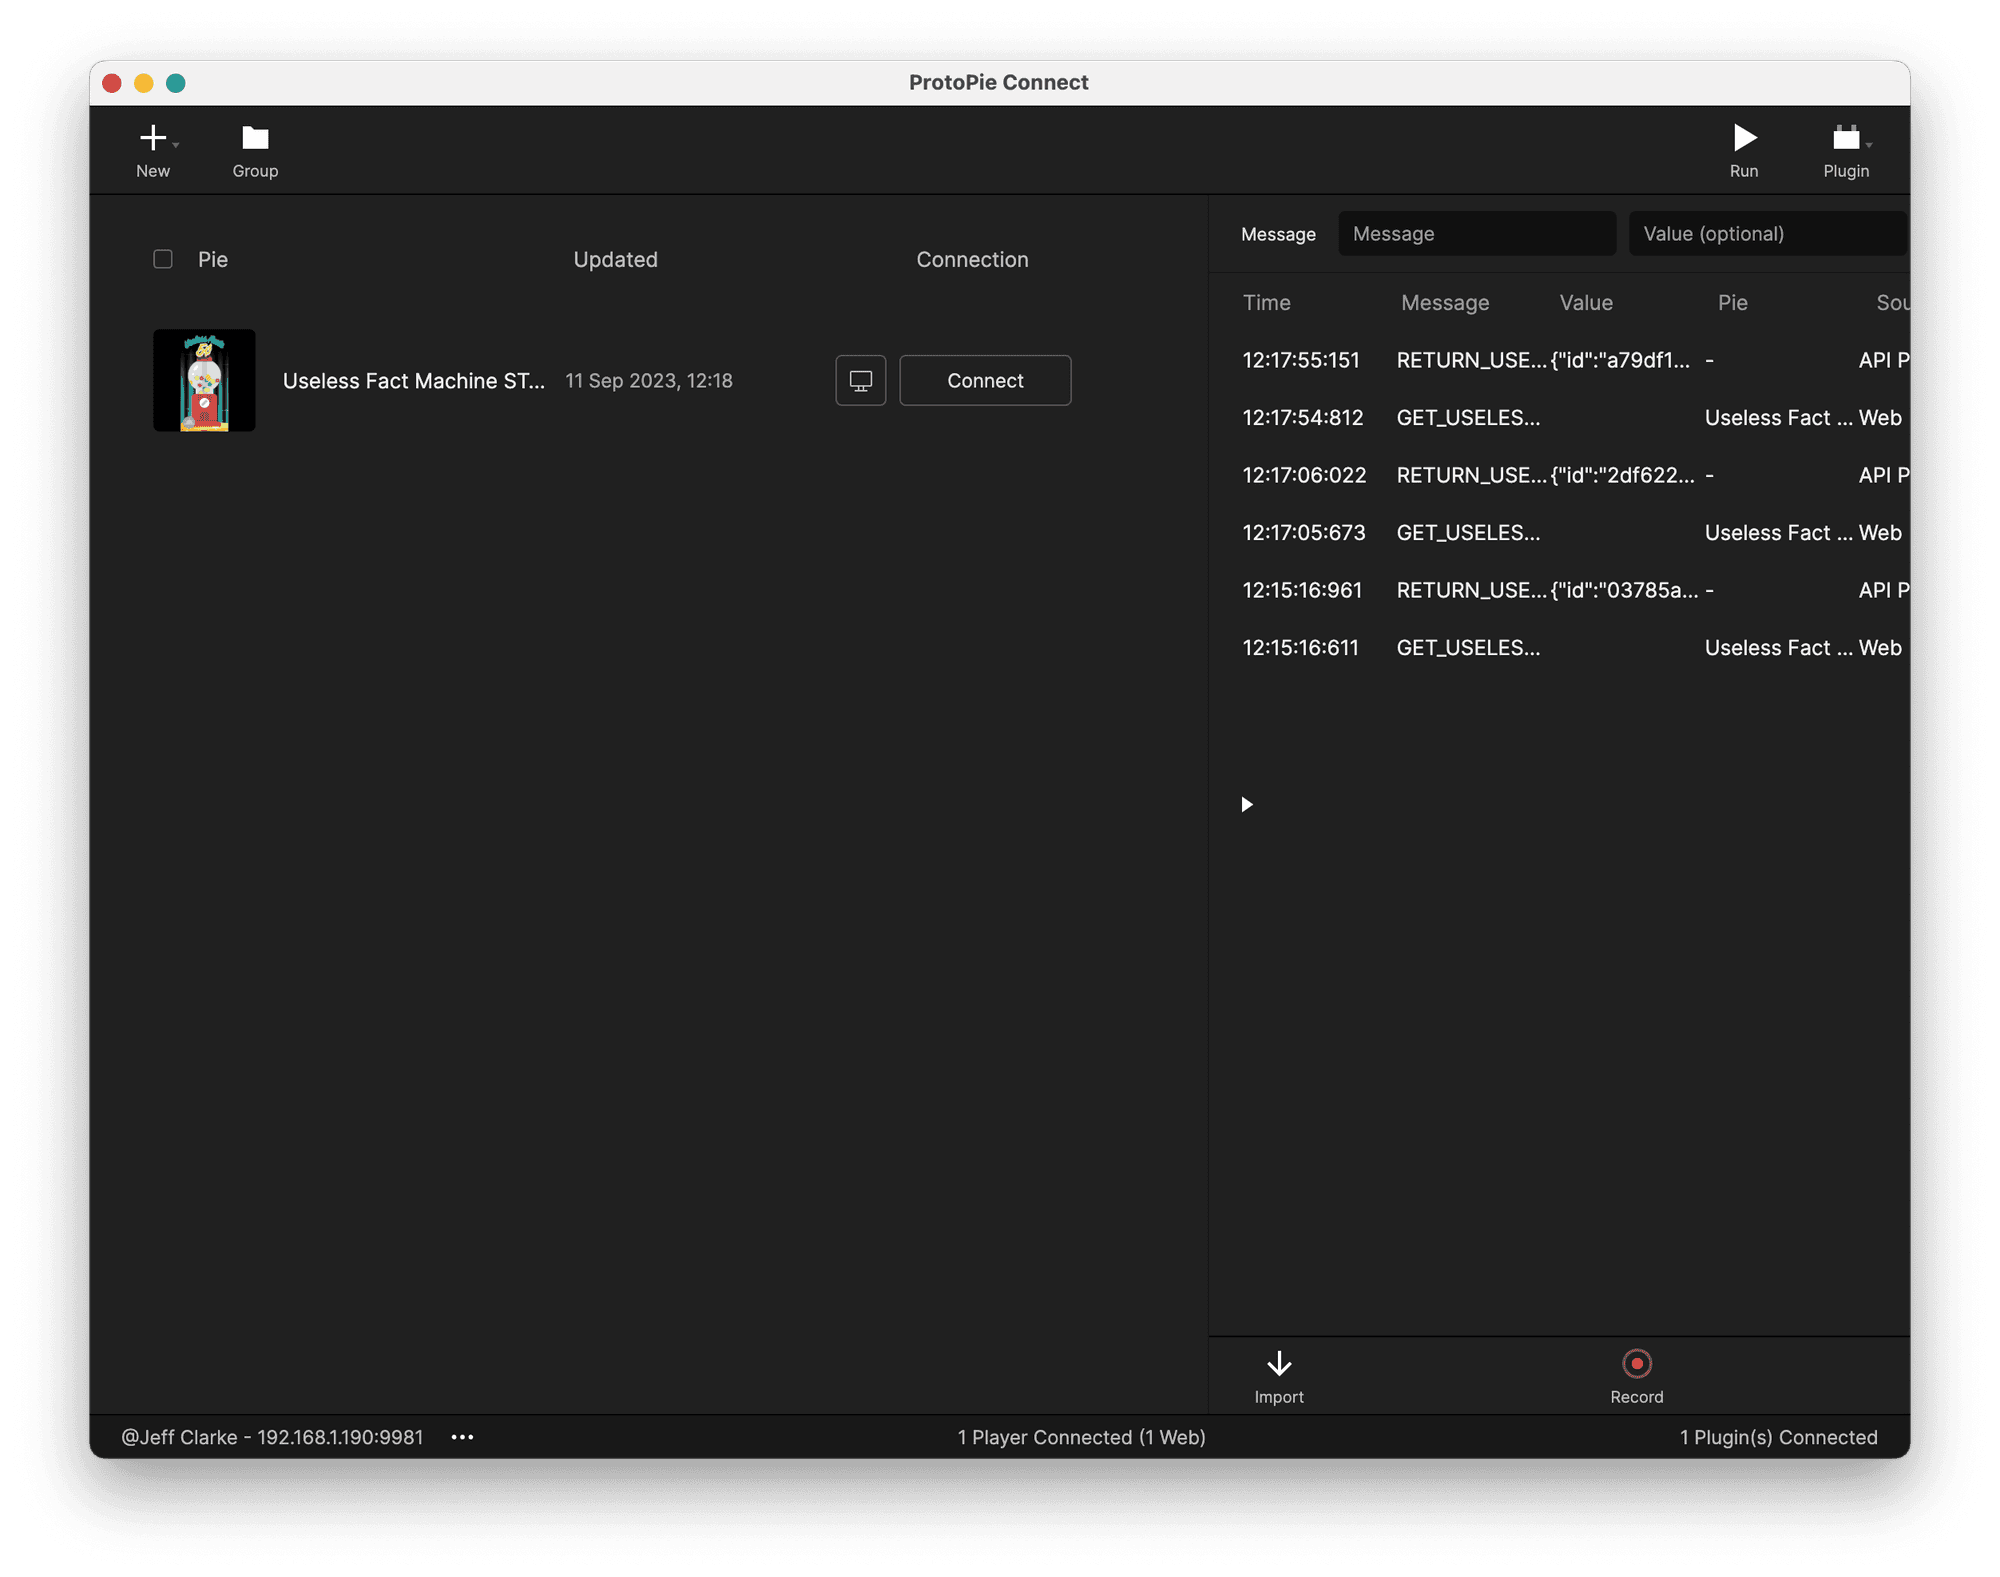
The Message flow is useful for troubleshooting bugs in your interaction.
That’s all for now. Check out the API Plugin Advanced Tutorial, which will show you a couple of more advanced examples.
Enhance your designs with ProtoPie's API plugin
Harness the full potential of your designs by seamlessly integrating databases and APIs. Experience the cutting-edge features of ProtoPie by trying it for free today.


