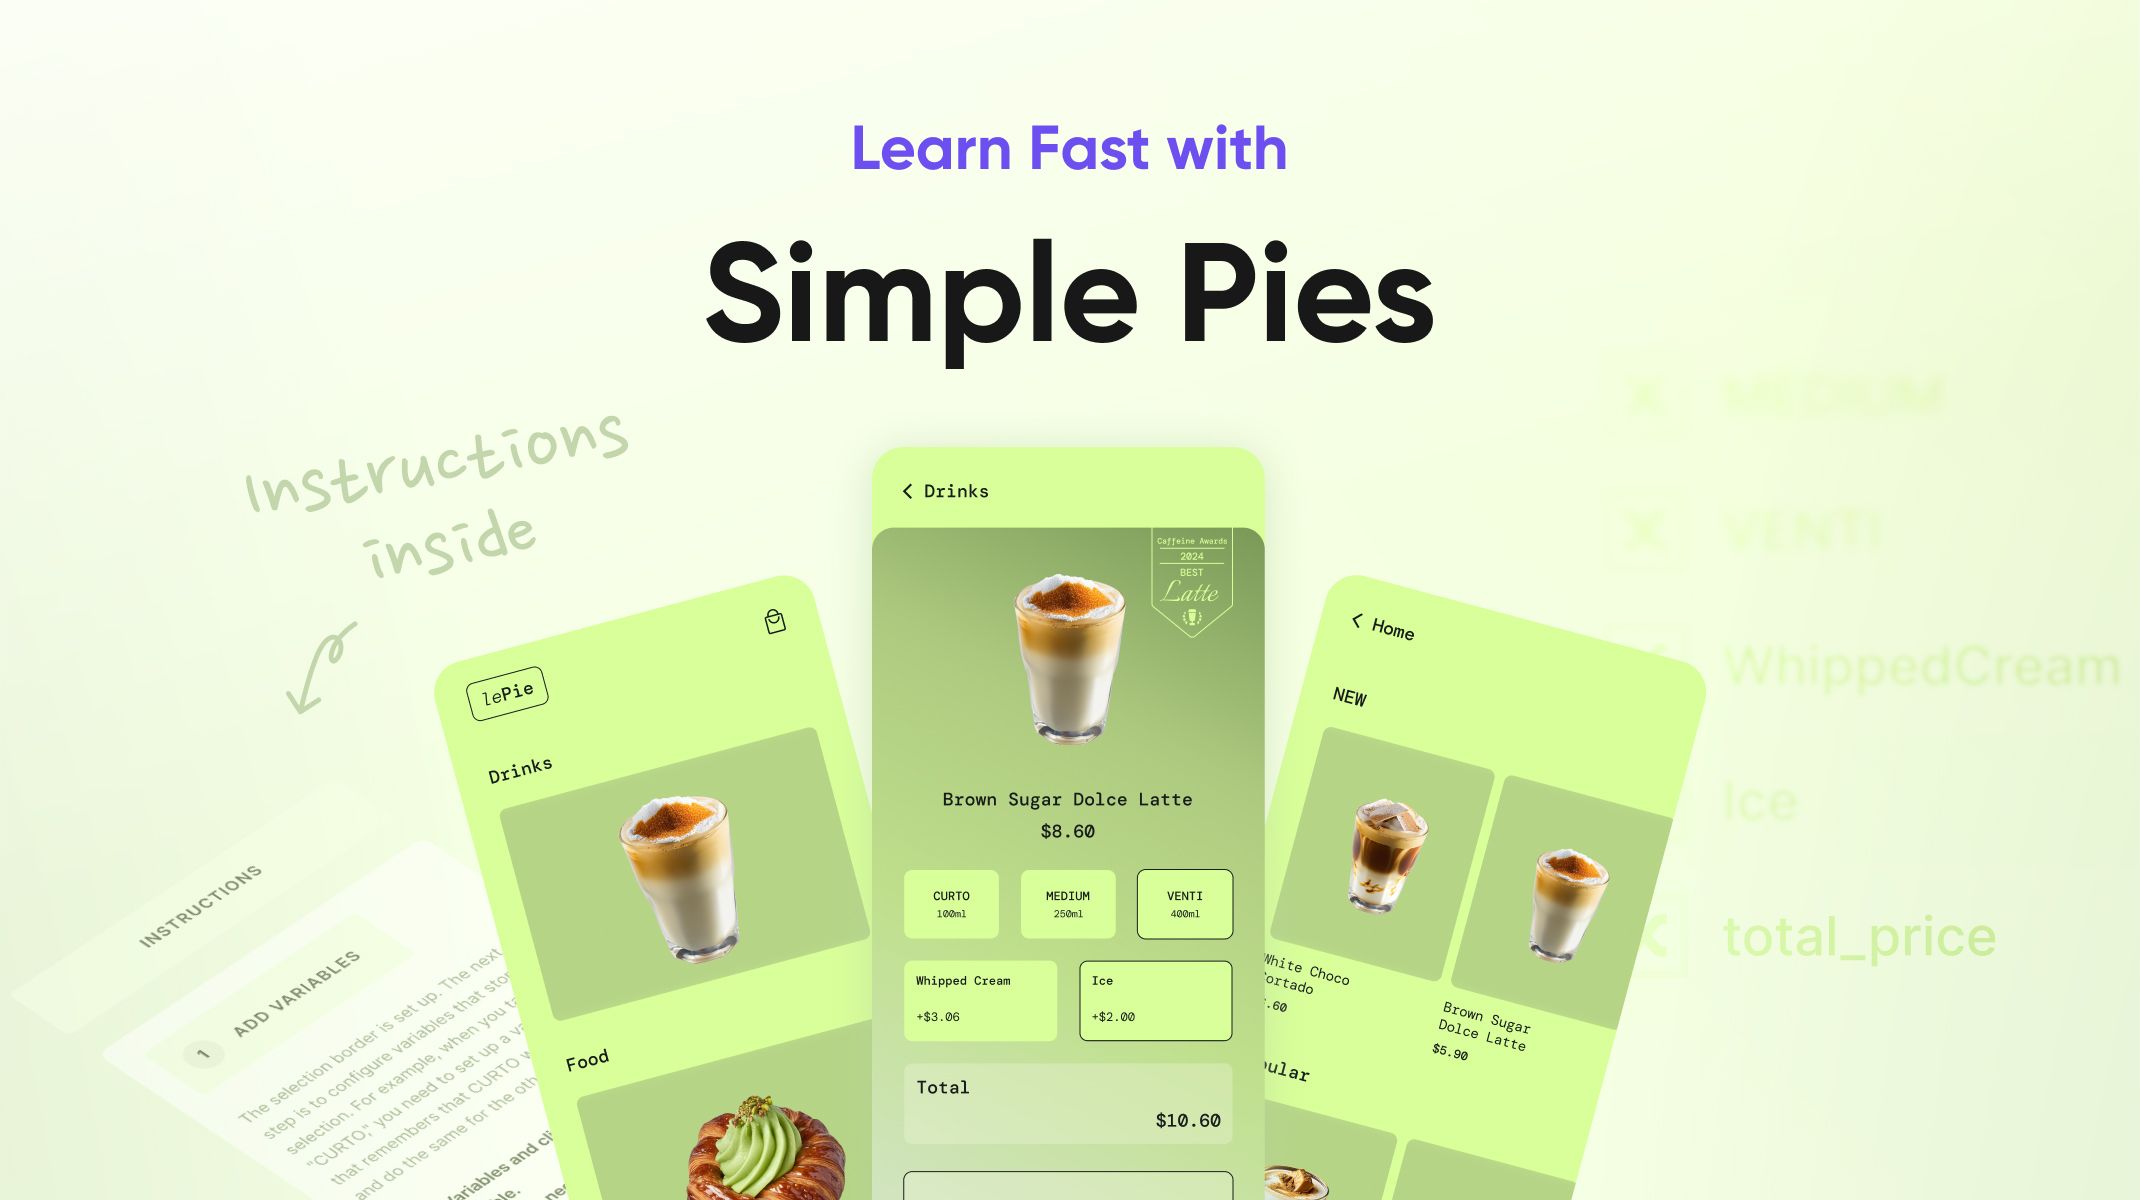
Learn Fast with our Simple Pies Series: Build Interactive Prototypes Easily
Make your prototypes stand out by mastering our Simple Pies Series to quickly learn essential prototyping skills.

.jpg?fm=webp)
Overview
- Getting Started
- Creating Scroll Interactions
- Mastering Triggers and Responses
- Using Conditions and Logic
- Configuring Variables and Calculating Prices
Getting Started
Before jumping into the process of creating the pie, please make sure you have accessed all the necessary design assets we’ve prepared for you:
- Open the ProtoPie Quick Start Guide.
- Access the Starting Pie File with Instructions.
- Click the file link and open it in ProtoPie Studio.
Creating Scroll Interactions
Let’s start off with the very basics, Scroll Interactions. You’ll be using them a lot throughout your prototyping journey to add realism and depth.
Steps:
- Select the group layer you wish to scroll.
- Click Container and select Scroll.
- Set Direction (vertical or horizontal).
Quick Tip: Group content within scroll containers for smoother interactions.
Mastering Triggers and Responses
Next, let’s connect user inputs (Triggers) to visual behaviors (Responses).
Example: Coffee Size Selector (Curto, Medium, Venti)
- Select the Curto card.
- Add a Tap trigger.
- Add a Border response, setting Curto border opacity to 100.
- Add two additional Border responses to set Medium and Venti borders to 0.
Repeat this process for Medium and Venti.
Tip: Resetting border opacity ensures clarity in selections.
Using Conditions and Logic
Now let’s add Toggle interactions like toppings selection effectively with Conditions and Logic.
Example: Whipped Cream & Ice Selection
- Select Whipped Cream card.
- Add a Tap trigger.
- Add a Condition:
- If border opacity = 0, set to 100.
- Else, set opacity to 0.
Repeat logic for Ice.
Tip: Conditions and Variables are key for toggles.
Configuring Variables and Calculating Prices
To create a true high-fidelity prototype, you’ll want the pie to have more than mere visual responses. Most prototypes require some logic to put 2 and 2 together!
To achieve that in ProtoPie, you can easily manage selections using Variables and Dynamic Calculations.
Steps:
- Add scene-specific variables: CURTO, MEDIUM, VENTI, WhippedCream, Ice, total_price.
- Enable debug mode to verify variable values.
Assign Variables:
- Sizes (CURTO, MEDIUM, VENTI): Set selected to 1, others to 0.
- Toppings (Whipped Cream, Ice): Set variable to 1 initially, toggle back to 0 if re-selected.
Calculate Total Price:
- Assign this formula under each trigger:
(CURTO * 4.59 + MEDIUM * 5.39 + VENTI * 6.79) + (WhippedCream * 3.06) + (Ice * 2.00)
- Add Text responses linked to total_price.
Highlight Button Color (Optional):
- Detect changes in total_price to highlight selections (e.g., color #D8FF99).
Tip: Use debug controls to verify your logic.
Special Offer
Share your creative prototypes and claim your 1st month of ProtoPie Pro plan for free!
How: Submit via our survey or use the hashtag #SimplePie on social media!


