

In a recent webinar, designer Yushi Xiang shared valuable insights on how to integrate ProtoPie into your design workflow to boost efficiency and create powerful, interactive prototypes. Here’s a breakdown of the key takeaways on using ProtoPie from concept to completion, building smarter prototypes, and even integrating with hardware.
Part 1: ProtoPie in Your Design Workflow
ProtoPie isn't just for building high-fidelity mockups; it can support the entire design process from start to finish.
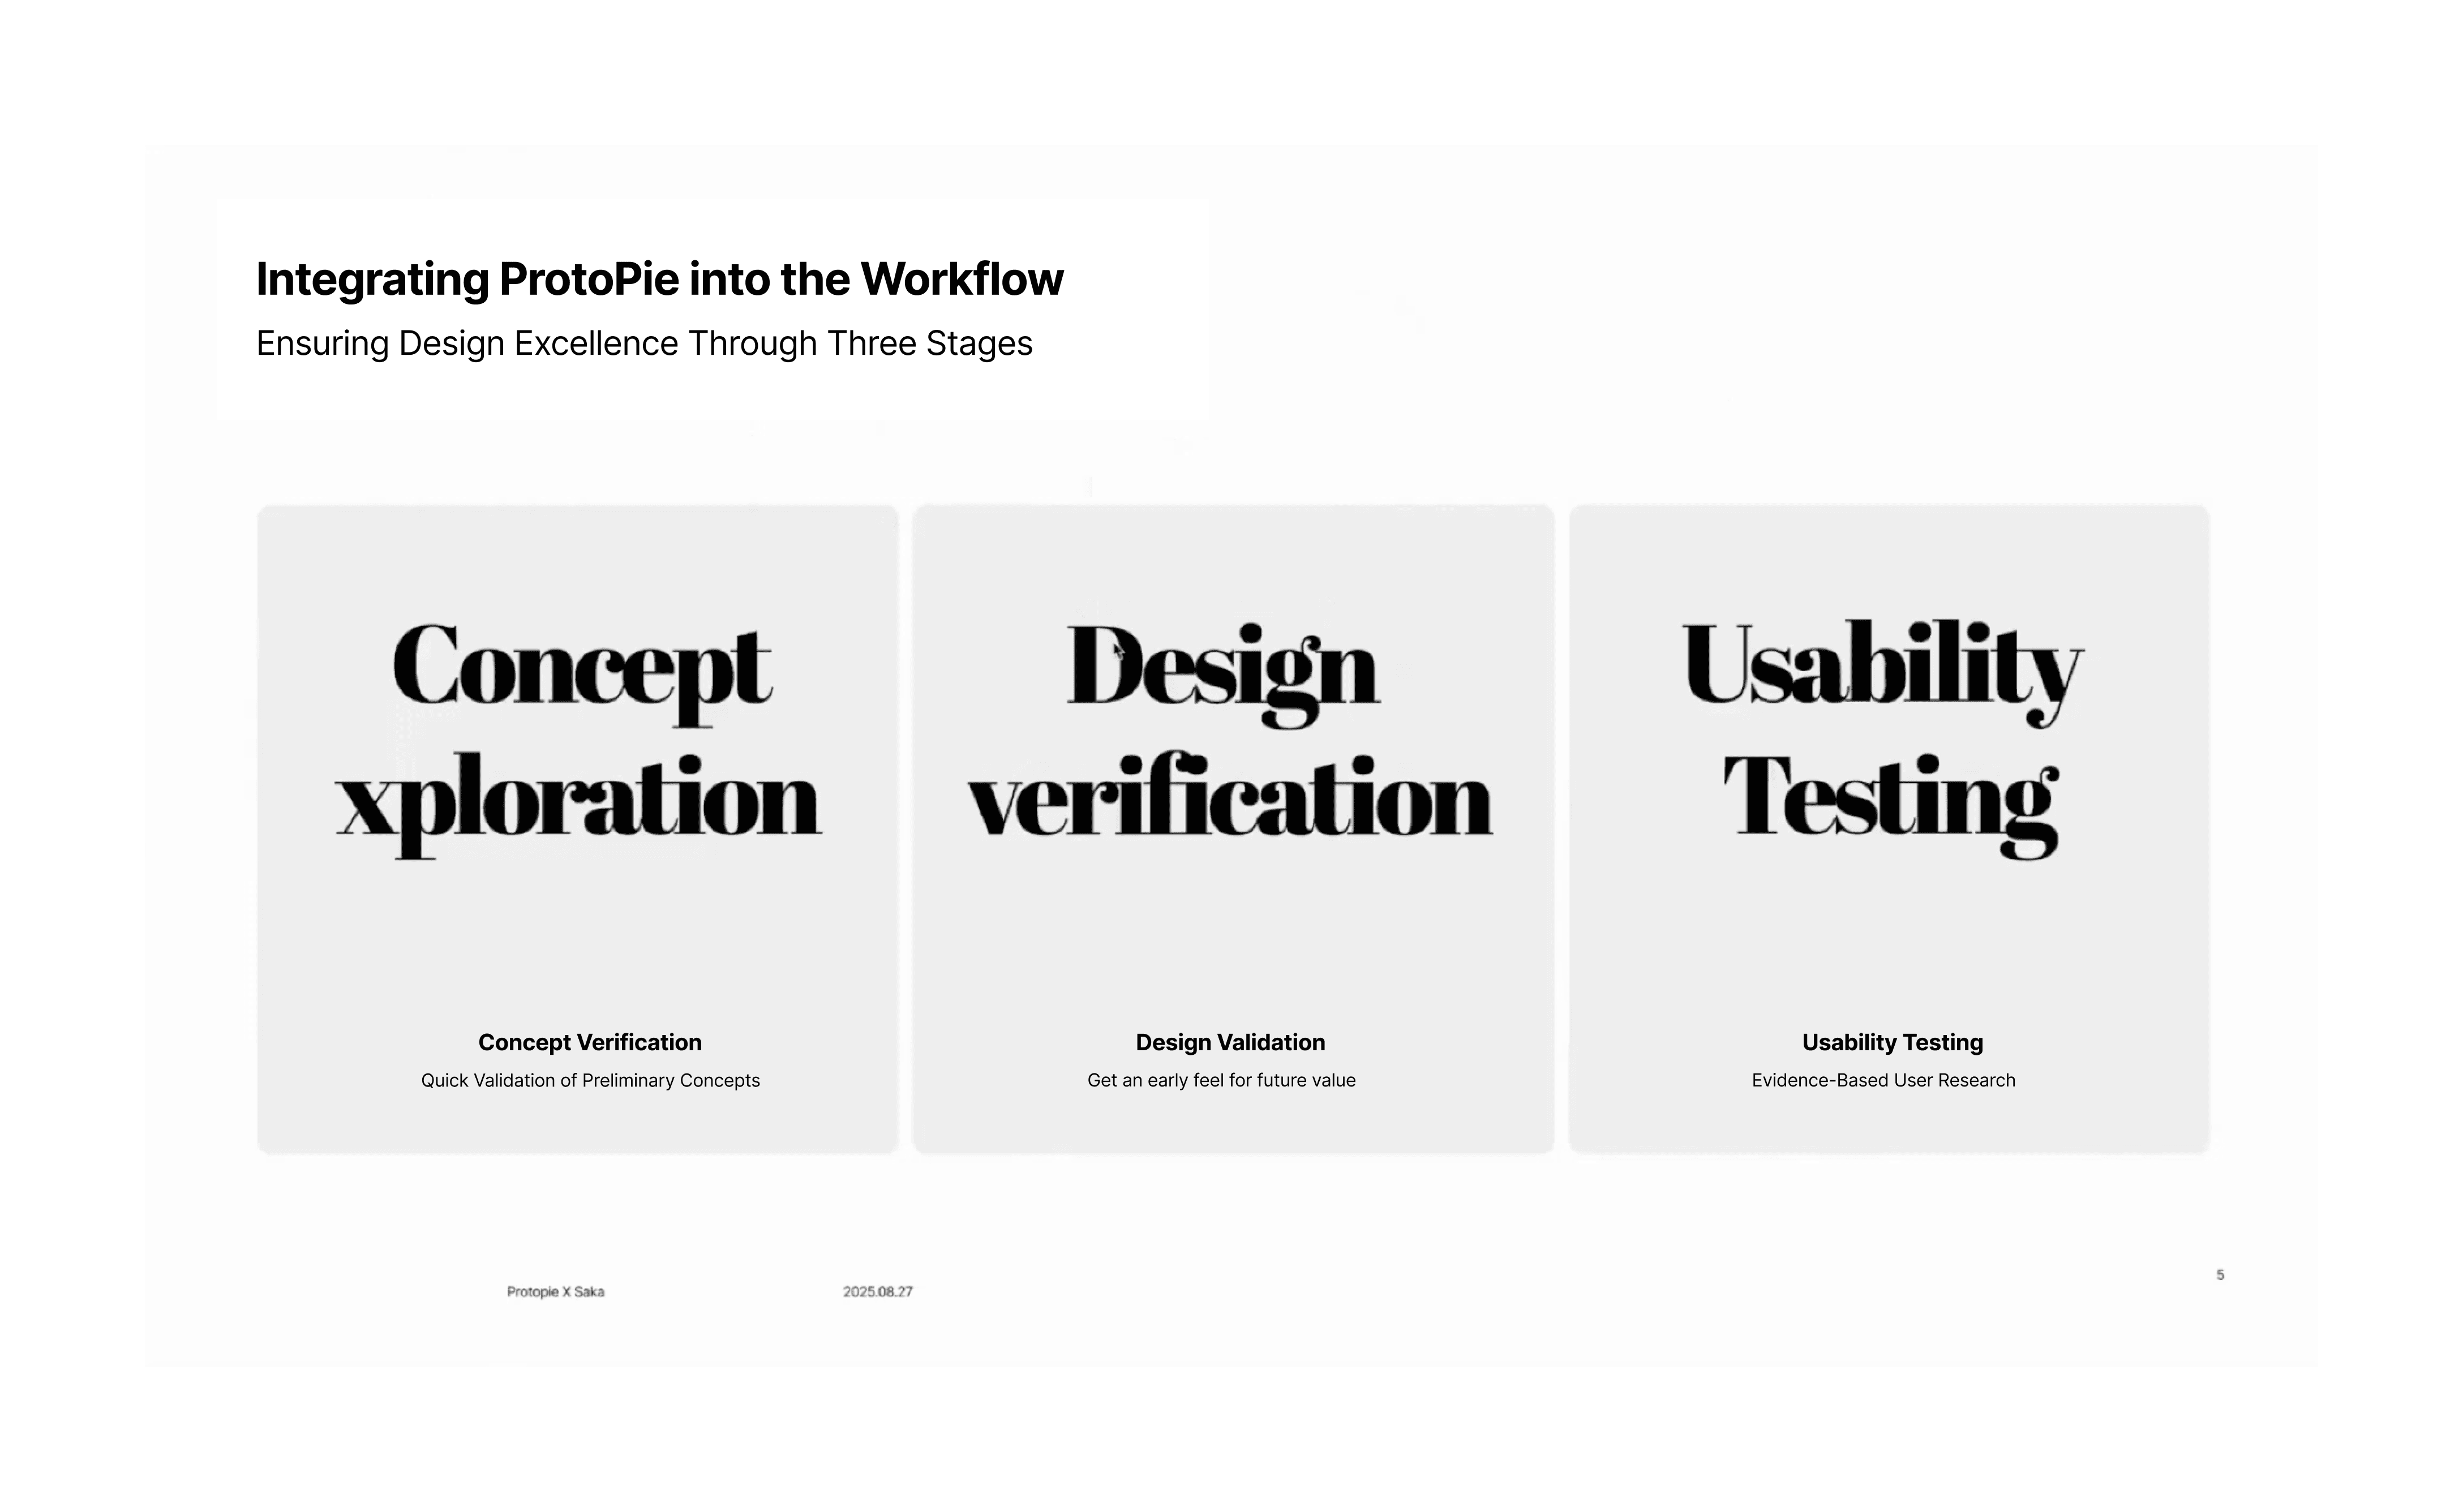
Pre-Design: Concept Validation 💡
Before you even begin a design, use ProtoPie to create a low-fidelity or quasi-high-fidelity model to test if your concept is feasible. This quick validation step can save significant time and resources if the idea isn’t viable.
Mid-Design: High-Fidelity Mockups ✨
Once a concept is confirmed, translate your static designs into a high-fidelity prototype. This makes it easy to share the design with colleagues and get a feel for the overall interaction logic and aesthetics. It also serves as a crucial tool for presenting your design to stakeholders to get their approval quickly.
Post-Design: Usability Testing 🔬
Create a final, polished high-fidelity model to conduct usability tests. This allows you to get user feedback on new features, which you can use to refine your solution before it’s developed. When conducting these tests, focus on key metrics like consistency, experience continuity, and usability to ensure the new design is intuitive and effective.
Part 2: Building Standardized and Efficient Prototypes
To create prototypes more quickly and maintain consistency, Yushi recommends a standardized approach to building your components.
Pre-Prototyping Preparation
Before you start a new prototype, take these three steps to improve your productivity by at least 30%:
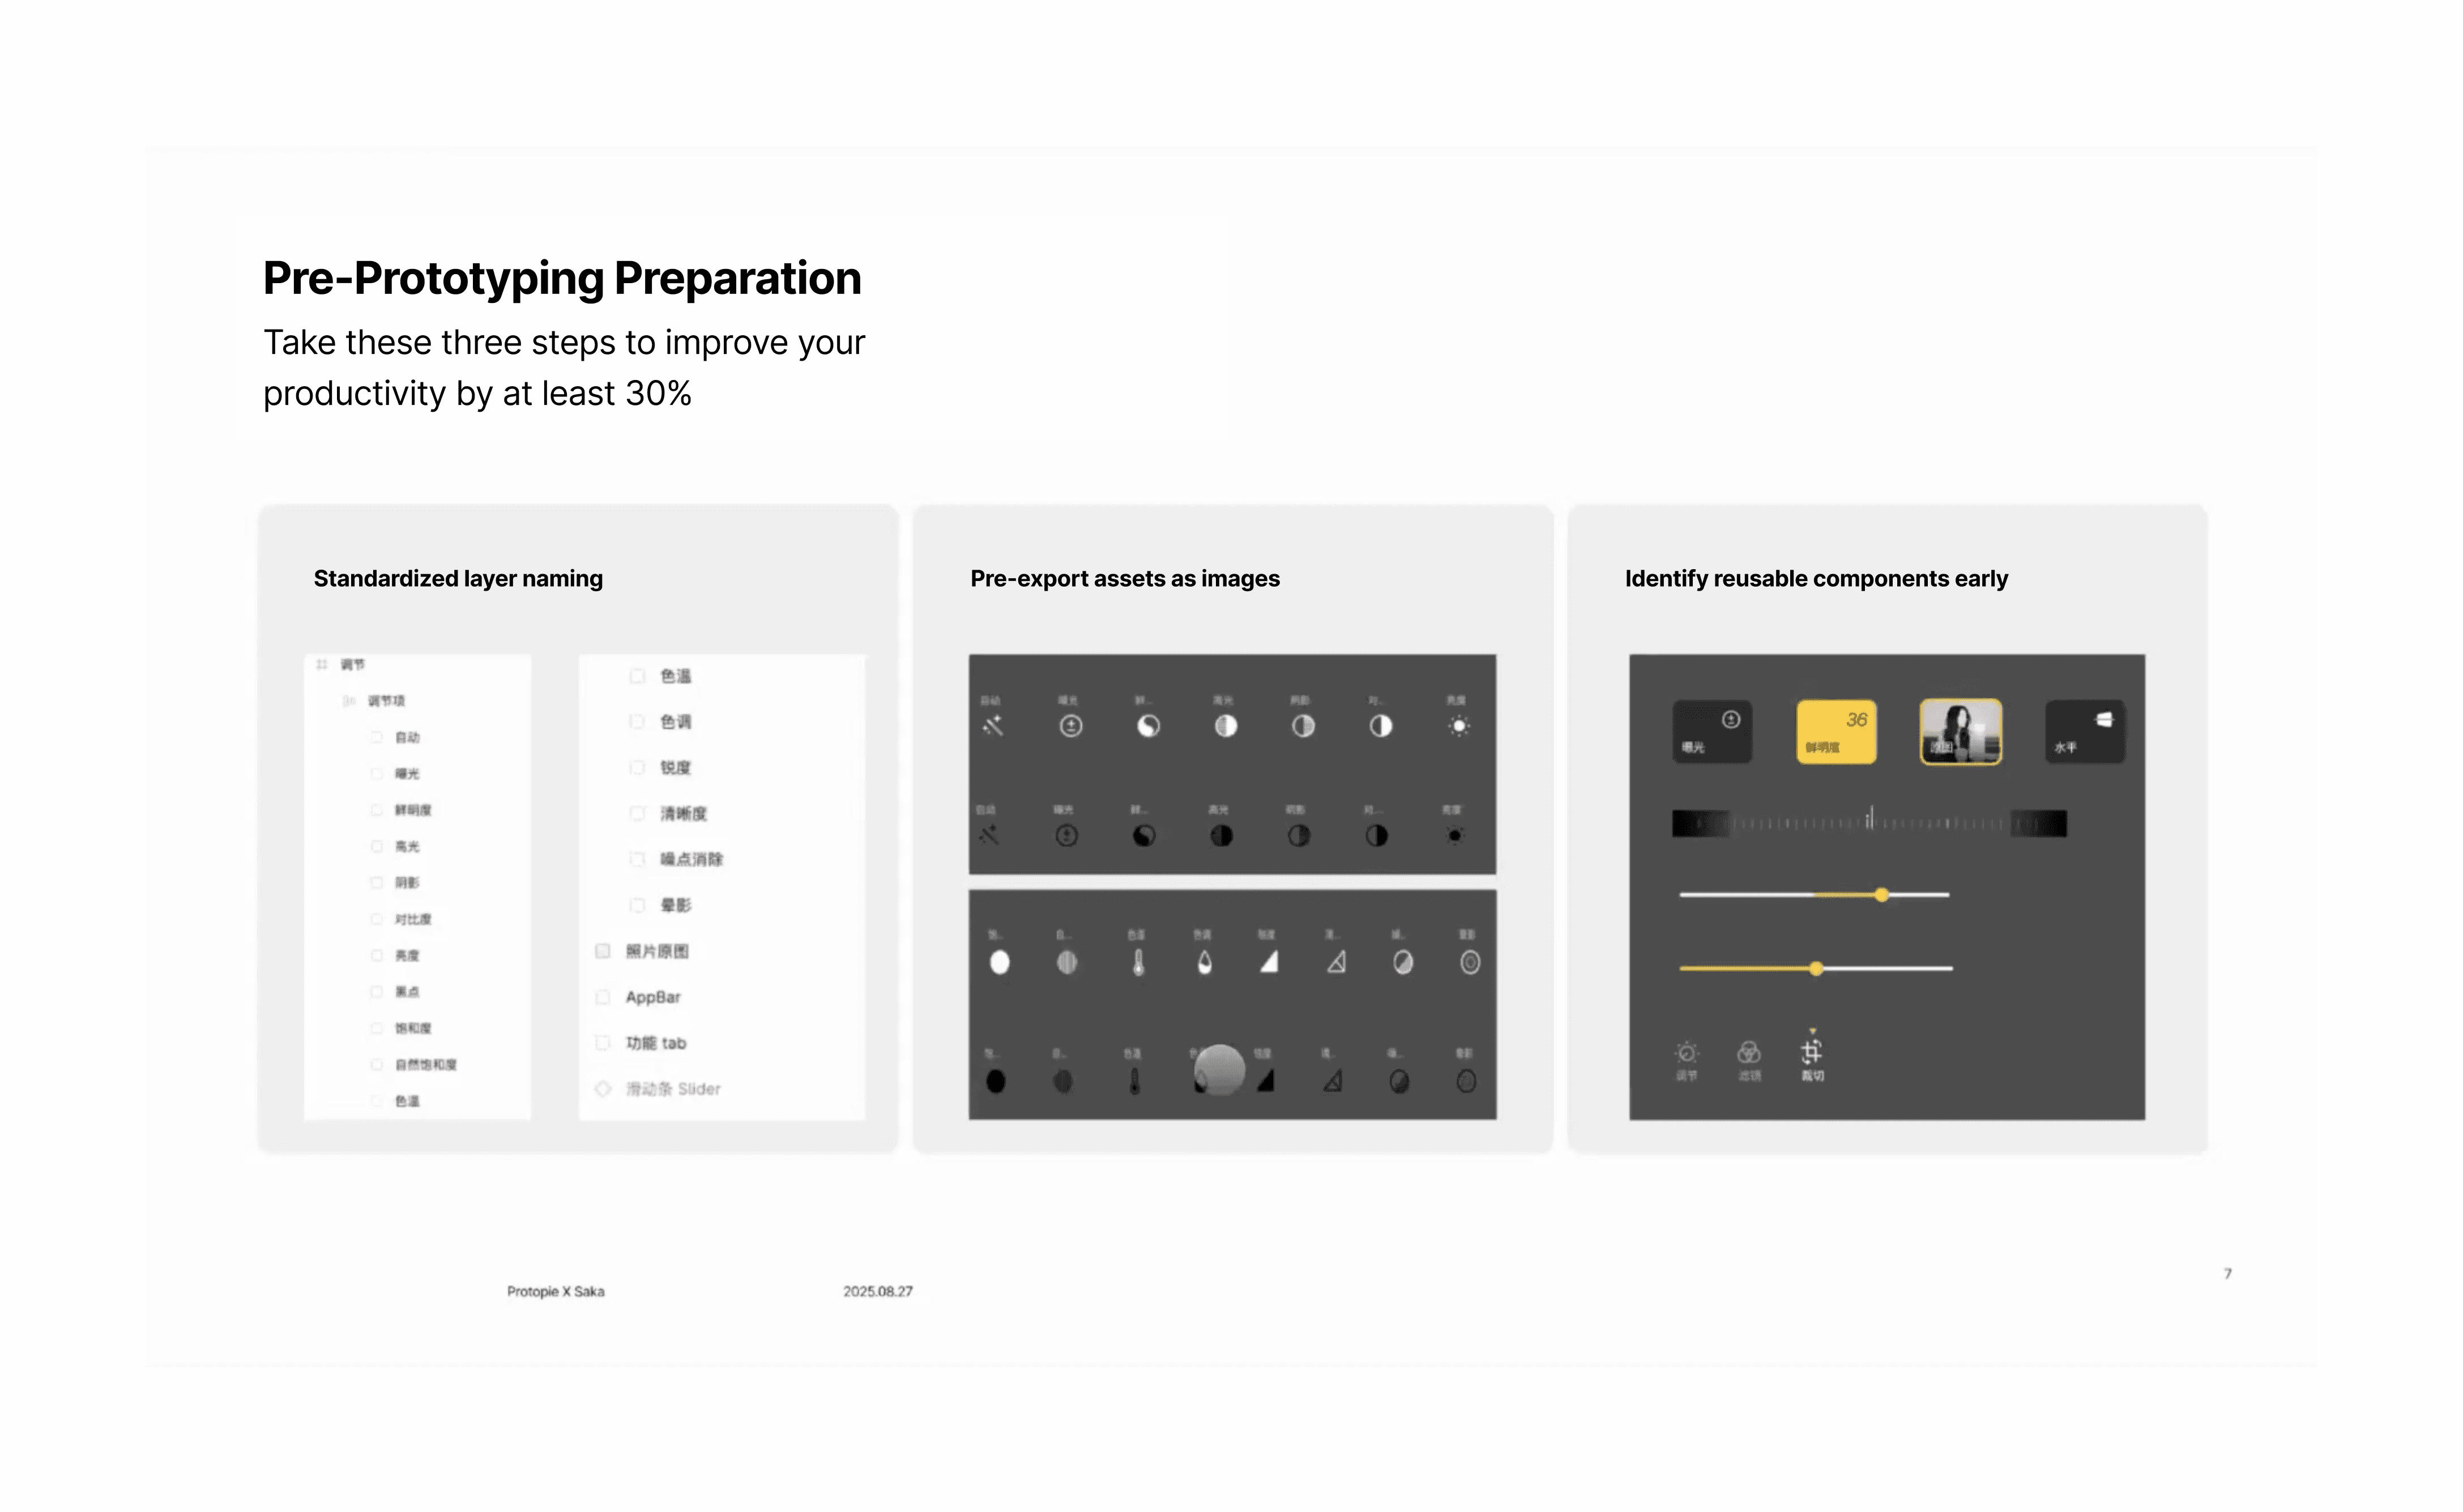
Standardized Layer Naming: Use clear, accurate names for your layers so you can easily find them when creating interactions in ProtoPie.
Organize and Export Reusable Elements: Organize your layers and export frequently used elements, like icons, as images in advance. If you're using Figma's Auto Layout, remember to clean up the container layers after importing the file to make your ProtoPie workspace easier to navigate.
Identify High-Frequency Components: Pinpoint components you use often so you can later encapsulate them into atomic components. This ensures design consistency, improves efficiency, and makes it easier to collaborate with others.
Component Encapsulation
Encapsulation allows you to create reusable components, saving you from repetitive work and ensuring a consistent design system.
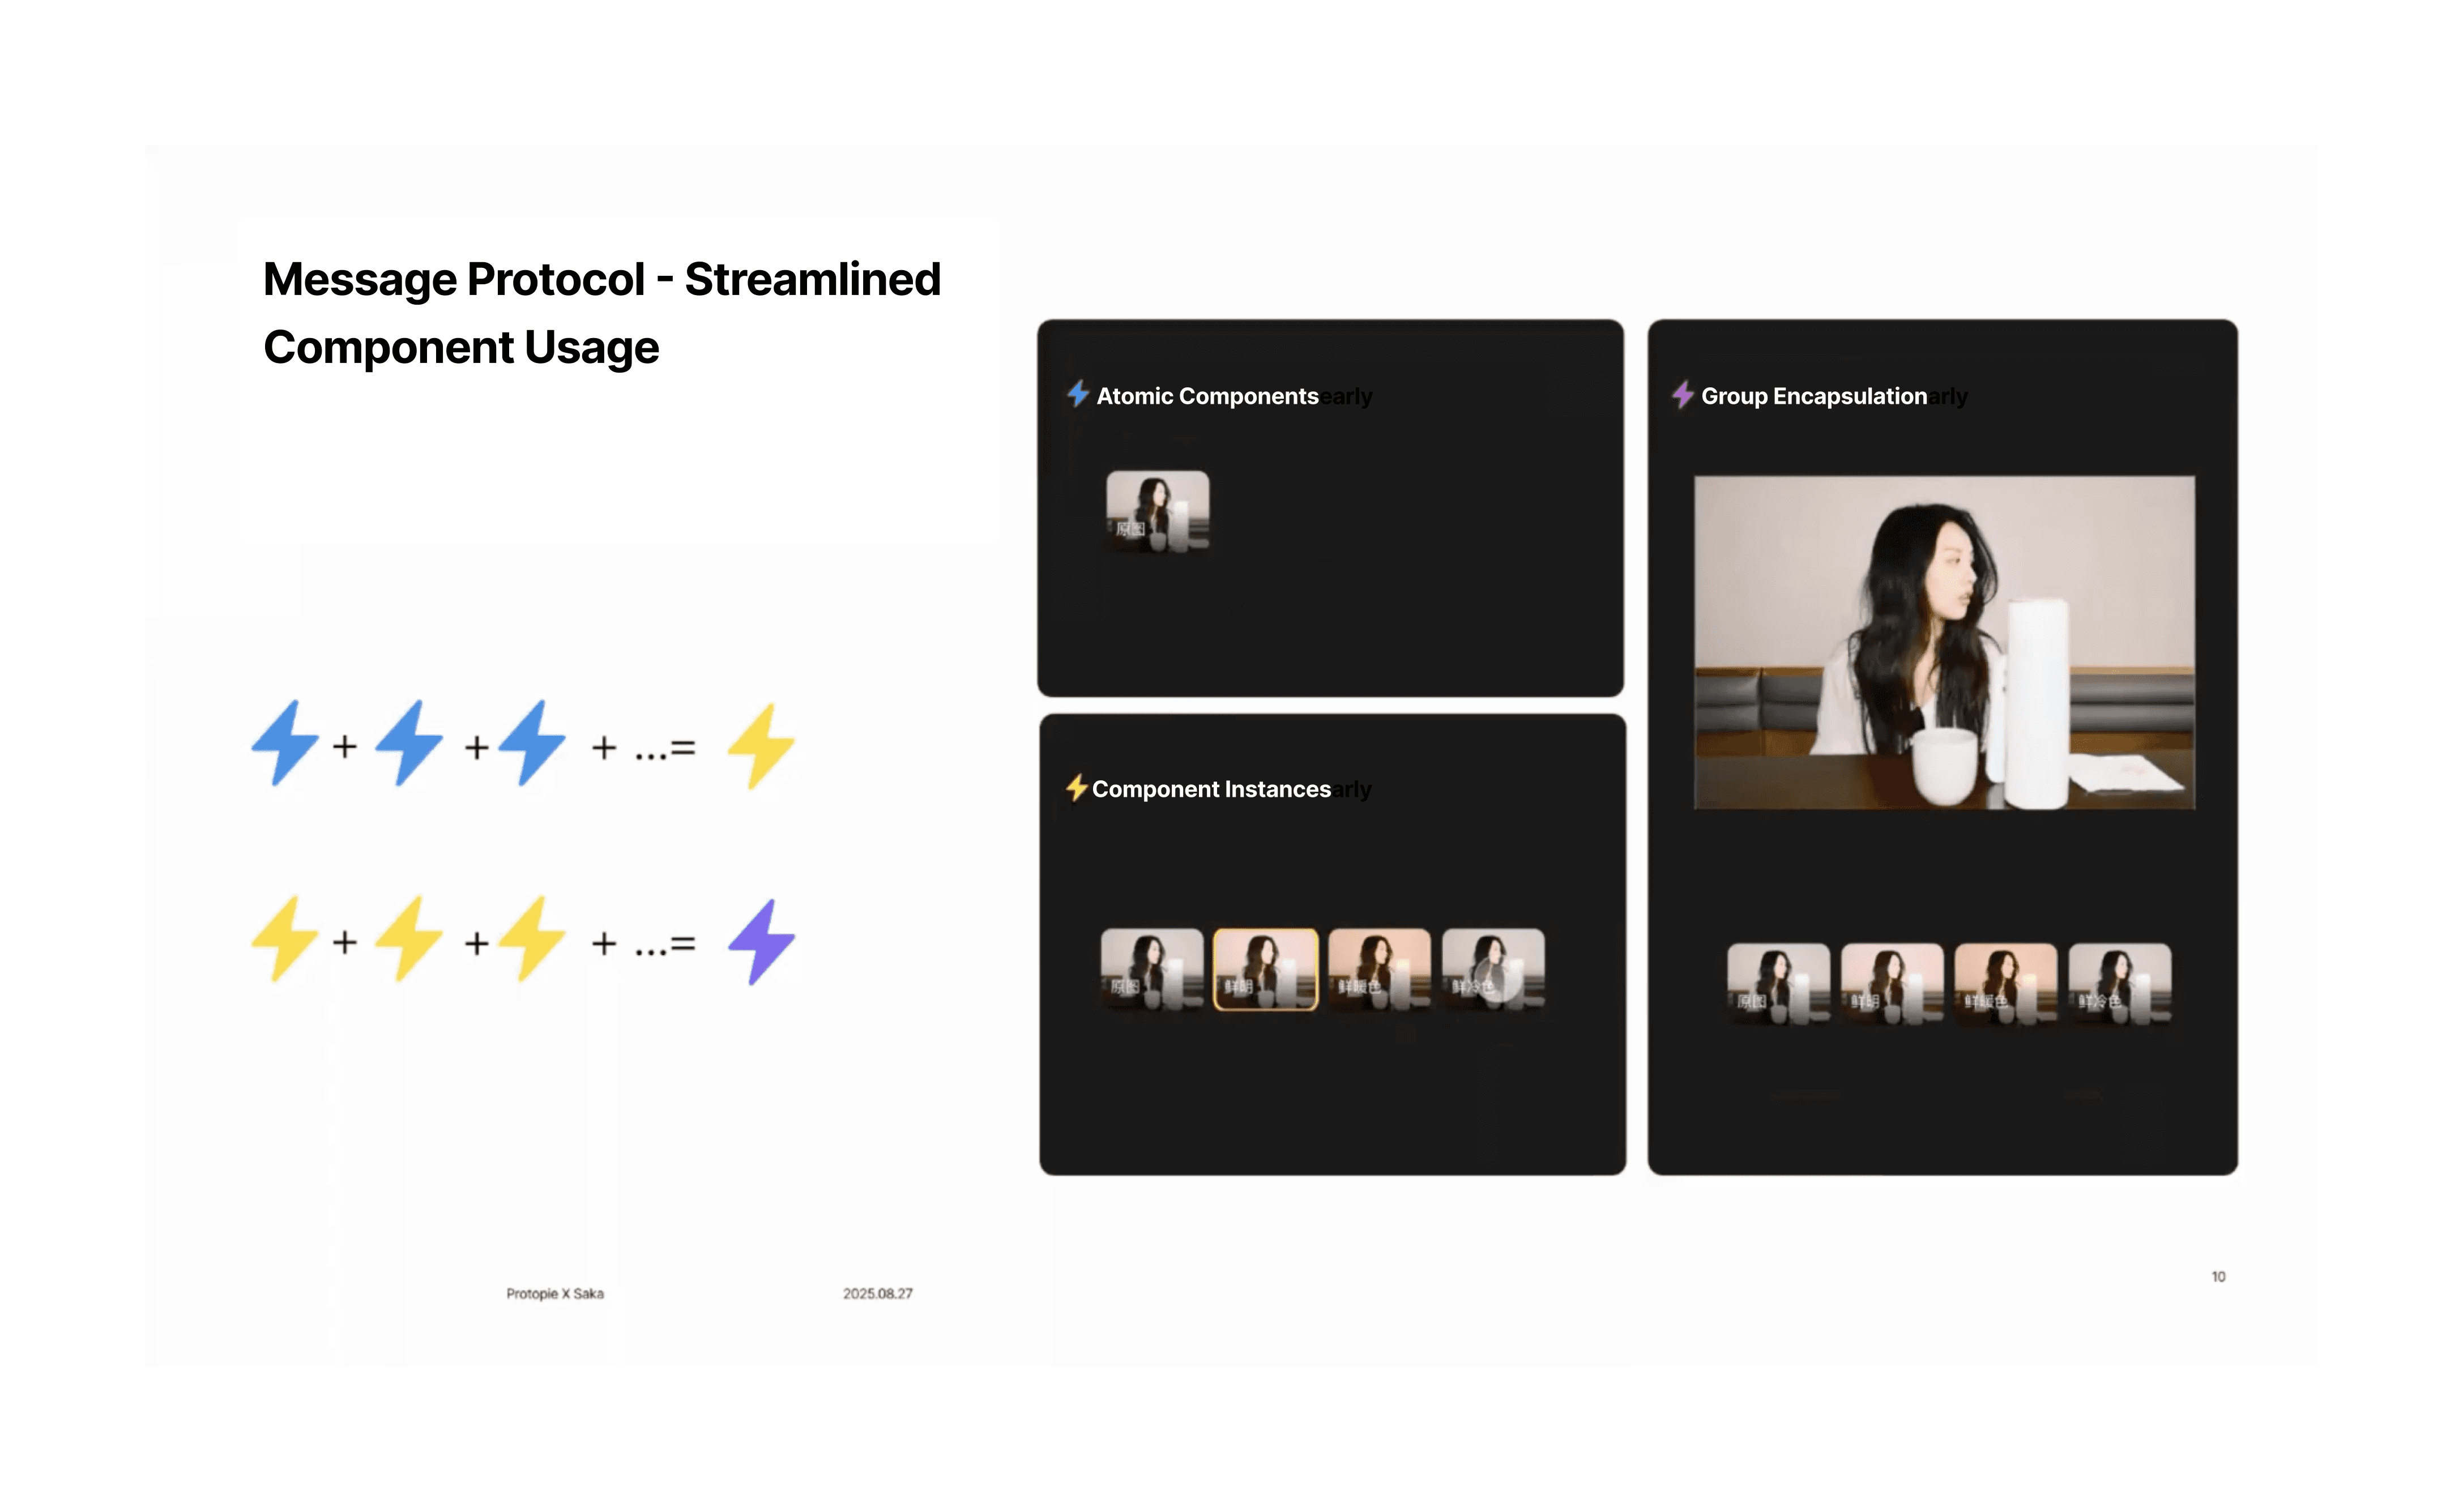
Atomic Components: Start by encapsulating an atomic component, like a unidirectional slider. Define its interactive behaviors, animations, and the values it will output. You can also add adjustable variables to the component for easy reuse.
Component Instances: After creating an atomic component, you can perform a secondary encapsulation to turn it into a component instance. This is especially useful for groups of similar components, such as a set of filter cards. By assigning each instance a unique ID, you can ensure that selecting one automatically deselects the others.
Group Encapsulation: You can then encapsulate multiple component instances into a function group. This simplifies your main ProtoPie scene and makes future maintenance a breeze. For example, if you need to add a new filter, you just add it to the corresponding group.
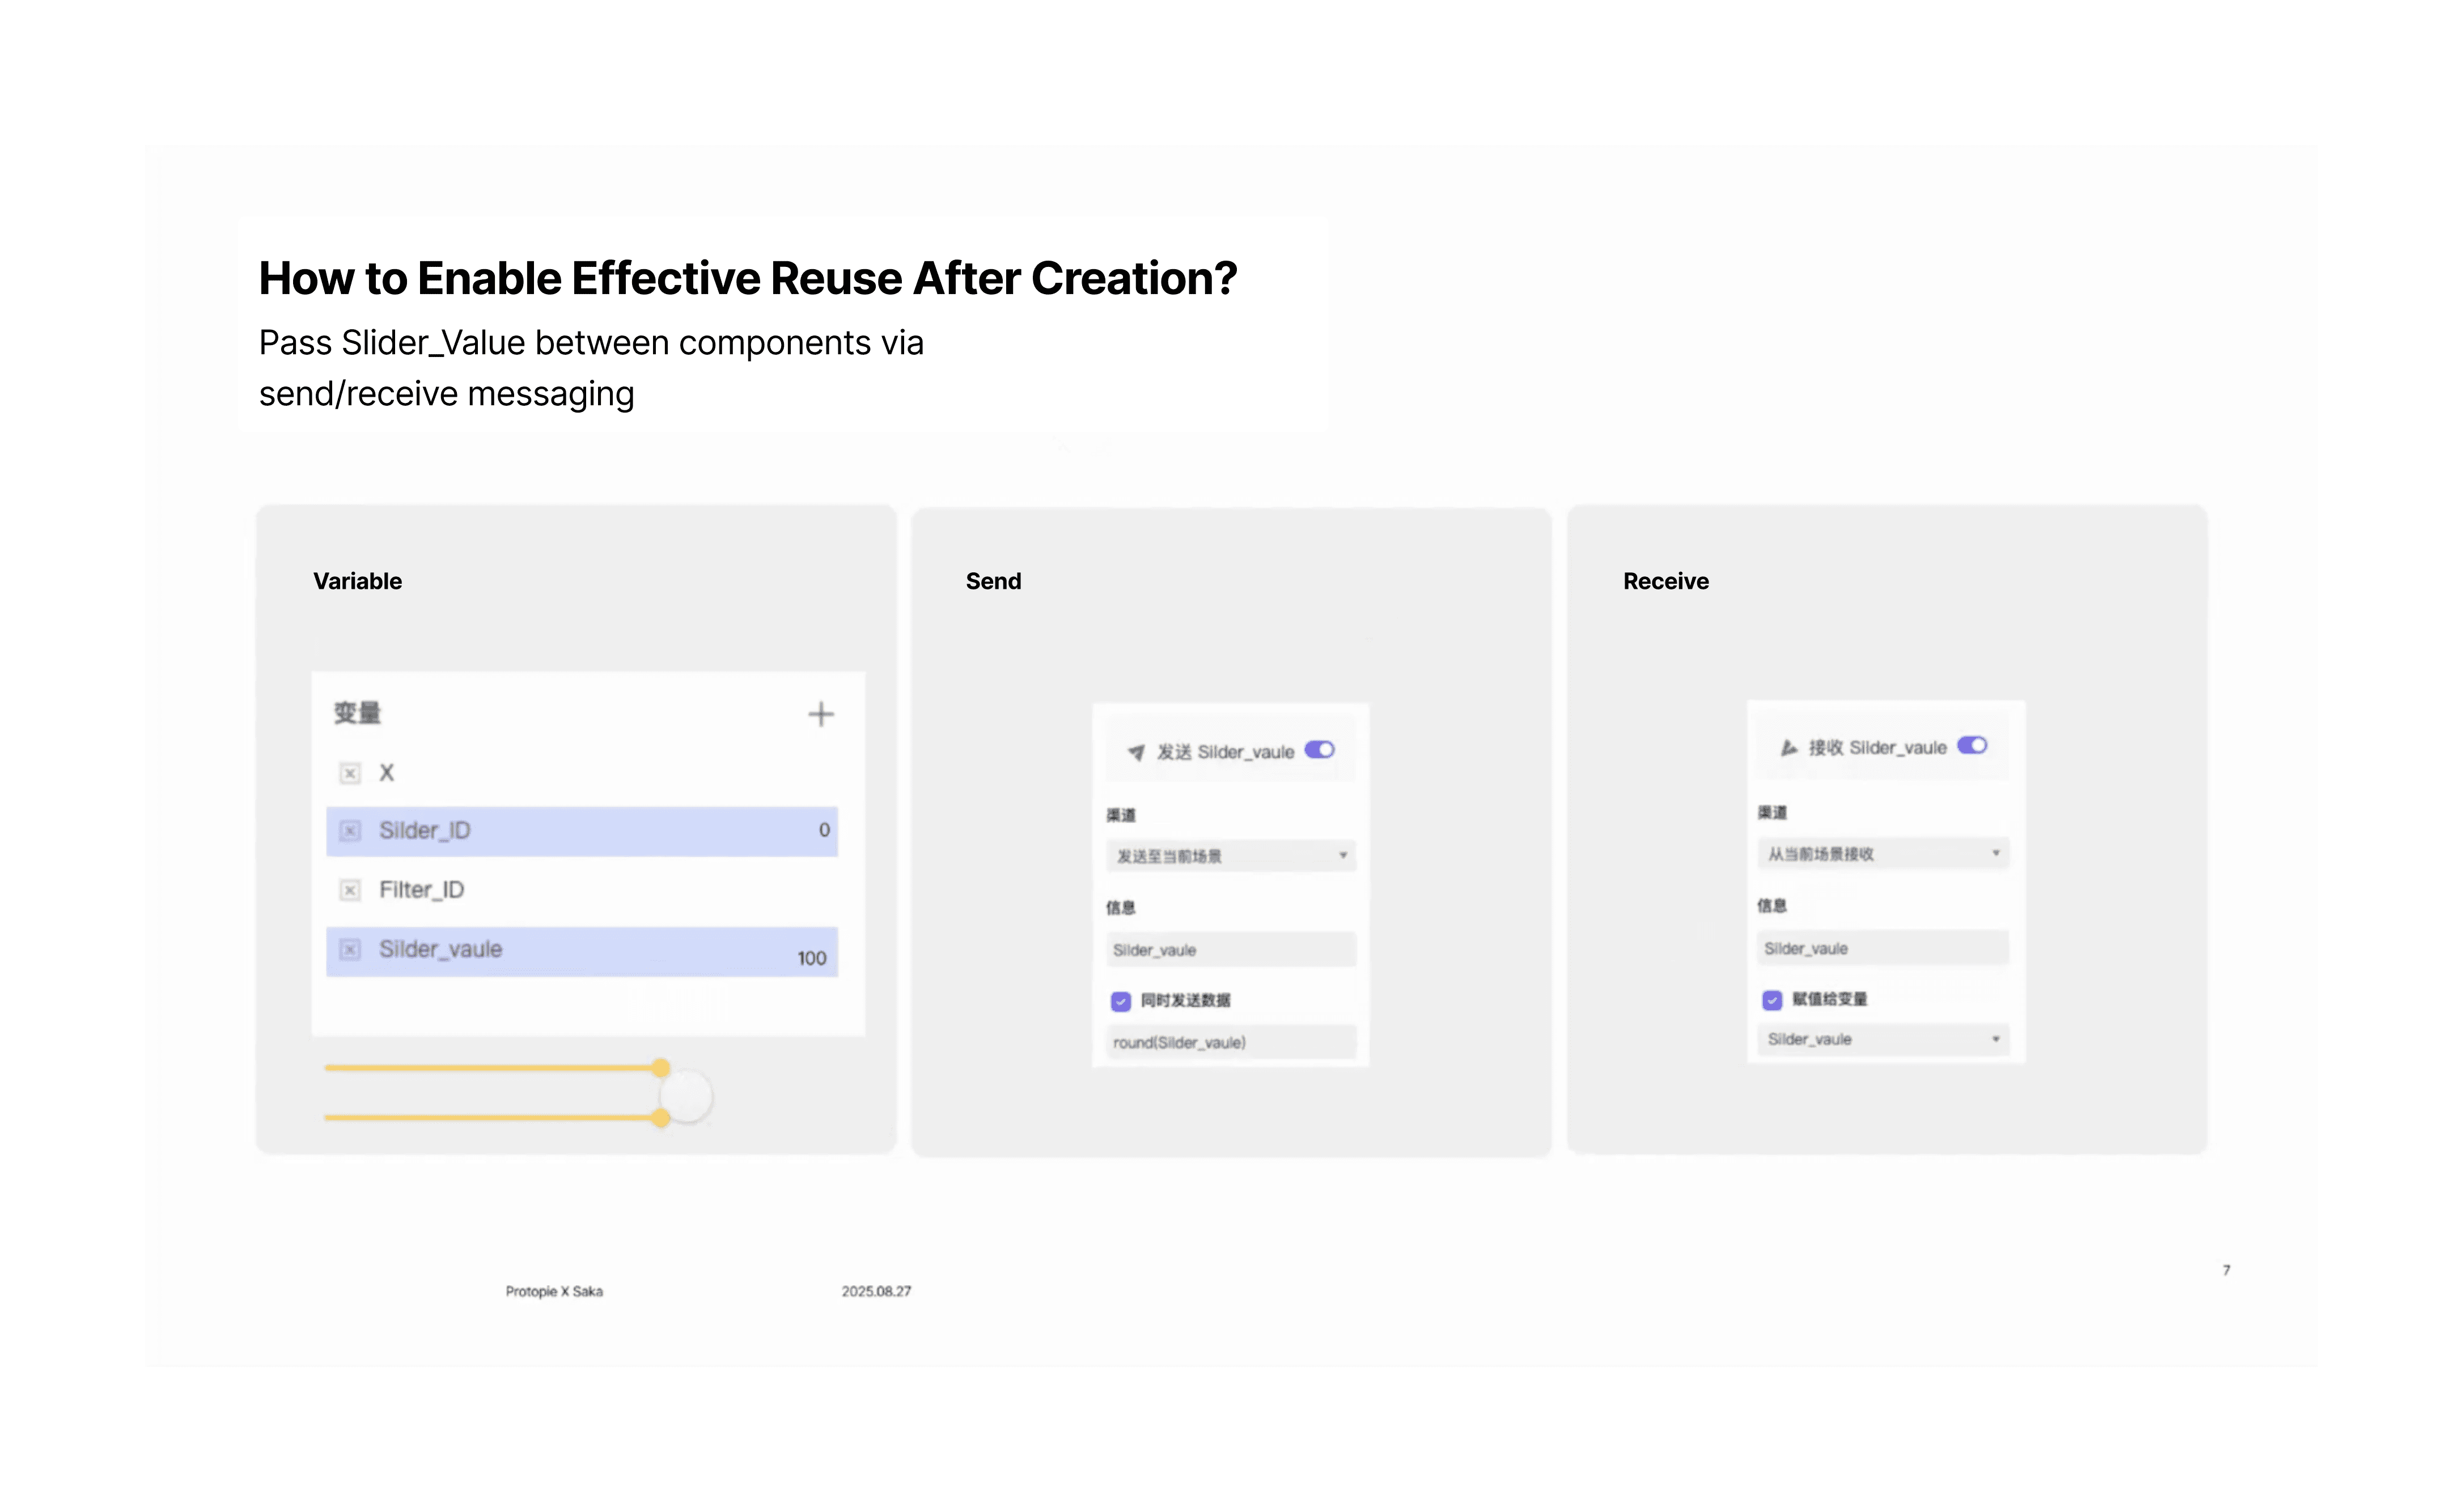
To make these components work, you need to use the Send and Receive features, which allow you to send values out from a component and use them to create interactive logic in your main scene.
Part 3: Using Variables and Hardware Integration
Yushi demonstrated the power of ProtoPie's variables and hardware integration by creating a remote-controlled badminton scoreboard.
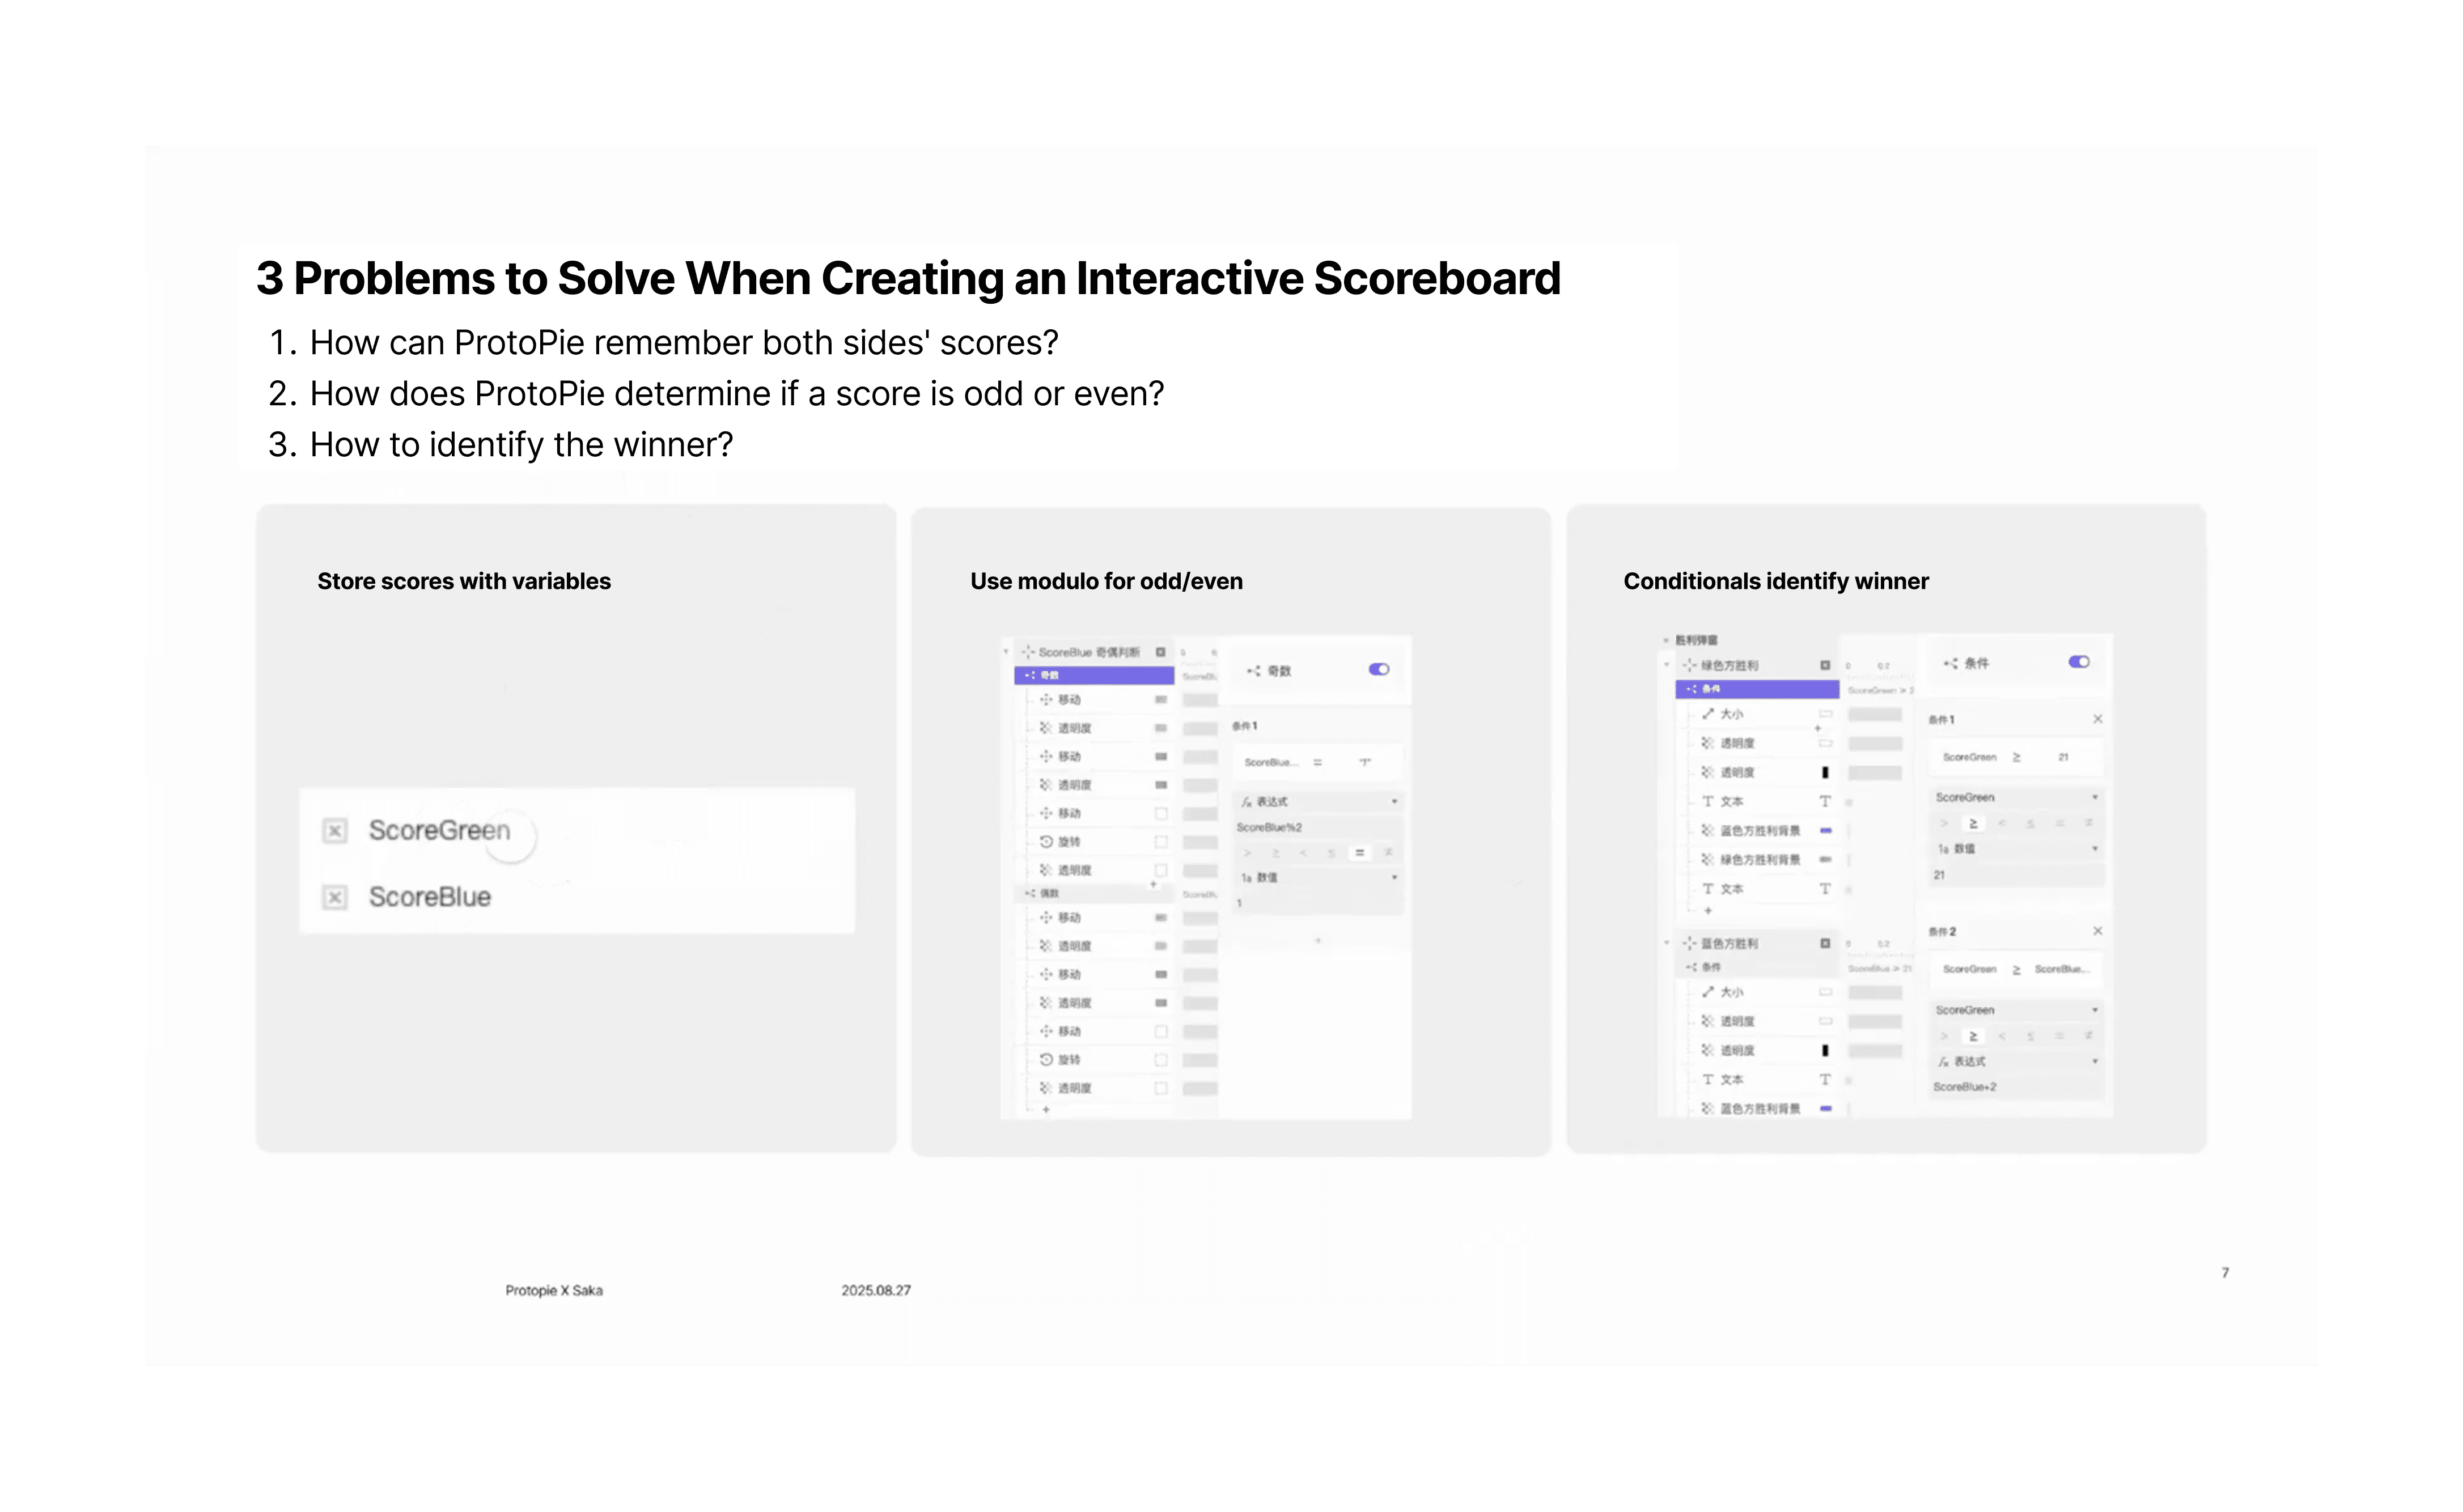
Variables: Use variables to track scores, like score_green and score_blue. A simple gesture, like a swipe up, can be set to add one to the score.
Remainder Expression: To determine if a score is odd or even, use the expression % 2. When a score is divided by two, a remainder of 1 indicates an odd number, while a remainder of 0 indicates an even number. This allows you to automatically change player positions on the screen based on the score.
Conditions: Define a condition to determine who wins the game. For example, you can set a condition that a player wins when their score is greater than 21 and they have a two-point lead over their opponent.
Hardware Integration: To make the scoreboard more practical, you can connect a Bluetooth button to your phone using the AssistiveTouch feature. You can then define custom actions for the button, such as a single click, to add a point to the score without having to manually swipe on the phone.
This innovative approach shows how ProtoPie can be used to create tangible, real-world products without needing to write any code.
Ready to Transform Your Design Process?
Learn from Yushi Xiang’s complete presentation and discover how interactive prototyping can revolutionize your team's workflow. Take Action Today!
Join hundreds of design teams already using prototyping to build better products faster.


